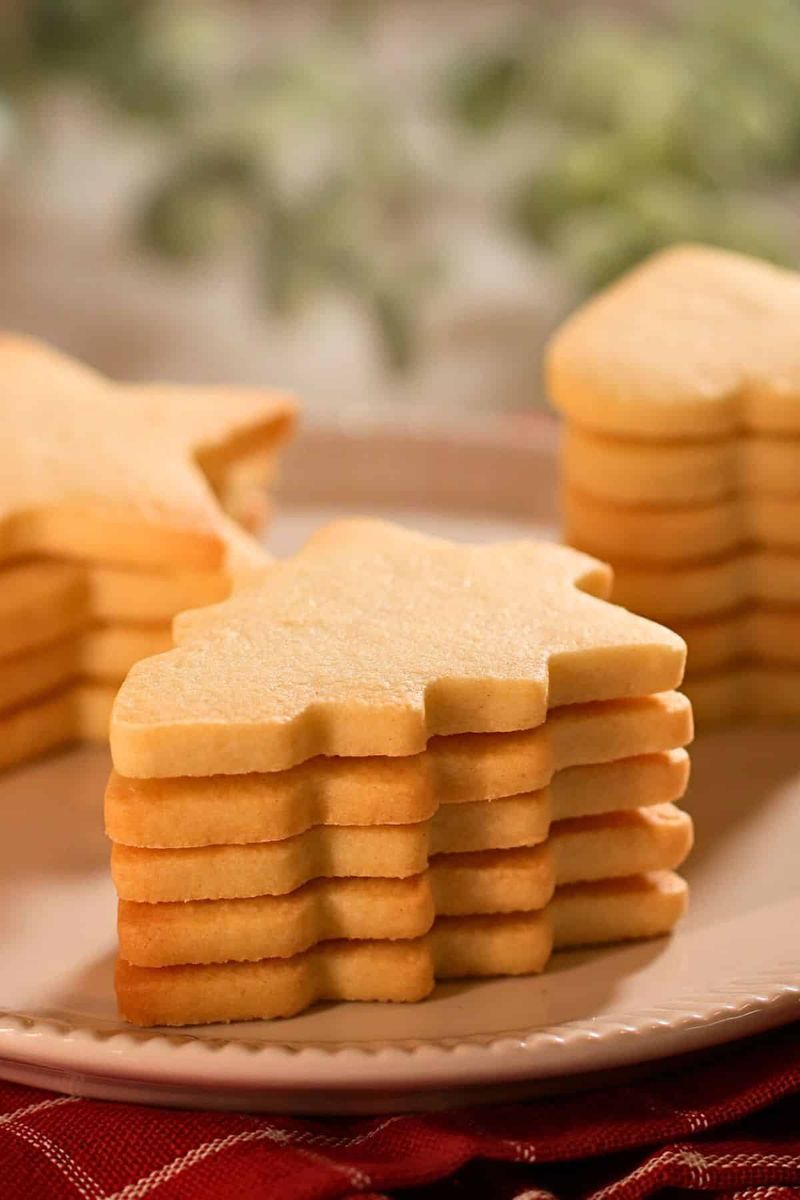
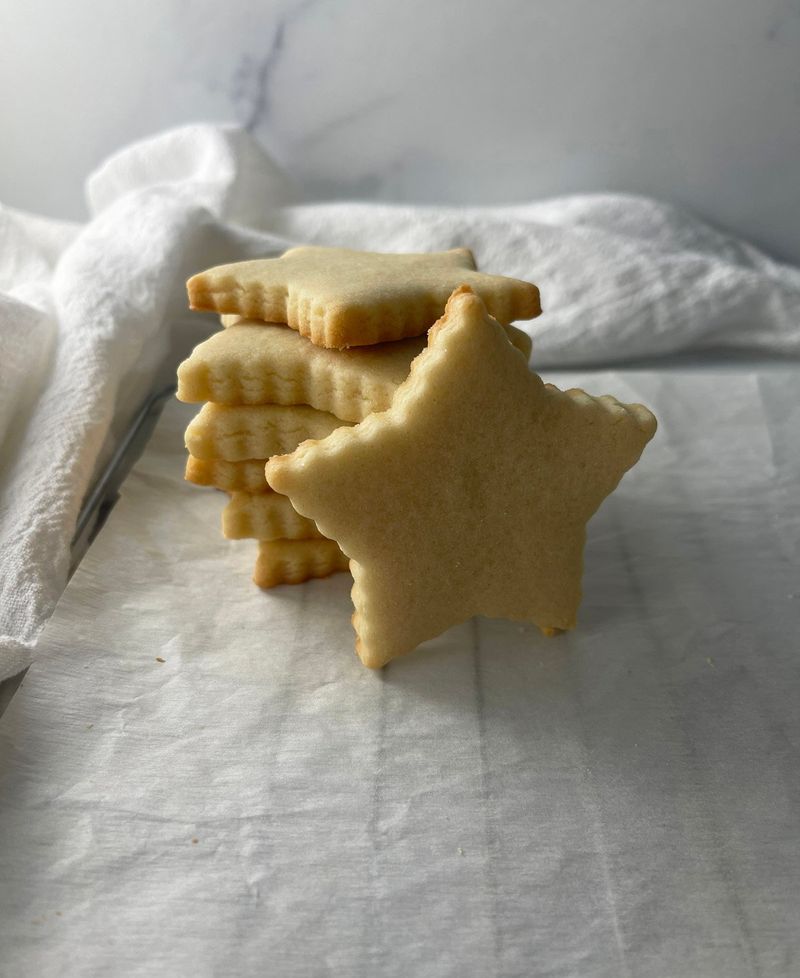
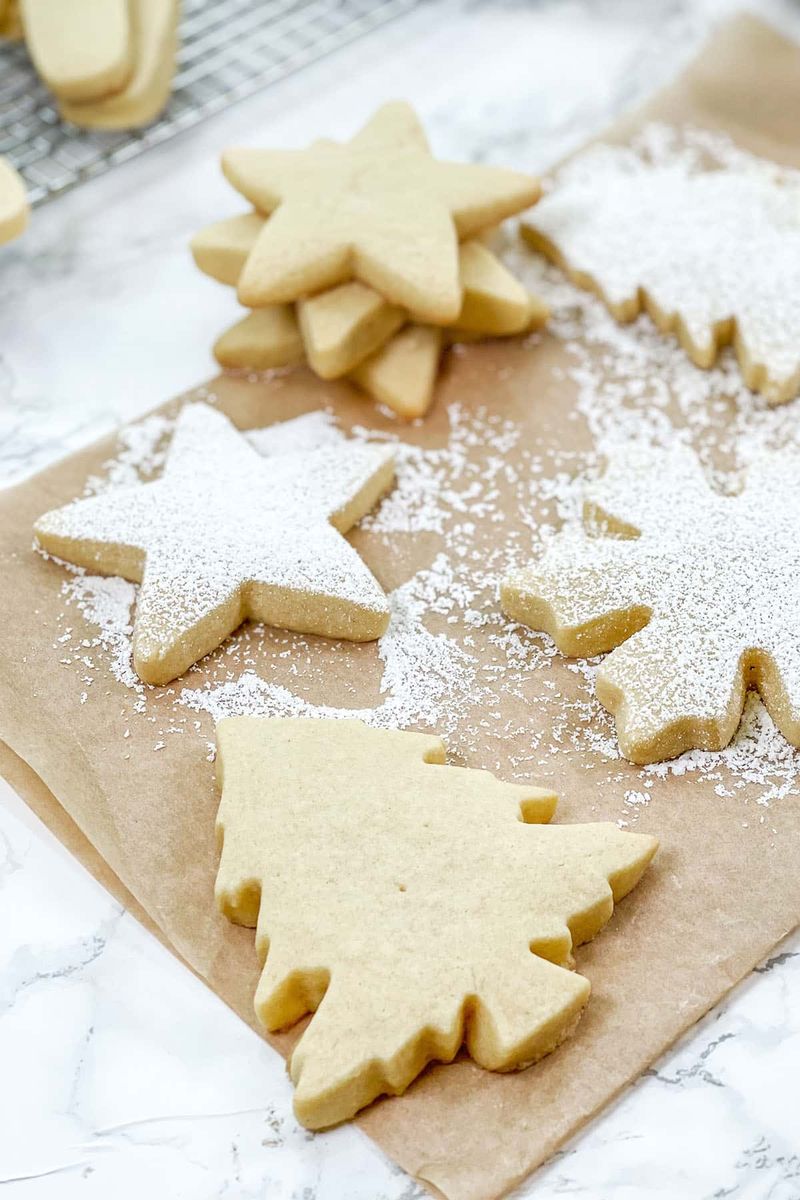
15 Cutout Cookie Baking Tips That Keep Edges Sharp
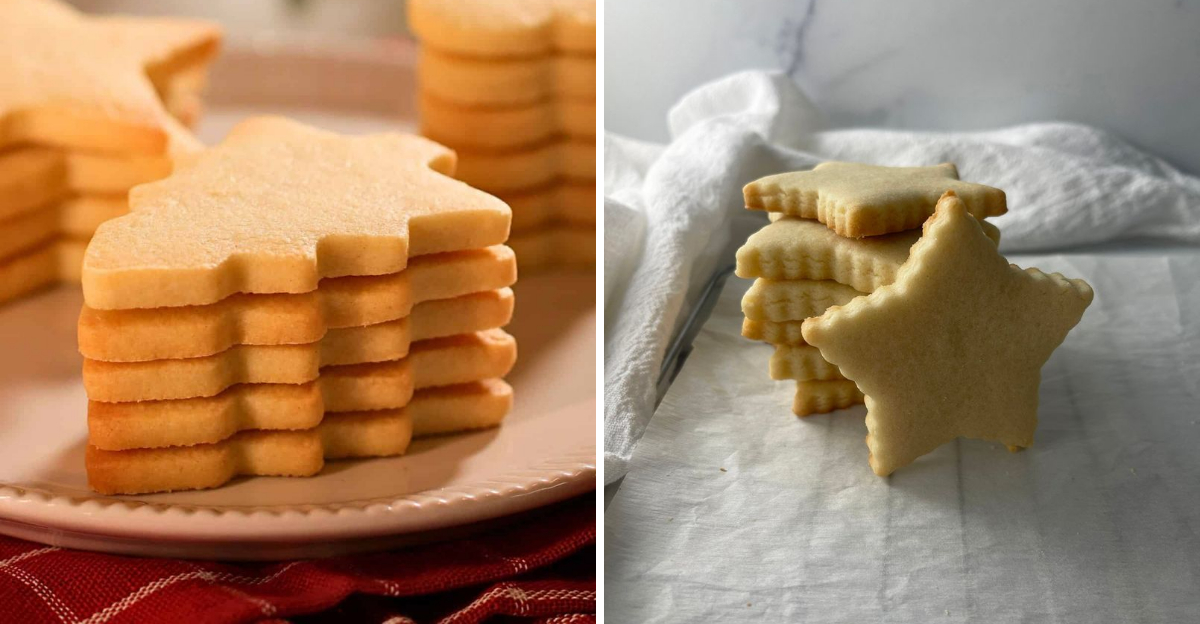
Sharp-edged cutout cookies do not happen by accident. A few smart tweaks keep shapes crisp, lines clean, and details picture-perfect.
Whether you bake for holidays or custom orders, these tips remove the guesswork and save you from spread and warping. Let’s lock in those edges so your cookies look as good as they taste.
1. Use a true cutout cookie dough
For sharp edges, start with a real cutout dough, not a soft drop-cookie batter. Lower moisture and slightly higher flour help the dough keep its shape in the oven.
If the dough scoops like cake batter, it will likely spread.
Choose recipes designed for cutouts, often with butter, sugar, egg, and minimal leavening. A touch of cornstarch can boost tenderness without sacrificing structure.
If the dough is extremely sticky, add a tablespoon of flour at a time until it feels workable.
Remember, firm and cool equals precision. Soft and warm equals blobby edges.
Pick wisely.
2. Chill the dough before rolling
Cold dough is your best friend for crisp edges. Chilling firms butter so it melts slowly, buying time for the shape to set.
Even a quick 30 to 60 minutes makes a visible difference in definition.
Portion dough into flat discs for faster chilling and easier rolling. If time allows, an overnight rest also hydrates flour for smoother rolling and fewer cracks.
You will notice less sticking and cleaner cuts.
Working in batches helps keep everything cold. Leave most dough in the fridge while you roll one disc.
That small habit pays off.
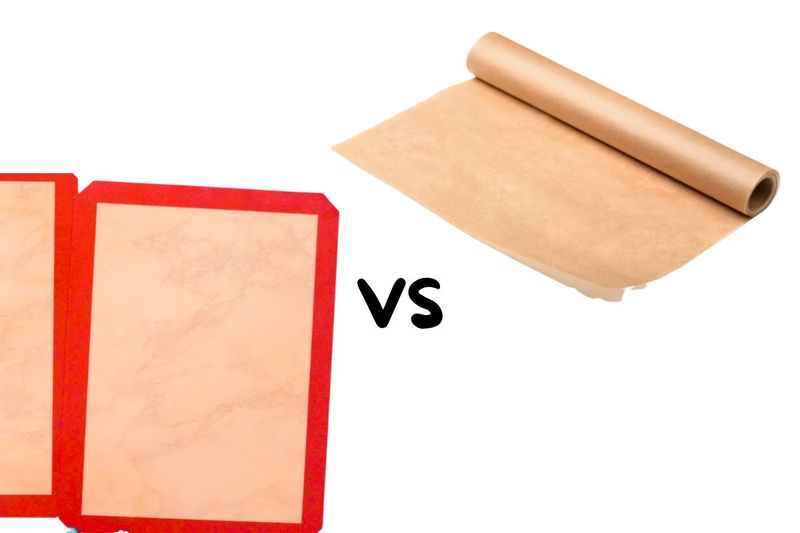
3. Roll between parchment sheets
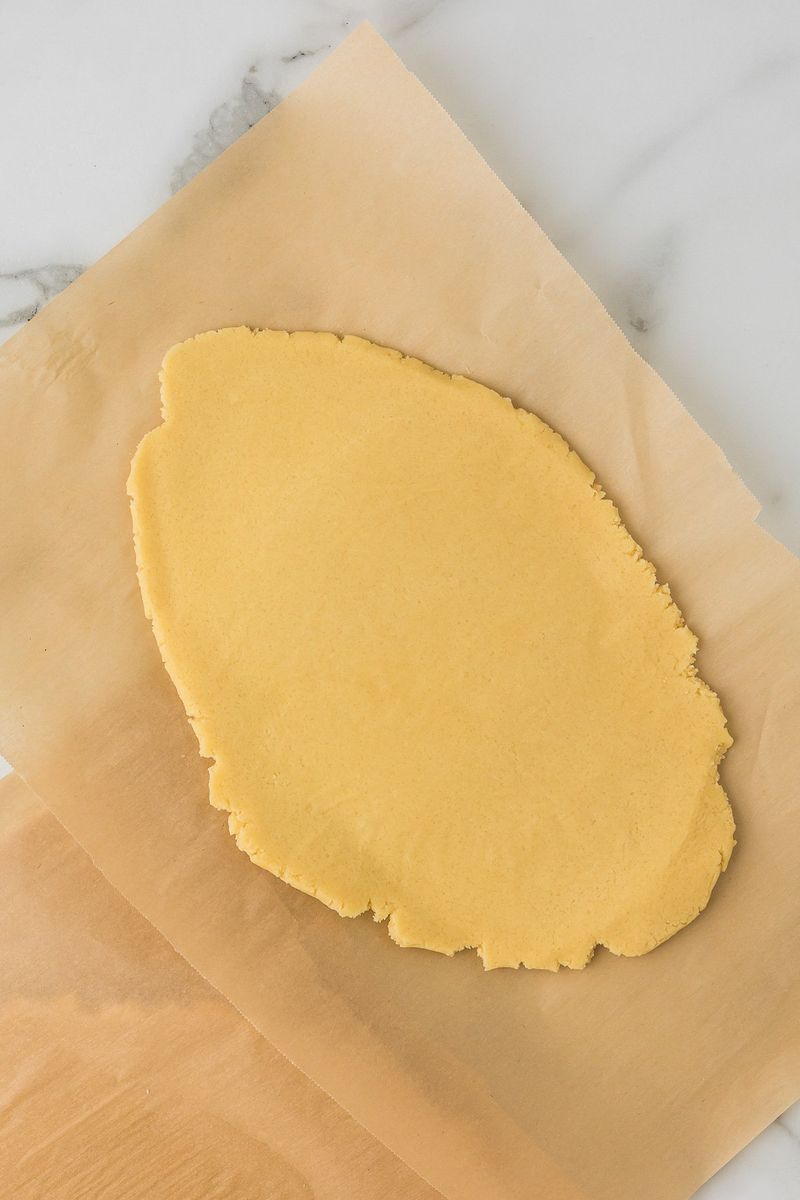
Rolling between parchment prevents adding extra flour that can dry cookies and impact texture. It also keeps the dough smooth and reduces sticking.
You get an even, refined surface that cuts cleanly.
Place dough between two sheets, then roll to thickness. Slide the entire sheet onto a baking pan and chill whenever it softens.
The parchment makes transfers effortless.
Bonus: parchment preserves moisture balance and minimizes mess. No dusty countertop or gummy dough.
The result is streamlined prep, reliable thickness, and edges that hold their lines beautifully in the oven.
4. Aim for even thickness every time
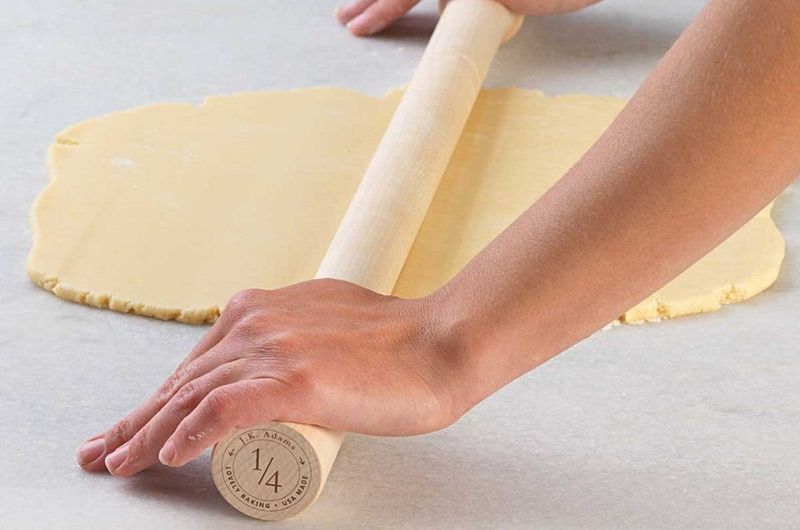
Uneven dough bakes unevenly. Thin spots darken and spread while thicker areas stay soft and rise more, which rounds edges.
A consistent 1/4 inch is a sweet spot for most cutouts.
Use rolling pin rings, guide sticks, or a pastry frame to nail uniform thickness. Check with a ruler if needed.
Consistency here translates to cleaner outlines and predictable bake times.
Even thickness also means easier decorating later. Icing sits neatly without drooping over odd slopes.
Your cookies will look intentional, balanced, and professional before the first sprinkle goes on.
5. Chill rolled sheets before cutting
Rolling warms dough, softening butter and relaxing structure. A quick chill refirms everything so cutters slice cleanly instead of dragging.
Ten to twenty minutes is often enough to restore firmness.
Transfer the parchment-sandwiched sheet to a baking pan first. It stays flat, is easy to move, and chills evenly.
When the dough feels cool and slightly firm to the touch, you are ready.
This step pays dividends with intricate shapes. Lines look crisp, and tiny details hold.
It also reduces sticking inside delicate cutters, saving you frustration and re-rolls.
6. Lightly flour cookie cutters
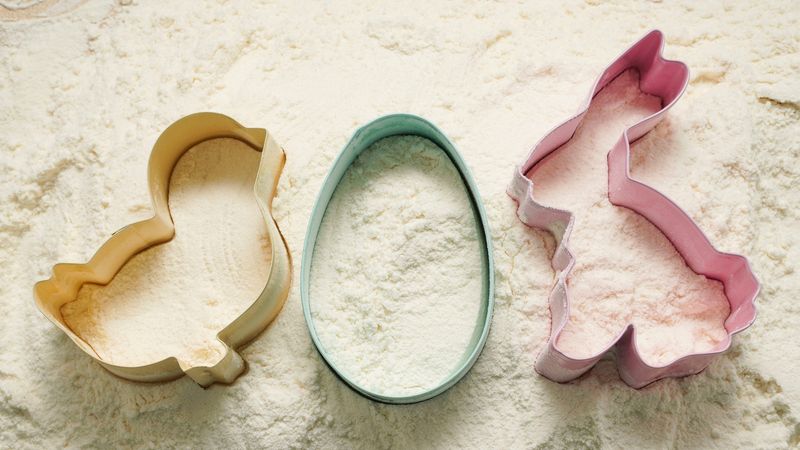
A tiny flour dusting helps cutters release cleanly, especially with detailed shapes. Dip, tap off excess, then cut.
Too much flour can leave gritty edges or white streaks, so keep it minimal.
Consider using powdered sugar for chocolate doughs to avoid visible residue. Re-dip only as needed, not every cut.
Clean cutters occasionally with a dry pastry brush.
Pair this with chilled dough for best results. The combination reduces drag and tearing dramatically.
You will get crisp outlines that lift easily and maintain every scallop, star point, and tiny notch.
7. Press straight down, lift straight up

Twisting the cutter smears edges and warps fine details. Instead, press straight down with a firm, confident motion, then lift straight up.
This creates a clean shear with minimal drag.
For stubborn dough, wiggle a hair in place, not a full twist. Alternatively, run a thin offset spatula under the shape before lifting.
Keeping the motion vertical preserves geometry.
Practice on scrap areas to feel the right pressure. Once you have it, every outline looks sharper.
This tiny habit upgrade can transform wobbly shapes into crisp, uniform silhouettes.
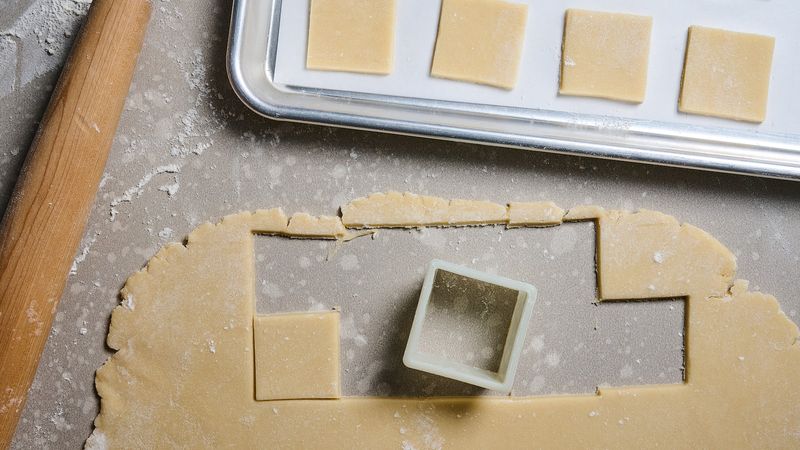
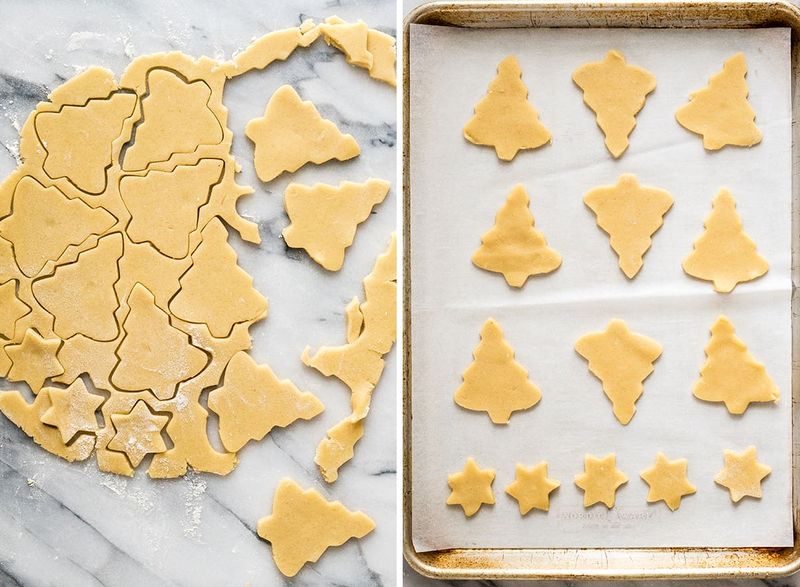
8. Cut close together, remove scraps
Nest shapes close to limit re-rolling, which warms dough and adds flour. After cutting, peel the surrounding scraps away instead of lifting the delicate shapes.
This keeps edges intact and minimizes stretching.
Gather scraps, press into a disc, and chill before rolling again. Each re-roll can get tougher, so handle gently.
Tight layouts also save time and reduce waste.
The result is cleaner edges and fewer distorted points. It is a simple shift in workflow that offers big returns in precision.
Plus, you get more cookies per batch.
9. Freeze shapes briefly before baking

A short freeze locks in shape by firming butter and gluten. Ten minutes in the freezer or twenty in the fridge works wonders for sharp edges.
This is especially helpful with intricate cutters.
Transfer cookies on the same parchment to avoid distortion. Work in batches so the next tray chills while one bakes.
You get steady rhythm and consistent results.
Watch bake time since colder dough may need a minute more. The payoff is dramatic: minimal spread, crisp corners, and defined lines that look bakery-level without extra effort.
10. Start with cool baking sheets
A warm sheet melts dough before it hits oven heat, causing early spread and rounded edges. Always start with a cool pan for clean outlines.
Rotate between two or three sheets to keep the workflow moving.
If a pan just came out of the oven, let it cool completely or rinse with cold water and dry thoroughly. Lining with parchment promotes even baking and easy release.
Consistency matters.
Cool pans set the stage for precision. Paired with chilled dough, your shapes stay crisp.
This low-effort habit prevents edge blurring from the very start.
11. Use parchment or a silicone mat consistently
Parchment and silicone mats both reduce sticking and promote even baking, but they conduct heat differently. Pick one and stick with it for predictable spread and browning.
Switching mid-batch can change results.
Parchment often yields slightly crisper bottoms. Mats can soften spread and encourage gentle edges.
Either is fine if you calibrate bake time.
Consistency lets you read your oven and dough better. Once dialed, you will replicate that sharp-edged look every tray.
Document what works, then repeat it to lock in results across seasons and recipes.
12. Do not over-grease the pan

Excess grease acts like a slip-and-slide, encouraging cookies to spread before edges can set. If you use parchment or a silicone mat, skip grease entirely.
Your shapes will hold better and release cleanly.
When a recipe specifies greasing, use the thinnest possible film. Wipe away visible pools with a towel.
Grease is rarely needed for cutouts.
Think of pan preparation as an edge insurance policy. Less slickness equals more definition.
Keep it simple, keep it dry, and your outlines will stay crisp from oven to rack.
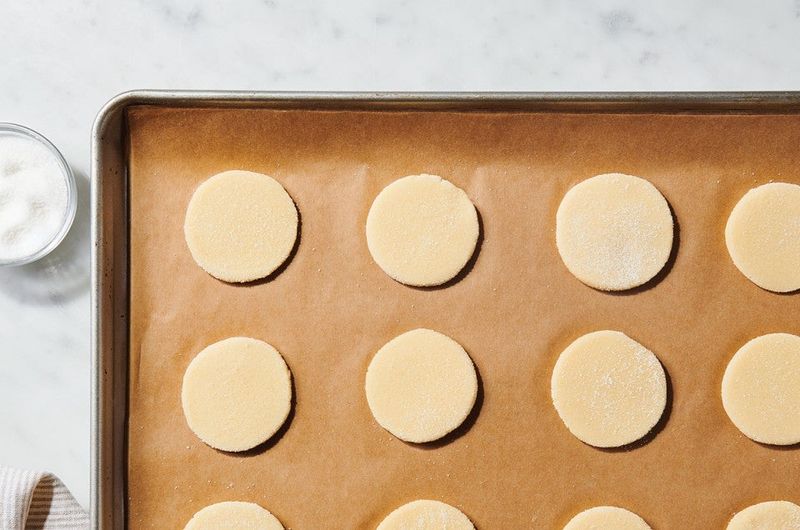
13. Avoid overcrowding the baking sheet
Cookies need space so heat can circulate and edges can set cleanly. Crowding traps steam and promotes soft, rounded borders.
Leave at least 2 inches between shapes, more for large cutters.
Give each cookie its own heat zone. You will see straighter sides and fewer merged corners.
Airflow matters as much as dough temperature.
Plan to bake in batches rather than cramming. The slight delay yields dramatically sharper results.
Your patience pays off when every star point and heart curve emerges intact.
14. Bake at the right temperature

Cutouts usually perform best around 350°F, but your recipe’s formulation matters. Too low and cookies spread longer before setting.
Too high and edges brown before centers finish, warping details.
Use an oven thermometer to verify accuracy. If you see spreading, nudge temperature up 10 to 15 degrees or chill shapes longer.
Take notes for future batches.
Watch the first tray closely. Edges should look set and just turning golden on the bottom.
Dialing in temperature gives you repeatable, sharp silhouettes without guesswork.
15. Cool briefly on the sheet, then rack
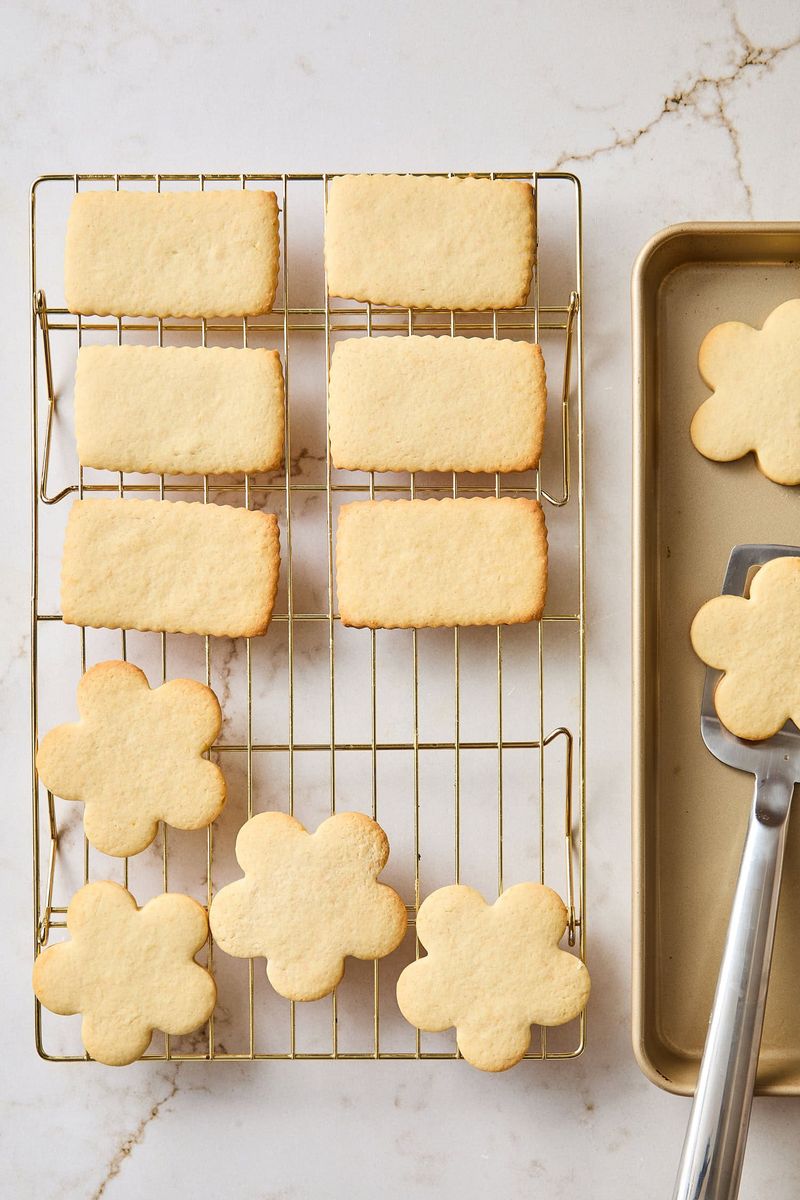
Let cookies rest on the pan 2 to 3 minutes so edges firm before moving. This short set time protects corners from bending.
Then transfer to a cooling rack to prevent over-browning on the bottoms.
Use a thin offset spatula for clean lifts. If a cookie seems floppy, give it another 30 seconds.
Rushing risks distortions that undo all your careful prep.
This finish-line habit preserves structure and texture. You get clean edges and tender centers.
It is a small step with outsized impact on presentation.