15 Hot Dog Mistakes You Should Avoid And 7 Methods You’ll Use For Life
You think a great hot dog is just meat and heat, but small missteps can ruin the bite. From mushy buns to bland toppings, tiny details separate a forgettable snack from a stadium-worthy experience.
This guide exposes the most common pitfalls and the timeless techniques pros swear by. Read on to fix mistakes fast and master methods you’ll use for life.
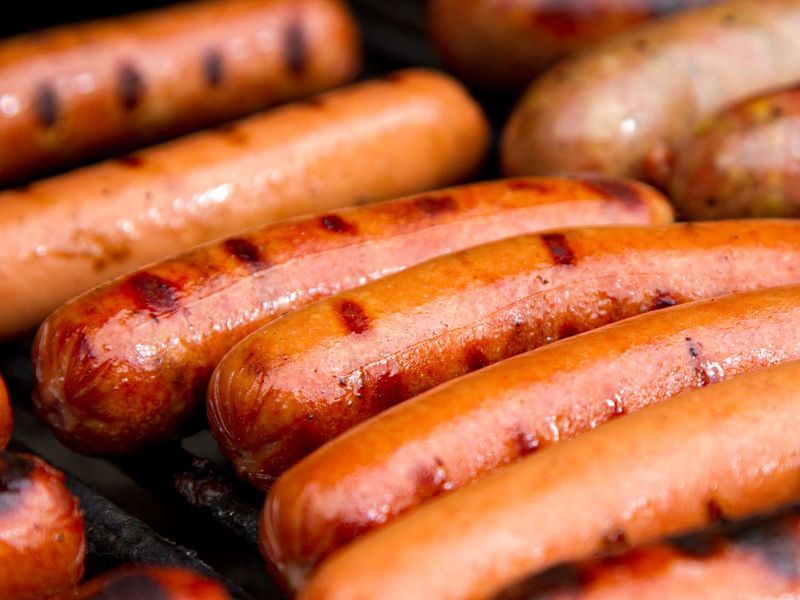
1. Skipping Quality Sausages
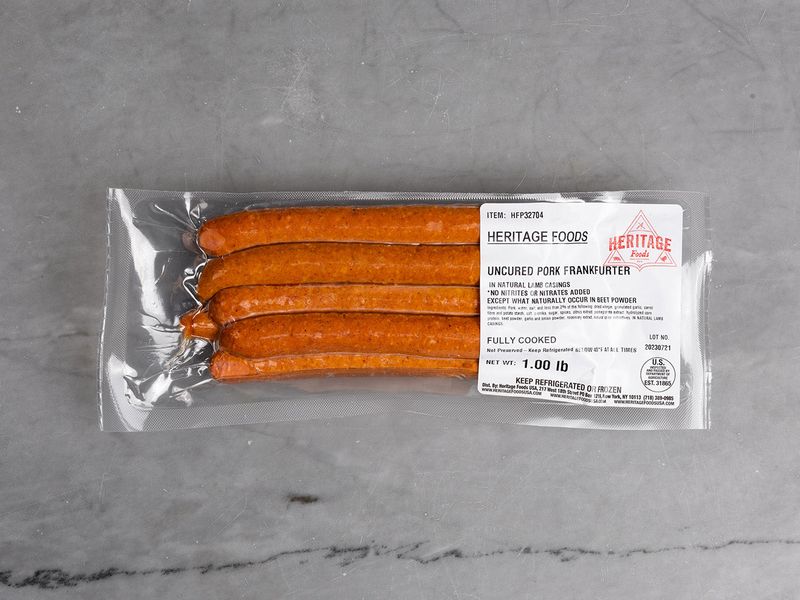
Starting with mediocre sausages guarantees average results, no matter how fancy your toppings are. Choose all-beef franks or artisan blends with a tight snap and balanced seasoning.
Look for natural casings and avoid mystery filler lists that read like a lab inventory. Taste a few brands side by side to find your favorite baseline.
If possible, buy from a butcher who grinds fresh and can explain the spice profile. Better meat handles heat more gracefully, resists splitting, and delivers deeper flavor. It’s the foundation of every stellar hot dog you’ll ever serve.
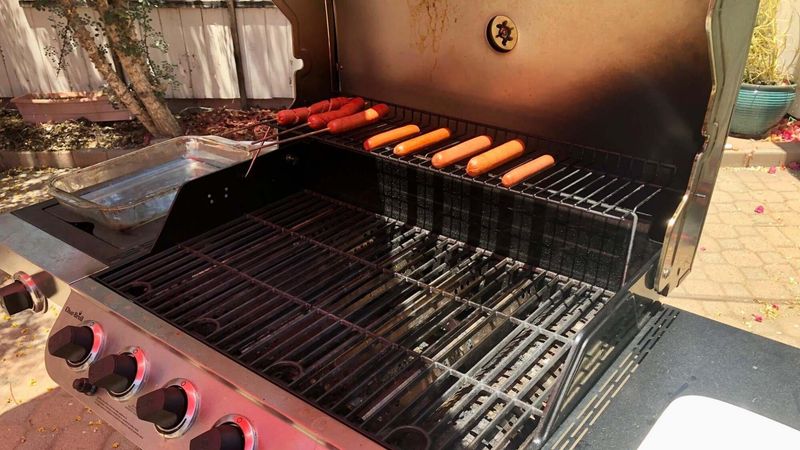
2. Boiling Without Flavor

Dropping franks into plain boiling water leaches flavor and leaves them tasting washed-out. If boiling is your only option, season the water with aromatics: sliced onion, garlic, bay leaves, peppercorns, and a splash of beer.
Keep it just below a rolling boil to maintain texture and snap. Finish with a quick sear in a hot pan or on a grill to add browning.
The contrast between juicy interior and char-kissed exterior elevates everything. Avoid prolonged boiling; it swells the casing and dulls spices. Treat the pot like a flavorful spa, not a bland bath.
3. Neglecting Bun Quality
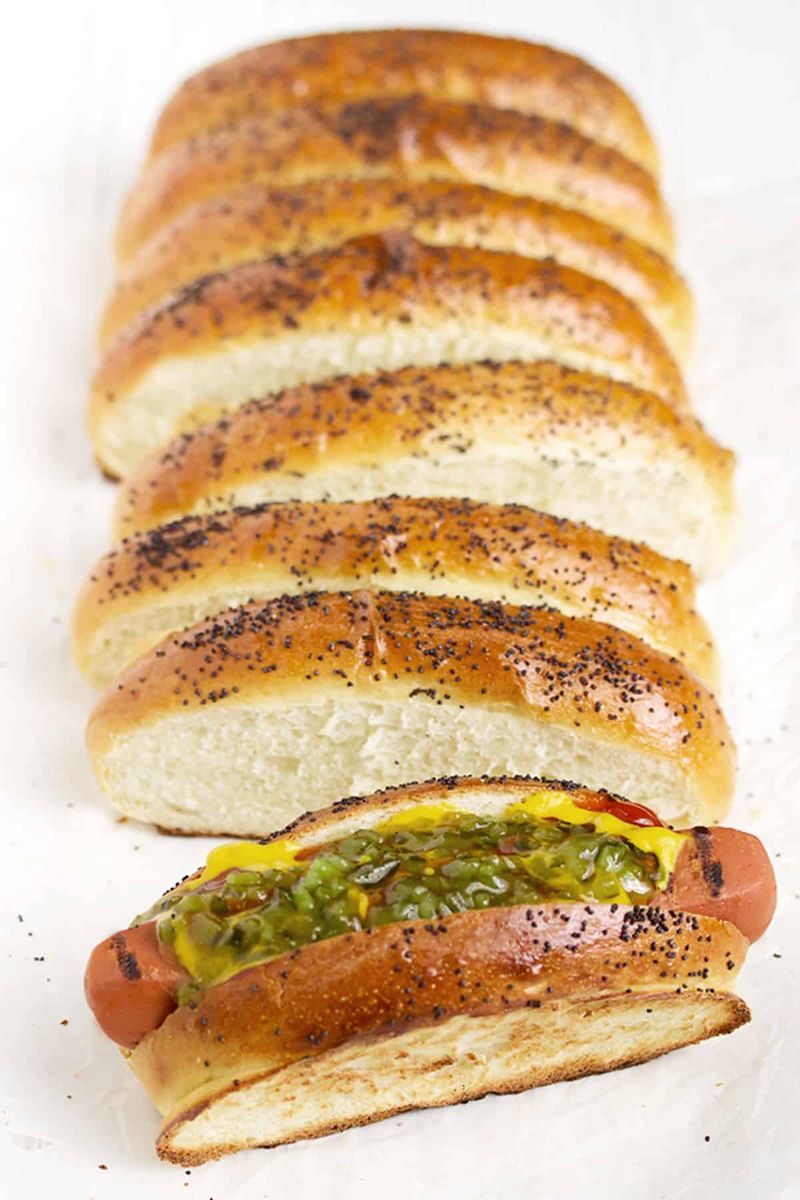
Great buns are more than delivery devices; they’re half the experience. Choose soft, fresh buns with a slight sweetness and sturdy structure to cradle toppings.
Avoid stale, brittle rolls that shred under pressure or gummy potato buns that suffocate texture. Lightly toast or steam to refresh and create resilience.
Apply a whisper of butter for flavor and waterproofing. Consider New England–style split-top buns for better griddle contact and filling space.
The right bun keeps juice and condiments contained, supports the frank, and contributes aroma. Cheap buns undermine craftsmanship in a single bite.
4. Skipping the Drying Step
Wet franks thrown on hot grates sputter and steam instead of searing, sabotaging browning. Pat sausages dry with paper towels before they meet heat.
The dry surface encourages the Maillard reaction, creating that coveted crisp snap and caramelized flavor. Moisture makes sticking and tearing more likely, especially on cast iron.
A minute of drying saves minutes of frustration and a pile of split casings. For even better results, air-dry in the fridge, uncovered, for 30 minutes. This quick prep step dramatically improves texture and color without any special equipment.
5. Overcooking to Wrinkled Death
Overcooked hot dogs shrivel, burst, and chew like rubber bands. Internal fat renders out, leaving a dry, squeaky bite that no amount of mustard can rescue. Use medium heat and rotate frequently for even cooking.
Pull them when they’ve browned and reached a safe internal temperature, typically around 155–160°F for most franks. Residual heat finishes the job.
Watch for telltale signs: a gentle blister, light char, and a resilient snap. If they’re shrinking drastically, the heat’s too high or the time’s too long. Respect the window between raw and ruined.
6. Ignoring Crosshatch Searing
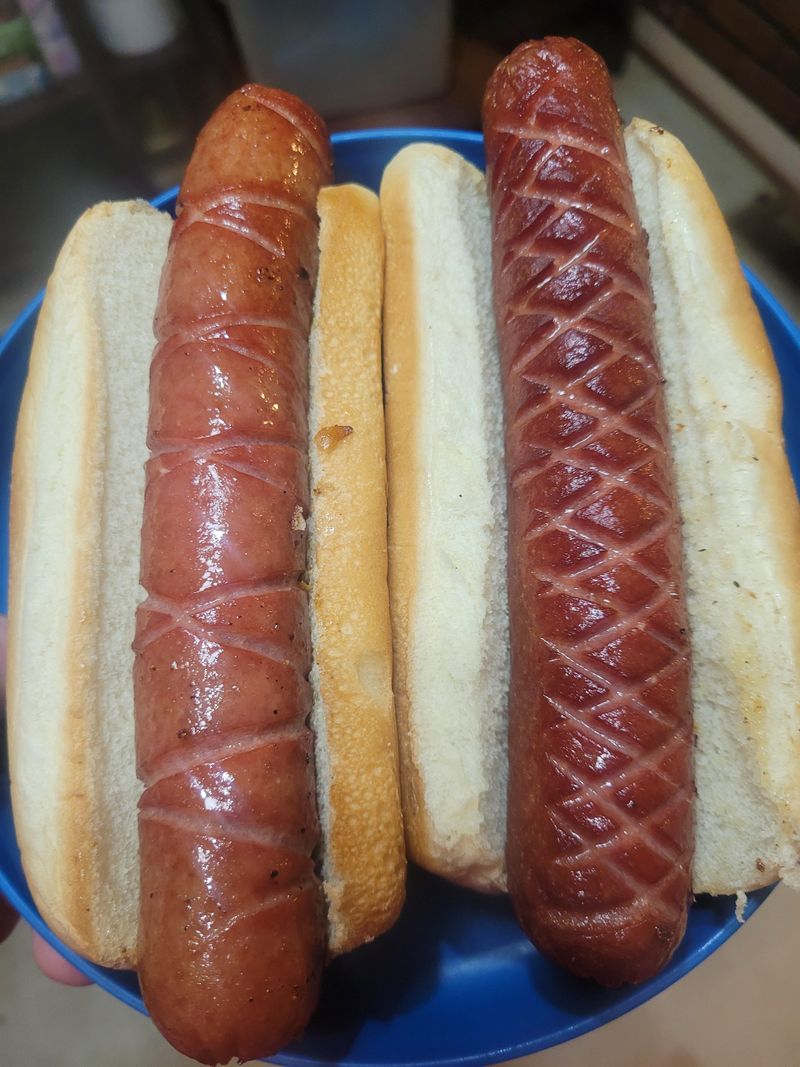
A simple crosshatch sear does more than look pretty; it increases surface area for browning and texture. Score shallow diagonal cuts in opposite directions, avoiding deep slashes that spill juices.
As the dog cooks, the crosshatch opens into flavorful ridges that cling to toppings and condiments. It’s a chef’s trick for better sauce capture and bite stability.
Use a sharp paring knife and a gentle hand. Practice on a spare frank to gauge depth. The result is photogenic and delicious, transforming humdrum links into showstoppers without extra ingredients or time.
7. Saucing Like a Soup
Drowning a dog in condiments turns buns into sponges and masks the sausage’s character. Aim for thin, even lines or small dollops that complement, not bury.
Balance acidity, heat, and sweetness: mustard for brightness, onions for bite, relish for crunch, and a spicy kick if desired. Layer thoughtfully—fatty toppings beneath, sharper flavors above.
Consider water-binding spreads like mayo sparingly; they can prevent sogginess. The goal is harmony and clean bites.
If you need a fork, you’ve gone too far. Let flavors converse instead of shouting over each other.
8. Serving Ice-Cold Toppings
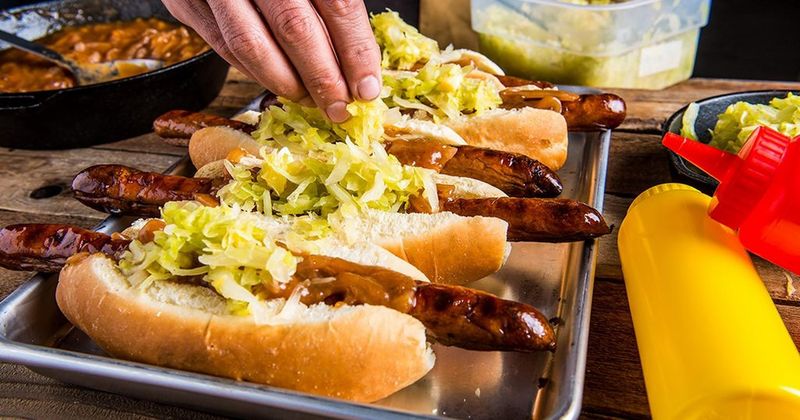
Dumping fridge-chilled toppings onto hot dogs saps heat and dulls flavor on contact. Let condiments and garnishes sit at room temperature for 10–15 minutes before serving.
This keeps the dog warm longer and heightens aroma. Warm buns, warm sausage, and ambient toppings create a coherent bite.
If using cooked additions—like caramelized onions or chili—keep them gently heated. Cold shocks can stiffen fats and mute spices, undermining your work.
Small temperature tweaks make hot dogs feel professionally composed without any extra flair, just mindful timing and staging.
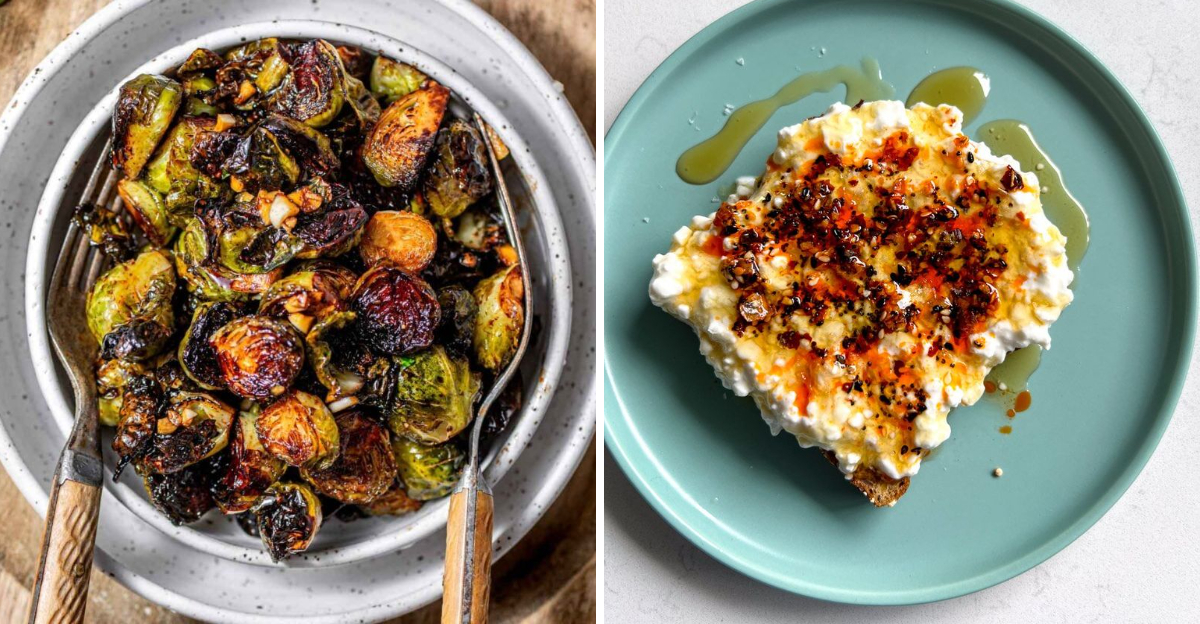
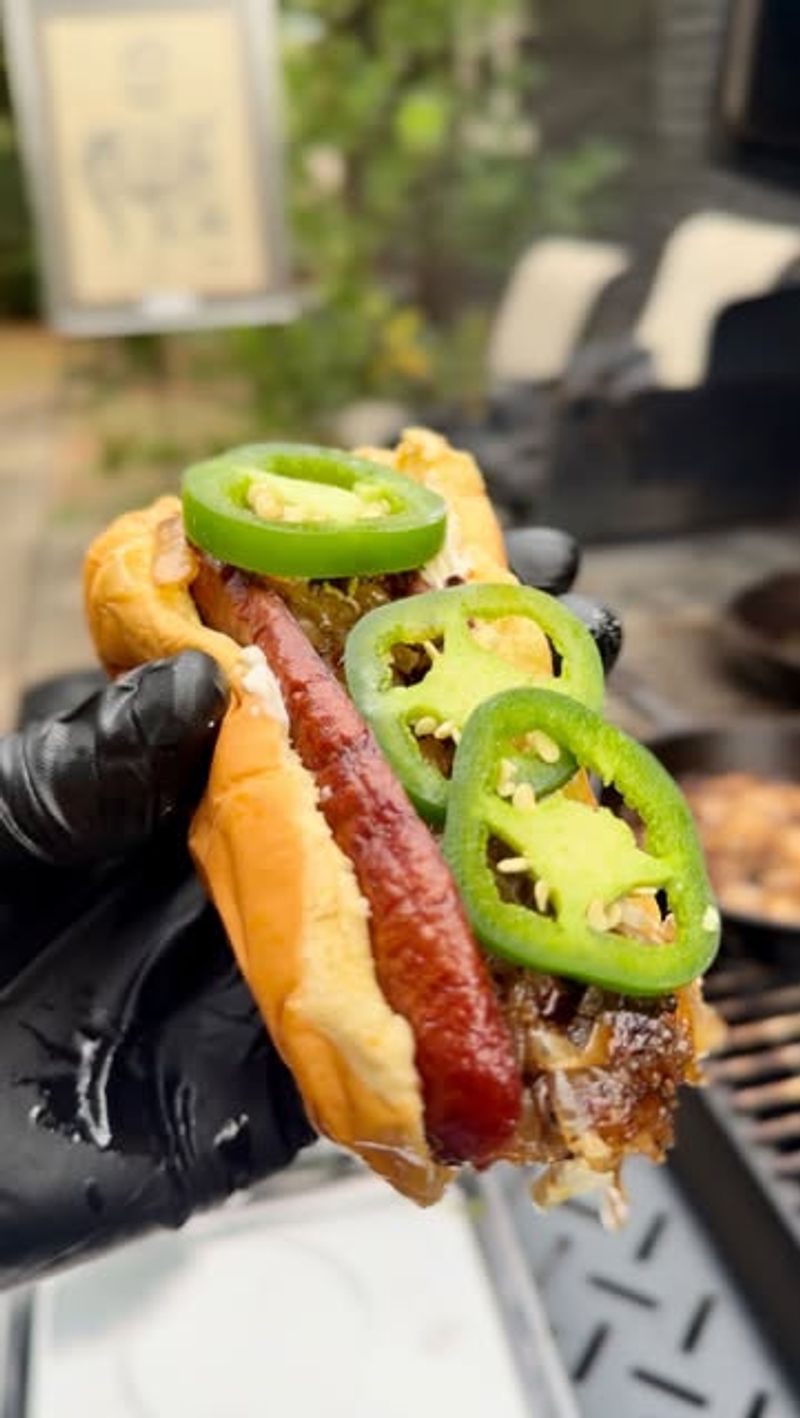
9. Forgetting Texture Contrast
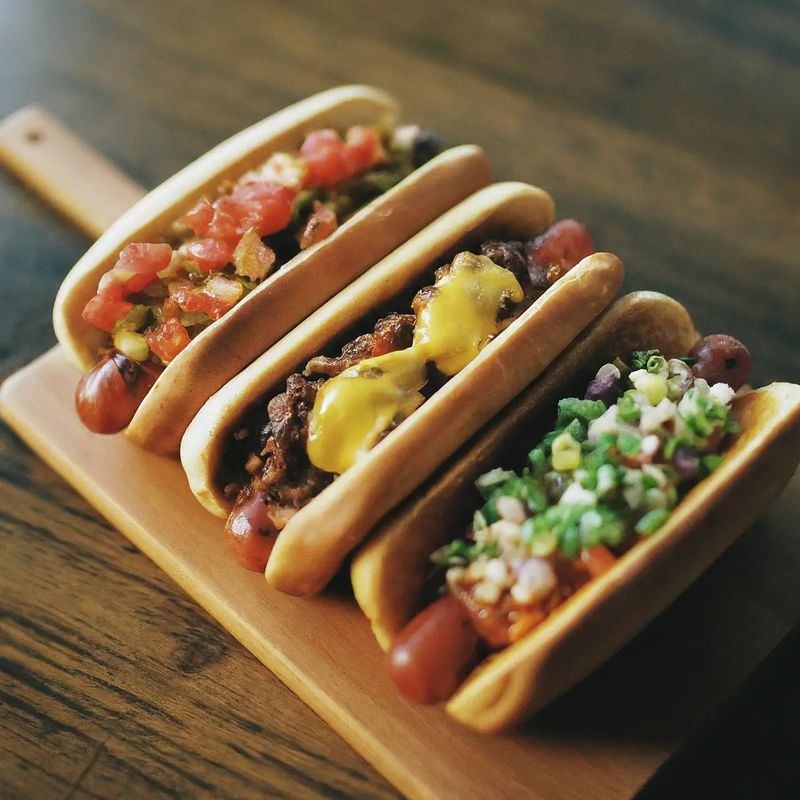
A flawless hot dog needs crunch, snap, creaminess, and acidity. Without contrast, even great sausages taste flat by the third bite. Mix textures thoughtfully: crisped onions or shallots, pickled jalapeños, shredded cabbage, or crushed kettle chips.
Add creamy elements sparingly—thin streaks of mayo or cheese sauce—to cushion heat. Toast buns for outside crunch and inside softness.
Keep crunchy bits near the top to preserve structure. Each bite should be dynamic, not muddy. Think salad engineer, not condiment chaos artist, for balanced, exciting mouthfeel throughout the dog.
10. Using Dirty or Cold Grates
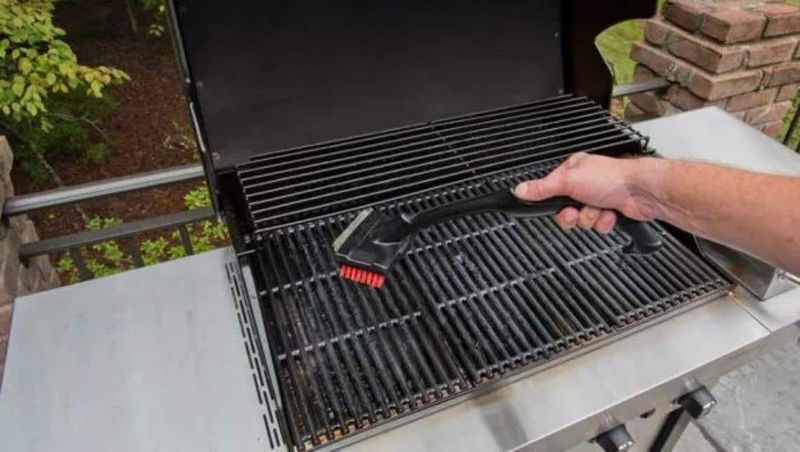
Sticky, cold grates tear casings and sabotage sear marks. Always preheat your grill until the grates are smoking hot, then clean with a brush.
Lightly oil a folded paper towel and swipe the grates with tongs for a nonstick surface. Hot, clean metal compensates for natural casing stickiness and reduces flare-ups.
A proper preheat also stabilizes temperature, so you don’t chase hot spots. Treat your grill like a skillet: temperature first, then food. Your reward is even browning, intact snap, and effortless turning.
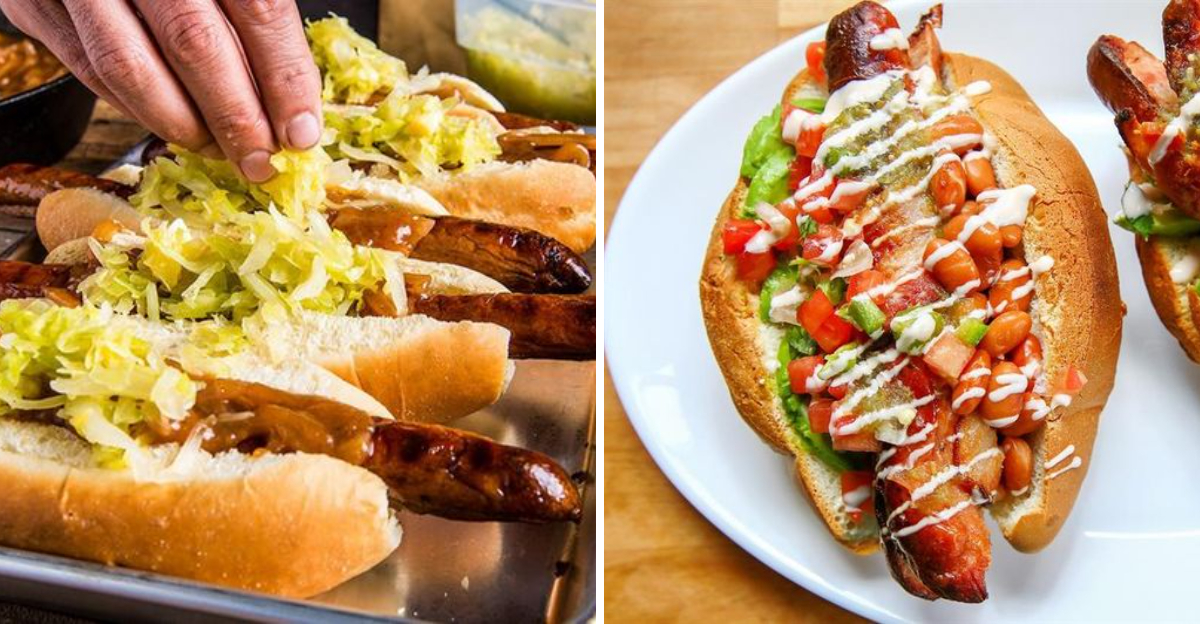
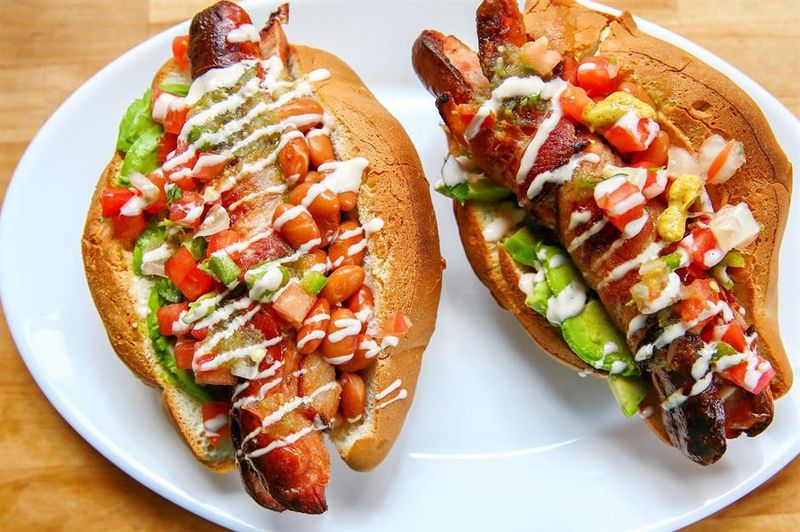
11. Neglecting Regional Styles
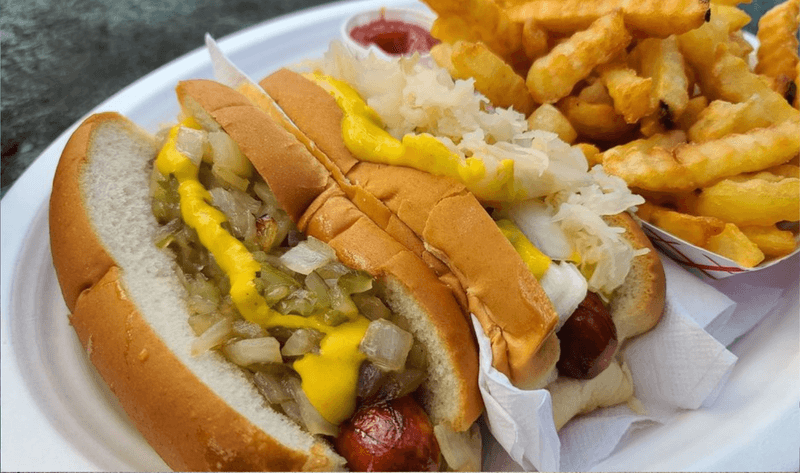
Hot dogs are cultural passports, and ignoring regional styles limits your creativity. Explore Chicago’s garden-loaded classic, Detroit’s Coney with chili and onions, the kraut-and-mustard New York dog, or Seattle’s cream cheese twist.
Learning these frameworks teaches balance and proportion. Build a tasting flight to understand why each combination works. Then remix elements to suit your preferences.
Regional styles offer proven blueprints you can deploy for parties or quick weeknight dinners. Your repertoire expands, and guests get more interesting bites than the usual ketchup-only affair.
12. One-Note Mustard Mistake
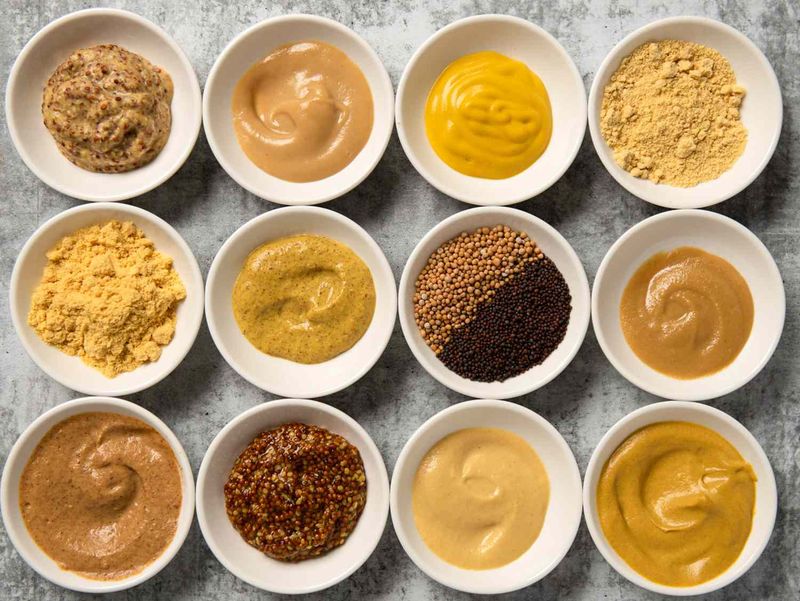
Not all mustards are equal. Yellow brings tangy brightness, Dijon adds heat and complexity, whole-grain offers texture, and spicy brown bridges the gap. Using just one limits your flavor palette.
Keep a small lineup and match mustard to the dog’s profile and toppings. For fatty or cheesy builds, choose sharper mustards; for pickled-heavy combos, go smoother and slightly sweet.
A tiny tasting spoon bar helps guests explore. Mustard is your easiest lever for balance, so treat it like a seasoning, not a default.
13. Skipping Rest Time
Pulling hot dogs and immediately plating seems intuitive, but a brief rest matters. Let them sit for two to three minutes off heat so interior juices redistribute.
This reduces messy bursts when you bite and prevents buns from soaking unevenly. Resting also evens carryover cooking, guarding against overdone edges and raw centers.
Tent loosely with foil if it’s breezy outside. Meanwhile, prep buns and final toppings. Those couple minutes deliver cleaner bites, better texture, and calmer assembly under pressure.
14. Flame-Kissing Without Control

Direct flames can add smoky char, but uncontrolled flare-ups torch casings and turn spices bitter. Build a two-zone fire: one hot side for sear, one cooler side for finish.
Move the dogs as needed to manage flare and fat drips. Keep a spray bottle of water handy, but don’t douse continuously—use the cool zone instead.
A lid traps gentle heat for even cooking. Control equals confidence, and confidence means perfectly blistered, never burnt, sausages every time.
15. Ignoring Diet-Friendly Options
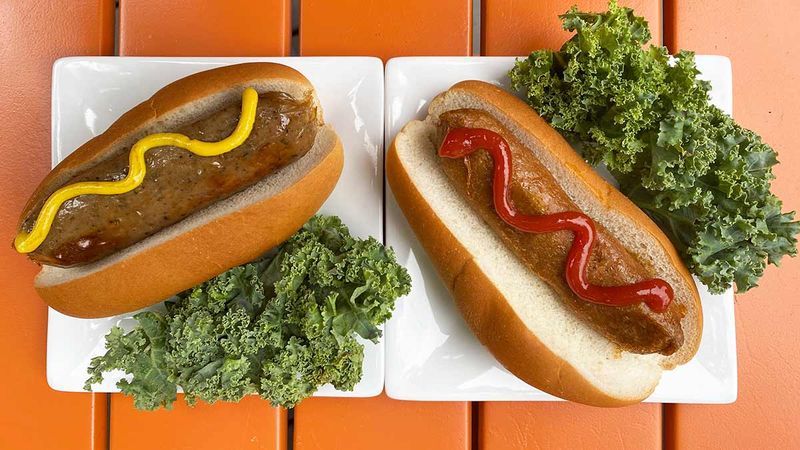
Guests have varied needs, and ignoring alternatives excludes them from the fun. Stock a few quality turkey, chicken, veggie, or plant-based franks with decent snap.
Toast gluten-free buns on a clean section of the grill to avoid cross-contact. Offer dairy-free condiments and clearly label everything.
These small steps invite everyone to the party without compromising craft. Taste-test plant-based options beforehand; some shine with higher heat and quick sears. Inclusivity makes hosting easier and spreads hot dog joy wider.
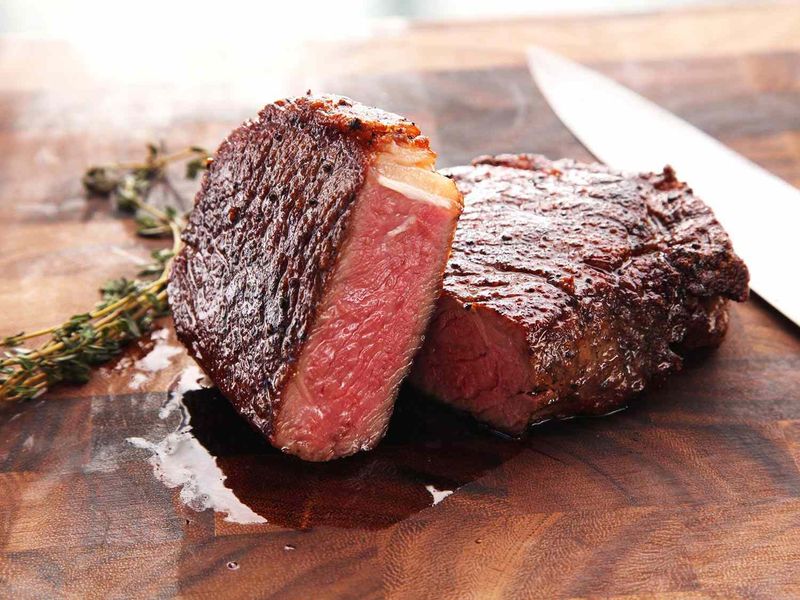
16. The Reverse-Sear Method
Gently bring franks to temperature before finishing with a hard sear for incredible snap and juiciness. Start on the cool side of a two-zone grill or in a 225°F oven until they’re warmed through.
Then blast over high heat or a ripping-hot skillet for 30–60 seconds per side. This sequence minimizes splitting and maximizes browning control.
It’s especially good for thick, natural-casing sausages. Think steak logic, hot dog speed—precision without fuss.
17. The Spiral-Cut Method
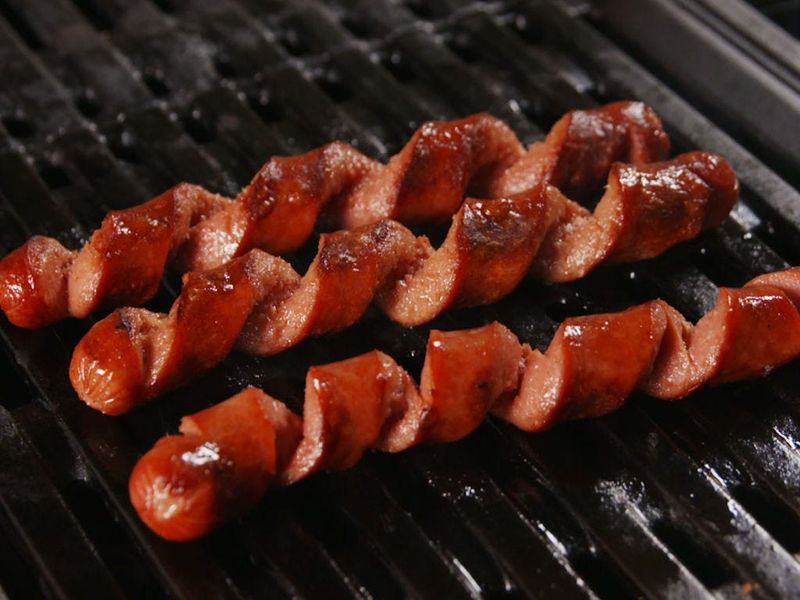
Spiral-cutting creates ridges that crisp up and hold toppings like a screw thread. Skewer the dog lengthwise, angle a knife, and rotate for an even spiral.
The cut expands during cooking, reducing burst risk and increasing sauce-catching surface area. It’s dramatic, fun, and functional. Grill or pan-sear to amplify the crisp edges.
Kids love it; adults notice the better bite and condiment stability. Don’t cut too deep or you’ll lose structure.
18. The Steam-Then-Griddle Method
Steam delivers gentle heat and preserves moisture, while a griddle finishes with golden-brown character. Use a small pan with a splash of water and lid to steam for a minute or two.
Transfer to a buttered griddle and roll until lightly crisped. This method shines for stadium-style texture and soft buns.
Pair with split-top rolls toasted on the same surface for cohesion. Clean, consistent, and fast—perfect for serving a crowd with reliable results.
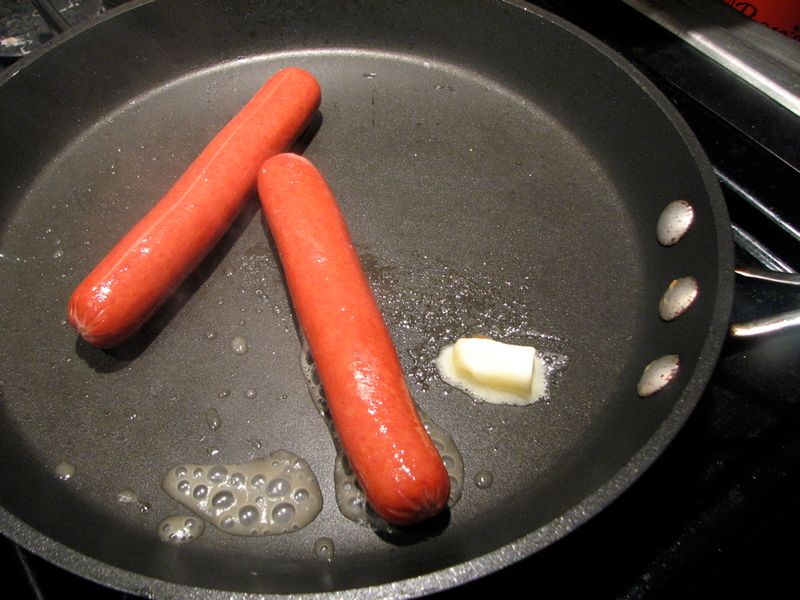
19. The Butter-Baste Finish
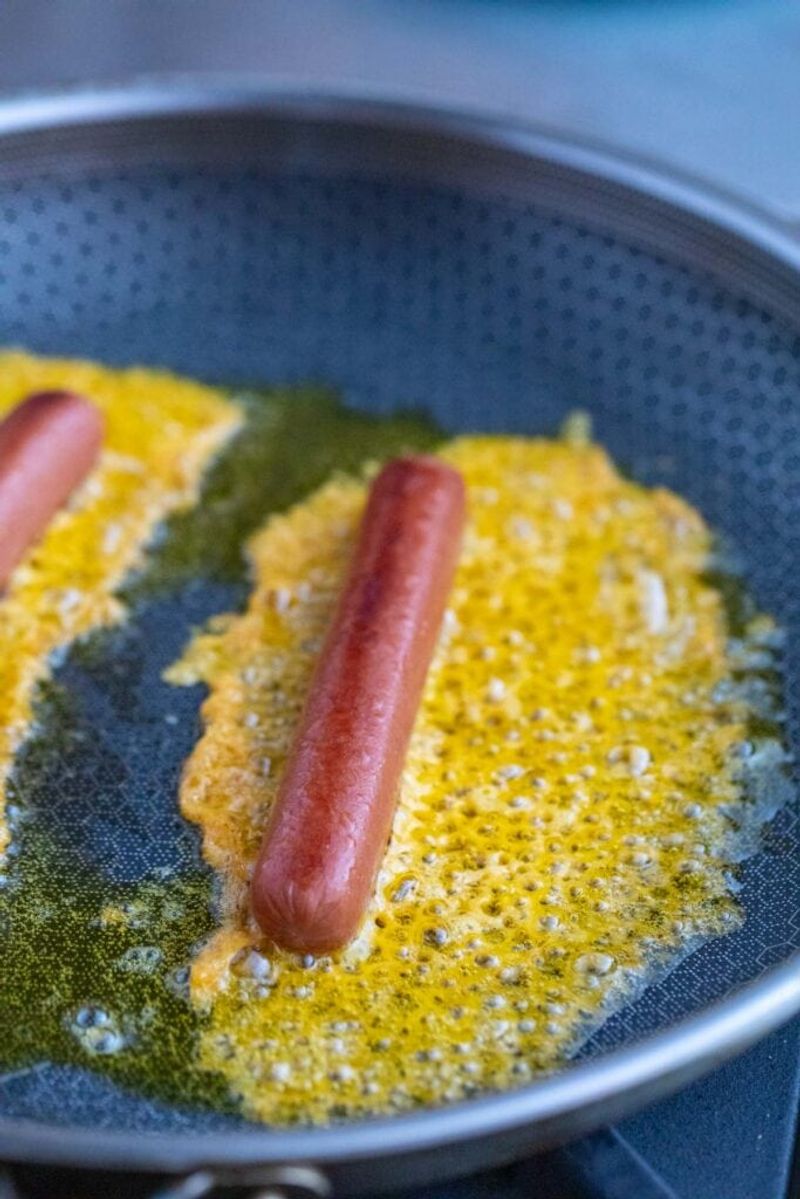
A quick butter baste at the end adds gloss, flavor, and a delicate crust. Melt butter with crushed garlic and a sprig of thyme in a hot pan. Roll the dogs through the foamy butter for 30 seconds. The fat carries aromatic compounds onto the casing and promotes even browning. Finish with a pinch of flaky salt. It’s a chefly flourish that elevates weeknight dogs into company-worthy fare without complexity.
20. The Pickle-Brine Poach
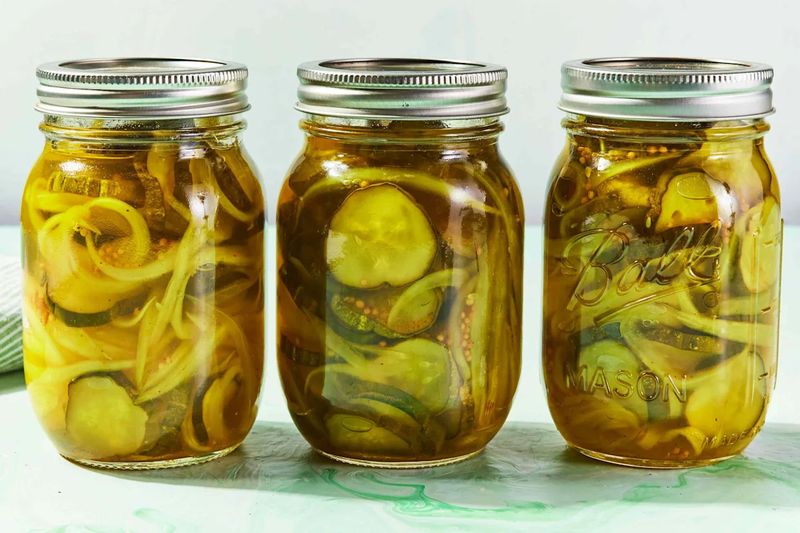
Repurpose leftover pickle brine for a quick poach that injects tang and subtle spice. Warm the brine gently—don’t boil—then soak the franks for a few minutes before searing.
The acidity brightens fatty notes and mirrors classic relish flavors. It’s easy, economical, and surprisingly nuanced.
Test salinity; some brines are intense, so dilute with water as needed. Finish on a hot grill or pan to crisp the exterior and lock in the zippy profile.
21. The Onion-Bed Technique
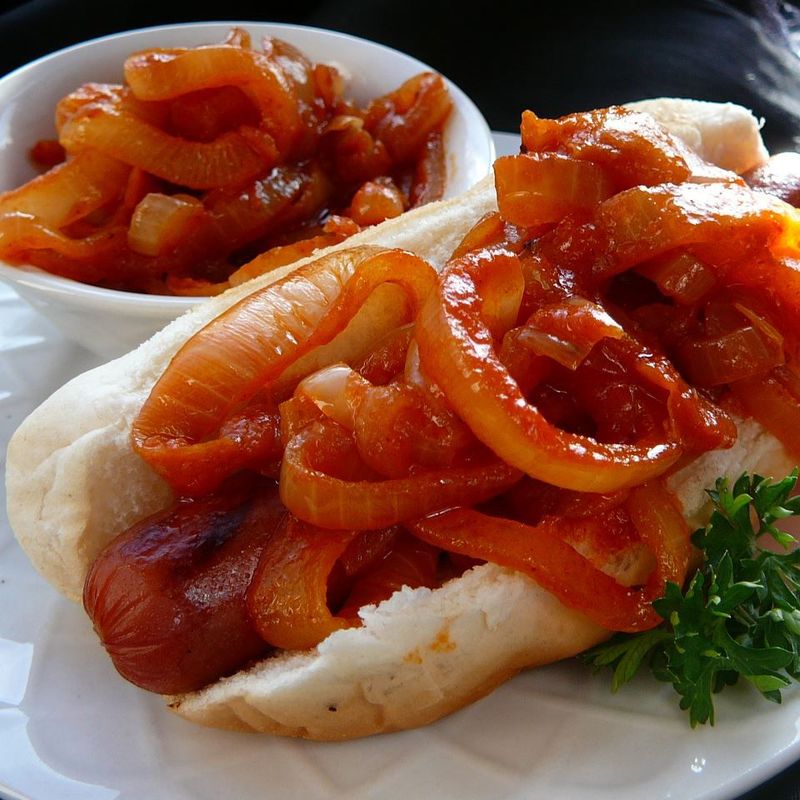
Caramelize a bed of onions on the griddle and nestle the dogs directly on top to finish cooking. The onions baste the franks in sweet, savory steam while the bottoms crisp lightly.
You get built-in topping and a perfumed casing without separate pans. Deglaze with a splash of beer or stock for extra depth.
Scoop onions and dog straight onto the bun for a unified, diner-style experience. It’s convenience and flavor in one move.
22. The Chili-Cheese Structuring Method
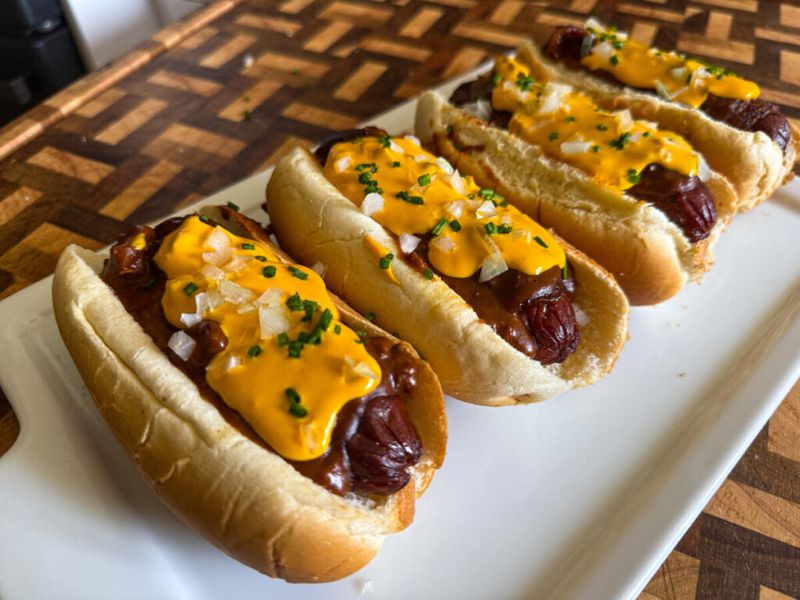
Chili and cheese turn into a mess without structural planning. Toast the bun, apply a thin mustard base, then a modest layer of chili, pressing gently to set.
Add the dog, then spoon a narrow chili stripe and finish with finely shredded cheese that melts on contact. Top with chopped onions or jalapeños for brightness.
The order prevents sogginess and keeps bites tidy. Structure first, abundance second, for maximum flavor and manageable eating.