15 Pie Crust Tips Worth Knowing Before Baking
Great pie starts long before the filling goes in. If you have ever battled tough dough, shrinking edges, or soggy bottoms, these easy fixes will change your baking game.
You will get flakier layers, cleaner slices, and a crust that makes everyone ask for seconds. Ready to upgrade your pies before they even hit the oven?
1. Start colder than you think

Cold fat is your flake insurance. Keep butter or shortening in the fridge until the last second, and chill your mixing bowl if the kitchen runs warm.
If the dough ever feels soft or sticky, pause and slide it back into the fridge for a quick reset. You will be rewarded with crisp, defined layers.
This chill-first mindset prevents smears and keeps butter in pebbly pieces instead of paste. Even a five minute chill can rescue a warming dough.
Think of temperature as a tool you control, not a problem to endure. Cold hands, cold tools, cold dough.
2. Keep the fat in visible pieces
Those little butter nuggets are steam pockets waiting to happen. When they melt in the oven, they leave behind airy layers that read as flake.
Aim for pea to hazelnut size bits rather than a smooth paste. If everything looks uniform, you likely went too far.
Cut in with a pastry blender, two knives, or quick pulse bursts in a food processor. Stop while the mixture is shaggy with visible pieces.
You want contrast, not creaminess. When you roll later, those distinct butter pockets will smear just enough to laminate the dough naturally.
3. Use ice water, not cool water
Warm water melts fat fast, and melted fat robs you of flake. Keep a cup of ice water nearby and add it a tablespoon at a time until the dough barely holds when squeezed.
You want moist crumbs that clump, not a sticky batter. Patience beats puddles here.
Sprinkle, toss, and test rather than pouring freely. The goal is minimal hydration for maximum tenderness.
Different flours drink different amounts, so trust feel over a fixed number. When the dough just binds without smearing, you nailed it.
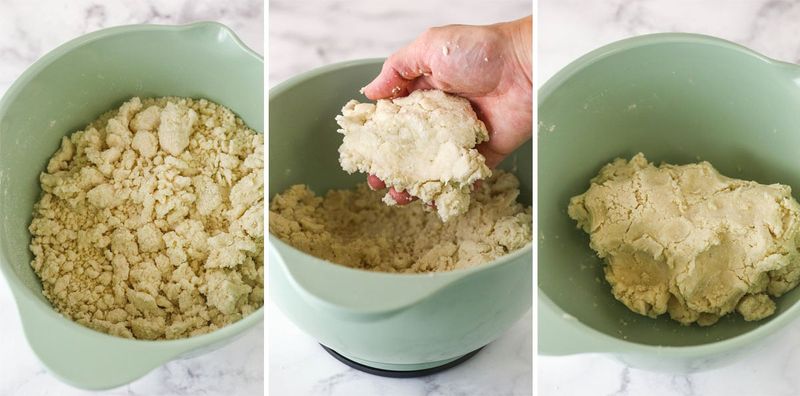
4. Stop mixing earlier than you want to
Overmixing is the fast lane to tough crust. As soon as the dough clumps when pressed, stop.
It should still look a little messy with dry streaks and visible butter. You will finish the job during the gentle press and fold on the counter.
Gluten develops with water and agitation, so limit both. Think gather, not knead.
A few rough turns are enough to unite the dough. Imperfect now means perfect later.
Your reward is tenderness that shatters rather than chews.
5. Rest the dough before rolling
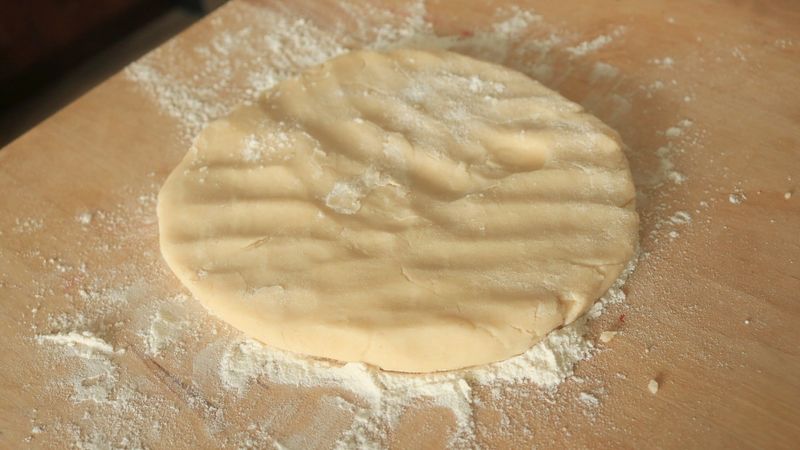
A brief rest lets flour hydrate and gluten relax, making rolling smoother and shrinkage less likely. Even 30 minutes helps; longer is fine.
During this time, the butter firms back up so it resists smearing. The dough becomes pliable but stays cool.
If time allows, chill one to two hours for maximum ease. Press the dough into a flat disk before chilling so it rolls evenly later.
When you pull it out, give it a minute or two at room temperature so it does not crack. You will feel the difference immediately.
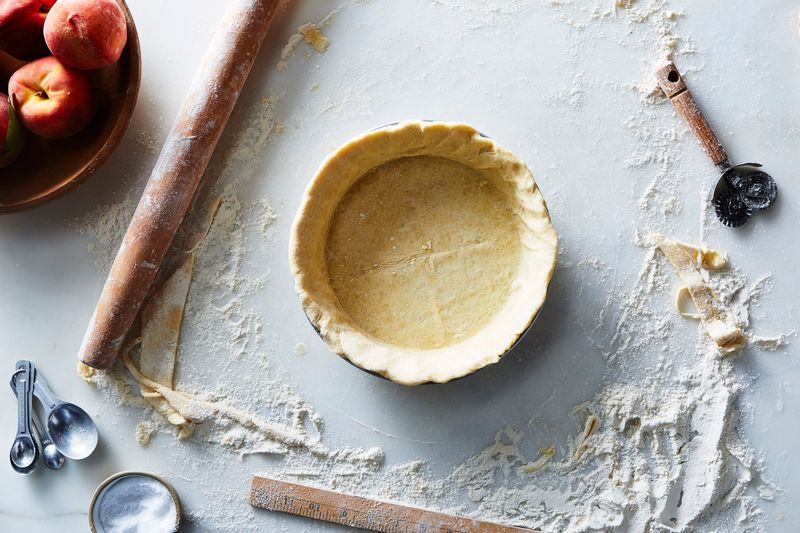
6. Roll on a lightly floured surface

Too much flour dries dough and dulls flavor. Dust lightly, just enough to prevent sticking, and keep a pastry brush handy to flick off excess.
If things start to glue down, lift and add a whisper of flour rather than a dump. Control beats panic here.
Flour the pin lightly too, or use a sleeve. Rotate the dough often to monitor sticking.
Clean surfaces lead to clean layers. You are aiming for just slippery enough to move freely without loading the dough with raw flour.
7. Rotate the dough as you roll
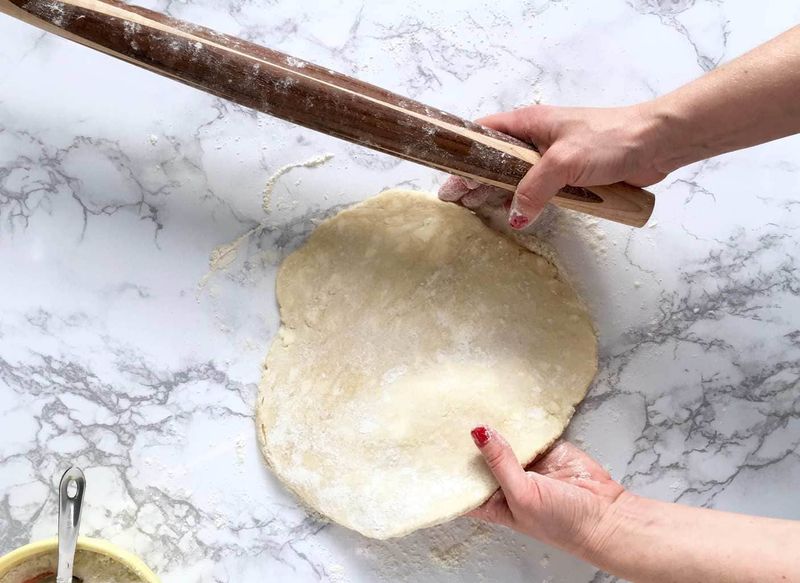
Quarter-turns are your secret geometry. Turn the dough every couple of passes to maintain a round shape and check for sticking.
This habit reduces the need for heavy flouring and keeps thickness even. Your pie will fit the dish without weird thin edges.
Lift the dough with a bench scraper if needed, then dust sparingly under stubborn spots. Roll from the center outward, easing pressure near the edges.
The ritual rhythm prevents rips and flat spots. Little turns now save big trims later.
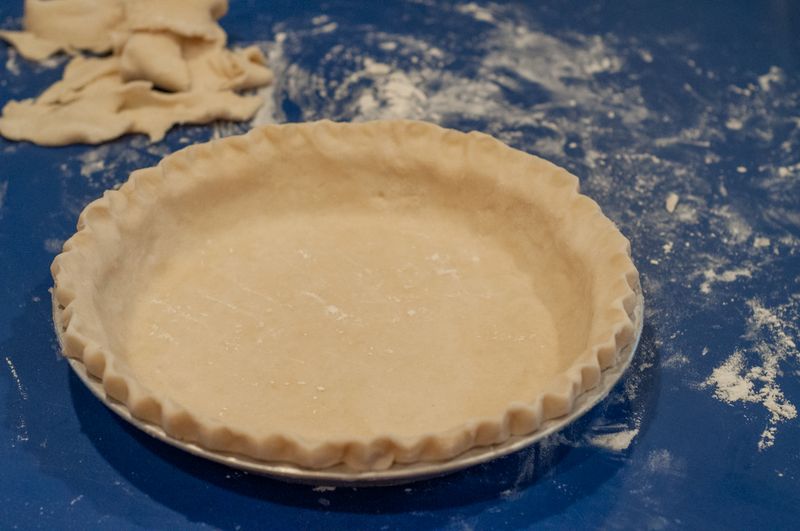
8. Do not stretch the dough into the pan
Stretching dough feels efficient, but it backfires in the oven with dramatic shrinkage. Instead, lift the sheet of dough and gently ease it down so it relaxes into the corners.
Let gravity help. The dough should sit naturally without tension.
Once settled, trim with a small overhang to account for slight pullback. Tuck and crimp without yanking.
If it resists, chill a few minutes and try again. A relaxed crust bakes to the shape you want, not the shape stress demands.
9. Chill the shaped crust before baking
Once the dough is in the dish and crimped, give it another chill. This firms the fat and helps the fluted edges hold their pattern in the oven.
Even 20 minutes makes a visible difference. Cold structure bakes into crisp definition.
Set the pie plate on a cold sheet pan for easier transfer. If your kitchen runs warm, pop it into the freezer for 10 minutes instead.
You want firm, not frozen solid. Cold edges mean clean edges after heat hits.
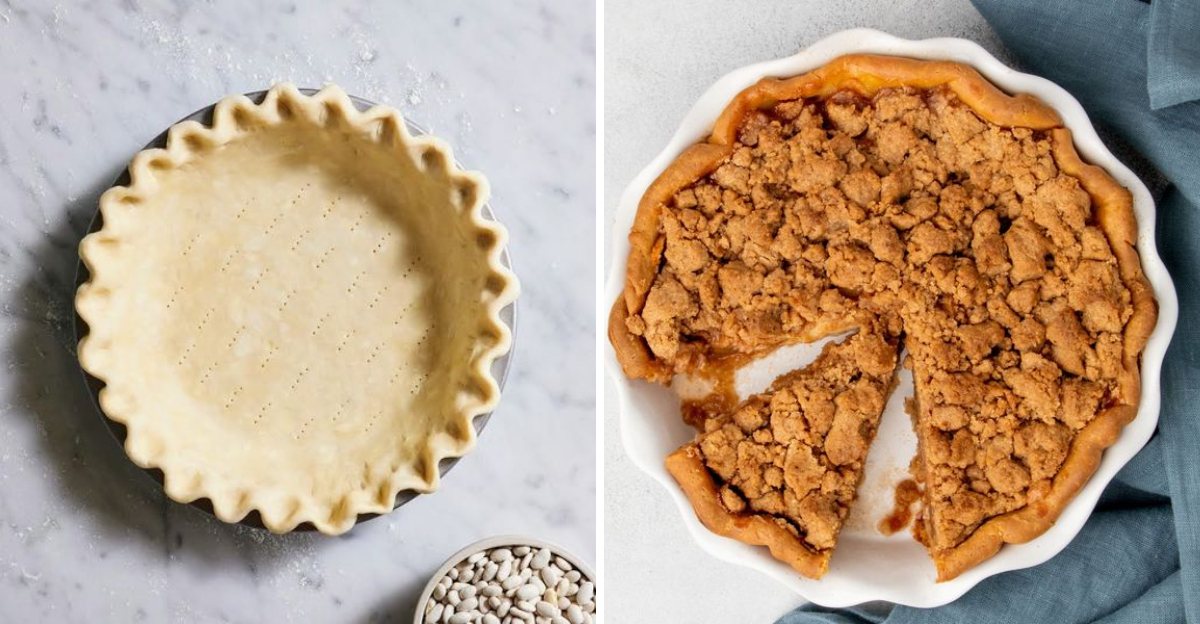
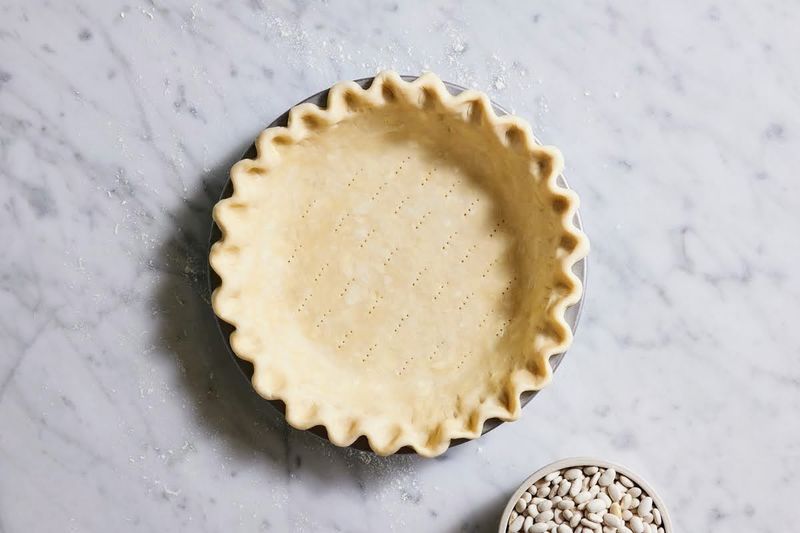
10. Dock the crust for blind baking
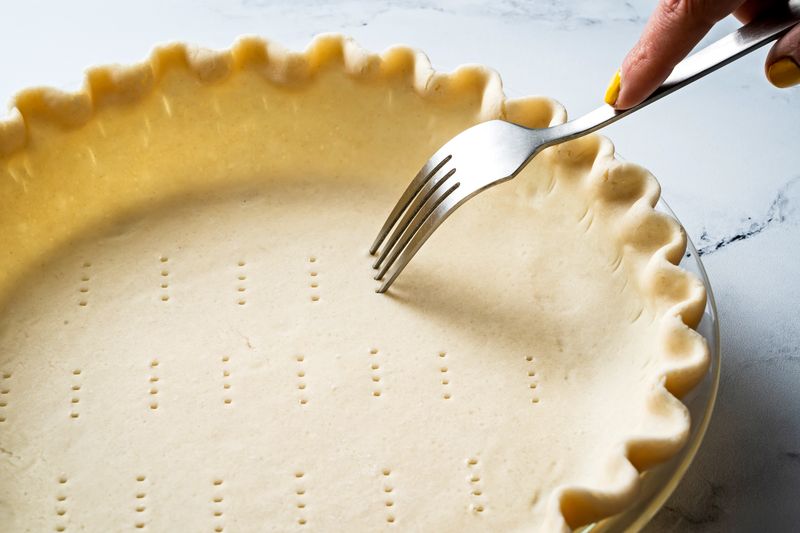
When baking a crust without filling, pricking the base with a fork creates vents for steam. Those escape routes limit bubbles and warping.
Keep holes shallow and even across the bottom and lower sides. You are building a flat foundation for clean layers later.
Dock after chilling and before lining with parchment. Do not overdo it near the rim where leakage can happen.
The goal is pressure relief, not perforation. Combined with weights, docking keeps the shell level and crisp.
11. Use pie weights or dry beans or rice
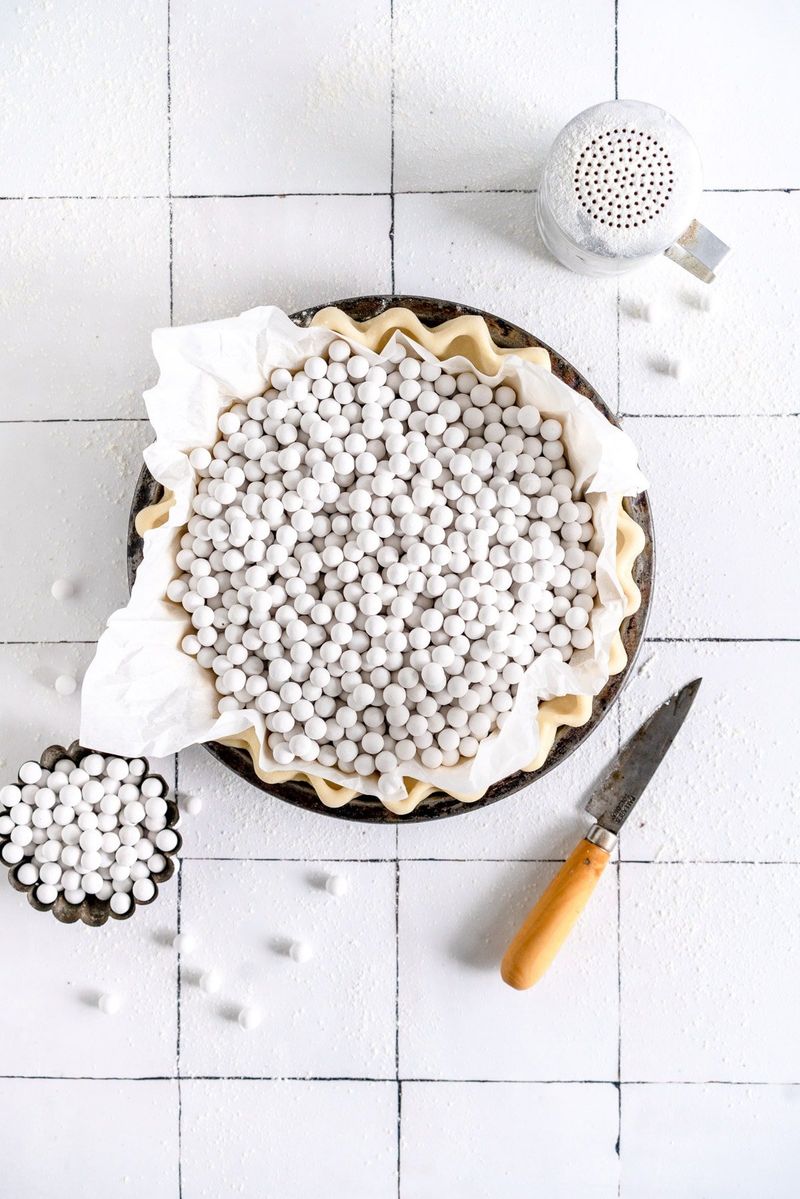
Weights stop the bottom from puffing and the sides from sliding. Line the chilled shell with parchment or foil so you can lift everything out cleanly.
Fill to the brim with weights, beans, or rice for the best support. Right to the top matters.
Bake until the edges set, then remove the liner and weights to finish. Save beans or rice in a labeled jar for future bakes.
The small investment pays off with flat, sturdy crusts that do not collapse under filling.
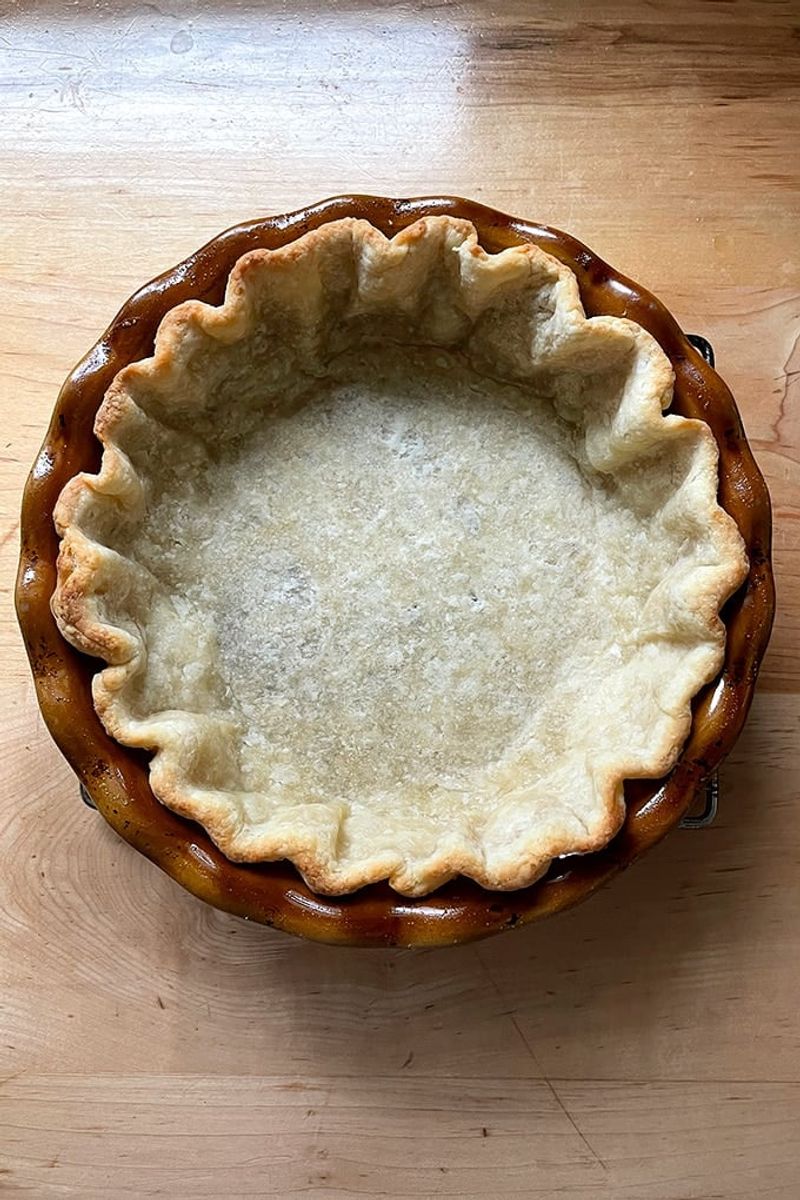
12. Bake longer than you think for blind baking
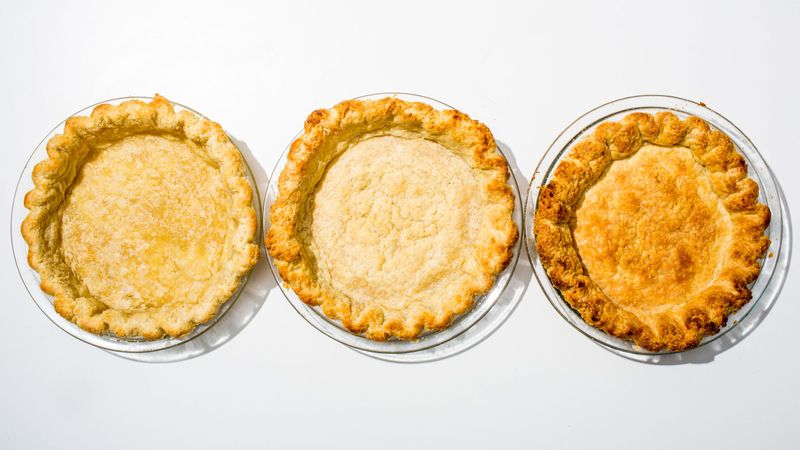
Pale crusts turn soggy once filled. Push color further than feels safe during blind baking.
Look for light golden edges and a dry, matte bottom before calling it. You want structure and flavor, not just heat exposure.
After removing weights, bake again until the base loses any translucence. Trust your eyes over the clock, since ovens vary.
If a recipe gives ranges, aim for the upper end. Deepen the hue and you deepen the taste.
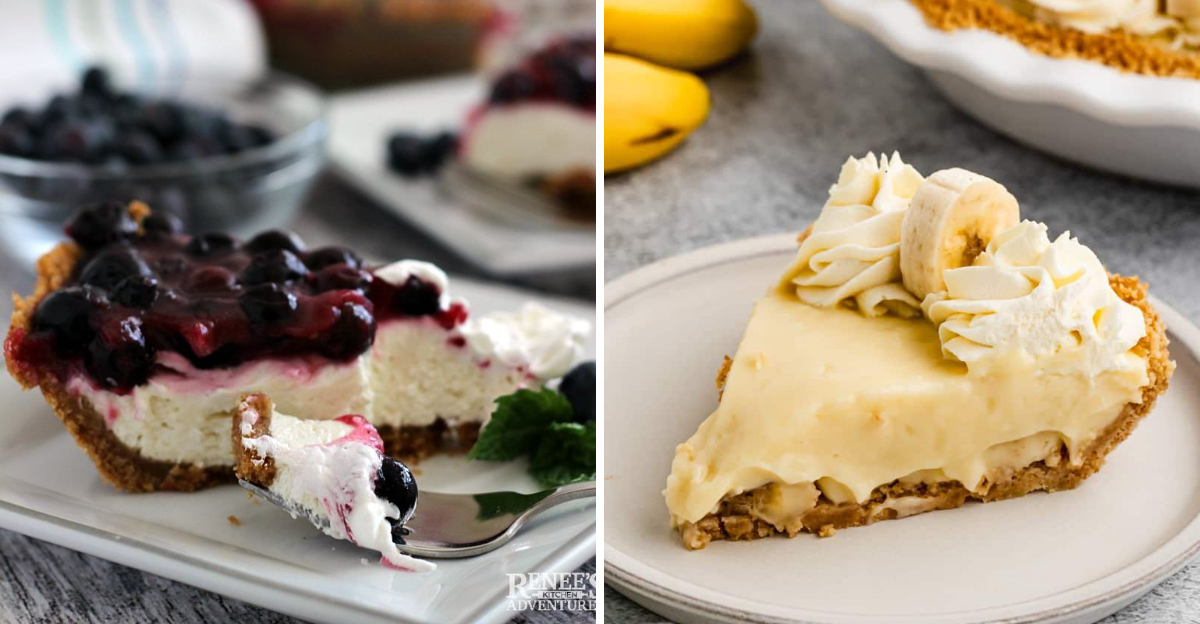
13. Seal the crust for wet fillings
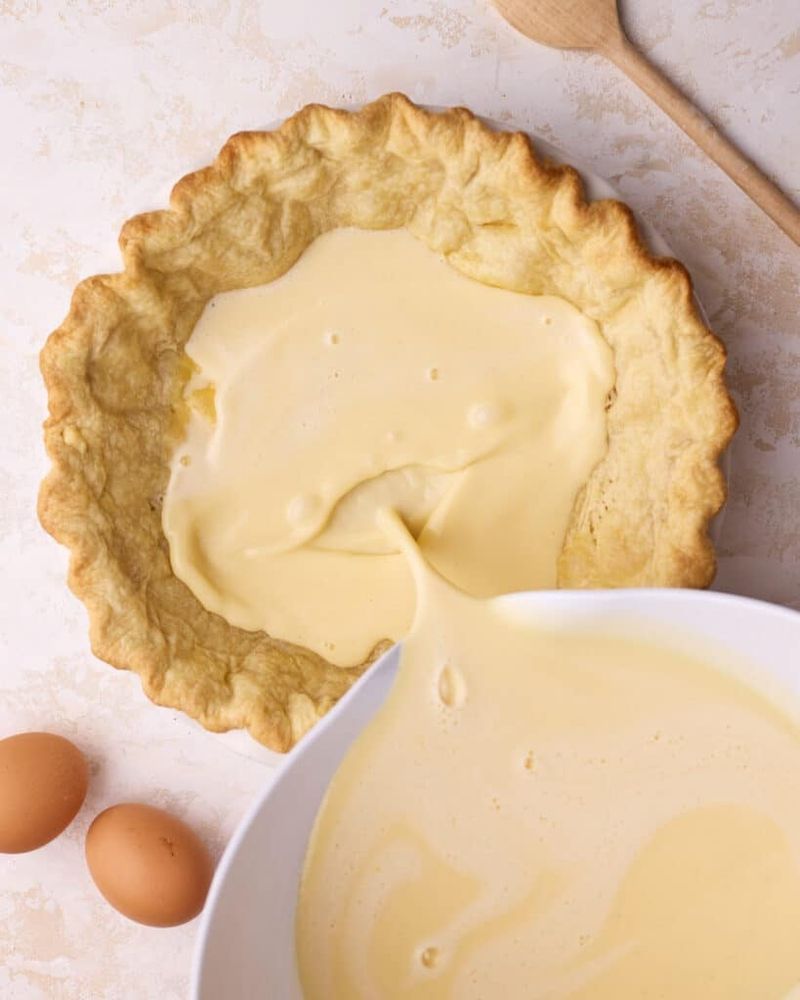
Wet fillings challenge crisp bottoms. Brush the crust with egg white or whole egg and give it a brief bake to set a thin barrier.
This glaze repels moisture and keeps flakes intact longer. Chocolate or melted cocoa butter also works for certain pies.
Apply after blind baking when the crust is still warm. Let it set until shiny and dry before filling.
The extra minute now prevents mush later. You will taste the difference slice after slice.
14. Protect the edges from burning
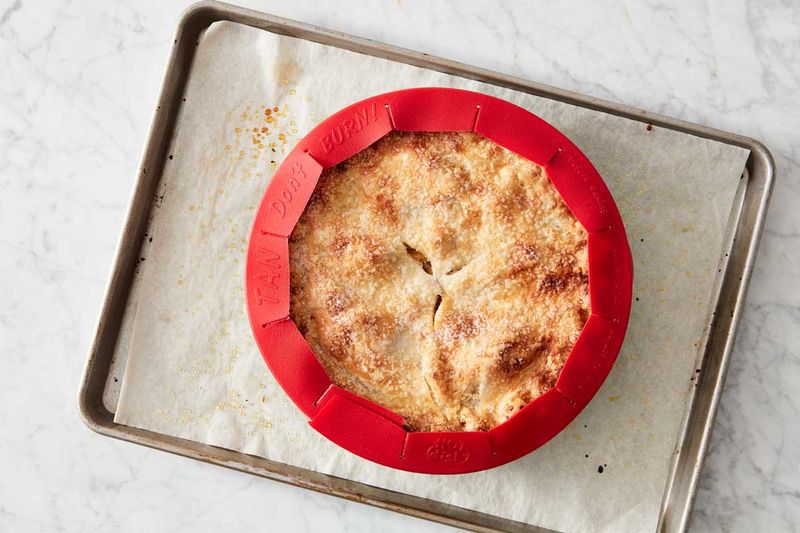
Edges brown faster than the base, so give them armor. Cover the rim with a pie shield or strips of foil once the color looks right.
Keep baking until the center catches up. This simple move prevents bitter, overdone edges.
If starting with a long bake, you can shield from the beginning and remove late. Watch color, not just time.
Rotate the pie for even heat if your oven has hot spots. Protected edges mean the whole crust finishes beautifully.
15. Use the right bakeware and placement
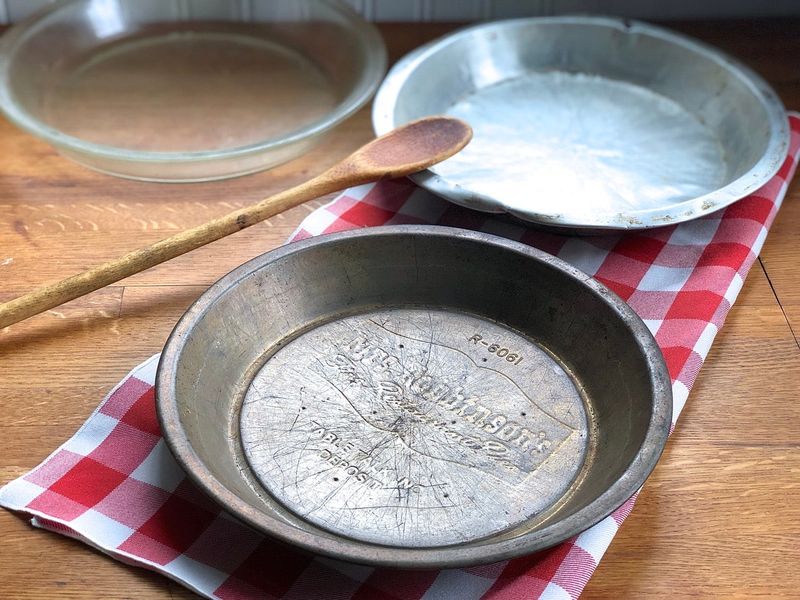
Dark metal conducts heat fastest for crisp bottoms, while glass helps you see doneness. If soggy bottoms haunt you, try metal on a preheated baking steel or sheet.
The added heat kick sets the base quickly. Clear dishes still help you monitor color.
Rack placement matters too. Lower third boosts bottom browning.
Start there unless a recipe says otherwise. Combine the right pan with smart placement and you will get sturdy, flavorful crust every time.
16. Let the pie cool fully before slicing
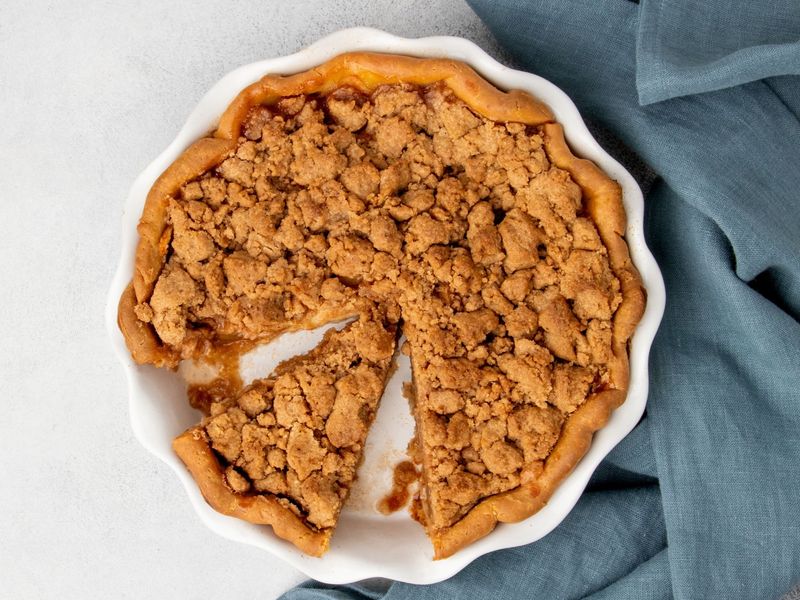
Hot fillings are fluid and will run, soaking your hard-won crust. Cooling lets starches set and juices gel.
It feels like waiting forever, but the payoff is tidy slices and crisp bottoms. Your patience preserves the work you already did.
Set the pie on a rack so air reaches the bottom. For custards, cool to room temp, then chill until set.
Use a sharp, clean knife for the first cut. When you finally slice, everything stands tall and proud.