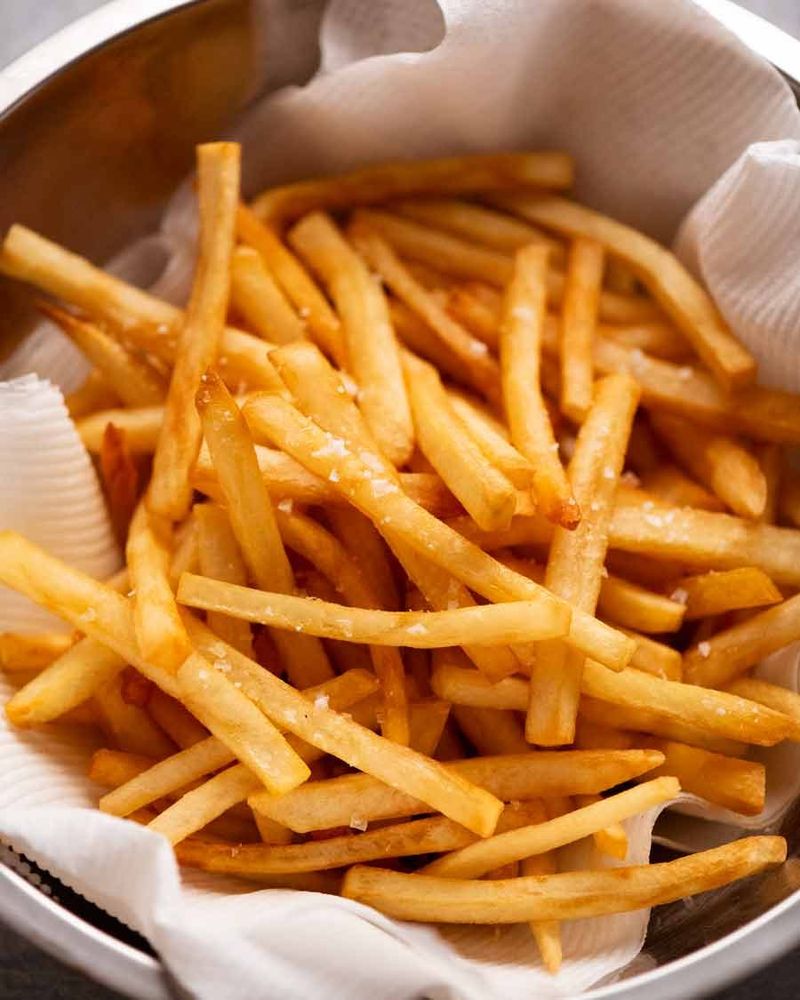
20 Common Mistakes To Avoid When Cooking Frozen French Fries
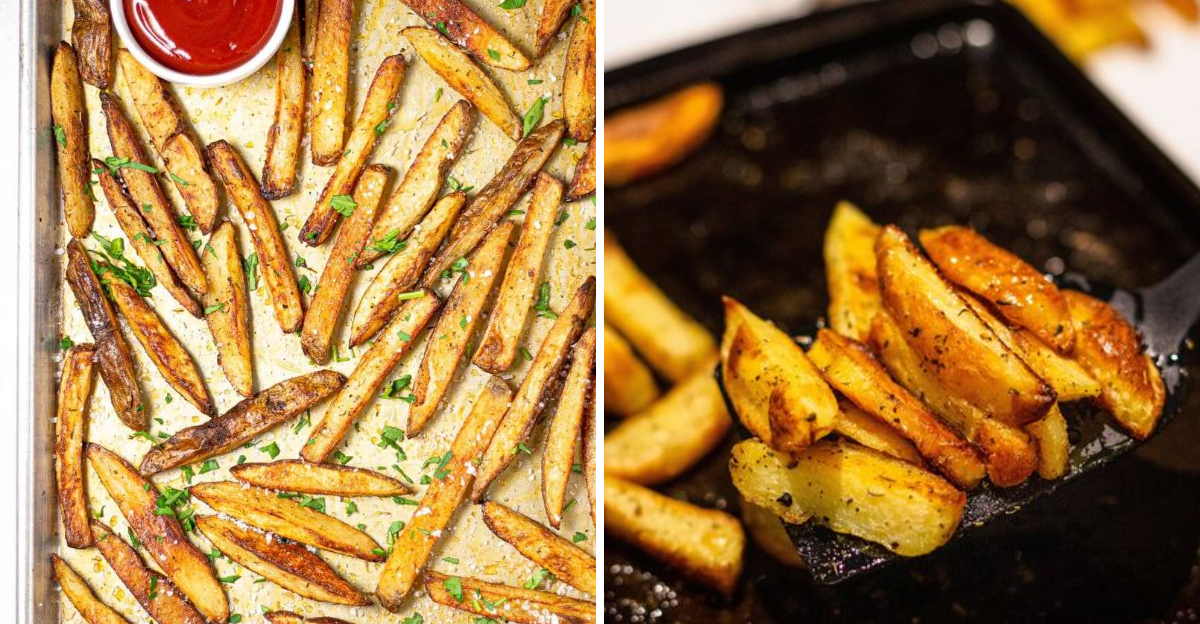
Frozen fries can taste incredible, but small mistakes quickly make them soggy, pale, or bland. If you have ever pulled a limp tray from the oven or fryer, you are not alone. The good news is each issue has a simple fix, and you can master them tonight. Follow these tips so every batch turns out hot, crispy, and wildly satisfying.
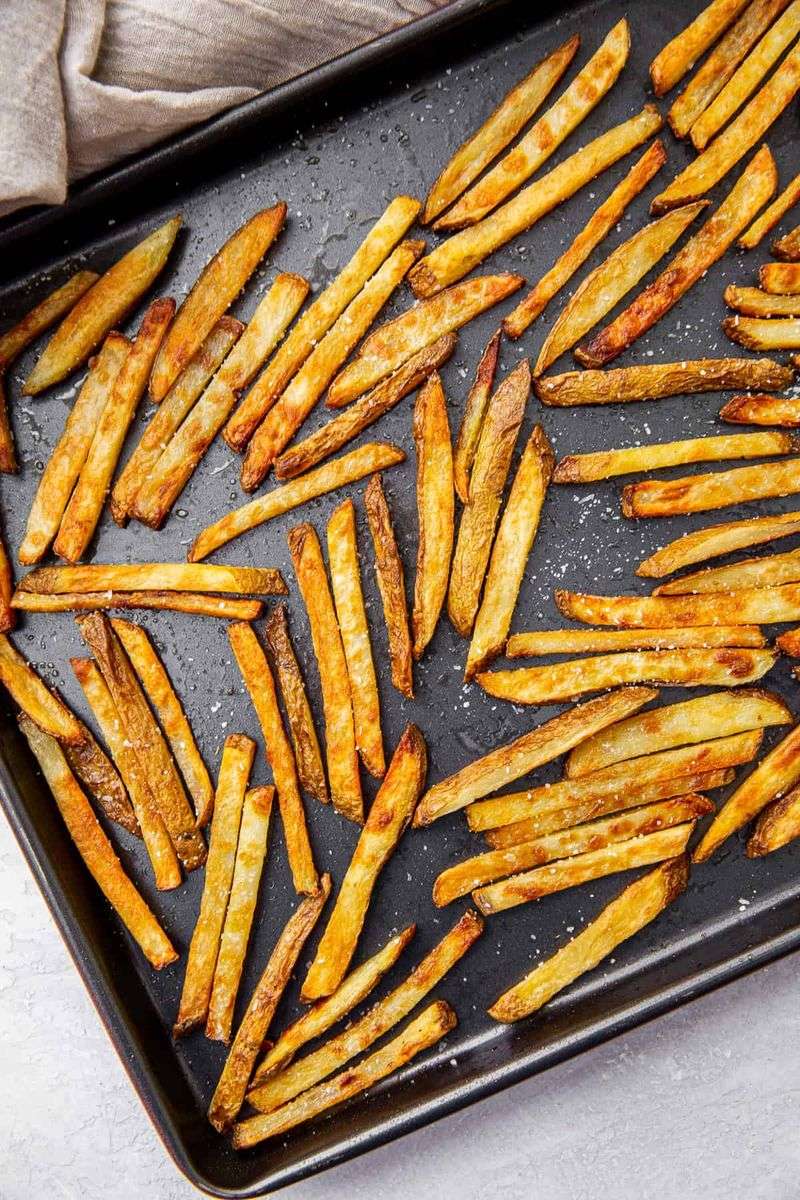
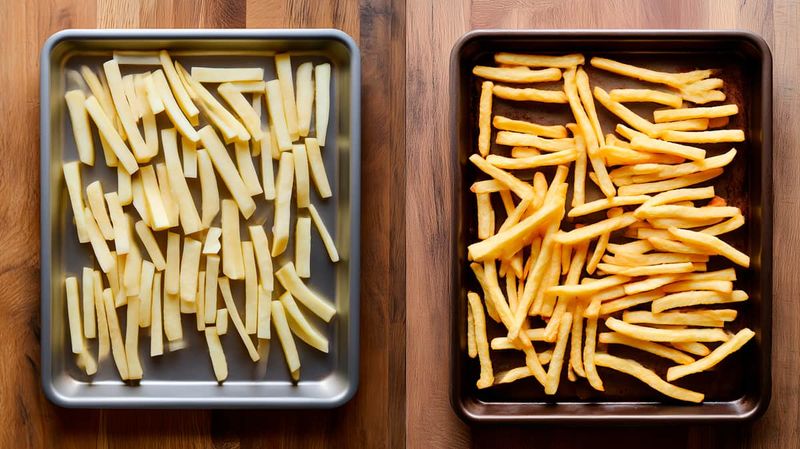
1. Crowding the pan
When fries are packed shoulder to shoulder, steam gets trapped and ruins crispness. You end up baking a sauna, not a fry zone, and everything turns soft. Give them breathing room so hot air circulates and moisture escapes.
Use two pans if needed and rotate halfway for even color. Space each fry about a finger apart for best results. This one shift delivers golden edges, fluffy centers, and consistent browning from corner to corner.
2. Not preheating the oven
Skipping preheat means fries steam before the metal gets roaring hot. That initial blast of heat is crucial for fast crust formation. Without it, the exterior softens while the inside warms slowly.
Always wait until the oven hits your target temperature, then give the pan a few extra minutes to heat too. Hot metal sears on contact. Your fries will sizzle immediately, setting a crisp shell that locks in fluffy interiors.
3. Using a cold pan
A cold pan sabotages crisping right from the start. Fries sit and thaw against cool metal, releasing moisture that pools beneath them. The result is patchy browning and soggy bottoms.
Instead, preheat the empty sheet for five minutes, then carefully add fries. The instant sizzle signals the pan is ready. That quick shock drives off surface moisture and creates a firm crust, leading to crunchy, well browned sides.
4. Baking at too low a temperature
Low heat dries fries slowly and lets steam sit on the surface. You get pale color, leathery texture, and uneven browning. Most frozen fries thrive at 425 to 475 degrees for fast, focused crisping.
Check package guidance, then aim toward the higher end for thicker cuts. Hotter ovens produce rapid evaporation and better crunch. Keep an eye on edges for golden brown rather than deep brown to avoid bitterness.
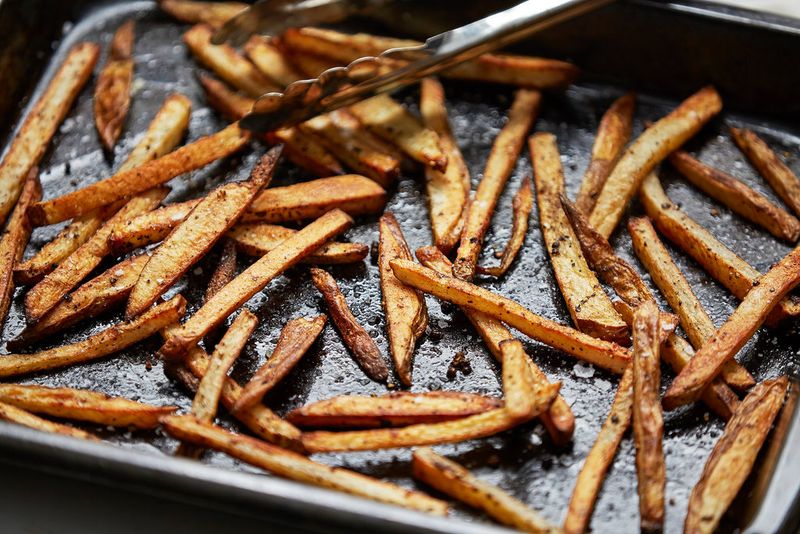
5. Skipping the shake or flip
Fries need movement to brown evenly. If you never flip, the underside can stay pale while the top overcooks. A quick shake halfway exposes new surfaces to hot air.
Set a timer for the midpoint and toss confidently. Use a spatula for thicker wedges. That small ritual prevents sticking, releases steam pockets, and evens color for a consistent crunch from tip to tip.
6. Ignoring package directions
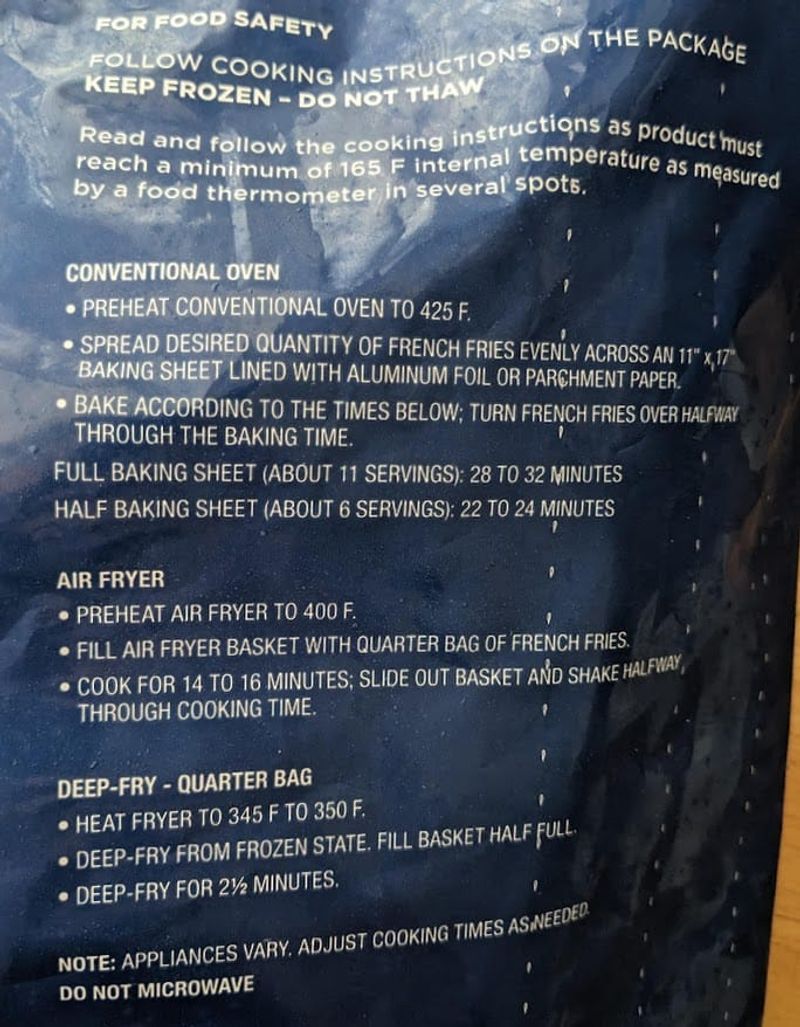
Brands design coatings, cuts, and par-cooking levels differently. Package directions are tested to work with that specific fry. Ignoring them can mean wrong temperatures, times, or oil amounts.
Start with the printed method, then tweak to your equipment. If you deviate, change one variable at a time and note results. That way you build a reliable playbook for crisp, repeatable fries in your kitchen.
7. Not drying surface frost
Ice crystals turn to water that fights browning and encourages sogginess. A quick blot removes surface frost so heat can work properly. You are not thawing, just removing obvious moisture.
Pour fries into a bowl, blot with paper towels, and move fast to keep them cold. Then cook immediately on a hot pan. Expect a crisper shell and less sticking where water would have pooled.
8. Overusing oil
Too much oil drowns fries, causing greasy surfaces and limp texture. Coatings on many frozen fries already contain oil for browning. Extra glugs can sabotage crunch.
If you add oil, use a light spray or a teaspoon per tray, tossed evenly. Thin, even coverage promotes blistering and color without sogginess. You get that shattering bite without oily fingers.
9. Using the wrong rack position
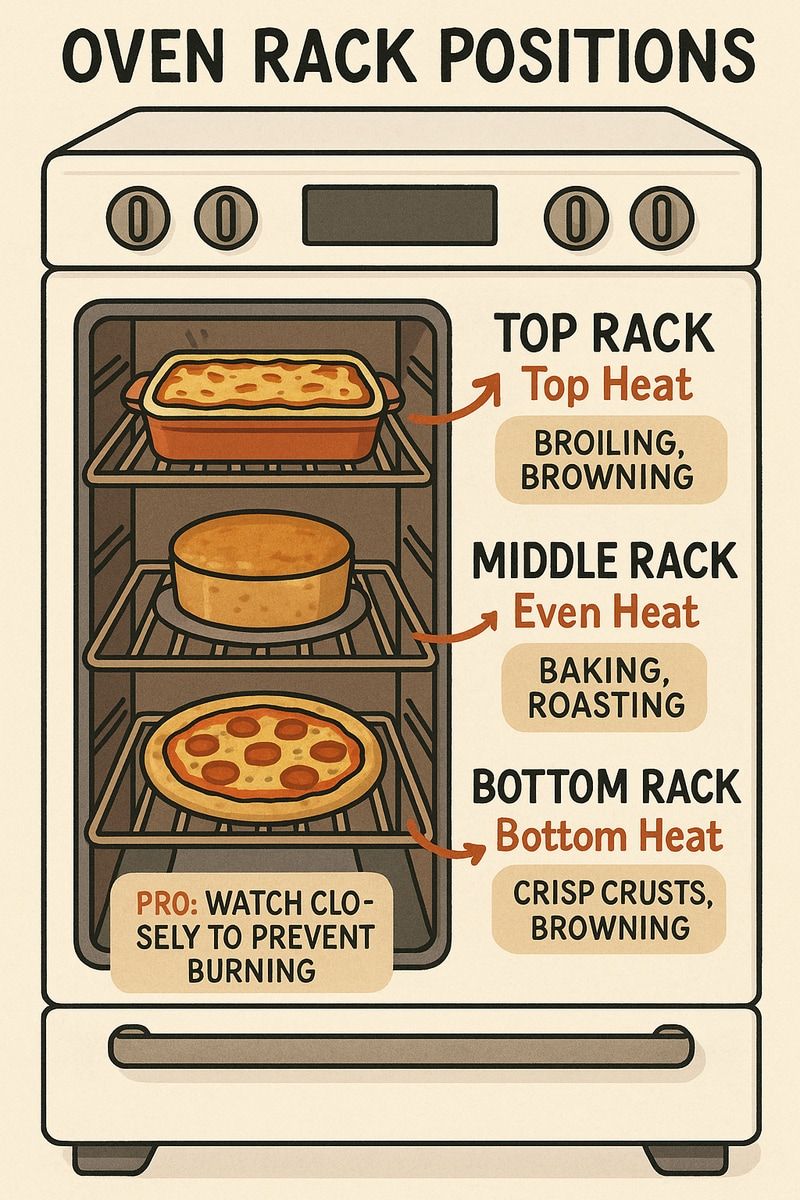
Rack placement changes heat exposure and airflow. Too low can lead to weak convection and stalled browning. Too high risks scorched tips before the centers heat.
Place fries on the upper middle rack for strong, even heat. If your oven runs hot, use the middle rack. Keep the pan centered so hot air flows freely around every fry.
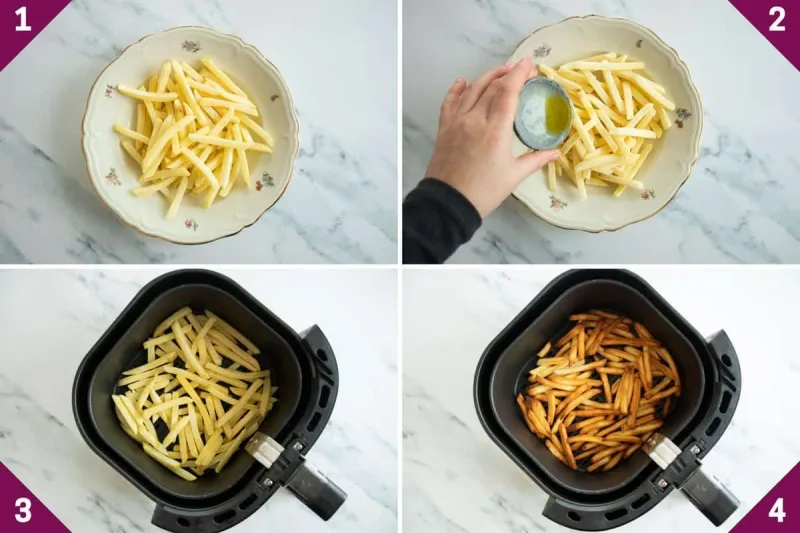
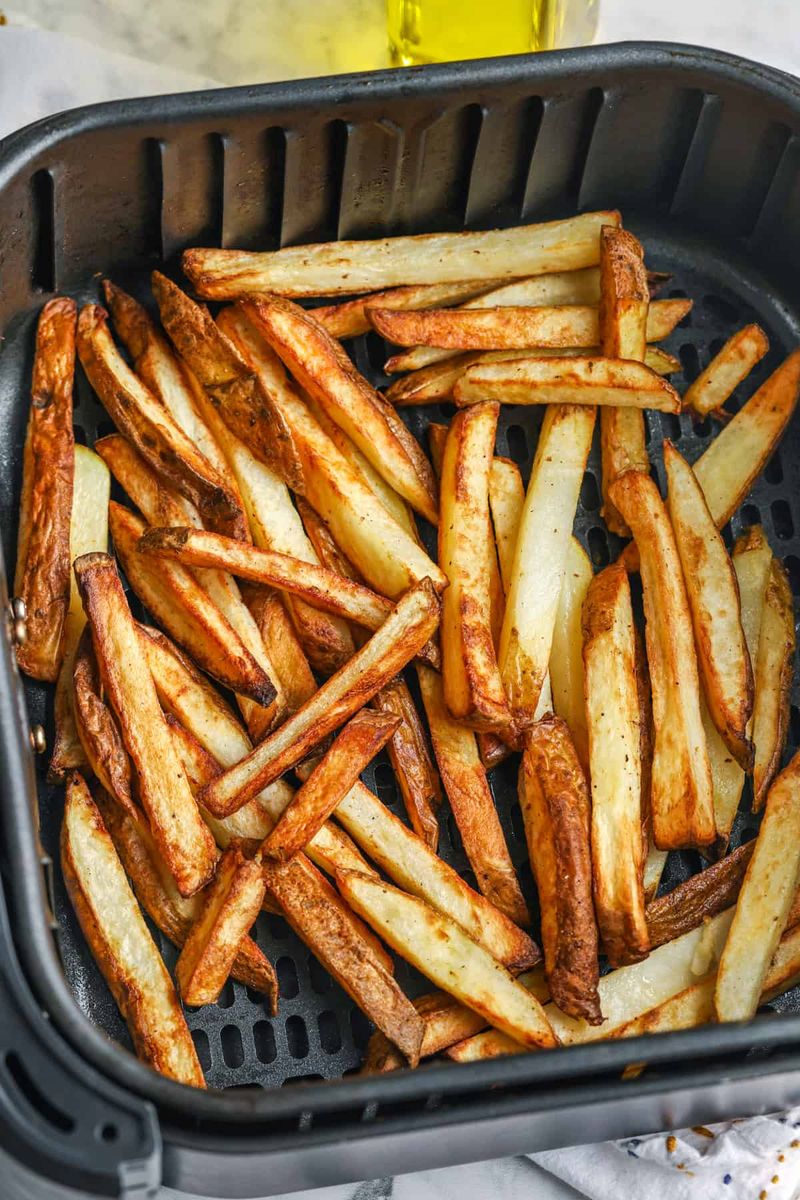
10. Forgetting convection or air fryer mode
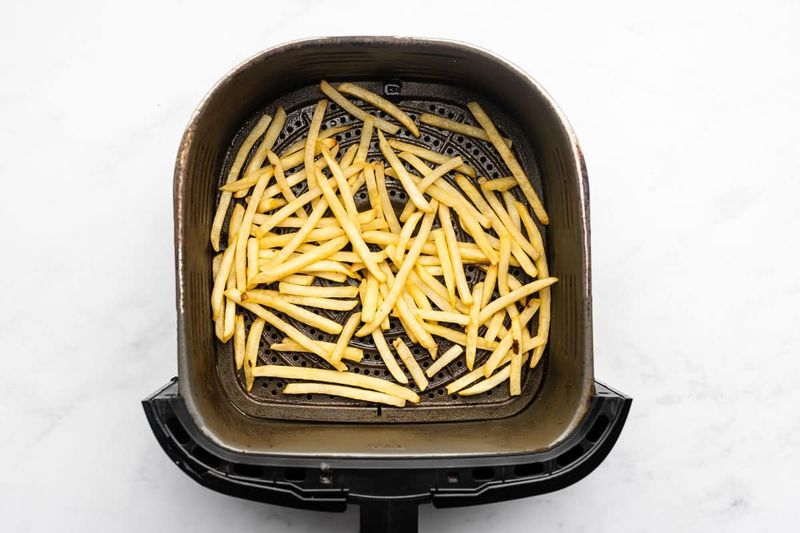
Fans move hot air, and moving air equals crunch. If your oven has convection or an air fryer setting, use it. The circulation speeds evaporation and locks in a crisp exterior.
Reduce temperature by about 25 degrees compared to regular bake and check early. In an air fryer, spread fries in a single layer. Shake the basket halfway for perfect, even results.
11. Seasoning too early
Salt draws moisture to the surface, which can inhibit browning and make fries steam. Seasoning too early can also cause clumps that slide off. Wait until the fries are hot and crisp.
Season immediately after cooking while the surface oil is still tacky. Toss quickly in a bowl for even coverage. You will taste brighter seasoning without sacrificing texture.
12. Using flimsy pans
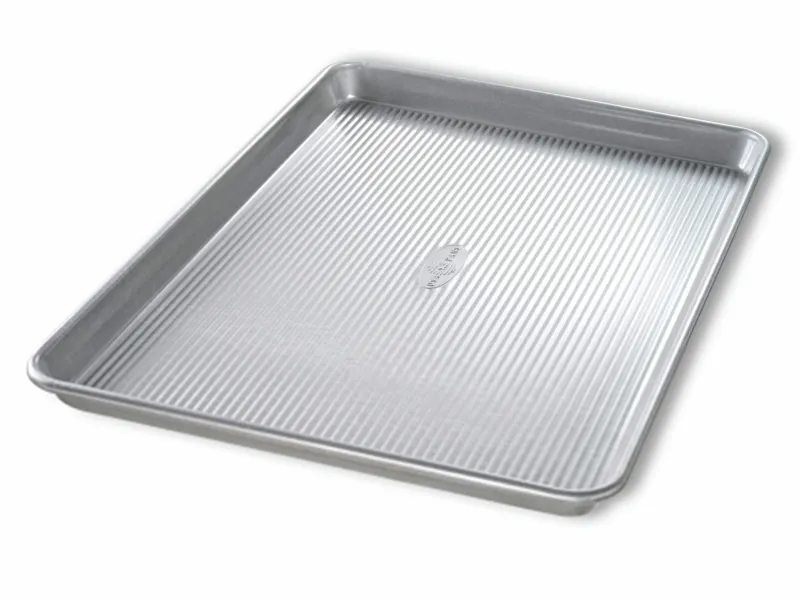
Thin pans warp under heat, causing puddles of oil and uneven contact. Hot spots burn some fries while others stay pale. A sturdy, heavy rimmed sheet provides stable, even heat.
Invest in a half sheet pan with good mass and a light colored surface. It resists warping, cleans easily, and browns predictably. Your fries will cook evenly from batch to batch.
13. Not using a wire rack
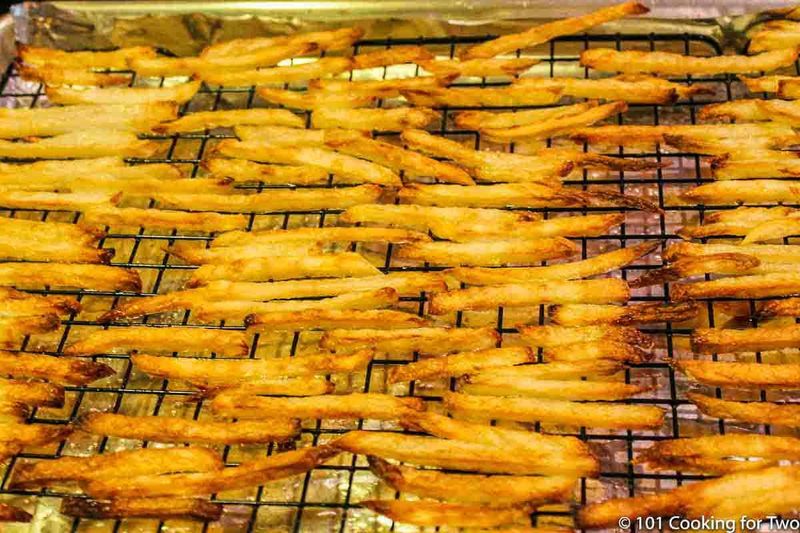
Elevating fries on a rack lets hot air hit every side. Oils drip away, and bottoms stay crisp instead of soggy. This is especially useful for thicker cuts or heavily coated fries.
Spray the rack lightly to prevent sticking, then spread fries in one layer. Flip halfway for even color. Expect better crunch and fewer pale patches where fries used to sit on metal.
14. Cooking straight from room temperature
Letting fries warm on the counter invites condensation and uneven cooking. They go from frozen to sweaty, which kills crisp potential. Keep them frozen until the moment they hit hot metal.
Open the bag, portion quickly, and return the rest to the freezer. Work in small batches so everything stays cold. The contrast between frozen fries and hot equipment creates that essential exterior crunch.
15. Neglecting to taste and adjust
Perfect fries need tasting like any other dish. Heat, salt, and time vary with ovens and brands. If you never taste mid-cook, you miss the chance to correct trajectory.
Try one fry a couple minutes early. Adjust time, temperature, or a touch of seasoning. This small habit delivers consistent results tailored to your setup and preferences.
16. Overcooking for extra color
Deep brown does not always mean better. Overcooking dries the interior and turns edges bitter. Aim for golden brown with tiny browned speckles, not mahogany.
Pull them a minute early if unsure, then rest briefly. Carryover heat finishes the job without scorching. You keep fluffy centers and preserve sweetness in the potato.
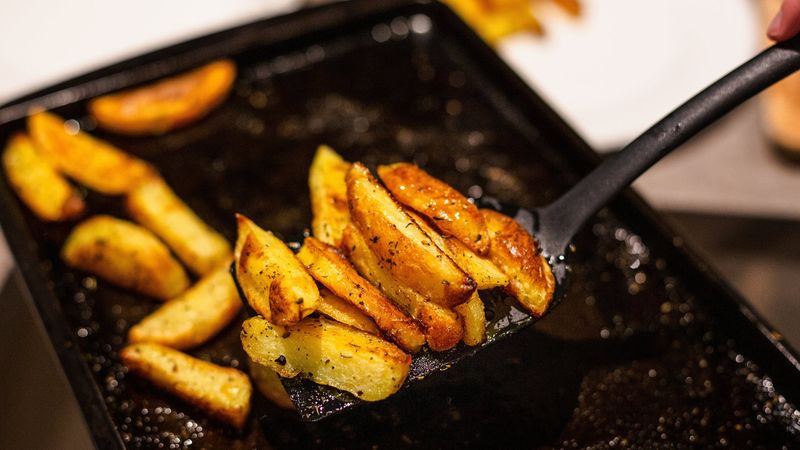
17. Skipping a quick post-bake rest

Right out of the oven, surfaces are fragile and full of steam. A short rest lets excess moisture vent and the crust set. Move fries to a rack for sixty seconds before serving.
That moment keeps them crisp longer and prevents soggy bottoms on plates. Season during this window so flavors stick beautifully. Then serve hot and crunchy.
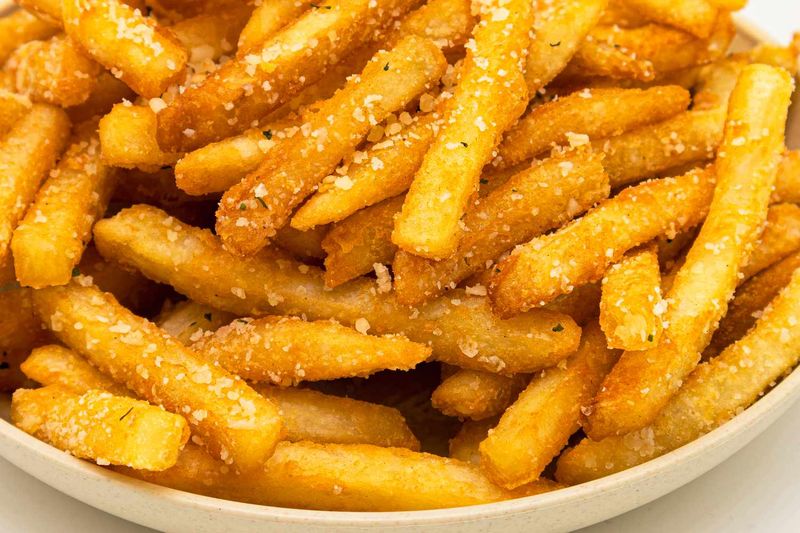
18. Using dull seasonings
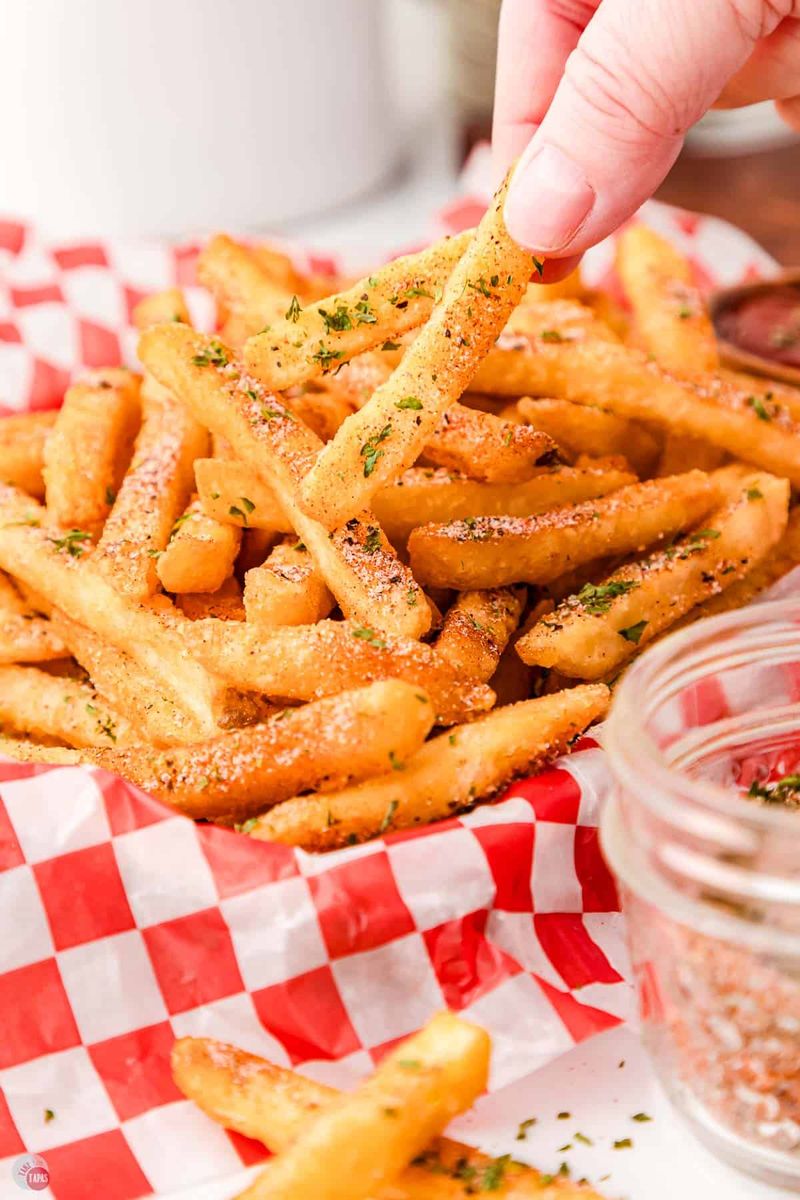
Salt alone is good, but layers make fries memorable. Try garlic powder, smoked paprika, black pepper, or a little cayenne. Fresh herbs or grated parmesan add a savory finish.
Toss while hot so seasonings cling. Build a signature blend you love and keep it ready. Each batch becomes a craveable side rather than a forgettable afterthought.
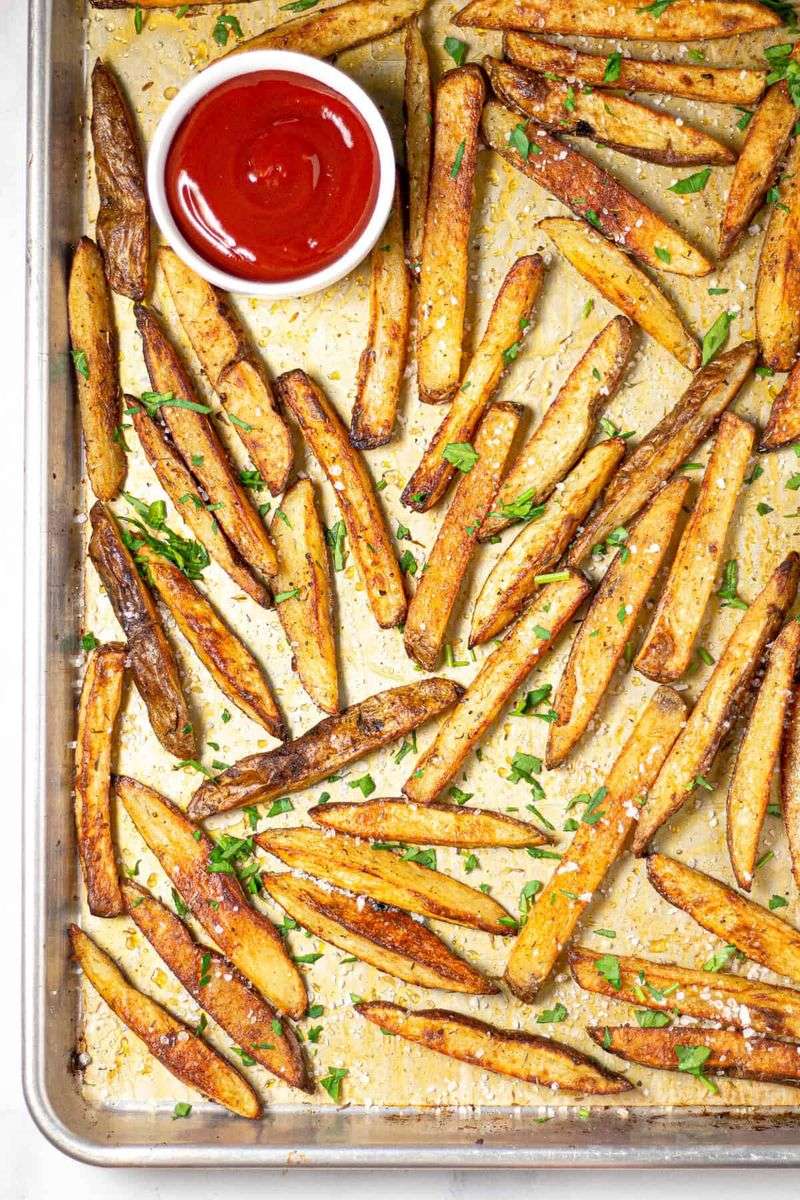
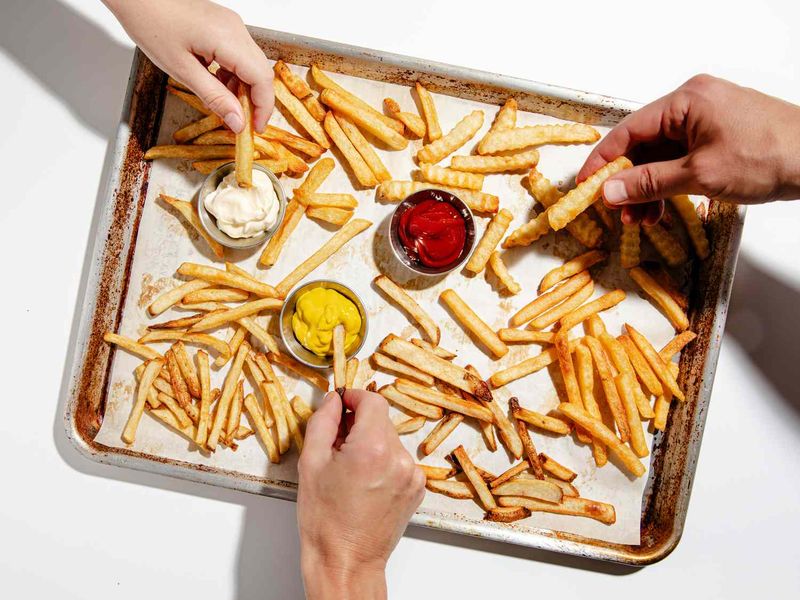
19. Forgetting dipping sauce synergy
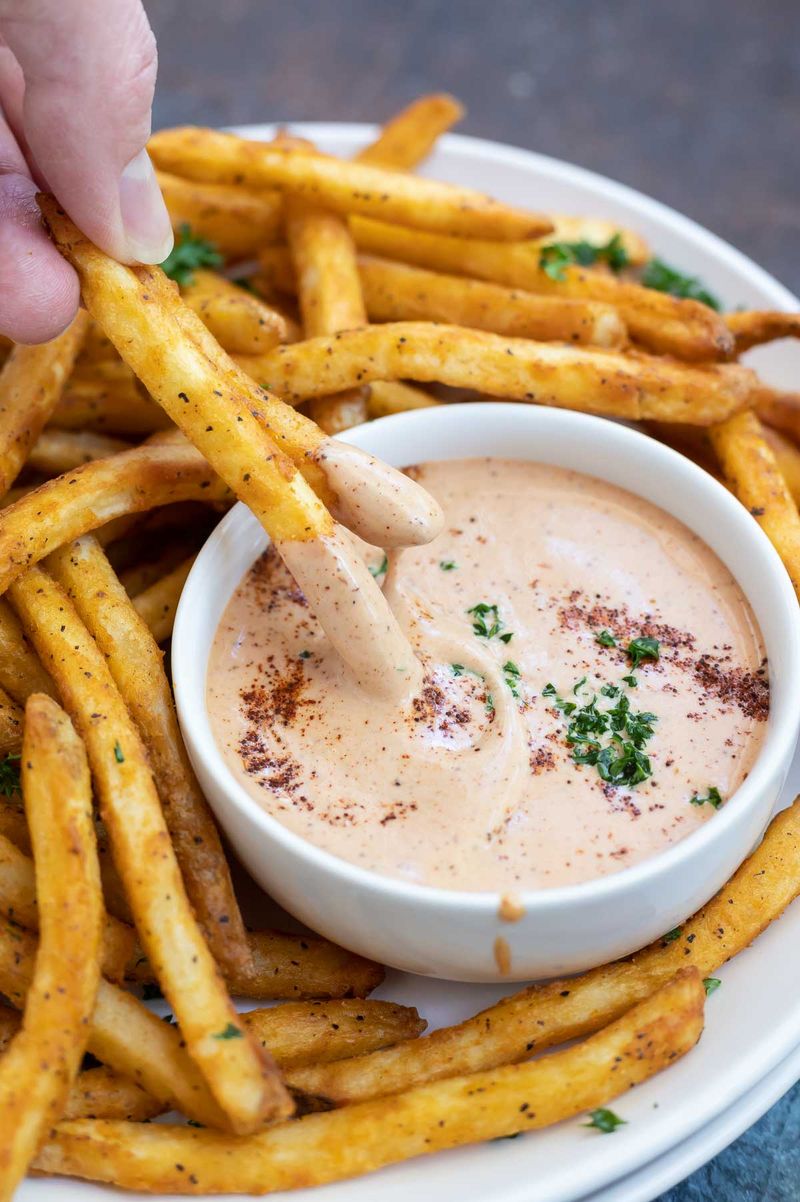
A great sauce amplifies crisp, salt, and potato sweetness. Balance creamy with tangy or spicy. Think garlic aioli, chipotle mayo, honey mustard, or punchy vinegar ketchup.
Serve sauces chilled to contrast the hot fries. That temperature difference makes each bite pop. Your fries suddenly feel restaurant worthy without extra work.
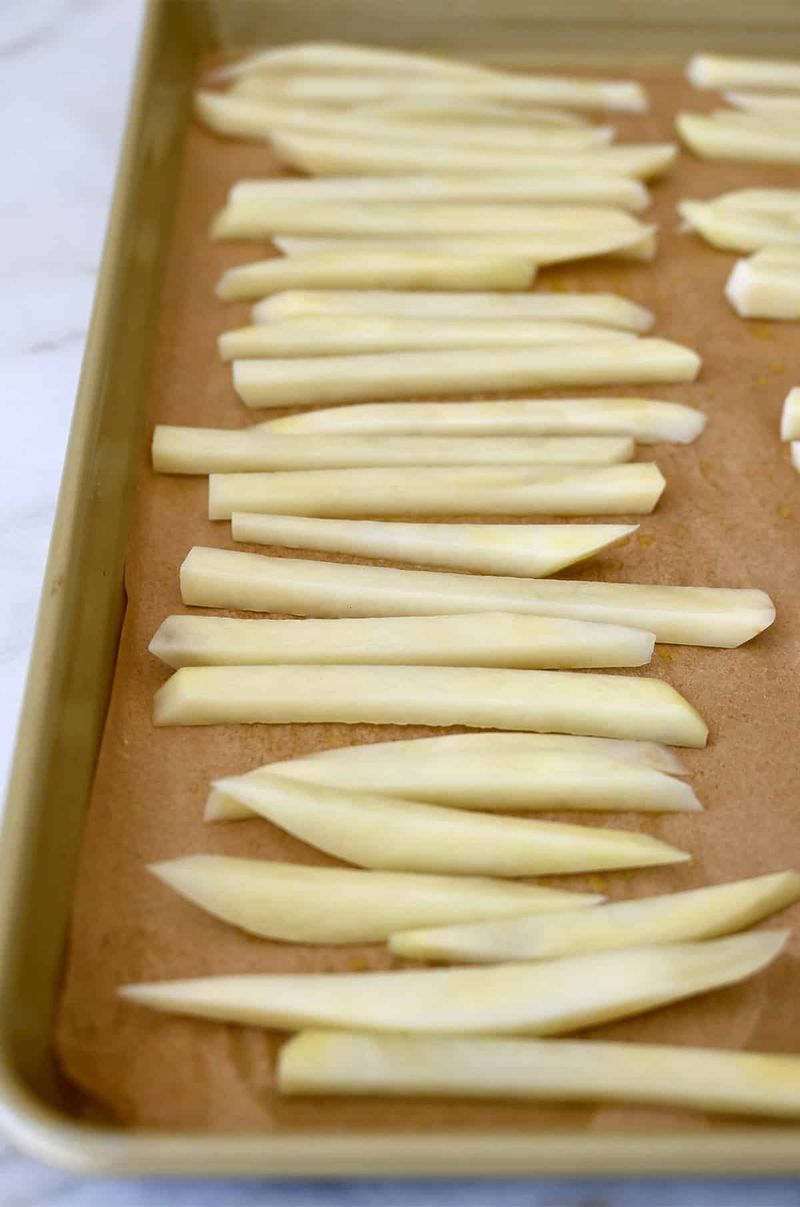
20. Not calibrating bake time to cut size
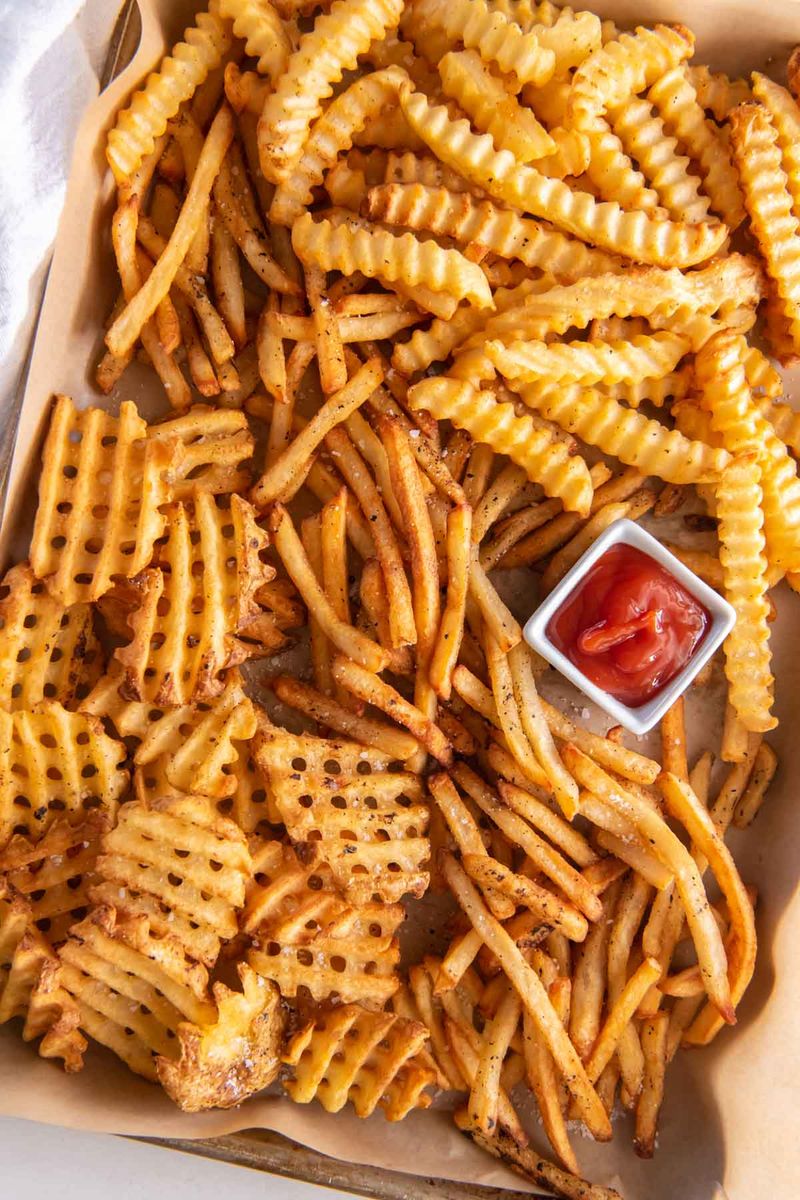
Different cuts cook at different speeds. Shoestrings color fast and dry quickly, while steak fries need longer heat to finish the centers. Using one time for all guarantees disappointment.
Sort by size or cook similar cuts together. Start checking early, then extend in two minute bursts until ideal. You will land at perfect texture, no matter the shape.