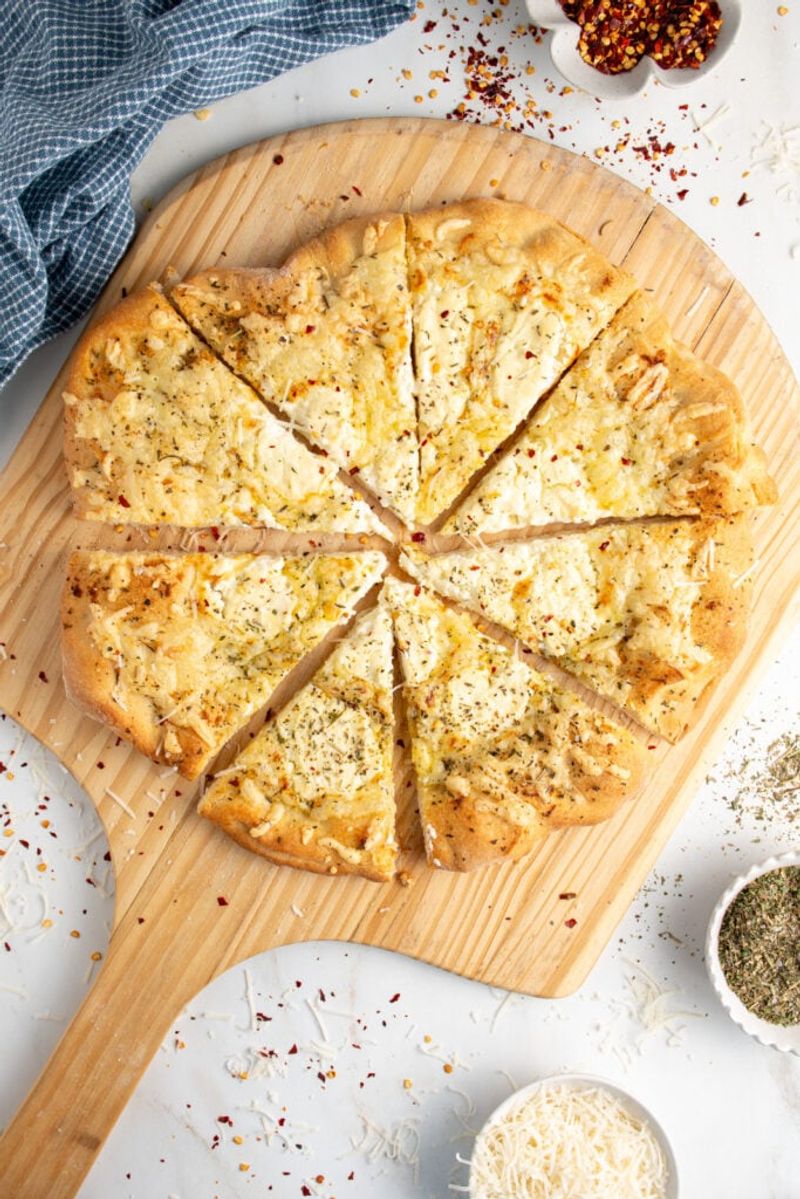
20 Pizza Tips You Have To Experience
If homemade pizza still feels unpredictable, these battle tested tips will change your game tonight. You will learn how to get lighter crust, better browning, and toppings that stay exactly where you want them. I will walk you through tiny adjustments that deliver big, pizzeria level results without fancy equipment. By the end, you will crave your next bake and know exactly how to nail it.
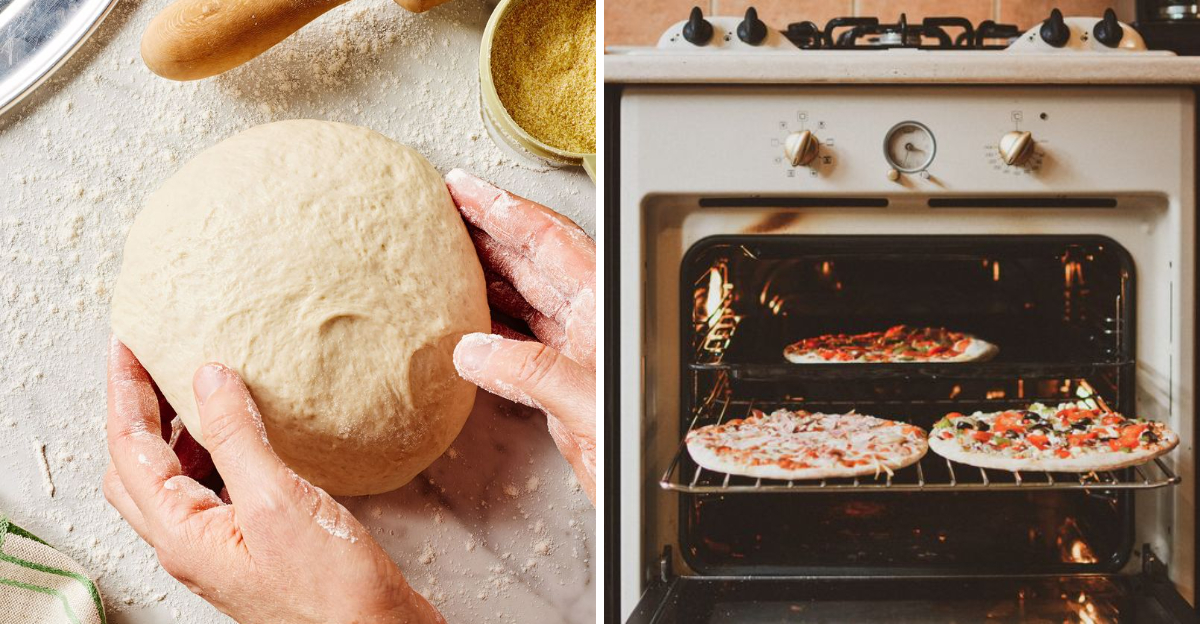
1. Let your dough come to room temp
Cold dough fights you every step and tears under pressure. Let it sit, covered, until it feels relaxed and slightly puffy, about 60 to 90 minutes depending on your kitchen. You will notice it stretches smoothly without snapping back.
Room temp dough also bakes lighter because trapped gases expand freely. That means bigger oven spring and airier edges. If your dough still feels tight, give it ten more minutes and try again.
Grease the bowl lightly to prevent sticking. Keep drafts away. Patience here pays off when you finally stretch without frustration.
2. Use a screaming-hot oven
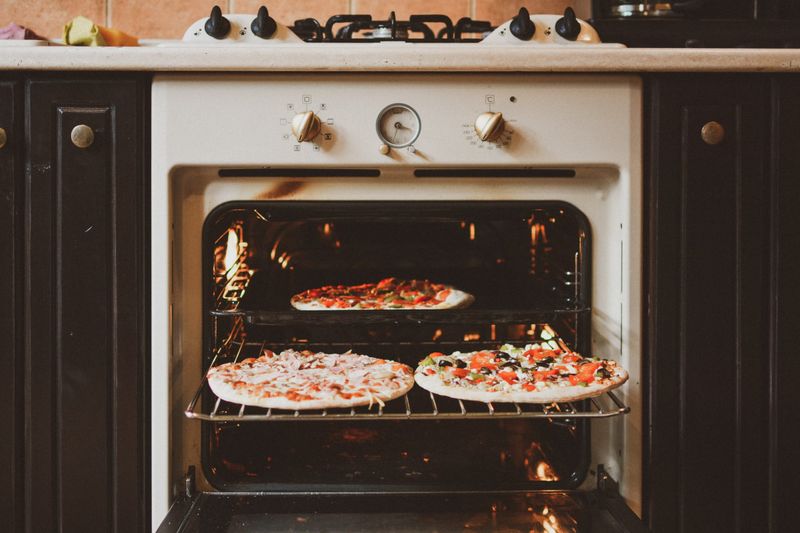
Heat is the secret that separates okay from unforgettable. Crank your oven to its maximum safe temperature and preheat longer than you think, at least 45 to 60 minutes. A properly saturated stone or steel gives you instant rise and blister.
High heat sets structure fast, so cheese melts while the crust stays crisp. Your sauce concentrates slightly and edges caramelize beautifully. You will taste the difference in every bite.
Use an oven thermometer to verify the real temp. If your smoke alarm chirps, you are close to greatness. Vent well and keep going.
3. Preheat your pan or stone
A cold surface steals heat from your dough and delays browning. Preheat your stone or steel with the oven so it stores energy, then launch the pizza onto that hot slab. You will hear a faint sizzle as the bottom sets immediately.
This prevents sogginess and helps create a sturdy base that stays crisp under toppings. If you use a pan, preheat it too for a jump start. Just be careful handling it.
Test readiness by sprinkling a bit of flour that toasts quickly. Consistent heat equals consistent results. Make your surface blazing hot first.
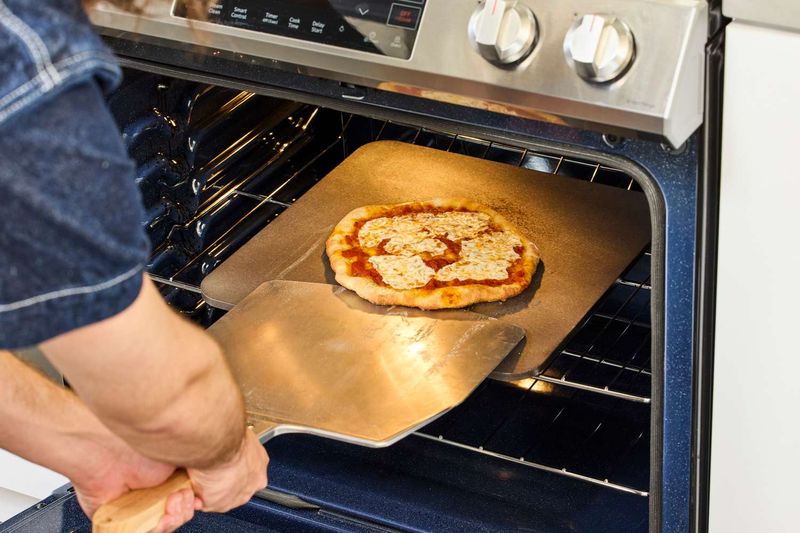
4. Build on parchment, then slide it in
Launching can be stressful when dough sticks. Build your pizza on parchment for a drama free slide, then trim excess corners to avoid burning. The paper survives the initial bake and keeps toppings where they belong.
After a couple minutes, you can tug the parchment out if you want extra bottom browning. It is the easiest way to transfer without panic. No flour clouds, no tears, no toppings flying everywhere.
Use unbleached parchment rated for high heat. Keep it flat so it does not wrinkle. Confidence rises when the slide feels effortless.
5. Flour is fine, but semolina is better
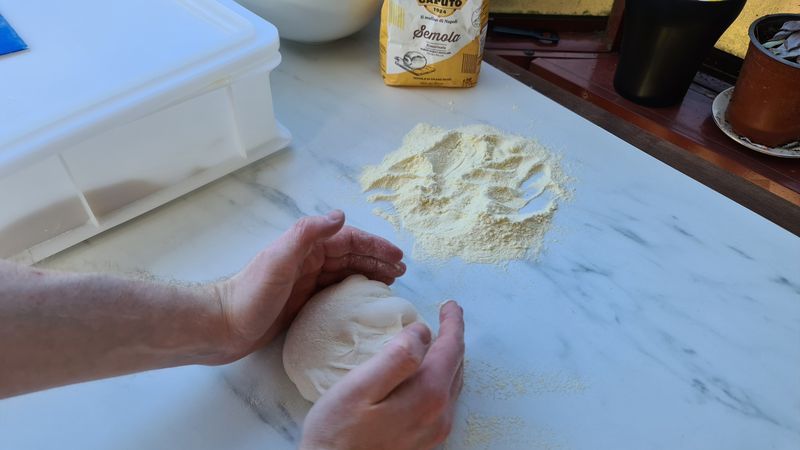
Flour helps, but semolina or fine cornmeal behaves like tiny ball bearings. Sprinkle a light layer on your peel to keep dough moving and prevent stickage. The grains create micro lift so air circulates and the base dries faster.
Use a gentle shake test before launching. If it sticks, lift an edge and dust more. Too much can burn, so stay conservative and focused.
Combine a touch of flour with semolina for balance. Your pizza slides off cleanly and lands perfectly centered. You will feel the improvement instantly.
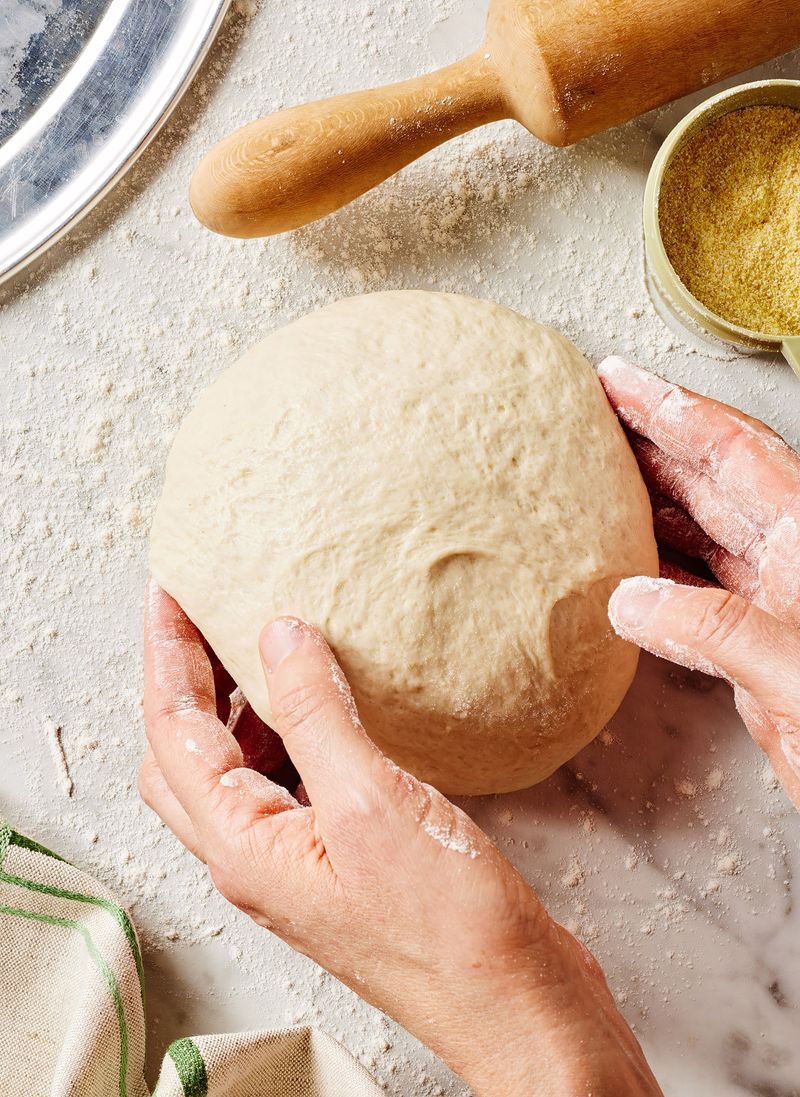
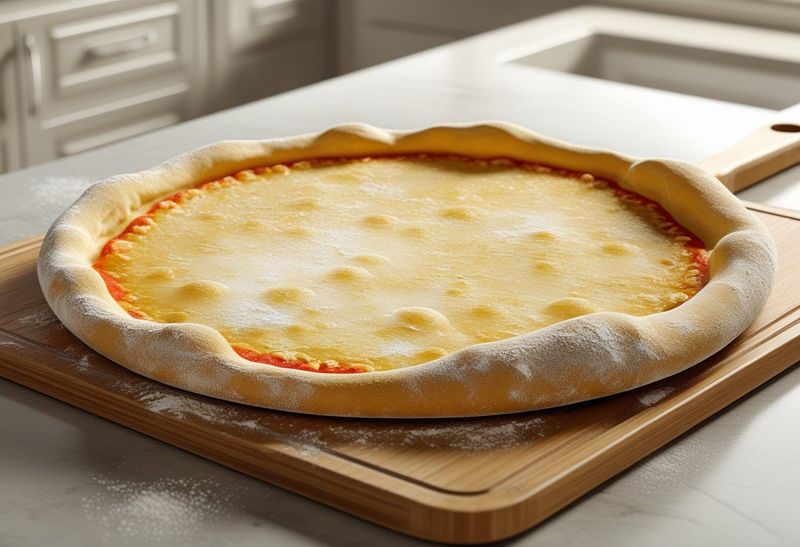
6. Stretch, do not roll
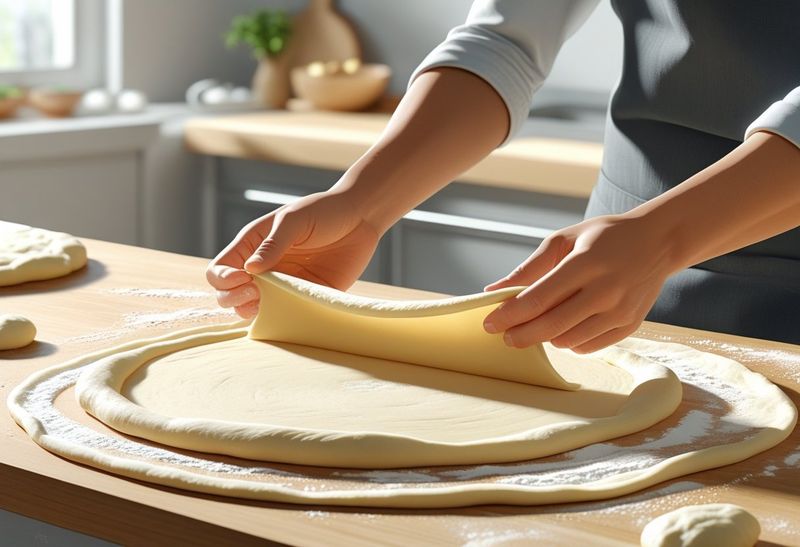
Rolling pins crush gas pockets and squeeze out life. Stretching preserves bubbles that puff into a lighter, chewier crust. Use fingertips to press a rim, then lift and drape the dough over your knuckles, rotating and letting gravity help.
Work gently to avoid tearing and keep the center thinner than the edge. If it fights back, rest it for five minutes and try again. That pause relaxes gluten.
Keep your surface lightly floured but not caked. Aim for an even circle with a raised cornicione. Your crust will sing with texture.
7. Do not drown it in sauce
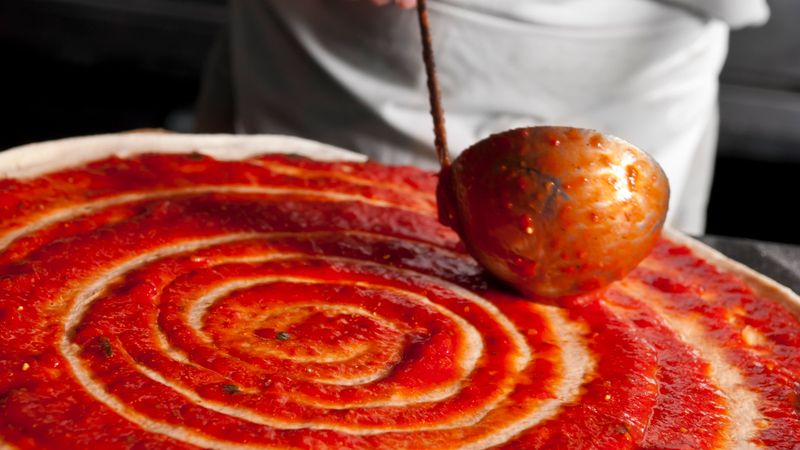
Too much sauce makes a soggy, sad center. Aim for a thin, even layer that lets steam escape and concentrates flavor as it bakes. You should still see faint dough peeking through.
Use the back of a ladle and spiral outward, stopping just shy of the rim. Keep it balanced. The cheese will spread, so give it space.
Sauce restraint delivers cleaner slices and a crisp base. Pair with modest toppings for harmony. Less sauce truly tastes more like pizza shop excellence.
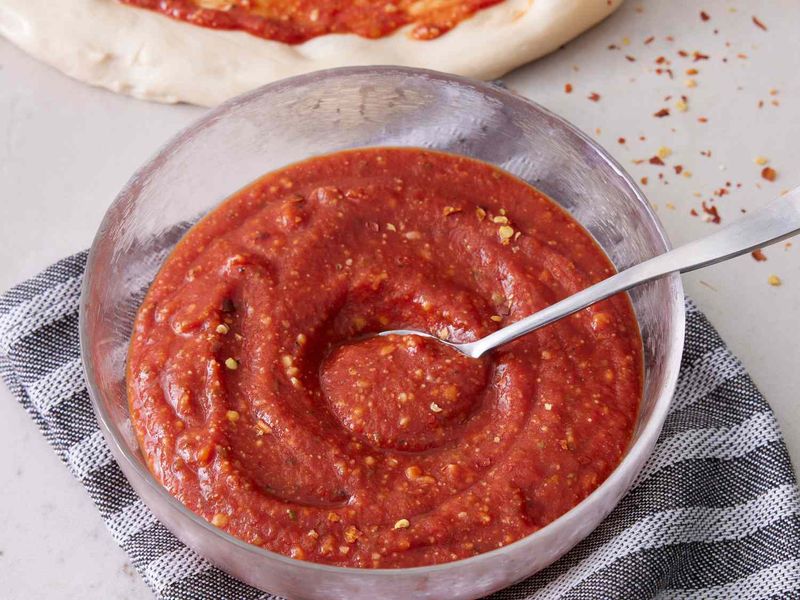
8. Simmer your sauce for 10 minutes
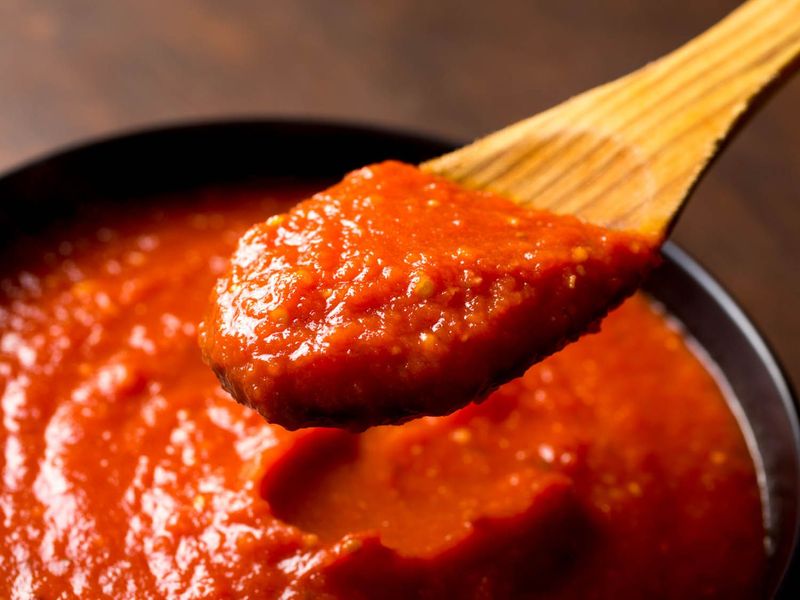
A quick simmer concentrates flavors and removes raw tomato sharpness. Ten minutes on gentle heat transforms a basic sauce into something rounded and sweet. Taste and adjust as it thickens slightly.
This step prevents watery pies because excess moisture evaporates before the bake. Your toppings stay put and the crust stays crisp. Add a splash of olive oil for silkiness.
Keep it simple: tomatoes, garlic, pinch of sugar if needed, and herbs. Salt later to taste. Once it coats a spoon lightly, you are ready.
9. Salt your sauce on purpose
Salt makes tomatoes taste like themselves and unlocks that classic pizza parlor vibe. Add a measured pinch, stir, and taste again until flavors pop. You are seasoning the whole pie, so be intentional.
Balance matters because cheese brings salt too. Start lighter, then adjust after a test spoon. The goal is bright, savory, and clean, not briny.
Keep notes on how much you used per can or batch. Consistency breeds confidence. When your sauce sings before baking, everything else lands beautifully.
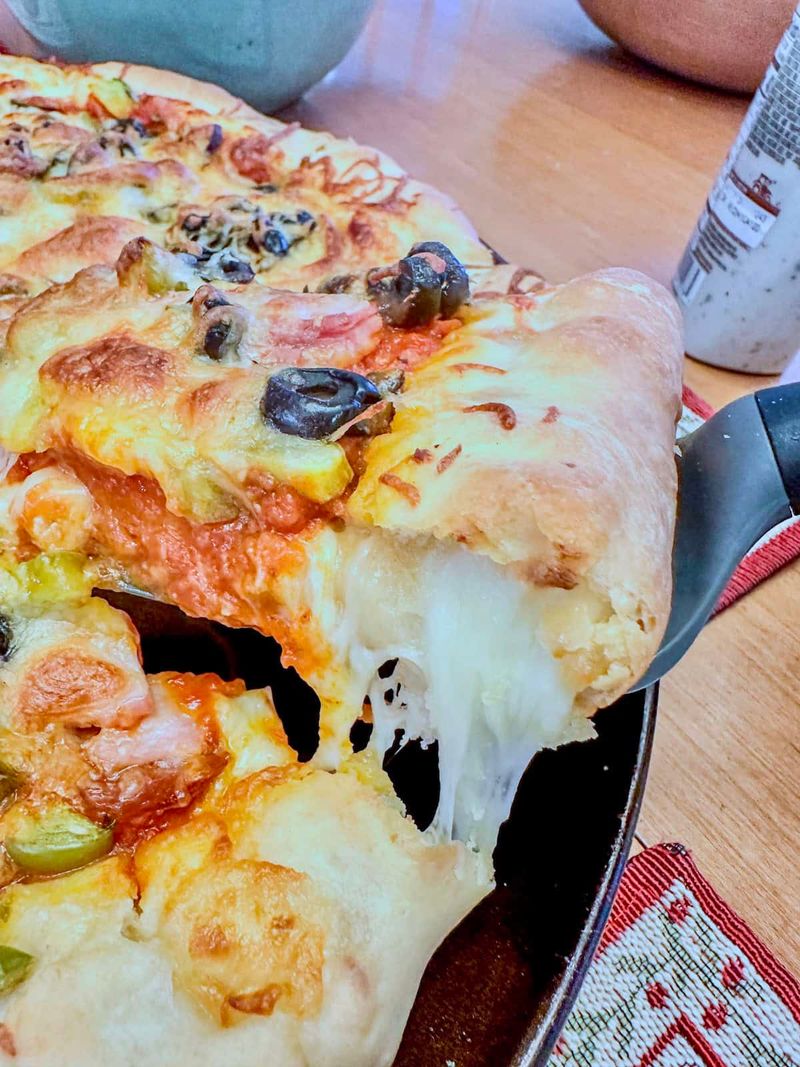
10. Grate your own cheese
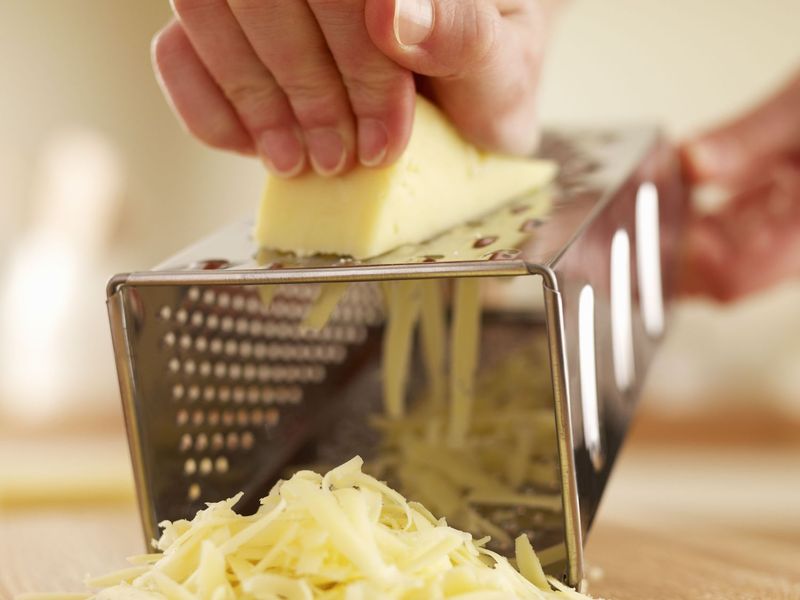
Pre shredded cheese contains anti caking agents that block smooth melting. Grating your own creates soft, feathery shreds that fuse into silky pools. The difference in stretch and browning is immediate.
Chill the block briefly for easier grating, then store shreds loosely to avoid clumping. A coarse side on the grater works perfectly. You will get better coverage with less cheese.
Choose low moisture mozzarella for classic results. Keep a microplane for parmesan finishing. The texture upgrade alone will spoil you for good.
11. Mix cheeses for better melt and flavor
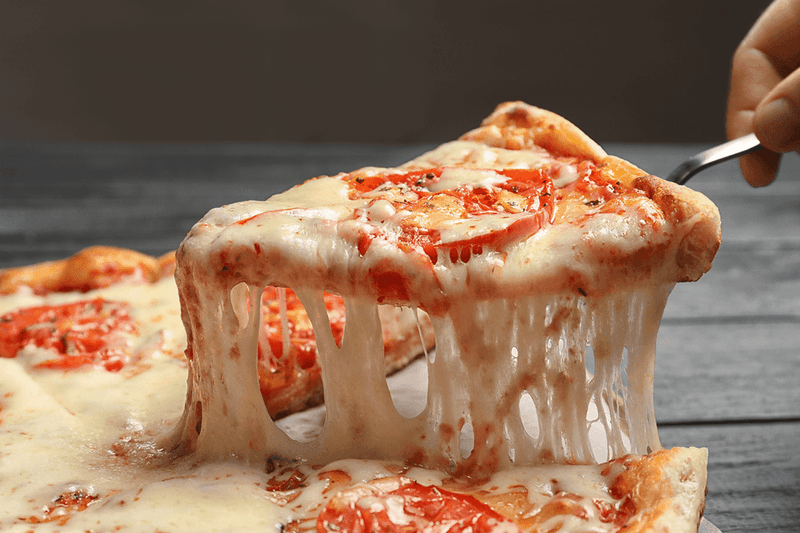
Mozzarella brings stretch, provolone adds savory depth, and parmesan sharpens the finish. Mixing cheeses creates complexity without overwhelming your sauce. A simple ratio works: most mozzarella, some provolone, and a sprinkle of parmesan.
Blend gently by hand so shreds stay fluffy. Distribute evenly over the sauce, leaving a small rim. The trio melts into a glossy, balanced blanket.
Try fontina or cheddar in tiny amounts for personality. Keep the mix dry to avoid greasiness. You will taste layers in every bite rather than one flat note.
12. Add delicate toppings after baking
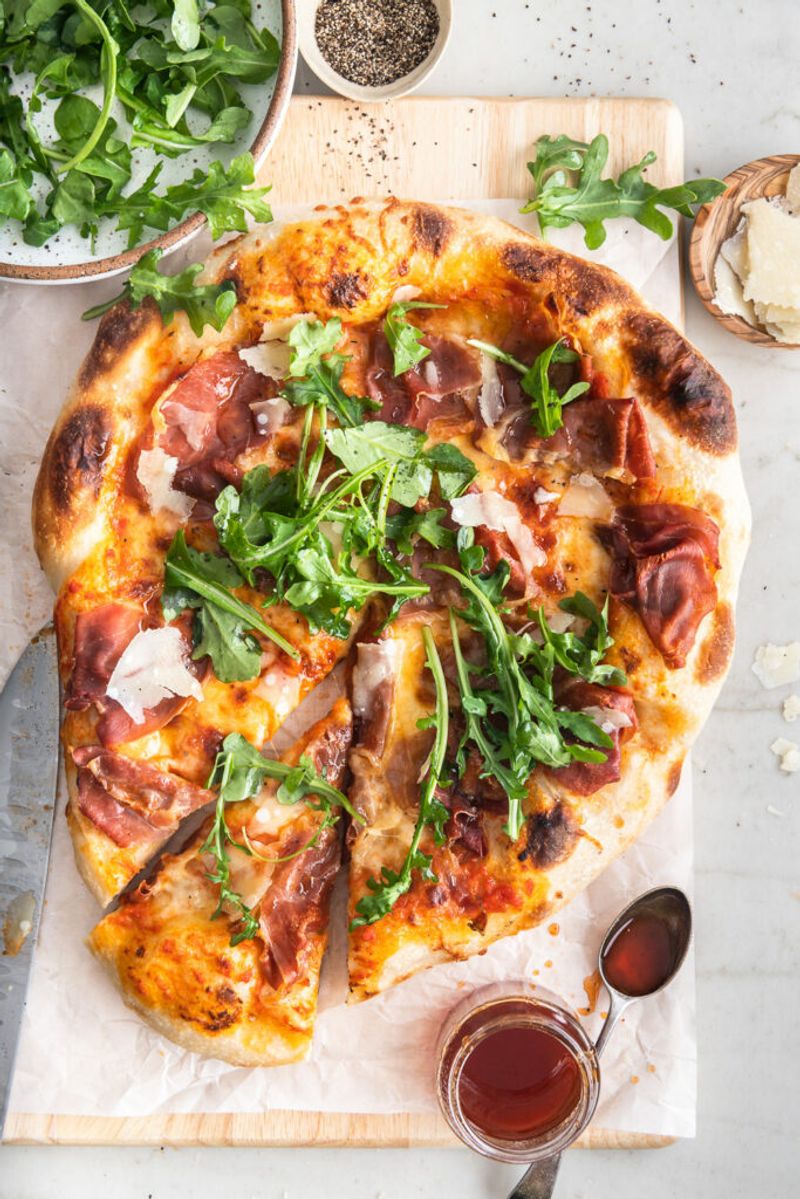
Fragile ingredients wilt or turn bitter in high heat. Add basil, arugula, prosciutto, ricotta dollops, or hot honey after baking for freshness and contrast. The residual heat warms them gently without ruining texture.
This timing keeps colors bright and flavors vivid. You get creamy, peppery, sweet, and salty notes exactly where you want them. It looks beautiful too.
Layer thoughtfully: greens first, then ribbons of prosciutto, then a light drizzle. Slice after toppings settle. Your pizza suddenly feels restaurant level with minimal effort.
13. Cook watery veggies first
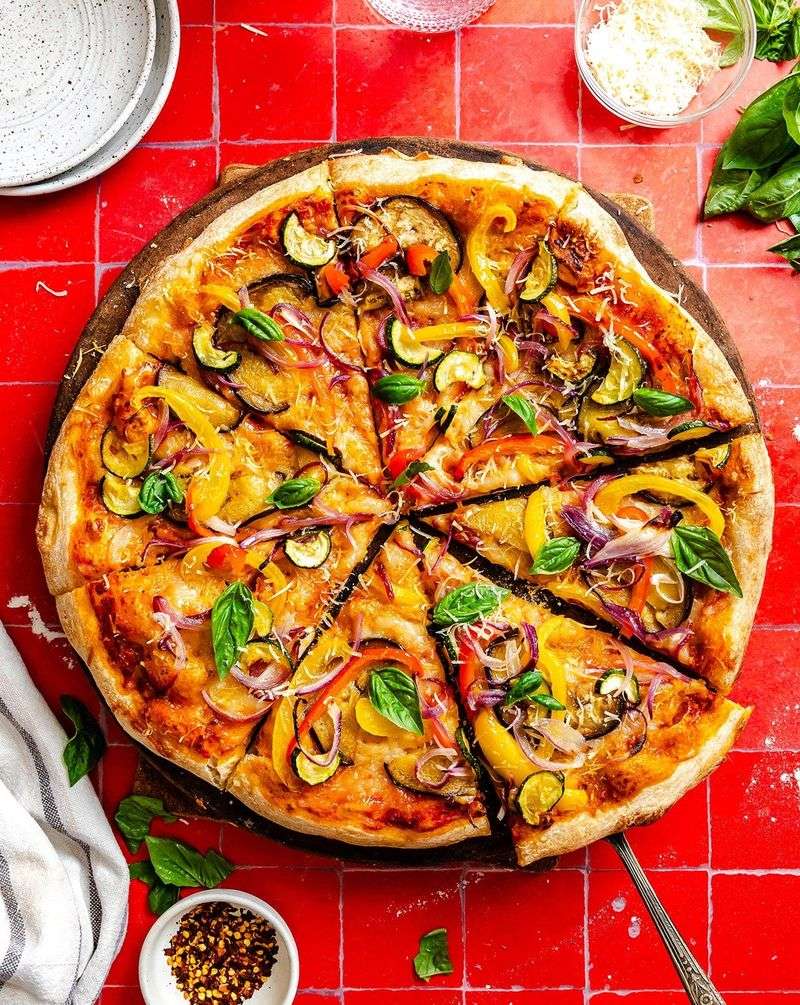
Mushrooms, zucchini, and spinach release water that can drown your crust. Give them a quick sauté to drive off moisture and concentrate flavor. Season lightly and cool before topping.
Pre cooking means your pizza bakes faster and stays crisp. The veggies caramelize a bit, adding sweetness and depth. It also prevents puddles that make slicing messy.
Spread vegetables in a thin layer so steam escapes. Do not crowd the pan. Your toppings will taste intentional instead of stewed.
14. Go easy on toppings

Pizza is not a salad bar. Pile on too much and heat cannot do its job. A lighter hand bakes better, slices cleaner, and tastes more balanced overall.
Choose two or three stars and let them shine. Keep pieces small and spaced so steam can escape. Your crust will crisp instead of steaming underneath a heavy blanket.
If you crave variety, make two smaller pies. You get contrast without compromise. Less is not boring when every bite tastes purposeful.
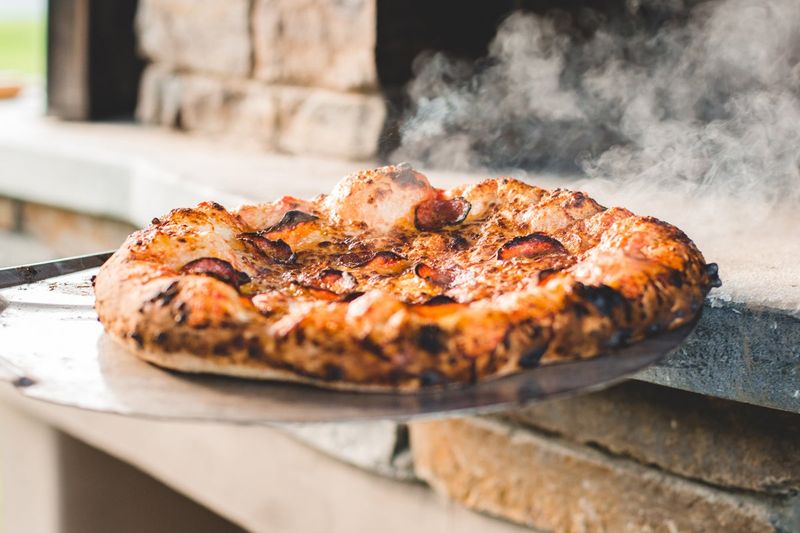
15. Brush the crust with something tasty
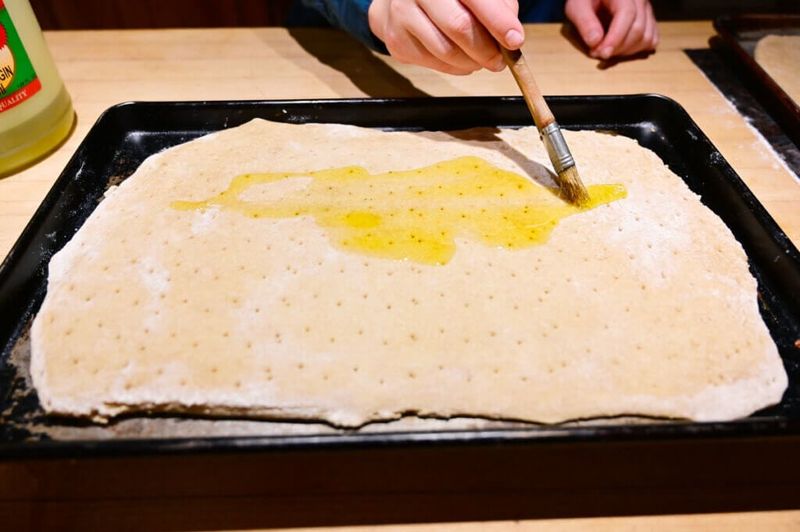
The rim deserves attention. Brush it with olive oil, garlic butter, or herb oil before baking for color and flavor. That sheen helps blistering and makes the edge the part people fight over.
Add a pinch of dried oregano or chili for extra character. A little goes far, so keep it light. You will notice deeper browning and aroma.
Finish again after baking if you love shine. Consider a garlic confit mash for luxury. Suddenly the crust becomes the star, not just a handle.
16. Sprinkle cheese at the edge
A thin ring of cheese near the rim melts and fries into crispy, golden bits. This tiny move tastes restaurant level and looks impressive. It also seals the edge for better crunch.
Use a light hand so it does not burn. Mozzarella with a whisper of parmesan works beautifully. Keep the center slightly lighter to maintain balance.
After baking, you will see lacy frico along the crust. Those crunchy bites are addictive. Friends ask how you did it, and you smile.
17. Try a two-stage bake
For a crisp base under heavier toppings, par bake with just sauce for a few minutes. Pull it out, add cheese and toppings, then finish the bake. The first stage sets structure and drives moisture off the surface.
This method reduces soupy centers and guarantees a sturdy slice. It is especially helpful with home ovens and sheet pans. Timing depends on your heat and surface.
Watch for light color before topping. Keep the second stage shorter to avoid overcooking. You get crunch plus melt without compromise.
18. Finish with a tiny pinch of flaky salt

A small pinch of flaky salt at the end unlocks flavors and adds delicate crunch. It sounds extra, but it reads as confident and pro. The crystals pop against melted cheese and sweet tomatoes.
Use less than you think, especially if your cheese is salty. Sprinkle from high so it distributes evenly. Focus on the rim and scattered center hits.
Keep a jar by your cutting board for habit. That last touch becomes your signature. Everyone will ask why it tastes so dialed in.
19. Rest it for 2 minutes before slicing
Cut too soon and everything slides into a cheesy avalanche. Let the pizza rest for two minutes so the molten layer sets. The crust keeps crisping while heat redistributes.
This pause saves your toppings and yields cleaner slices. It also protects your mouth from lava level burns. Use the time to grab plates or drizzle finishing oil.
Test by nudging cheese with a knife tip. When it moves as one, you are ready. The difference between chaos and perfect slices is just patience.
20. Reheat slices in a skillet
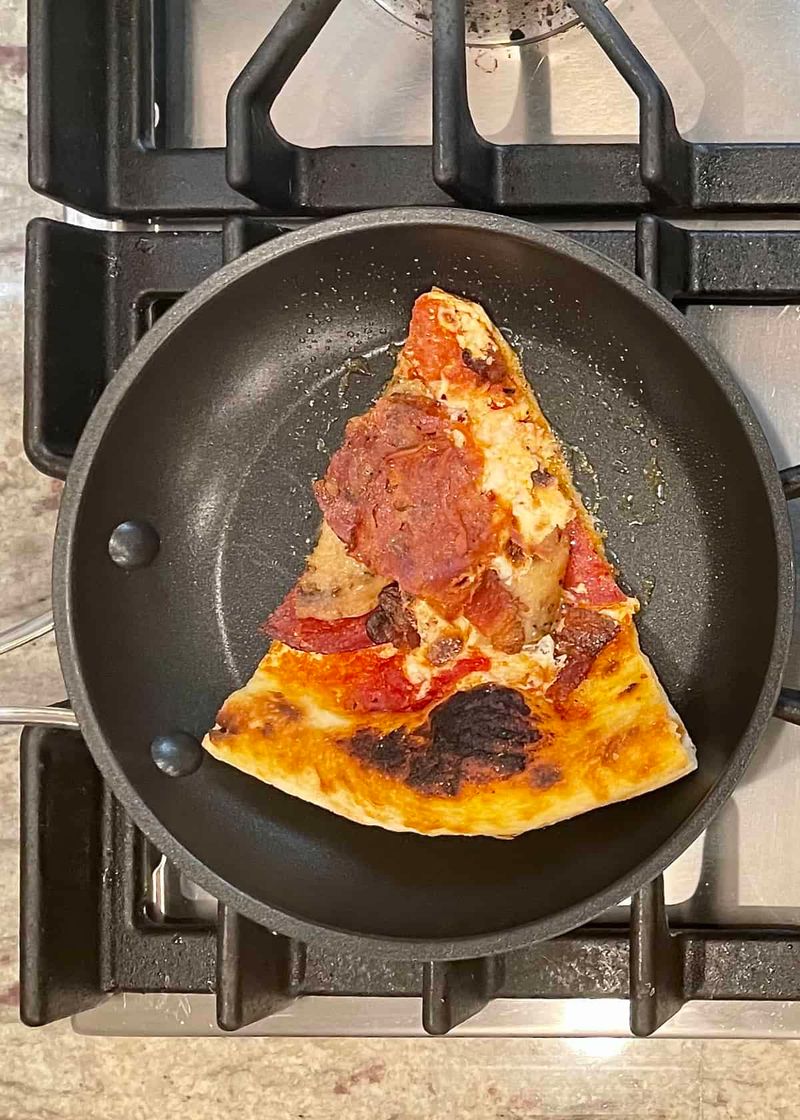
Microwaves soften crust and dull everything. A skillet revives life by re crisping the bottom while a brief lid on moment melts the top. Use medium heat and a few drops of water at the edge for steam.
Three to five minutes gives crackle and goo again. It tastes nearly fresh baked, no sad chewiness. Cast iron or nonstick both work well.
Finish with a touch of olive oil or chili flakes. That quick pan trick rescues leftovers beautifully. You will actually look forward to day two.