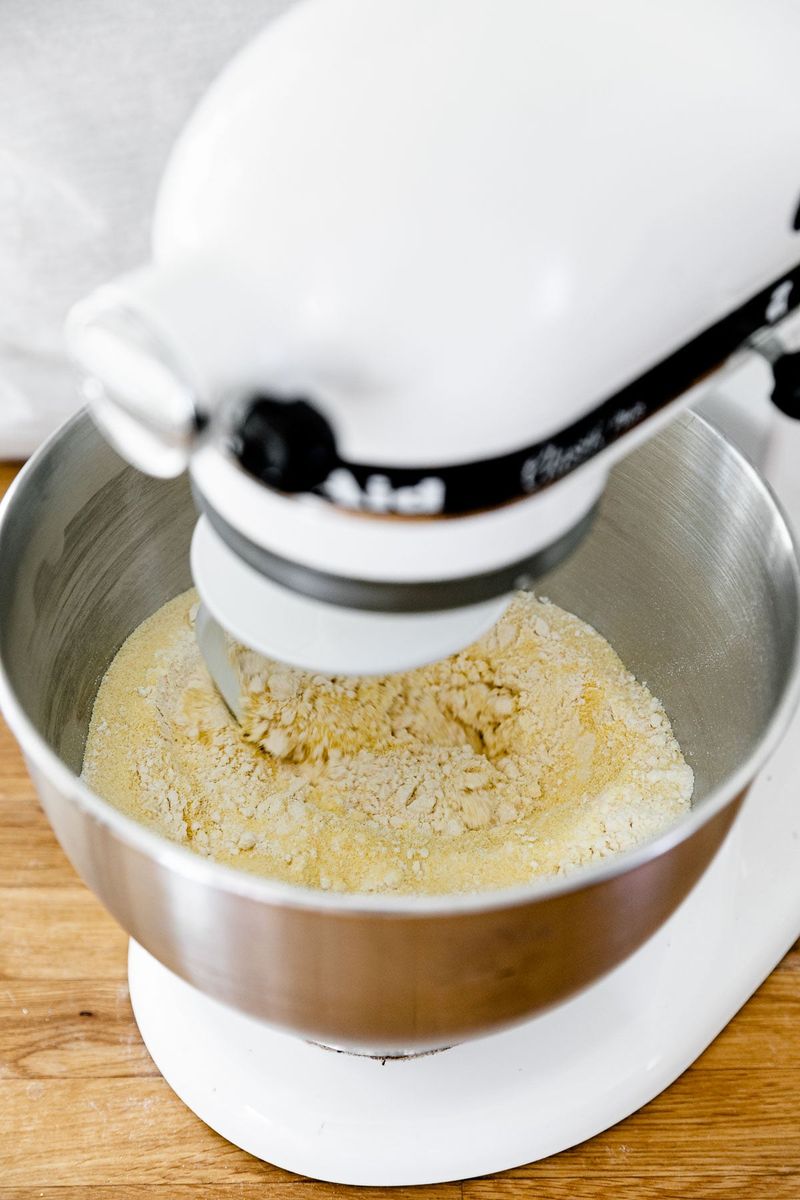
20 Recipes That Put A Stand Mixer To Work
A stand mixer can do so much more than whip cake batter. Once you put it to work on doughs, frostings, and even shredding meat, it earns its spot on the counter.
These recipes show exactly how to use that power for better texture, faster prep, and more consistent results. Ready to make weeknights easier and weekends more delicious?
1. Classic Chocolate Chip Cookies
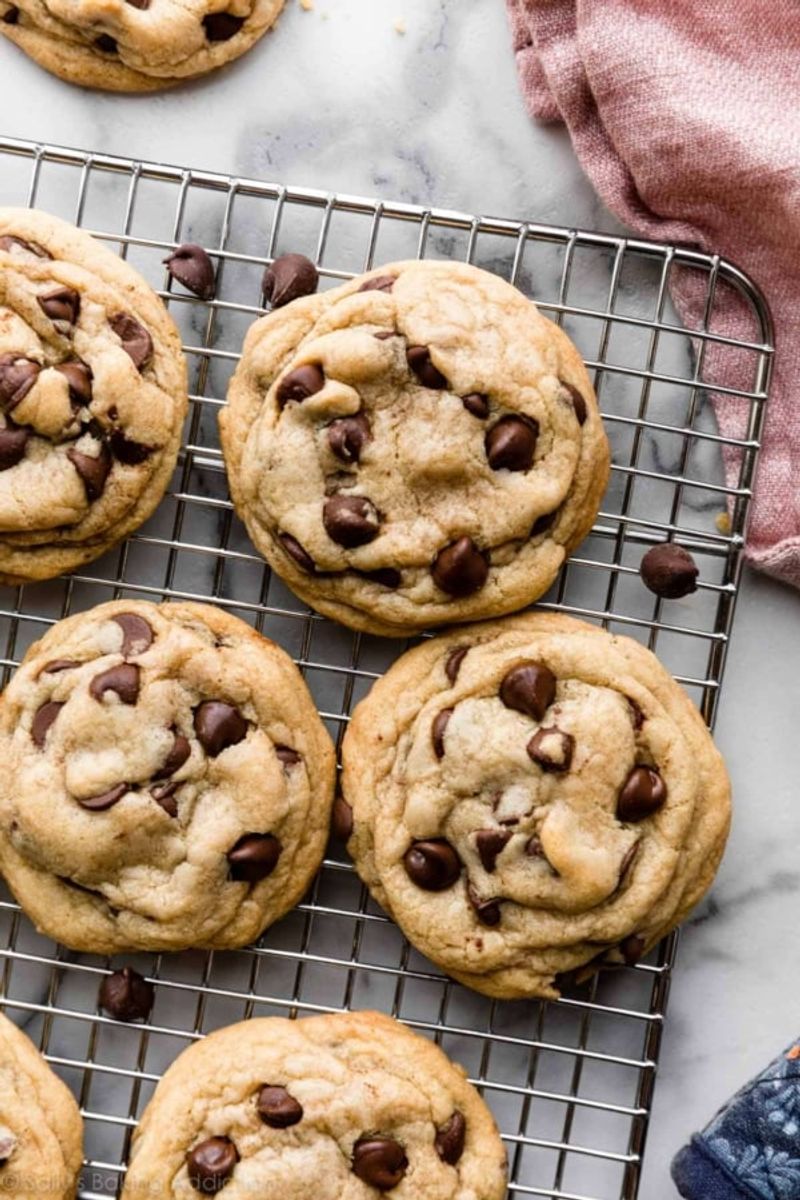
Start by creaming softened butter and sugar in your stand mixer until the mixture looks pale and fluffy. That air you build helps the cookies bake up chewy in the middle and lightly crisp at the edges.
Add eggs and vanilla, then mix just to combine so you keep that tender bite.
Whisk flour, baking soda, and salt separately, then beat in on low. Fold in chocolate chips or chunks and chill the dough so scoops hold shape.
Bake until the tops look set but still glossy at the center.
Let them rest on the sheet before transferring to a rack. You get predictable texture every batch.
Keep extra dough balls in the freezer for instant cookie cravings.
2. Thick Bakery Style Sugar Cookies
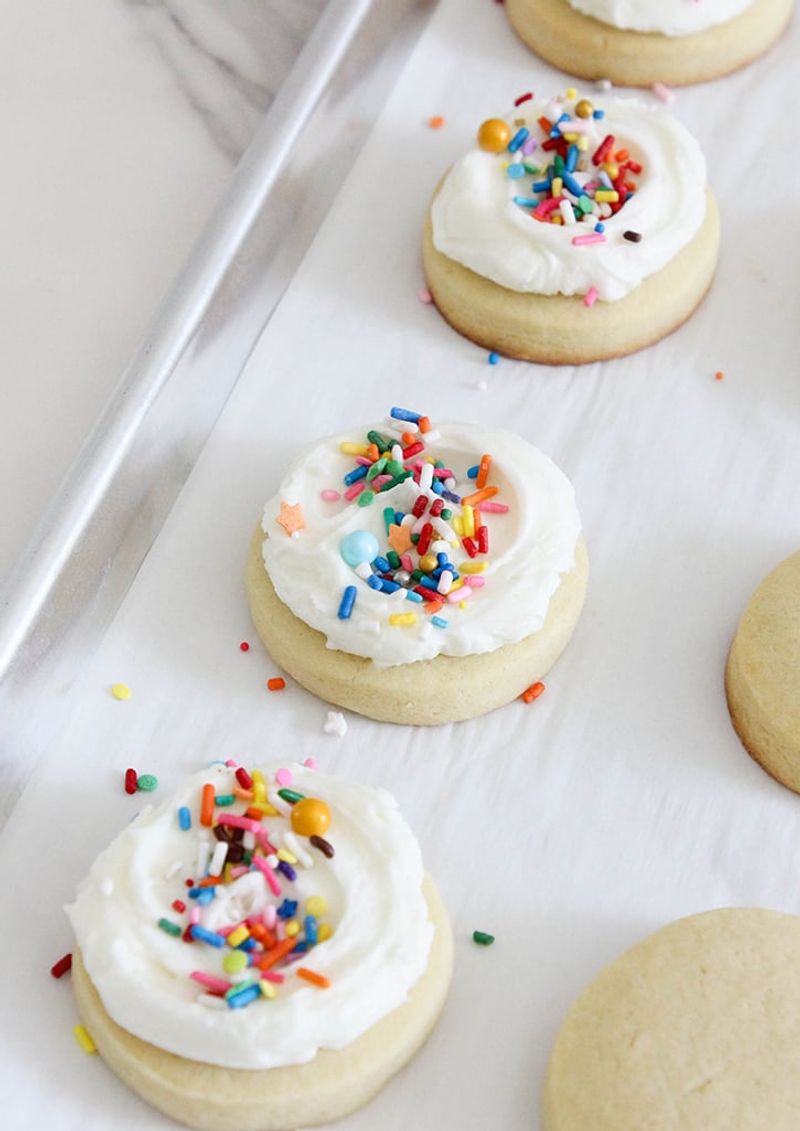
Use the stand mixer to cream butter and sugar until super fluffy so these cookies bake thick and tender. Mix in eggs, vanilla, and a touch of almond extract if you like that classic bakery vibe.
Keep the speed low as you add flour and leavening to avoid overworking.
Chill the dough until firm. Roll it thicker than usual for substantial cookies that hold clean edges.
Cut into shapes or scoop rounds, then bake until the bottoms are barely golden.
Cool completely before frosting. The mixer also makes silky buttercream for topping, so you keep everything consistent.
Decorate with sprinkles, sanding sugar, or a simple glaze. They stay soft for days and freeze beautifully.
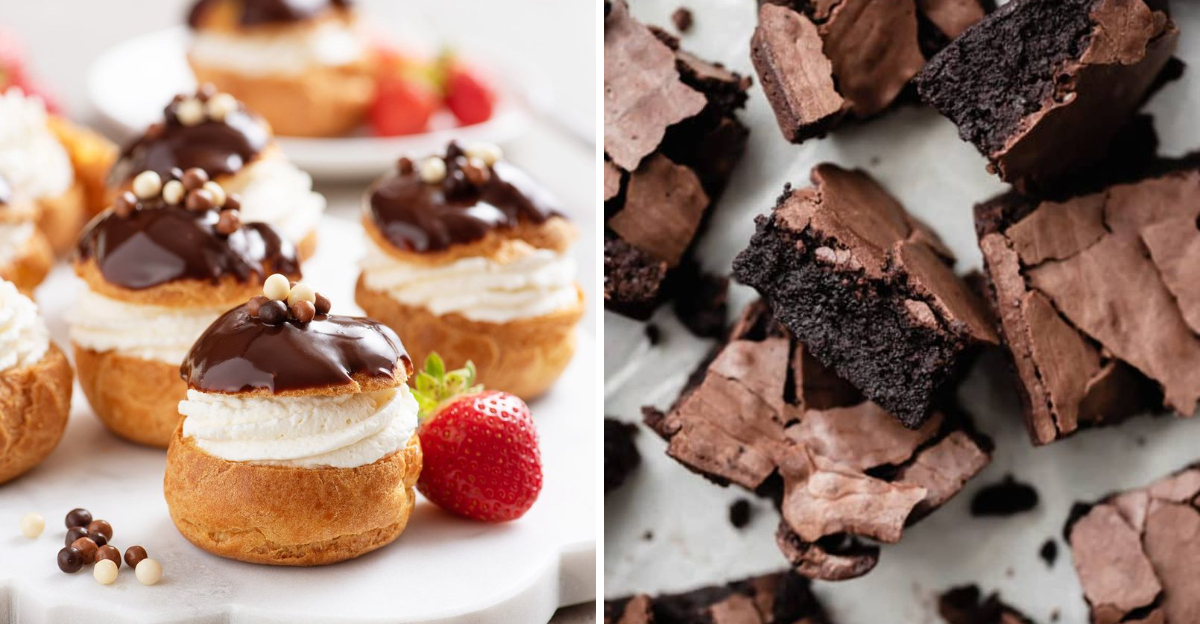
3. Brownies Whipped Egg Style
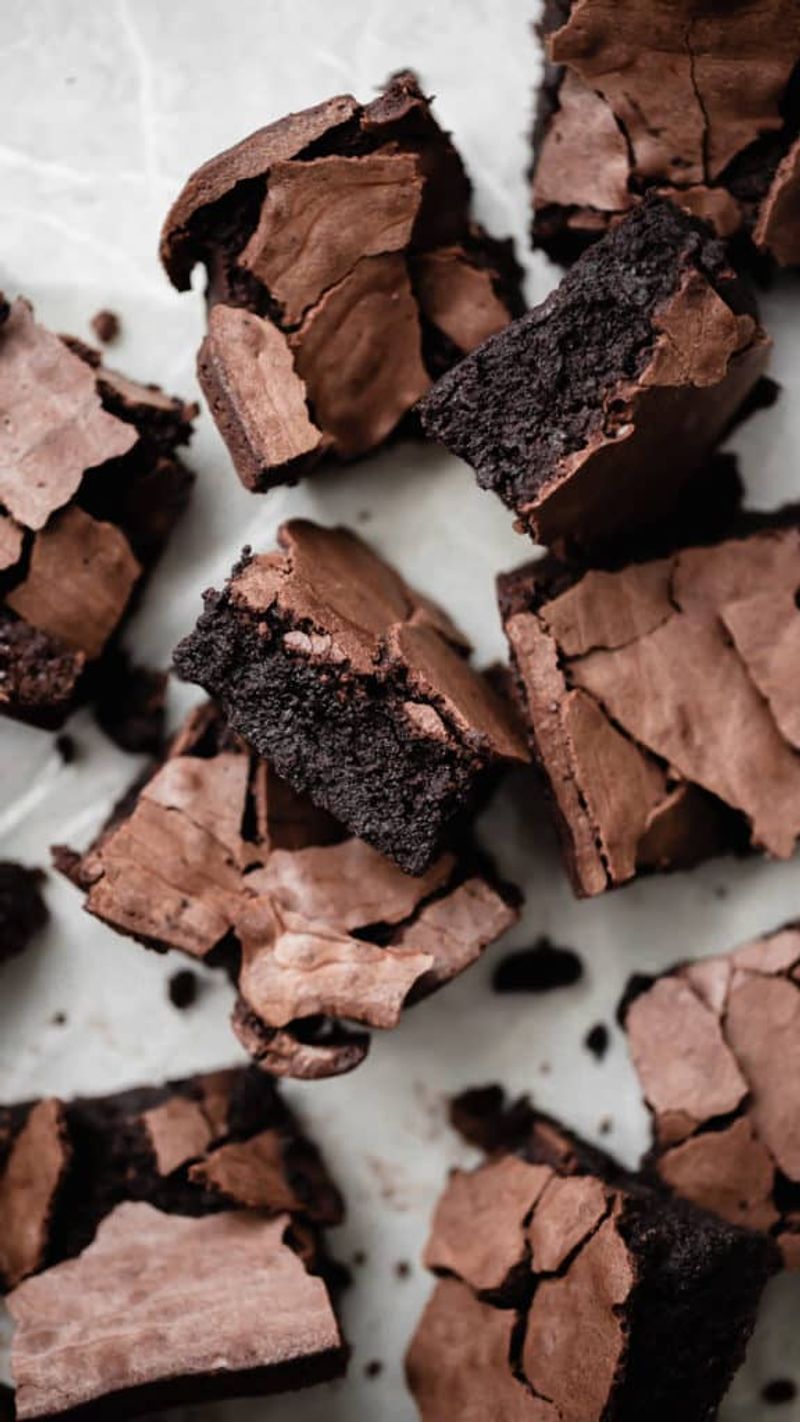
Whip eggs and sugar in the stand mixer until pale and voluminous to create that shiny, crackly top. The aeration gives lift without losing fudginess.
Stream in warm melted butter and chocolate, then mix briefly so you keep that delicate structure.
Sift in cocoa, flour, and salt. Fold on low until streaks disappear, resisting the urge to overmix.
Pour into a lined pan and tap lightly to pop large bubbles.
Bake until the edges are set and the center wobbles slightly. Cool completely for the cleanest slices.
The mixer does the heavy whisking for you, ensuring repeatable results. Add espresso powder or chopped chocolate for extra depth and texture.
4. Yellow Birthday Cake With Buttercream
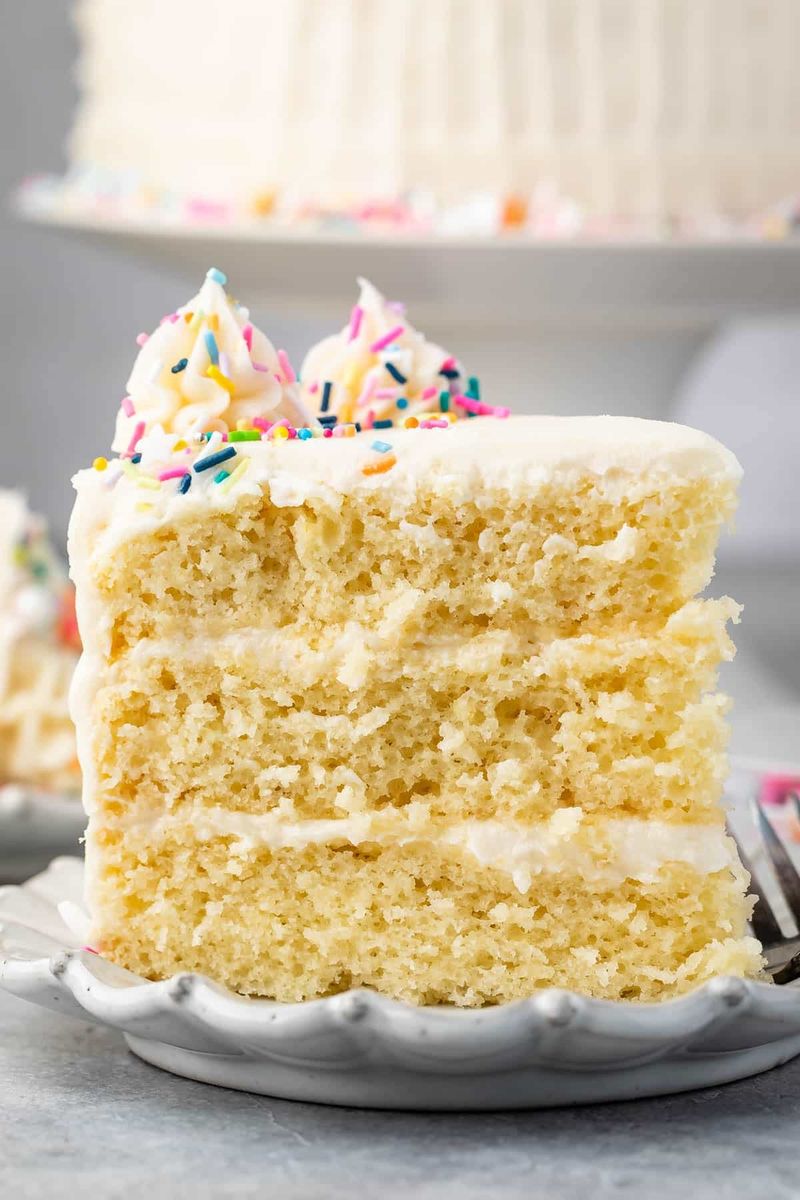
Cream butter and sugar until visibly light to build that classic yellow cake crumb. Beat in eggs one at a time for emulsified richness, then alternate adding dry ingredients and milk.
The mixer keeps the batter smooth without overworking.
Divide into pans and bake until springy. Meanwhile, whip buttercream in the clean mixer bowl until billowy and pale.
Add vanilla and a pinch of salt to balance sweetness.
Level, stack, and frost with generous swoops. The stand mixer gives you both silky batter and a frosting that pipes like a dream.
Finish with sprinkles for instant celebration vibes. It is the perfect make ahead centerpiece for birthdays.
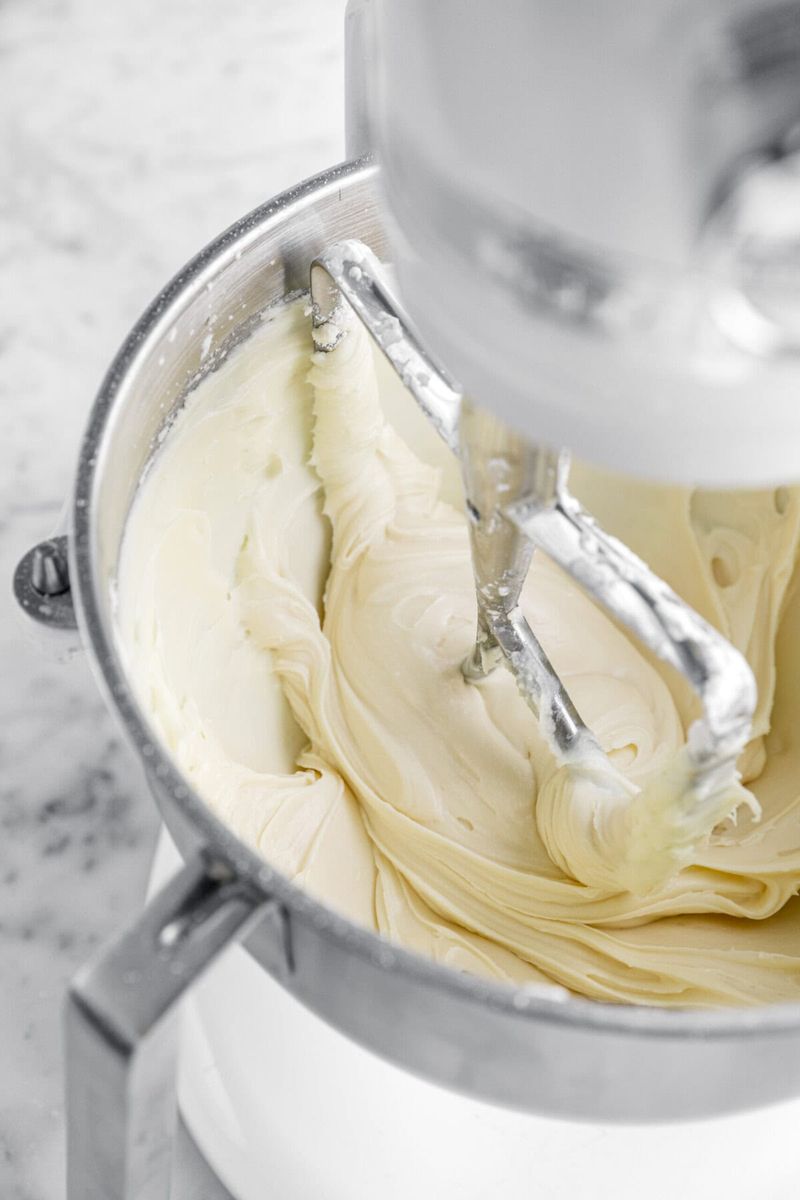
5. Swiss Meringue Buttercream
Warm egg whites and sugar over simmering water, whisking until the sugar fully dissolves. Transfer to the stand mixer and whip until the meringue is glossy and the bowl cools to room temperature.
This gives structure and stability for ultra smooth frosting.
Switch to medium speed and add softened butter a piece at a time. The mixture may look curdled, then suddenly turn silky.
Keep beating until it becomes spreadable and fluffy.
Season with vanilla and salt, or blend in melted cooled chocolate, fruit puree, or espresso. The mixer handles the long, steady whipping that makes this foolproof.
You get a frosting that is less sweet with a luxurious sheen and perfect piping definition.
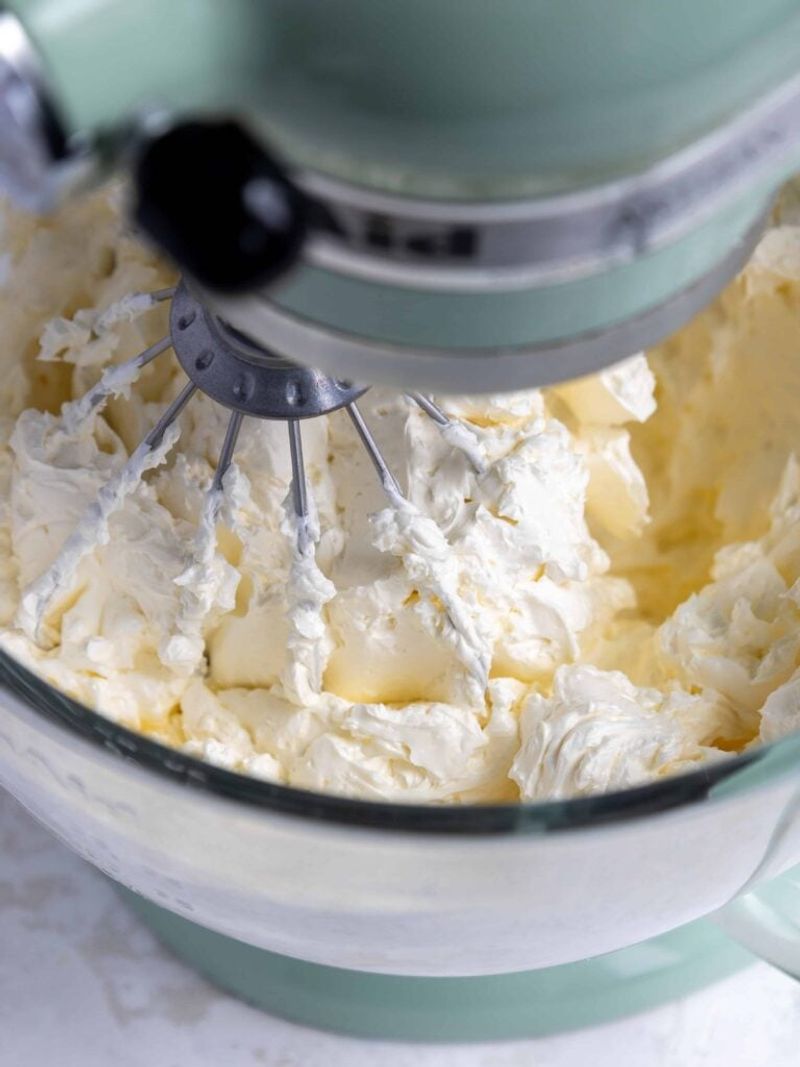
6. Cream Cheese Frosting
Beat cool but pliable cream cheese with butter until completely smooth. The stand mixer quickly eliminates lumps, which is the secret to that bakery finish.
Add powdered sugar gradually on low so it stays fluffy, not gluey.
Mix in vanilla and a pinch of salt to sharpen flavors. If you need it stiffer for piping, chill briefly or add a touch more sugar.
For tangier frosting, use less sugar and beat longer.
This frosting is perfect for carrot cake, red velvet, cinnamon rolls, and snack cakes. The mixer saves your arms and keeps texture consistent.
Spread generously and store leftovers chilled. Rebeat briefly to restore that silky, spreadable finish before serving.
7. Whipped Ganache Frosting
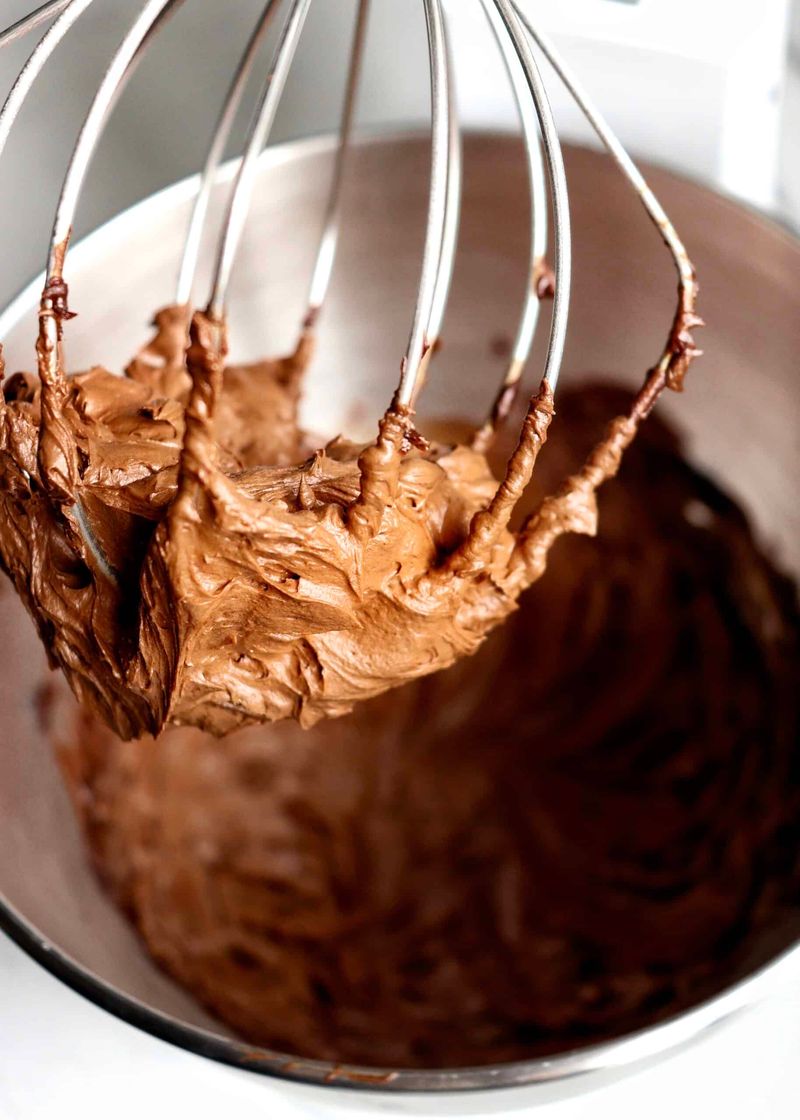
Make ganache by pouring hot cream over chopped chocolate, then let it sit before stirring until glossy. Cool until thick like soft peanut butter.
Transfer to the stand mixer and whip until pale, airy, and spreadable.
Be patient and watch closely so you do not overwhip. The texture should hold swoops but remain silky.
Add a pinch of salt and vanilla to round out the chocolate.
Use it for cupcakes, layer cakes, or sandwich cookies. The mixer creates a luscious frosting that feels decadent yet light.
If it gets too soft, chill briefly and rewhip. For deeper flavor, blend in espresso or swap part of the cream for stout.
8. Homemade Whipped Cream
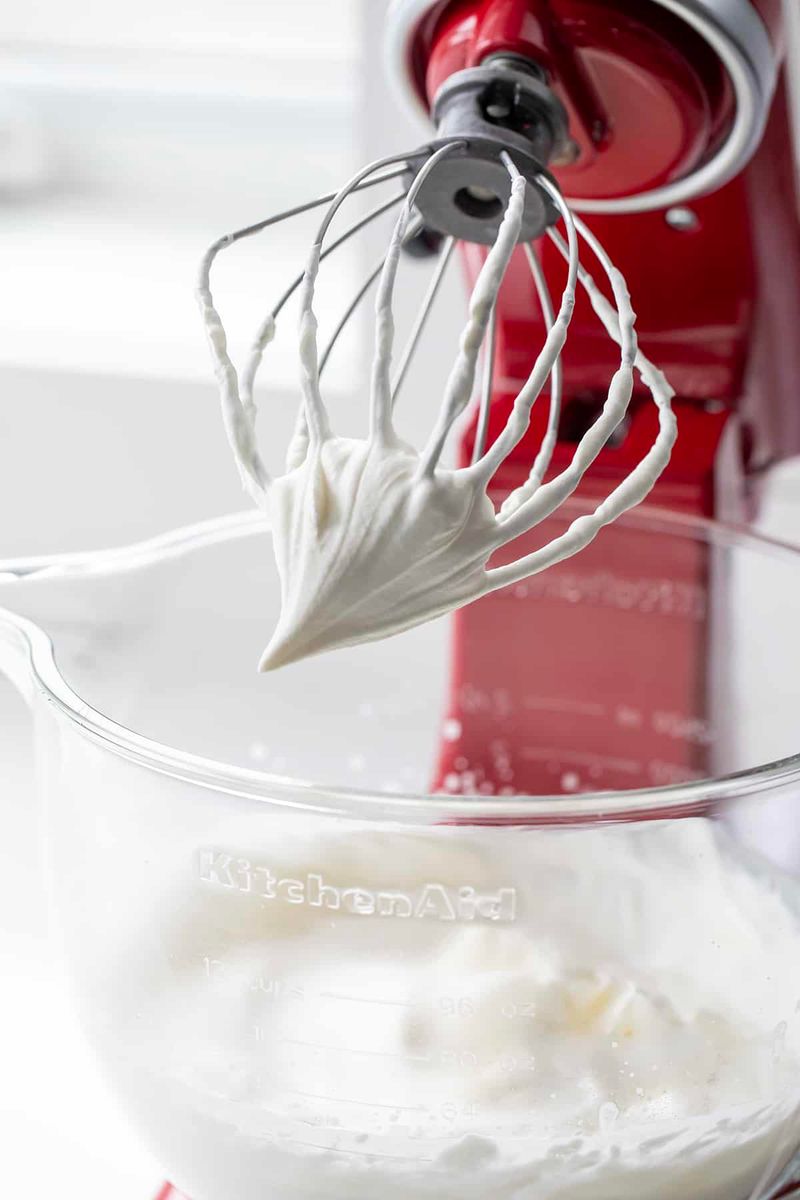
Chill the bowl and whisk, then pour in cold heavy cream. Beat on medium until the whisk leaves faint trails.
Add sugar and vanilla, then continue to soft or stiff peaks depending on how you will use it.
The mixer makes quick, stable whipped cream without arm fatigue. Stop just shy of overwhipped and finish by hand if needed.
If it goes too far, fold in a splash of cream to loosen.
Use on pies, shortcakes, hot cocoa, or fresh berries. For longer hold, add a spoon of mascarpone or a bit of gelatin.
Freshly whipped tastes cleaner than canned and pipes beautifully.
9. Choux Pastry For Cream Puffs
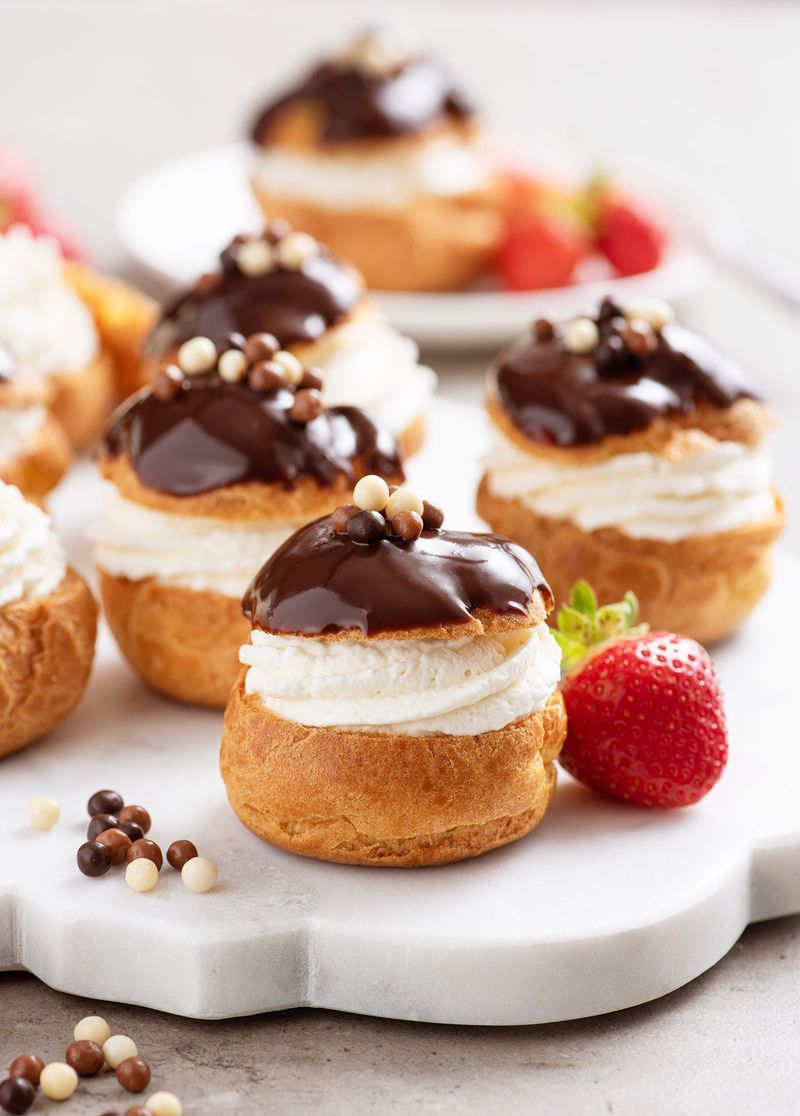
Cook flour, water, butter, and salt into a panade on the stove. Transfer to the stand mixer and beat briefly to cool.
Add eggs one at a time until the dough turns glossy and falls in a V shape from the paddle.
Piping becomes easier when the texture is perfect, and the mixer helps you nail it. Bake with a burst of high heat, then reduce so the centers dry.
Do not rush the final minutes.
Fill with pastry cream or whipped cream and finish with powdered sugar or a chocolate glaze. The mixer removes the guesswork from incorporating eggs evenly.
Expect impressive lift and hollow interiors ready for generous filling.
10. Brioche
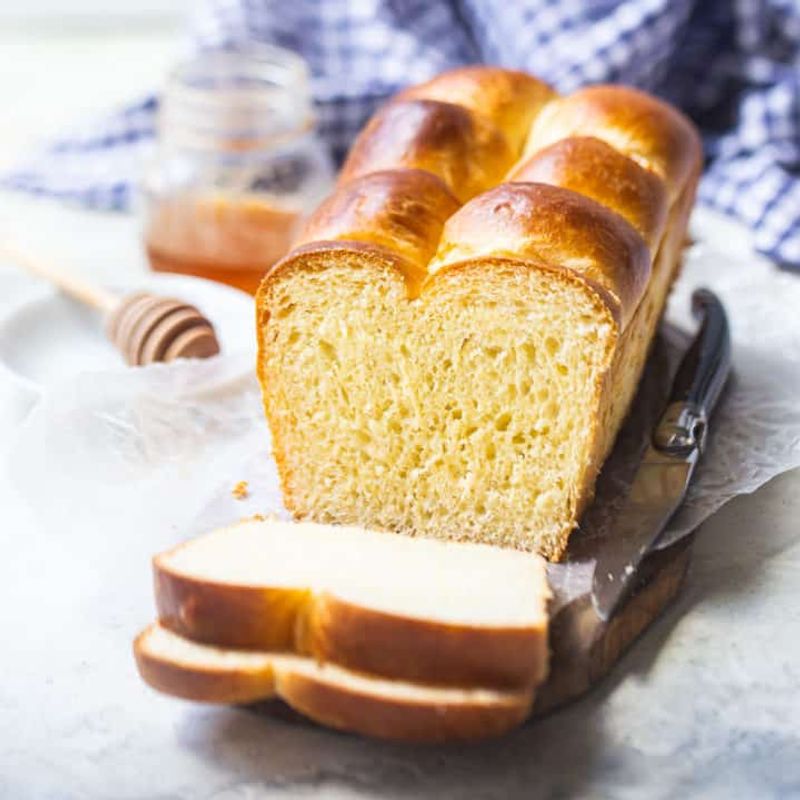
Brioche needs extended mixing to develop gluten while incorporating lots of butter. Start with a shaggy dough, then add softened butter gradually with the mixer on medium low.
Keep going until the dough is smooth, elastic, and pulls cleanly from the bowl.
Proof until puffy, chill to firm, and shape into loaves or buns. The cold rest makes handling easy and improves flavor.
Bake until deeply golden and fragrant.
The stand mixer turns a daunting project into a weeknight doable dough. Expect feather light crumb and rich flavor.
Serve as toast, French toast, burger buns, or jam carriers. Leftovers freeze beautifully and revive with a gentle warm up.
11. Cinnamon Rolls
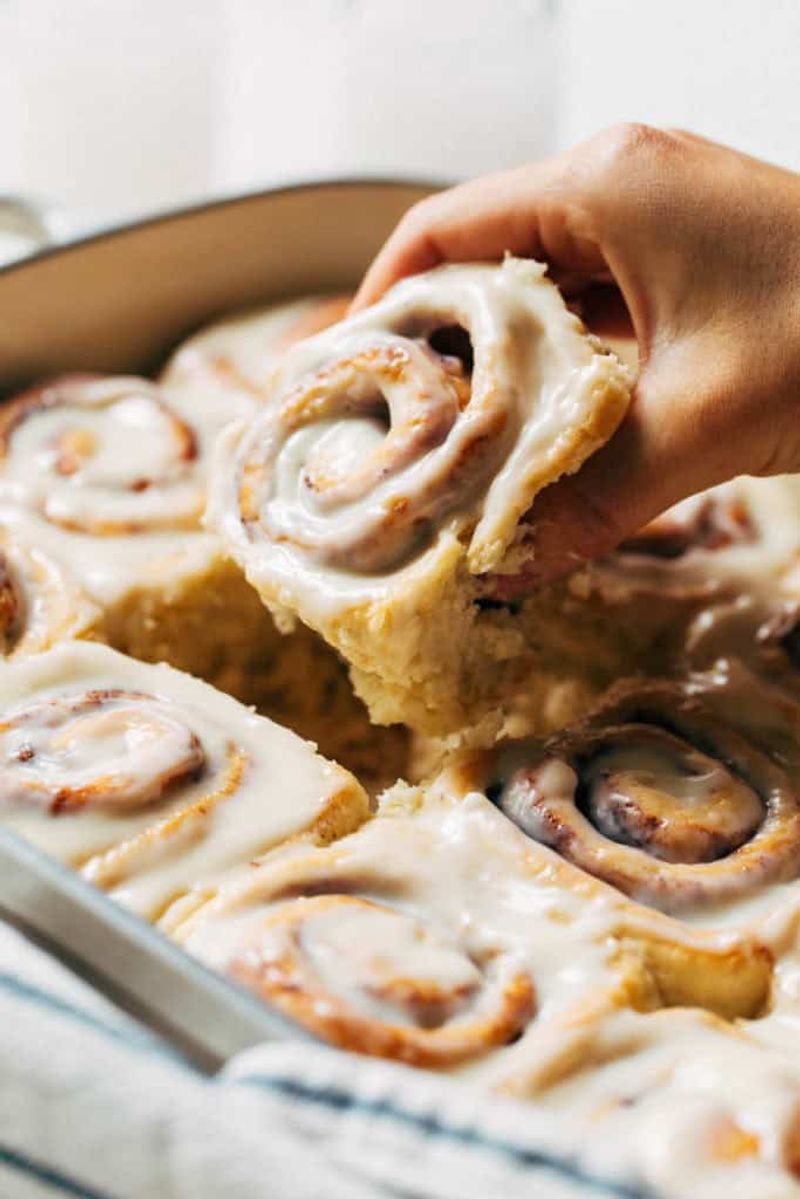
Mix a tender dough in the stand mixer until smooth and stretchy. Let it rise, then roll into a rectangle and spread with butter, brown sugar, and cinnamon.
Roll up tightly and slice even spirals using dental floss for clean cuts.
Proof until puffy and bake until golden with gooey centers. While warm, top with cream cheese frosting whipped in the mixer for extra smoothness.
The whole process becomes tidy and fast with consistent results.
Use milk or buttermilk, add cardamom, or stud with raisins or pecans. The mixer handles kneading and frosting effortlessly.
Expect bakery worthy swirls that pull apart in soft layers and make mornings unforgettable.
12. Pizza Dough
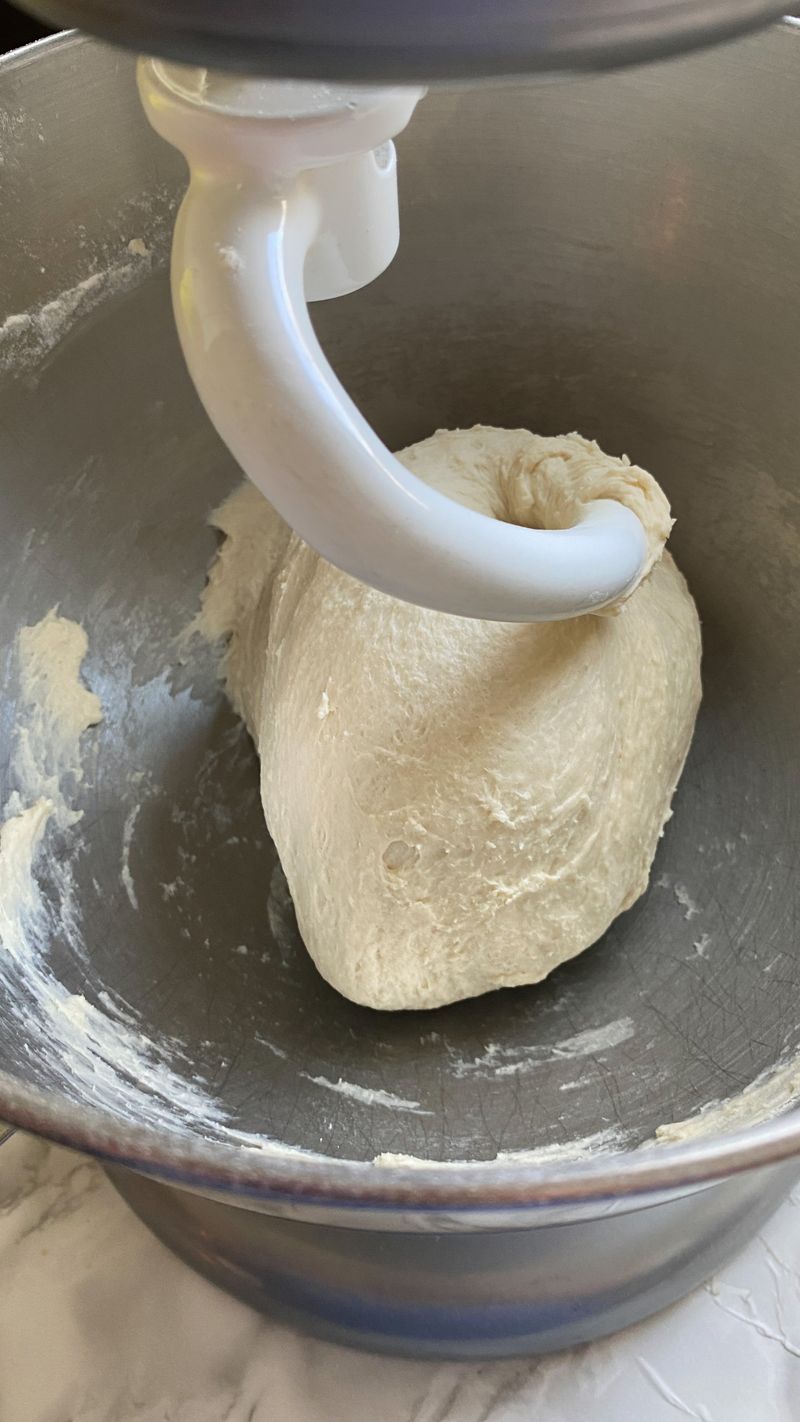
Combine flour, water, yeast, and salt, then let the mixer knead until smooth and bouncy. Minimal mess, dependable gluten development, and no tired arms.
Rest the dough to relax, then portion and cold ferment for flavor.
Bring to room temp, stretch gently, and top lightly. Bake on a steel or stone for leopard spotting and crisp edges.
The mixer gives you identical dough balls for consistent pizzas every time.
Freeze extra portions so pizza night is always near. Use bread flour for chew or tipo 00 for tenderness.
A short knead, long rest strategy makes the most of your mixer and your schedule.
13. Focaccia
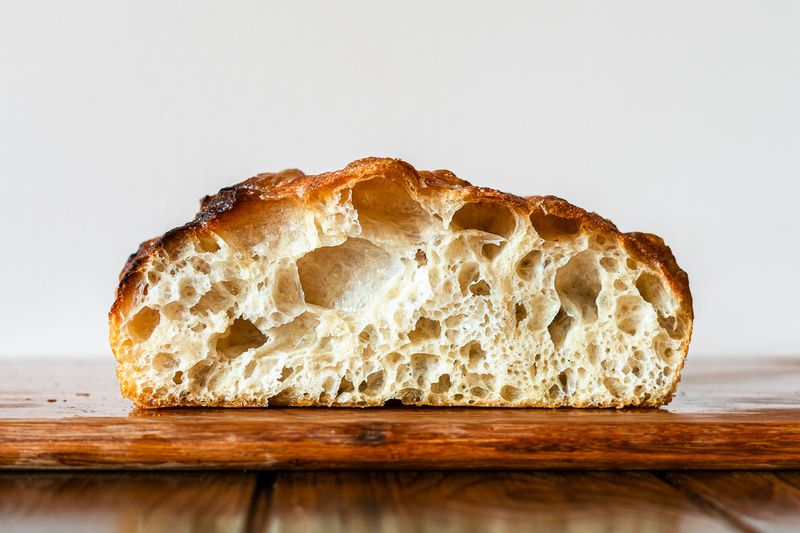
This sticky, high hydration dough is easier with a stand mixer. Let it beat and slap until smooth and elastic.
The dough strengthens without you wrestling it by hand.
Proof in plenty of olive oil, then stretch into a pan. Dimple with oiled fingers, scatter flaky salt, and add toppings like rosemary, tomatoes, or olives.
Bake until the surface turns deeply golden and crisp.
You get an airy, custardy interior with a crackly crust. The mixer ensures consistent gluten development and big bubbles.
Serve warm, tearable, and perfect for sandwiches or dipping plates.
14. Soft Pretzels
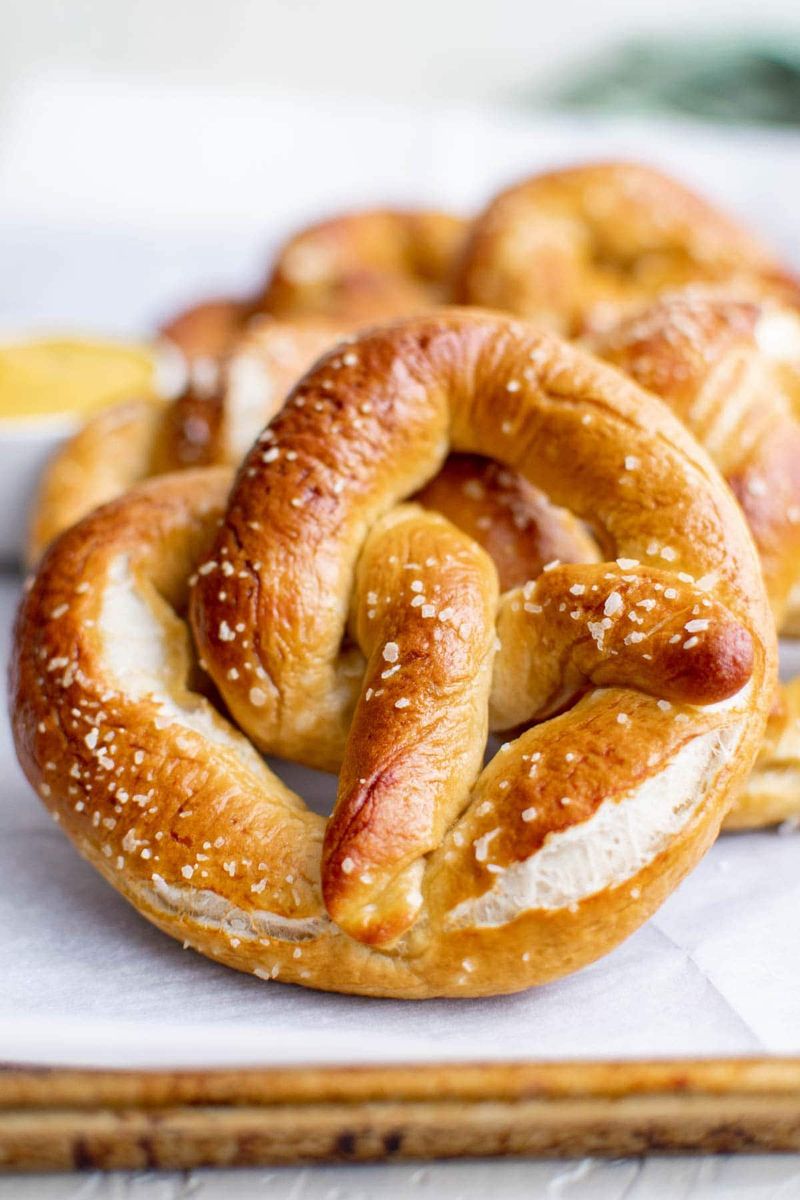
Pretzel dough benefits from a strong, even knead. The mixer develops structure quickly so shaping ropes is easier.
After a brief rise, roll, twist, and give each pretzel a baking soda bath for that signature chew.
Bake until mahogany brown and glossy. Brush with melted butter and sprinkle with coarse salt.
The stand mixer helps create consistent tension in every twist for uniform results.
Serve with mustard or cheese sauce, or go sweet with cinnamon sugar. Freeze well and rewarm for parties.
Once you try mixer kneading, pretzels become a fun, low stress weekend bake.
15. Bagels
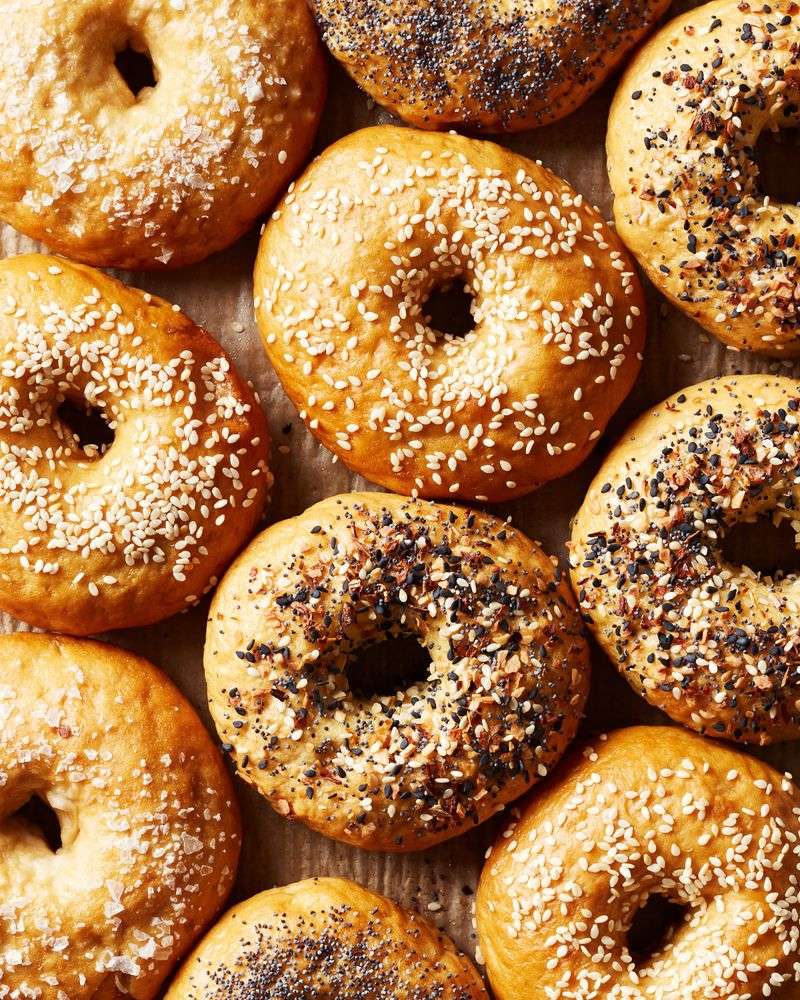
Bagel dough is intentionally stiff, which is why the stand mixer shines. Mix and knead until smooth and tough, then rest.
Shape tight rings, proof briefly, and boil in water with malt or honey for classic chew.
Bake until glossy and deeply browned. The mixer ensures even gluten development, giving that satisfying bite.
Top with sesame, poppy, everything seasoning, or keep them plain for breakfast sandwiches.
Cold ferment overnight to deepen flavor. You will get bagels that rival your favorite shop.
Slice, toast, and smear with cream cheese or butter. Batch freeze for grab and go mornings without losing texture.
16. Dinner Rolls
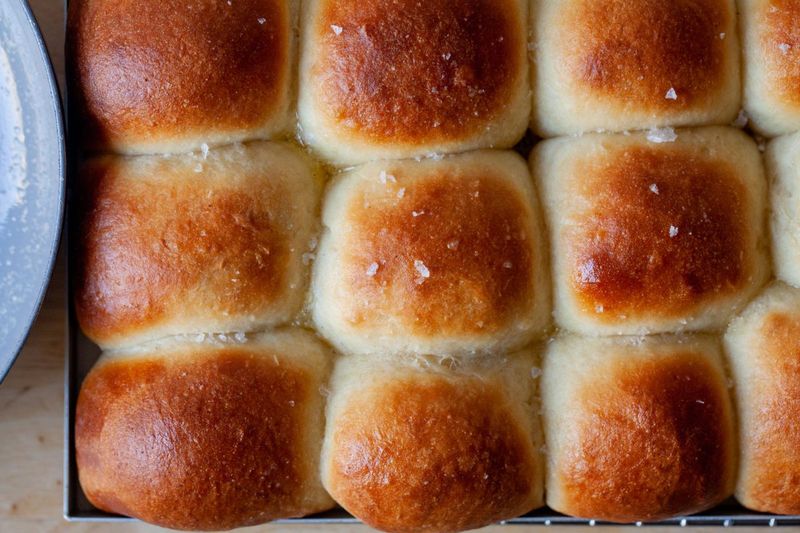
Use the dough hook to mix a soft, enriched dough until silky and smooth. The mixer builds gluten gently for that cloud like crumb.
After the first rise, portion evenly and shape tight balls for pull apart perfection.
Proof until puffy and bake until golden. Brush with butter and a sprinkle of flaky salt.
The stand mixer guarantees uniform texture so every roll tastes bakery fresh.
Add milk powder for extra tenderness or swap honey for sugar. These rolls pair with everything from soups to holiday roasts.
They freeze well and reheat fluffy, making them a reliable crowd pleaser on any schedule.
17. Homemade Pasta Dough
Some mixers can knead pasta dough efficiently, especially for larger batches. Combine eggs, flour, and a pinch of salt, then let the mixer bring it together.
Knead until smooth and elastic, adjusting with flour or water by teaspoons.
Wrap and rest so the gluten relaxes. Roll by hand crank or attachments, dusting with semolina.
Cut into ribbons, sheets, or shapes and cook in heavily salted water.
The mixer reduces hand strain and delivers consistent hydration. Fresh pasta cooks in minutes and feels luxurious.
Use for carbonara, ragu, or butter and sage. If your mixer strains, finish kneading by hand to protect the motor.
18. Mashed Potatoes Whipped Style
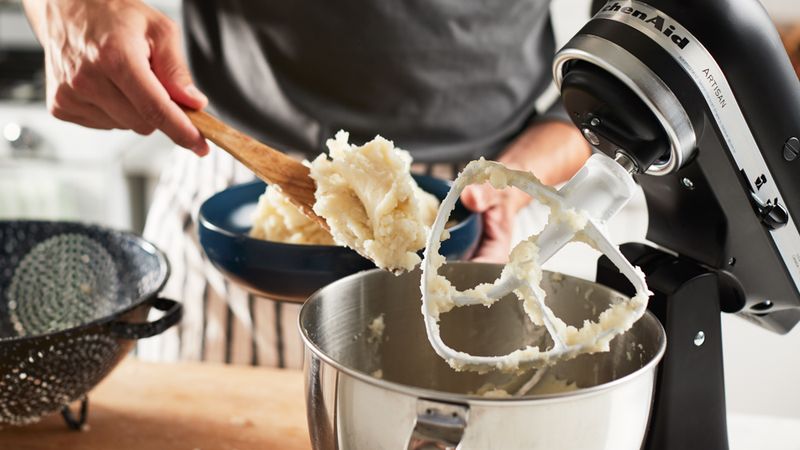
Use the paddle, not the whisk, to avoid gumminess. Rice hot potatoes, then beat with warm butter and cream on low.
The mixer yields a smooth, whipped texture quickly, ideal when serving a crowd.
Season with plenty of salt and a grind of pepper. Avoid overmixing once the starches release.
A final splash of cream and a knob of butter make them restaurant plush.
Top with chives, gravy, or roasted garlic. For extra stability, mix in mascarpone or sour cream.
The stand mixer keeps everything hot and homogeneous, so every spoonful feels luxurious without heavy lifting.
19. Shredded Chicken Or Pulled Pork

Place warm cooked chicken or pork in the mixer bowl with the paddle. Turn on low and watch it shred in seconds.
It is almost comically effective and saves serious time for meal prep.
Toss with barbecue sauce, salsa verde, or broth to keep it juicy. This method creates evenly shredded pieces perfect for tacos, sandwiches, bowls, or soups.
Work in small batches so you do not overwork the meat.
Store extra in the fridge or freezer for instant dinners. The stand mixer turns leftovers into effortless fillings.
You will never go back to two forks again once you try this simple hack.
20. Meatballs Gentle Mix
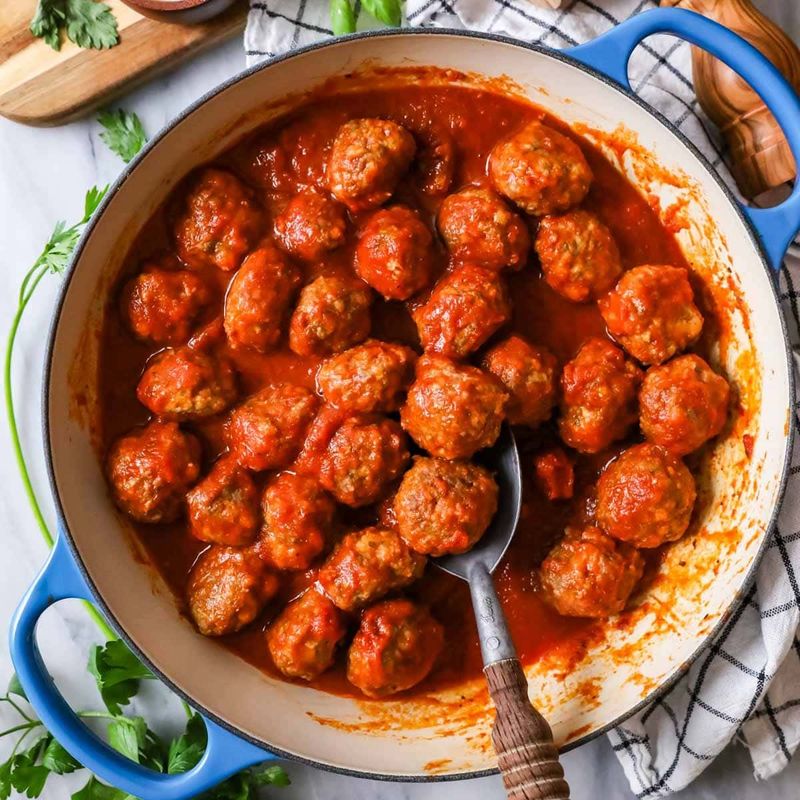
Add ground meat, soaked breadcrumbs, eggs, grated onion, and seasonings to the mixer bowl. Use the paddle on low and mix just until combined.
This keeps the texture tender instead of rubbery.
Portion with a scoop for uniform cooking. Bake or pan sear, then finish in sauce.
The mixer distributes ingredients evenly, so every bite tastes balanced and juicy.
Try a mix of beef and pork, or go turkey with extra olive oil. Fold in parmesan and parsley for Italian style.
Freeze raw or cooked for quick dinners. Gentle mixing is the secret weapon for pillowy meatballs.