How To Bake Sourdough Bread From Start To Finish
You can bake sourdough that looks and tastes like a bakery loaf, right from your kitchen. This step by step guide keeps things simple, practical, and forgiving so you can relax and enjoy the process.
Along the way, you will learn what to look for at each stage so timing feels less mysterious. By the end, you will pull a crusty, tangy loaf from the oven and feel proud you made it yourself.
1. Make Sure Your Starter Is Ready

Feed your starter and let it rise until puffy, bubbly, and pleasantly tangy. You are looking for clear signs of activity: a domed top, visible bubbles, and a light, airy texture when stirred.
A spoonful should look webby and alive.
Do not stress the float test. Temperature, flour choice, and hydration can affect it.
Instead, trust the look, smell, and rise line on the jar. If it has peaked and only just begun to recede, you are right on time.
2. Mix the Dough

In a large bowl, stir 350 g water with 100 g lively starter until cloudy and mostly dissolved. Add 500 g total flour, ideally 450 g bread flour and 50 g whole wheat for flavor and strength.
Mix with your hand or a dough whisk until no dry bits remain.
The dough will look shaggy and messy, which is perfect. Scrape down the sides and cover the bowl.
Resting is coming next. Keep your expectations low for now, because the dough will transform dramatically later.
3. Rest (Autolyse) 30–60 Minutes
Cover the bowl and let the dough rest for 30 to 60 minutes. This simple pause hydrates the flour so gluten begins forming on its own, saving you effort later.
You will notice the dough softening and smoothing without any kneading.
Use this time to tidy the counter, prep salt, and relax. If your schedule is busy, lean toward 30 minutes.
If you can spare it, go to 60 minutes for extra extensibility. Either way, you will feel the difference during folds.
4. Add Salt
Sprinkle 10 g salt over the rested dough. Pinch and fold it through until evenly distributed, using wet hands if the dough feels tight or sticky.
You should feel it become sleeker and slightly stronger as salt integrates.
Salt controls fermentation and strengthens gluten, so do not skip it. Keep folds gentle to avoid tearing.
If sticking gets annoying, lightly dampen your fingers again and continue. When the salt dissolves and the dough feels cohesive, cover the bowl and get ready for bulk fermentation.
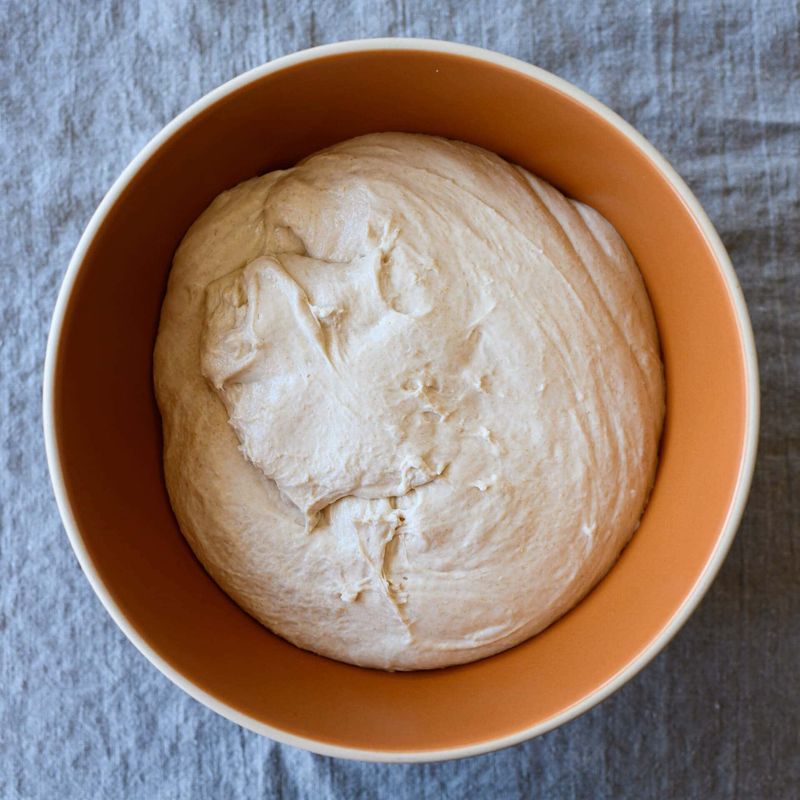
5. Bulk Fermentation + Stretch and Folds
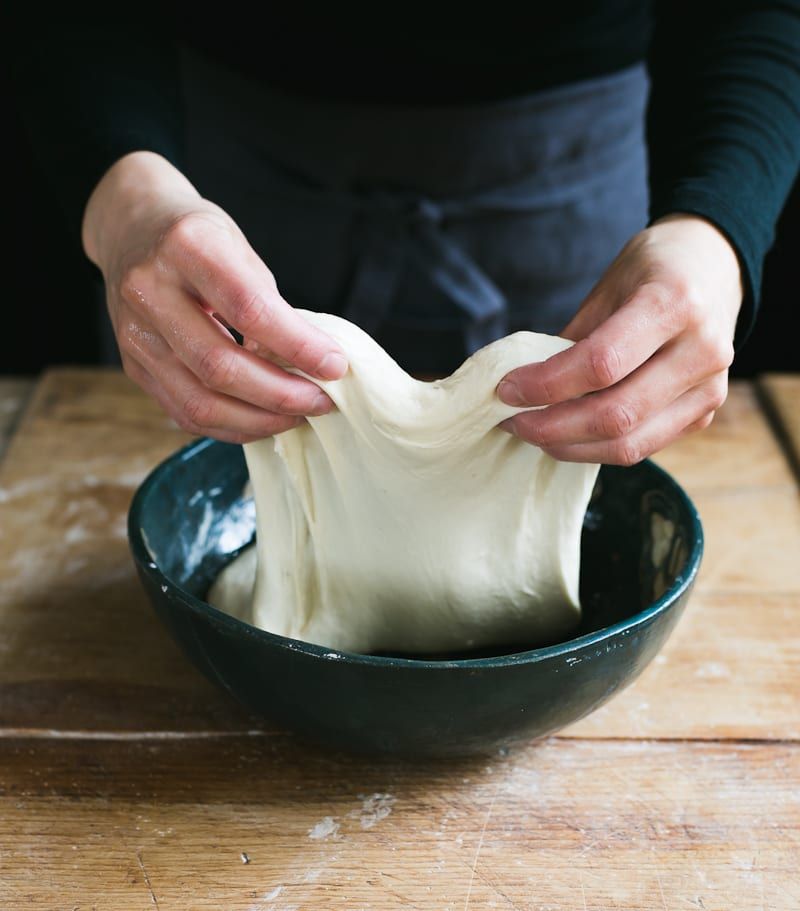
For the first two hours, perform 3 to 4 rounds of stretch and folds every 30 minutes. Wet your hand, lift one edge up, fold over the center, rotate, and repeat four times like folding a square.
Each round should make the dough feel bouncier.
Afterward, let it rise undisturbed until ready. Look for a smoother surface, puffy sides with bubbles, a gentle jiggle, and a 30 to 70 percent rise.
Exact time depends on temperature. Trust the signs more than the clock.
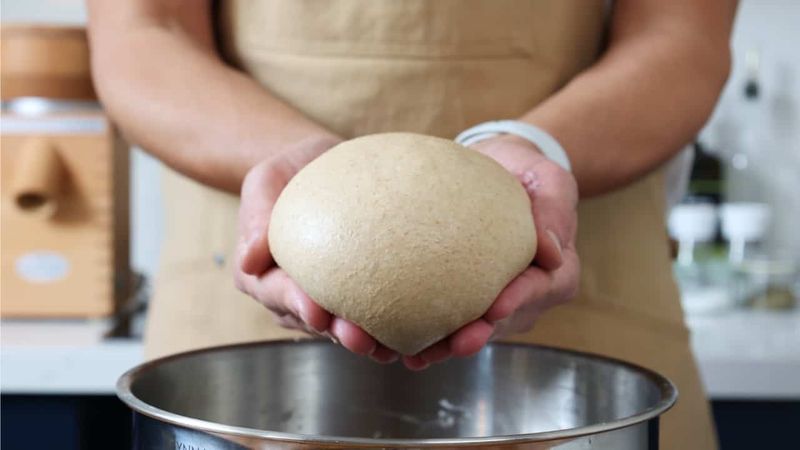
6. Pre-Shape (Optional but Helpful)
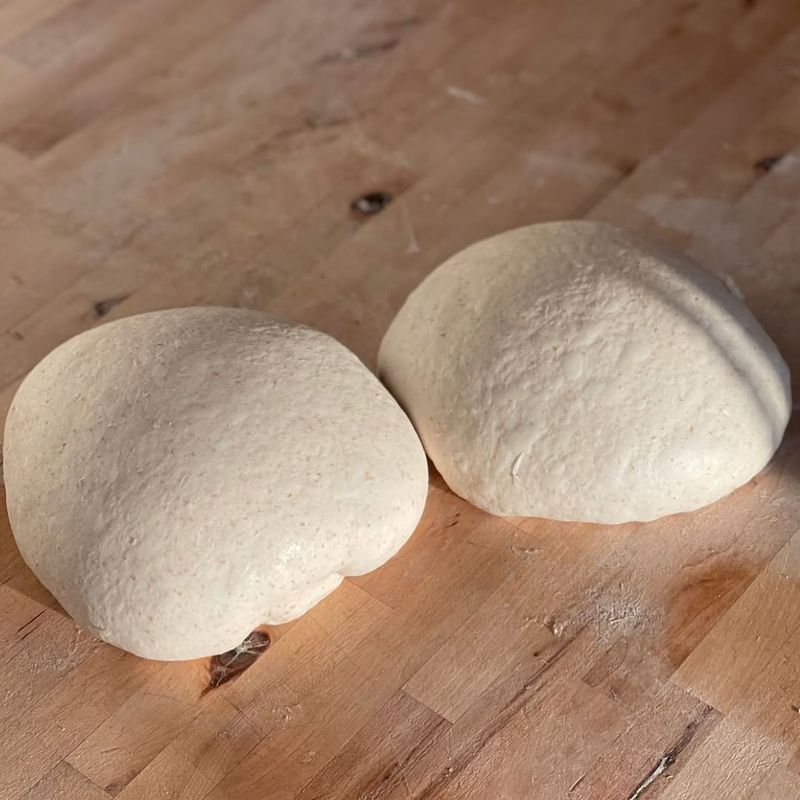
Lightly flour the counter and turn out the dough. Use your hands or a bench knife to gently round it into a loose ball, tucking edges underneath.
You are not tightening fully yet, just organizing the dough into a cohesive shape.
Let it rest 15 to 20 minutes, uncovered. This bench rest relaxes gluten, making the final shape easier and cleaner.
If the dough spreads too much, do not worry. A confident final shape will restore tension and structure beautifully.
7. Final Shape
Choose a boule for round or a batard for oval. On a barely floured or slightly damp surface, pull the dough toward you to build tension, then tuck edges underneath.
Aim for a smooth top without tearing the skin.
Use confident, gentle movements and stop before over tightening. If it resists and tears, rest it five minutes and try again.
Good shaping sets you up for taller oven spring and prettier scoring later. Trust your hands and breathe.
8. Proof
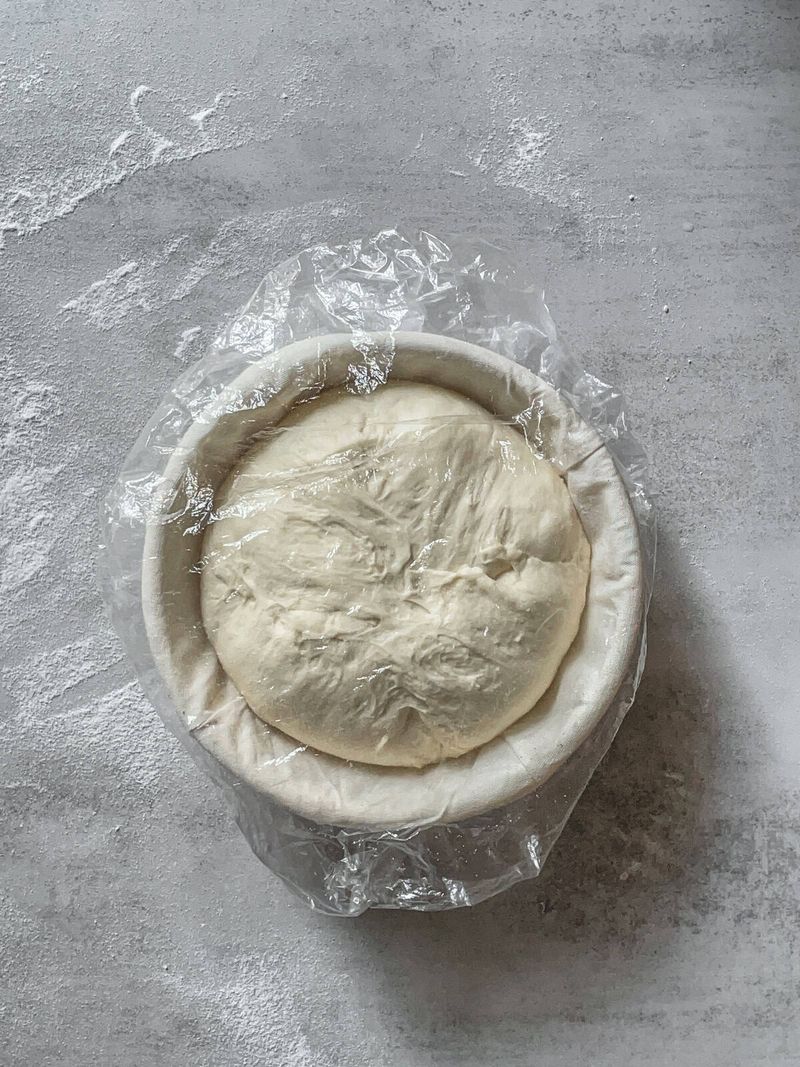
Place the dough seam side up in a floured, towel lined bowl or banneton. For room temperature proof, let it sit 1 to 2 hours until slightly puffy.
For the cold proof, cover and refrigerate 8 to 16 hours for better flavor and easier scoring.
Choose what fits your schedule. The cold proof is forgiving and develops complexity while firming the dough.
If it over proofs slightly, colder dough still bakes well. When gently pressed, it should spring back slowly, not instantly.
9. Preheat Oven + Dutch Oven
Place your Dutch oven with lid into the oven and preheat to 475 F, or 245 C. Give it at least 30 to 45 minutes to heat thoroughly.
This ensures powerful steam and excellent oven spring when the dough hits the pot.
Double check with an oven thermometer if your bakes run pale or slow. A properly preheated pot helps create that shiny, blistered crust you love.
Prepare parchment, lame or razor, and heat safe gloves now so the next step feels smooth and safe.
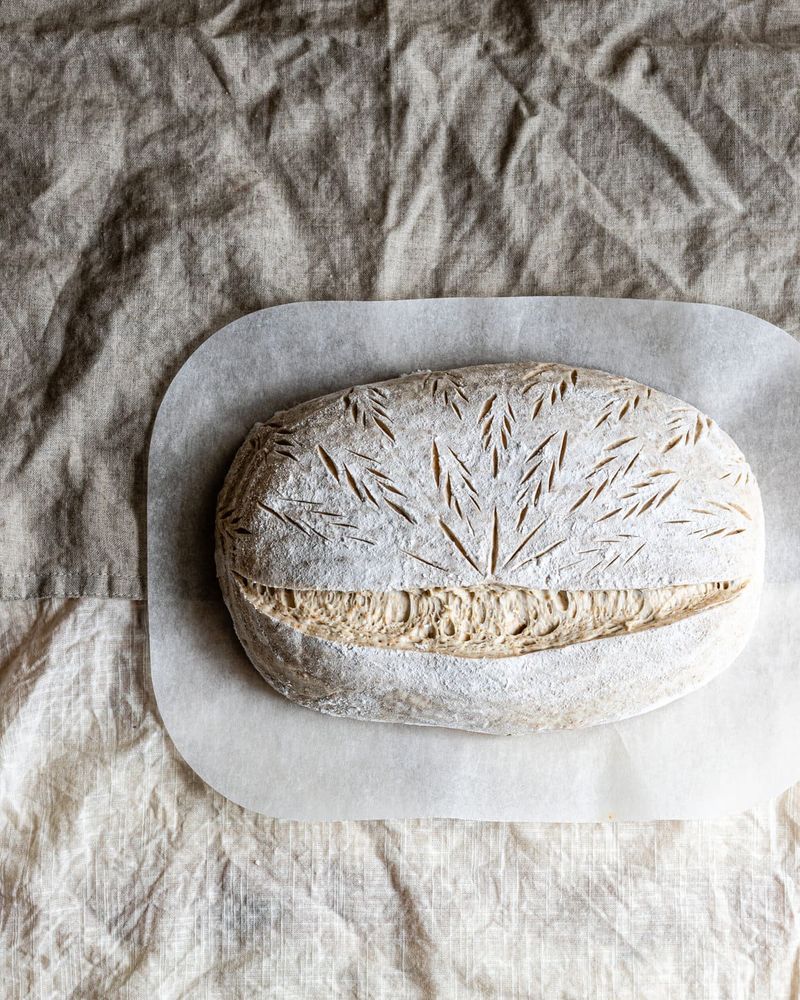
10. Score and Bake
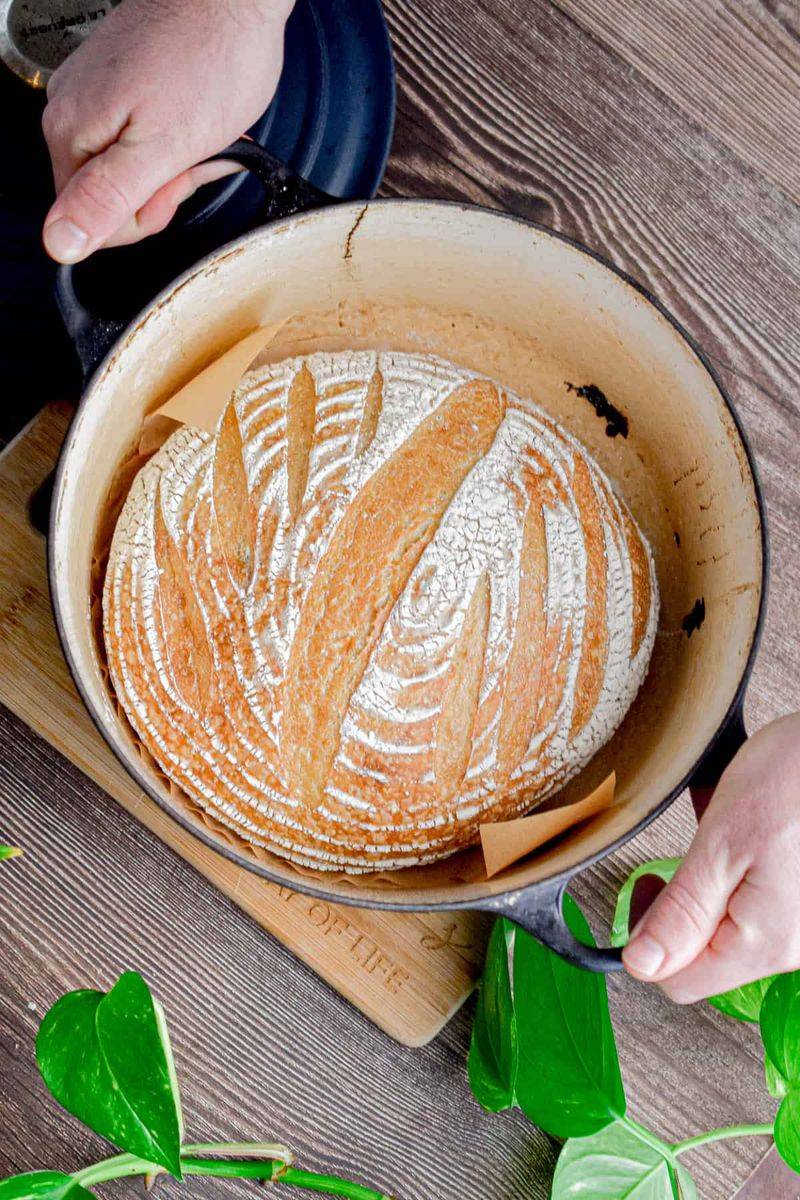
Turn the dough onto parchment or carefully into the hot pot seam side down. Score the top with a sharp blade, one confident, deep slash is enough for great bloom.
Cover and bake 20 minutes at 475 F.
Remove the lid and lower to 450 F. Continue 20 to 25 minutes until the crust is deeply browned.
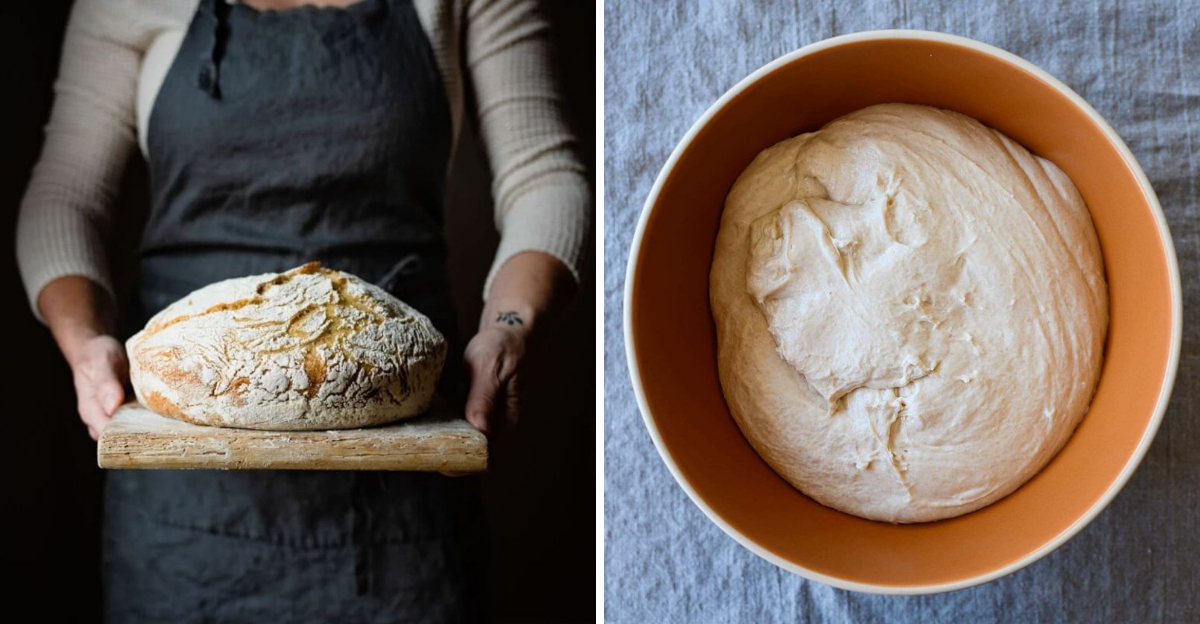
Color equals flavor, so push it darker than you think. Lift the loaf out and cool on a rack.
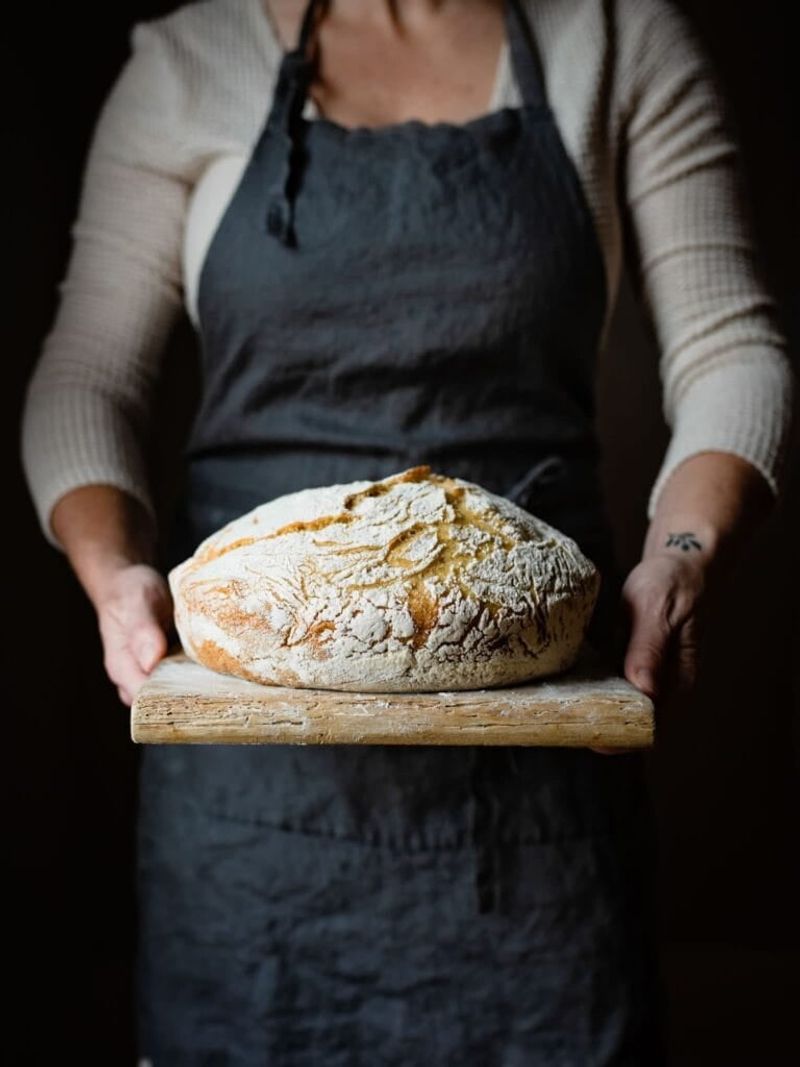
11. Cool Completely
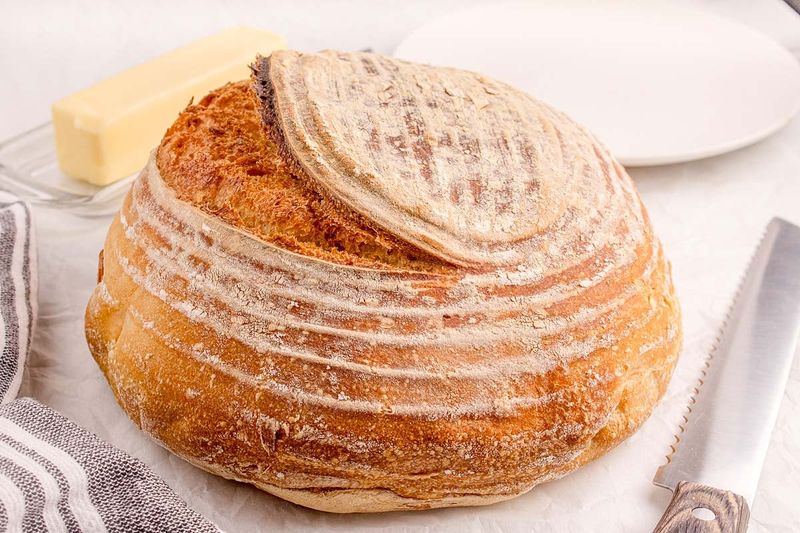
Resist slicing right away, even though it smells incredible. Let the loaf cool at least one hour on a wire rack so the crumb sets and moisture redistributes.
Cutting too soon can squash the structure and make the interior gummy.
Use your ears while it cools. That faint crackling is the crust singing as it contracts.
When the bottom no longer feels hot and the steam has settled, slice confidently. You earned this moment.
Enjoy the first warm piece with butter or olive oil.