Simple Methods For Reheating Frozen Food The Right Way
Frozen leftovers can taste brand new when you reheat them the right way. Skip the soggy, uneven results and use a simple method that fits what you are eating.
From perfectly crisp fries to juicy dumplings, a few small tweaks make a big difference. Let’s turn your freezer stash into hot, satisfying meals with minimal effort.
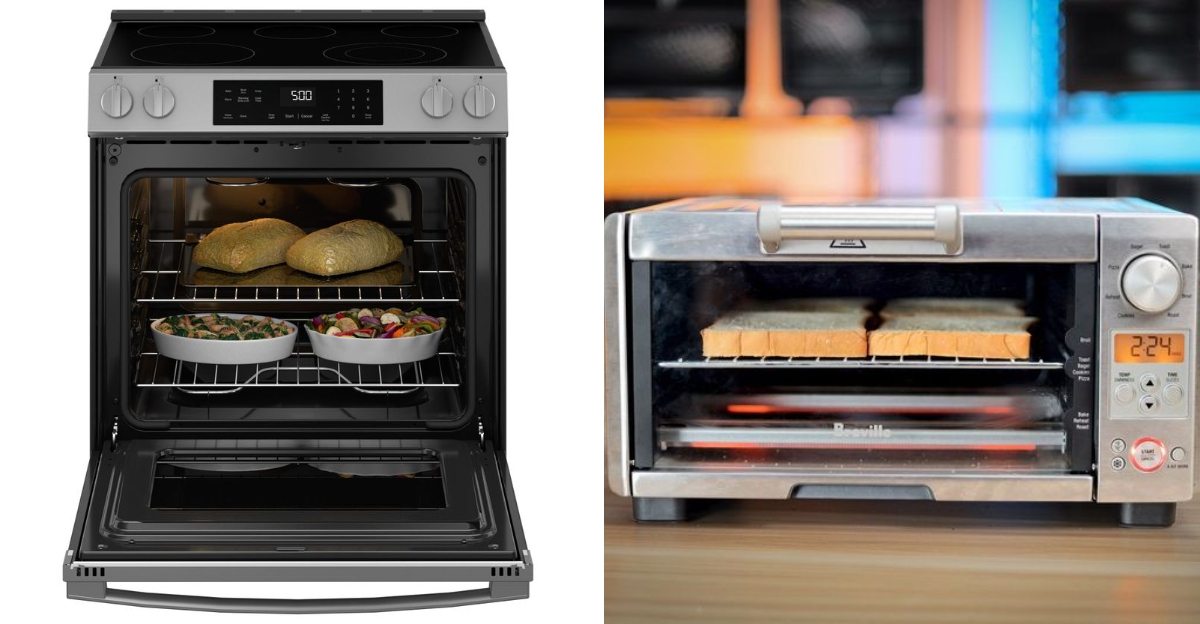
1. Oven for reliable crisp results
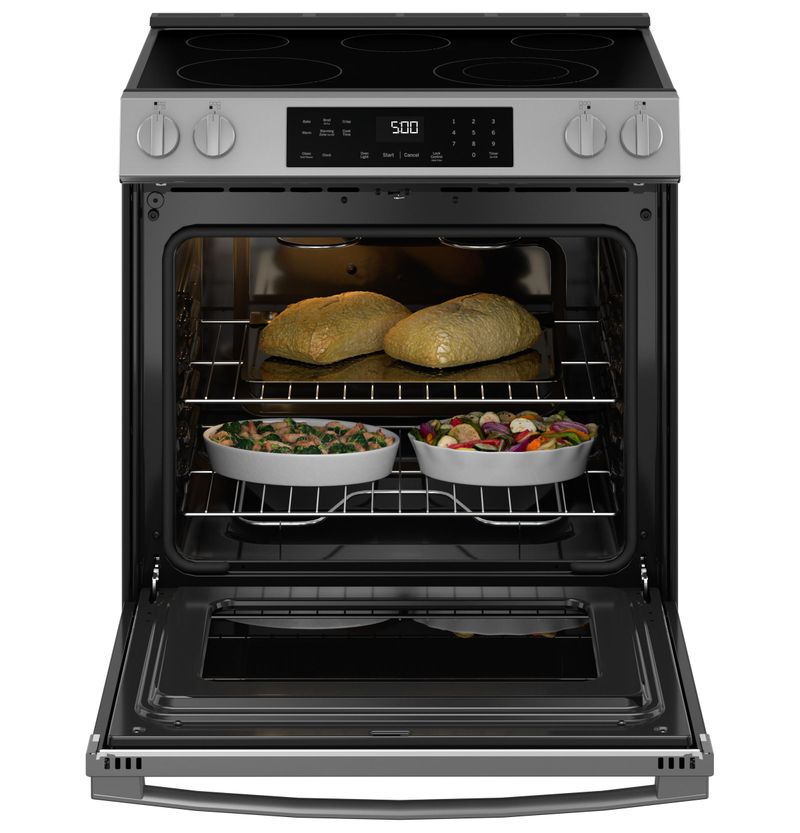
When you want true crisp, the oven is your best friend. Heat to 400°F or 200°C, or follow the box if provided.
Spread items in a single layer so hot air reaches every edge without steaming.
For casseroles with toppings, cover with foil first to heat through gently. Uncover at the end to brown and crisp.
Flip halfway for even color on pizzas, fries, nuggets, taquitos, and breaded fish.
Give it time and resist crowding. Preheating matters for consistent texture.
Use a rack over a sheet for airflow and extra crunch.
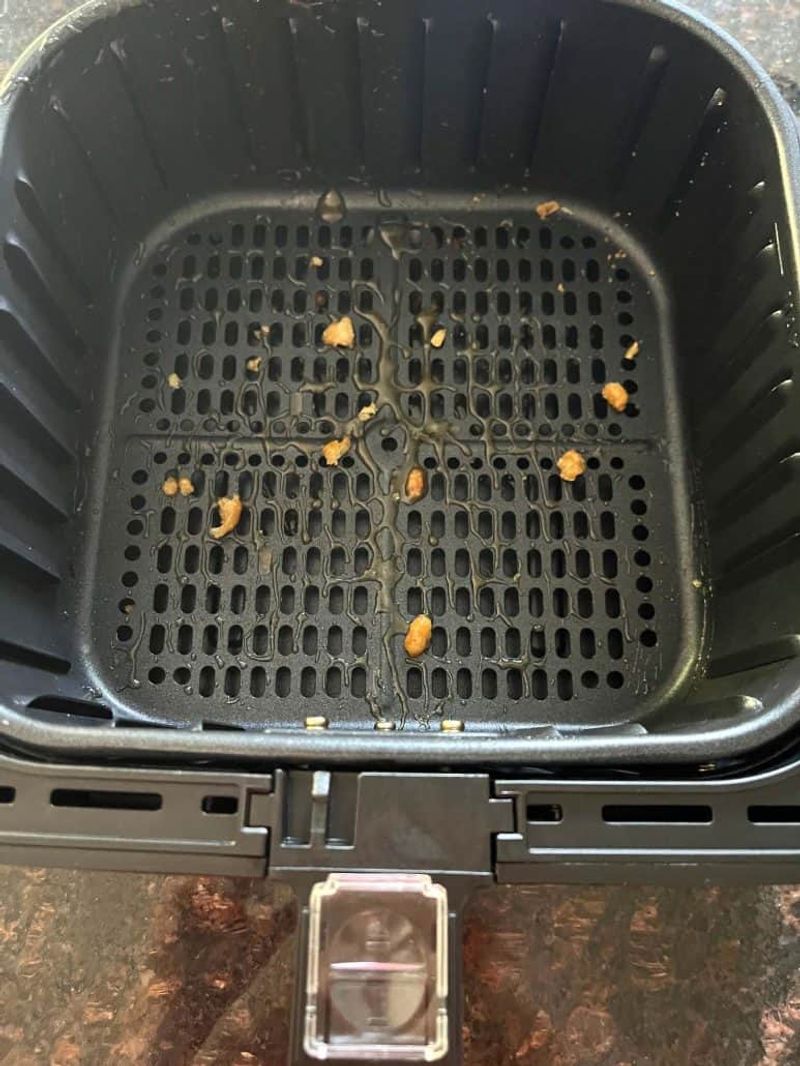
2. Air fryer for quick crispiness
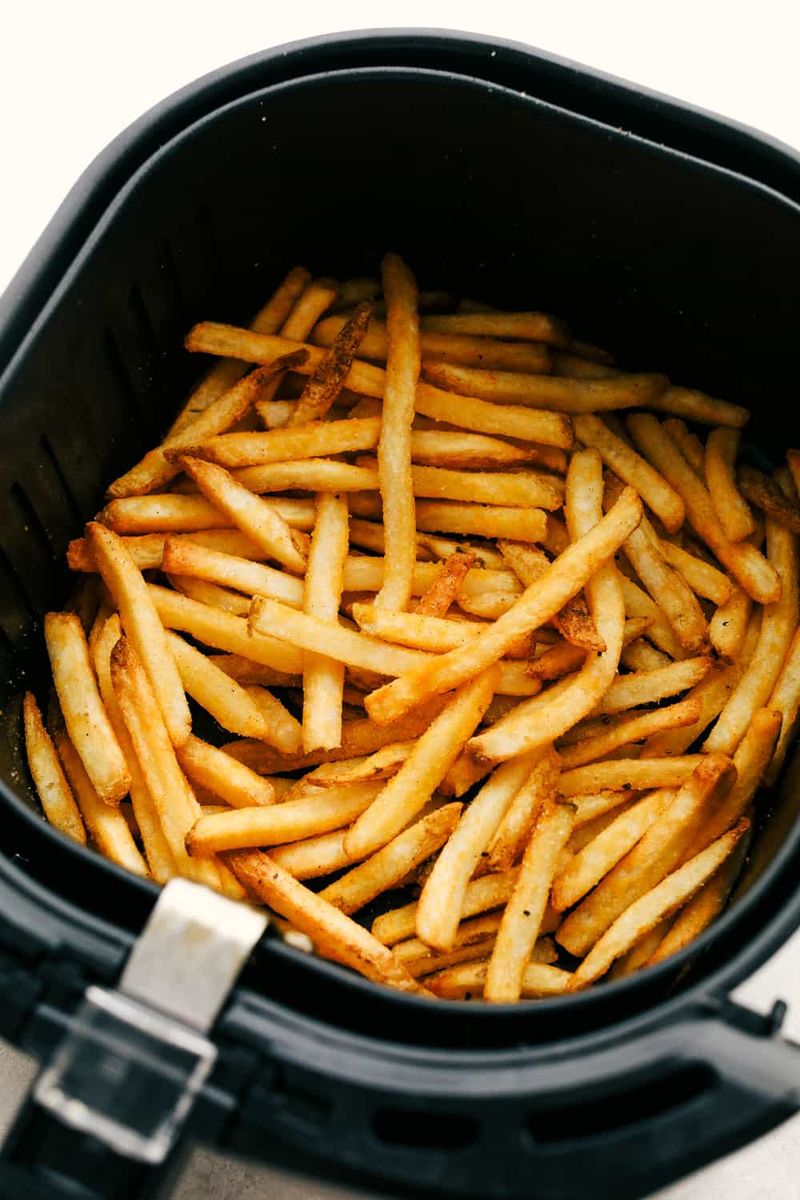
For speed and crunch, reach for the air fryer. Preheat if your model asks for it, then cook at 375 to 400°F.
Shake or flip halfway so every side crisps instead of steaming.
Do not overcrowd the basket. Space equals airflow, and airflow equals texture.
Fries, wings, and breaded snacks revive beautifully, and even yesterday’s pizza gets its edge back.
Use a light spritz of oil for dry items. Lower heat slightly for thick pieces.
Keep batches small for the best re-crisped bite.
3. Skillet for stellar texture on flats and dumplings
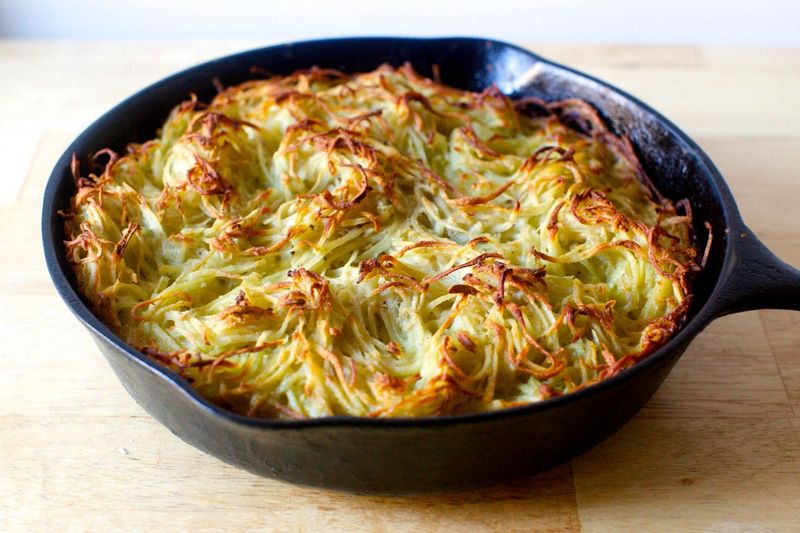
A skillet gives unmatched contact heat for flat foods and dumplings. Add a little oil or butter over medium heat.
Place frozen potstickers or pierogi in, then splash a bit of water and cover to steam through.
After a few minutes, uncover to finish crisping the bottoms. Quesadillas, frozen pancakes, and some breaded cutlets shine here.
The combo of steam and sear builds tender interiors and browned edges.
Do not crank heat too high or outsides burn before centers warm. Pat items dry if icy.
Flip once for even color.
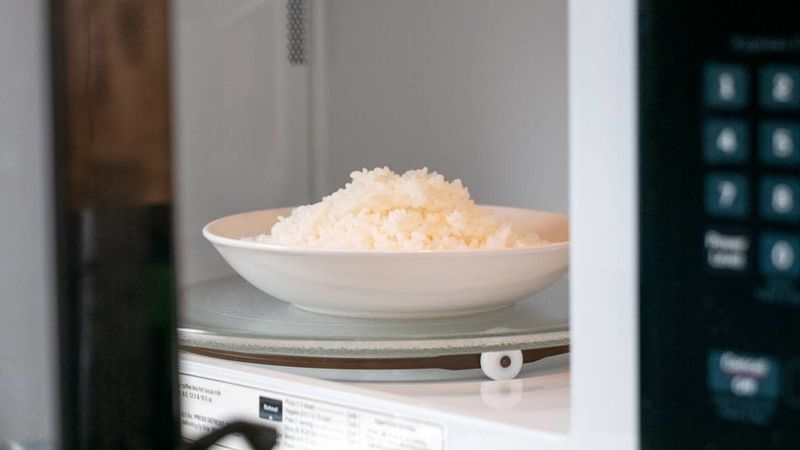
4. Microwave when softness is okay
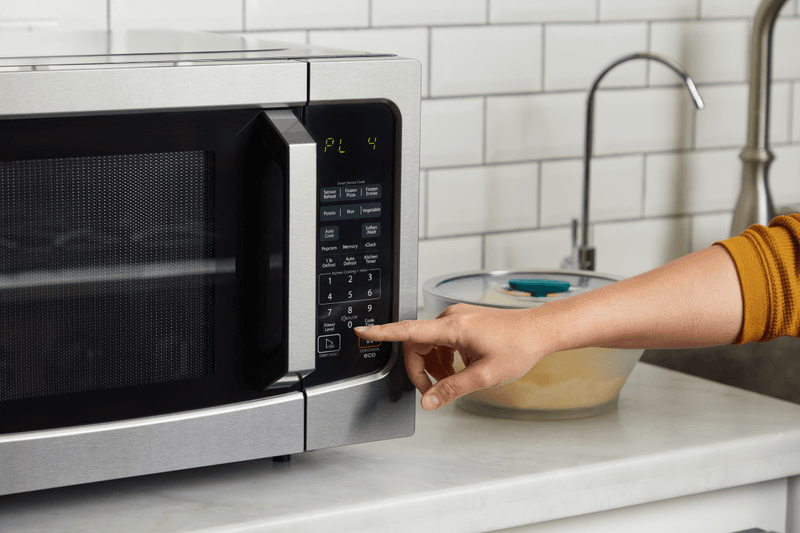
The microwave is great when you accept a soft texture. Think soups, rice bowls, mashed potatoes, saucy pastas, and steamed veggies.
Use medium power so heat moves inward instead of exploding edges.
Cover loosely to trap steam and prevent drying. Stir halfway for even warmth.
Add a splash of water or broth to rice and pasta to bring moisture back.
Short bursts beat long blasts. Let it rest a minute to finish heating evenly.
Adjust seasoning after reheating, since flavors mute slightly.
5. Microwave plus oven or air fryer combo

For thick items, combine methods for the best of both worlds. Microwave briefly to warm the core, then finish in the oven or air fryer to crisp the outside.
Burritos, taquitos, fried chicken, and hearty sandwiches transform this way.
Use medium power in the microwave, then jump to 400°F. A short, hot finish restores crunch while keeping the inside steamy.
Monitor closely to avoid drying.
Flip once for even browning. Rest a minute before biting to settle heat.
This two step approach saves time and rescues texture.
6. Steam for dumplings and fluffy buns

Steaming protects tenderness and moisture. Set a steamer over simmering water and add bao, dumplings, buns, or certain frozen breads straight from the freezer.
Keep a little space between pieces for circulation.
Steam until hot throughout and bouncy to the touch. No oil, no drying, just pillowy results.
Line with parchment or cabbage leaves to prevent sticking without sogginess.
Lift the lid away from you to avoid drips. Do not oversteam or fillings can split.
Serve immediately for the softest bite.
7. Toaster oven for small crispy batches
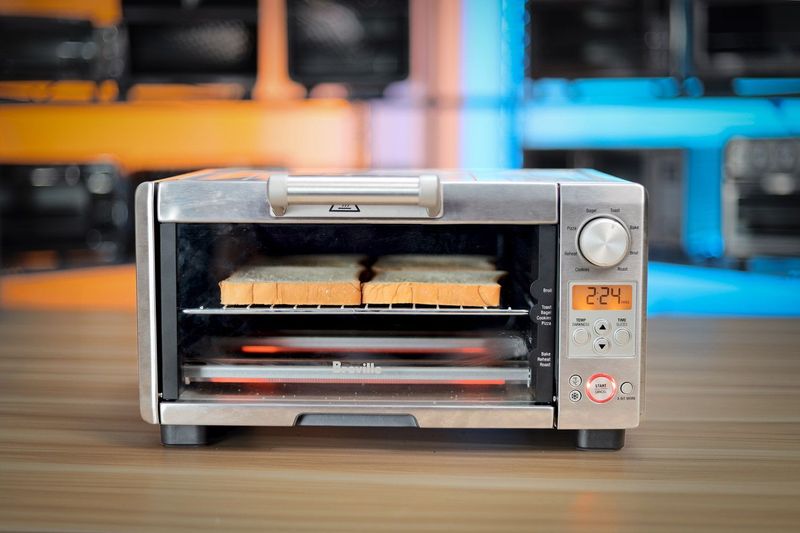
A toaster oven is the oven method scaled down. It heats faster, wastes less energy, and delivers excellent crisp for one or two servings.
Set to about 400°F and preheat for consistency.
Spread pieces in a single layer on a small tray or rack. Flip or shake halfway to color evenly.
Perfect for nuggets, tots, pizza slices, and mini spring rolls.
Watch closely since elements sit nearer to food. Use foil for easy cleanup but keep airflow.
It is ideal for late night cravings.
8. Do not thaw most frozen snacks first
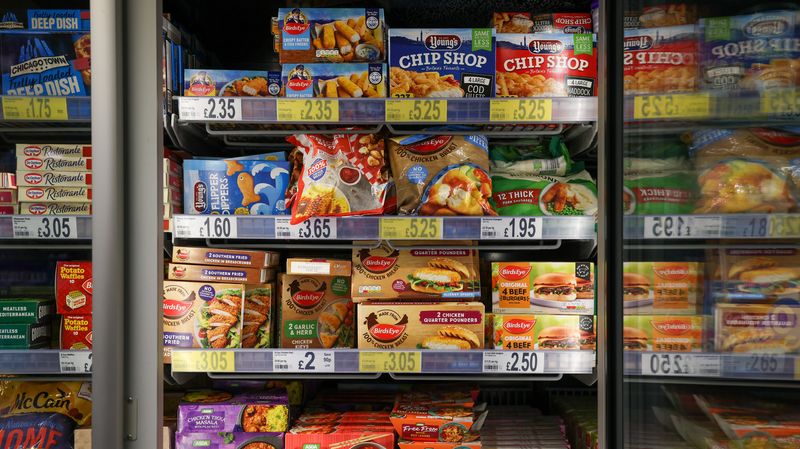
Thawing breaded snacks often ruins texture. Moisture seeps in, coatings turn gummy, and heating becomes uneven.
Go straight from freezer to heat unless the package clearly says otherwise.
Direct cooking preserves structure, keeps steam inside, and prevents sogginess. Ovens and air fryers thrive on that cold start contrast.
You get a crisper exterior and properly warmed center.
Pat off heavy ice crystals before cooking. If something seems dense, cook a touch longer rather than thawing.
Trust the label and keep that crunch.
9. Use foil or a lid for thick items
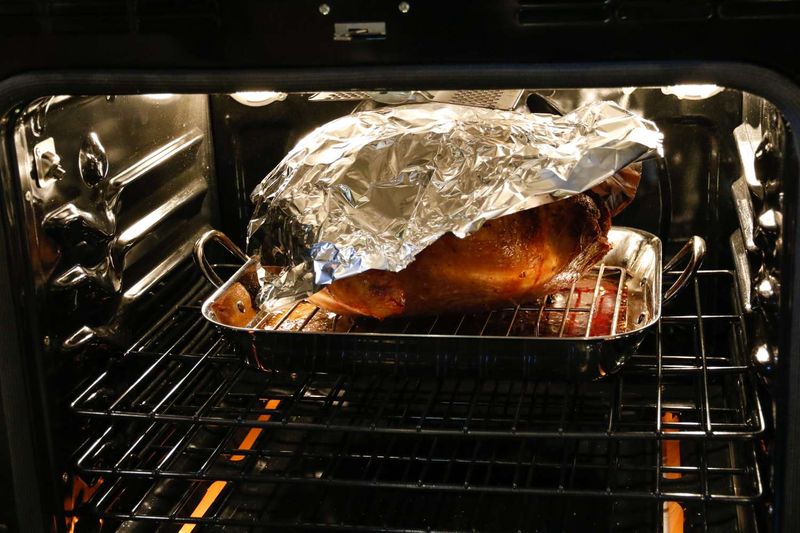
Thick foods burn outside before the center warms unless you trap heat. Cover with foil or a lid to create gentle, even heating.
Once the interior is hot, remove the cover to brown and crisp the top.
This works for casseroles, stuffed pastas, and big cutlets. The cover keeps moisture in and speeds the middle.
Finish uncovered to add color and texture.
Peek occasionally to avoid overbrowning after uncovering. Use a thermometer if needed.
Even heating means juicier bites and better crusts.
10. Add moisture when reheating starches
Rice, pasta, and potatoes dry out after chilling or freezing. Add a splash of water, milk, or broth before heating, and cover to trap steam.
This revives softness without turning things mushy.
Microwave on medium power and stir halfway. On the stovetop, use low heat and a lid, then fluff gently.
Saucy pastas may only need a spoon of water to loosen.
Season at the end since dilution can mute salt. A dab of butter or oil restores sheen.
Small moisture plus a cover changes everything.
11. Rest food after reheating
Let food rest one to three minutes after heating. Carryover evens out temperature so the middle catches up without overcooking edges.
Textures set, coatings re crisp, and juices redistribute.
This pause matters for everything from fries to fried chicken. Even microwaved bowls benefit as steam balances within.
You will taste the difference in consistency and crunch.
Set items on a rack to prevent sogginess. Do not tent tightly unless you want soft results.
A short pause equals better bites.
12. Do not overload trays or baskets
Crowding traps steam and kills crispness. Always arrange a single layer with space between pieces.
Hot air needs room to circulate and evaporate moisture fast.
In an air fryer, smaller batches beat cramming. In an oven, use an extra sheet if needed.
Shake, flip, and rotate trays halfway to keep coloring even.
If it hisses loudly and looks wet, reduce the load. Crisp results come from airflow, heat, and patience.
Single layer wins almost every time.