Use These Tips To Create Perfect Pizza Dough Every Time
You want that cloud-light, crisp-chewy crust that tastes like your favorite pizzeria, and you can absolutely make it at home. The secret is dialing in simple habits that remove guesswork and build flavor every time.
These tips will keep your dough consistent, stretchy, and delicious without fancy equipment. Grab flour, water, yeast, and salt, and let’s make your best pizza crust yet.
1. Weigh your ingredients
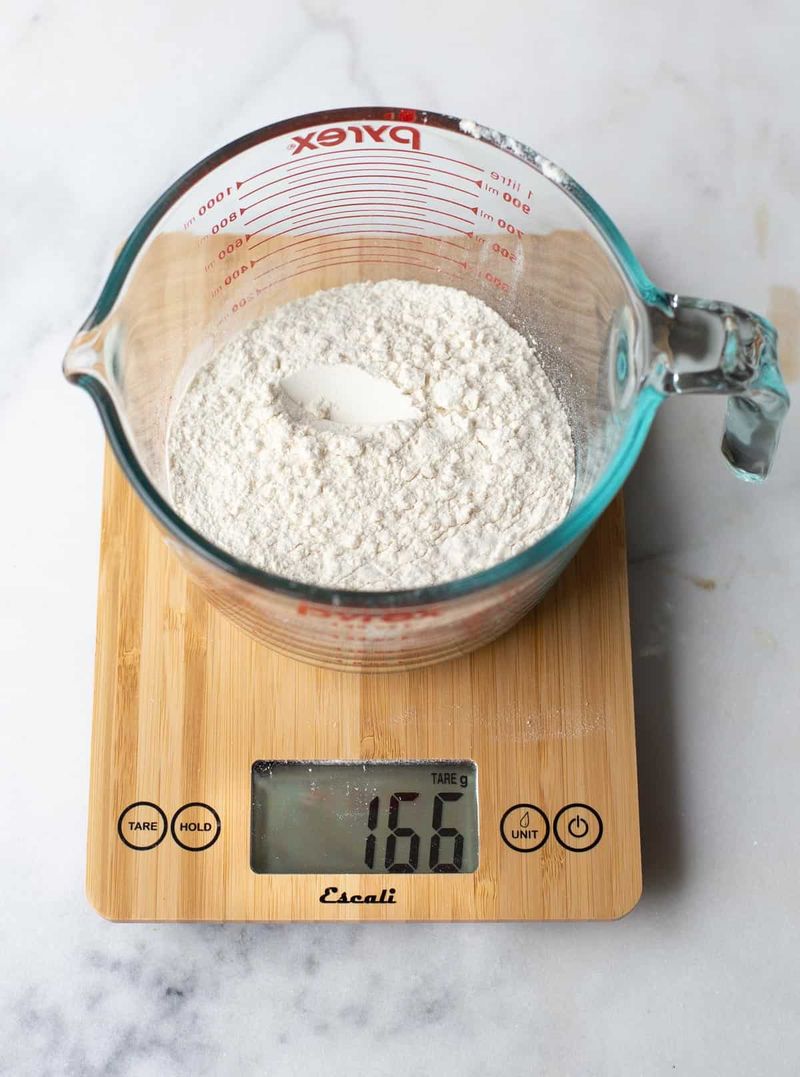
Dough is math in a bowl, and a kitchen scale keeps your numbers honest. Cups can vary wildly, but grams do not.
Weighing flour, water, salt, and yeast locks in ratios and consistency, batch after batch.
Set your scale to zero with the bowl on top and add each ingredient by weight. You will hit hydration targets and avoid dry or soggy dough.
Once you taste the difference, scooping by volume will feel like guessing.
2. Start with the right hydration
Hydration is the water percentage relative to flour. Higher hydration gives open crumb and light texture, but it can feel sticky until you learn the touch.
Beginners often love the control of slightly lower hydration while still getting great results.
Try 60 to 65 percent for easy handling, then push to 68 to 72 percent as confidence grows. Wet your hands, not the dough, to manage stickiness.
You will notice better oven spring and tender chew as hydration climbs.
3. Do not dump all the flour
Add most of the flour, then feel your dough and adjust. You want it slightly tacky, not dry or crumbly.
It is much easier to add a little more flour than to fix a dough that went too stiff.
Hold back 5 to 10 percent and mix until the dough comes together. If it is gluey, sprinkle in a touch more.
You will quickly learn the sweet spot by touch, and your dough will stay supple.
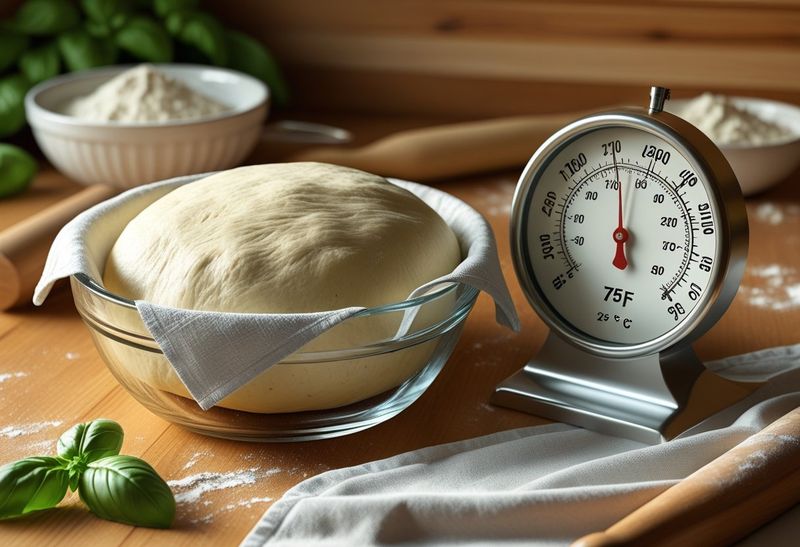
4. Use warm water, not hot
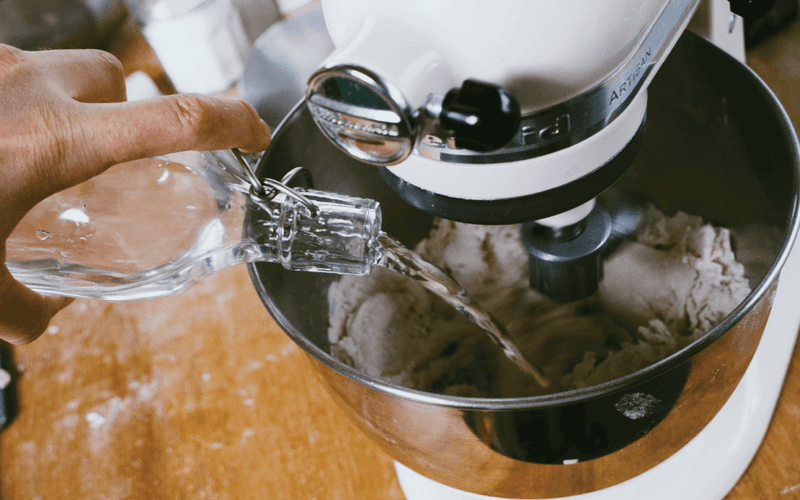
Yeast likes a gentle wake up. Water that feels pleasantly warm on your wrist helps it come alive without stress.
Hot water can weaken or kill yeast, tanking rise and flavor.
Shoot for roughly body temperature, around 95 to 105 degrees Fahrenheit. If you do not use a thermometer, think baby-bottle warm.
Mix the water with yeast and a pinch of flour to check activity. A creamy foam means you are in the sweet zone and ready to mix.
5. Salt matters more than you think
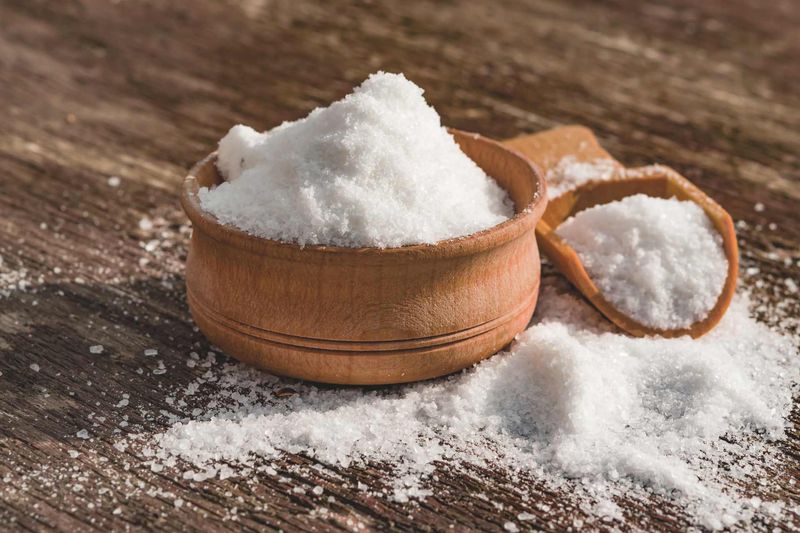
Salt is flavor and structure. It strengthens gluten, reins in fermentation, and makes dough taste like pizza rather than bread mush.
If your crust tastes flat, it is usually salt, not yeast.
Aim for about 2 to 2.8 percent salt relative to flour by weight. Dissolve it in the mix so it spreads evenly.
Do not dump it directly onto live yeast slurry. Add it with flour or after autolyse.
Your dough will gain snap, balance, and depth.
6. Give it time for flavor
Time builds complexity you cannot fake. Fast dough works on busy nights, but longer rests unlock sweetness, nuttiness, and aroma.
Even a few extra hours make a surprising difference.
Mix your dough earlier in the day or the night before. Let enzymes do their slow magic while yeast gently ferments.
You will taste improved browning and a more delicate crumb. Patience becomes the easiest flavor upgrade you will ever use.
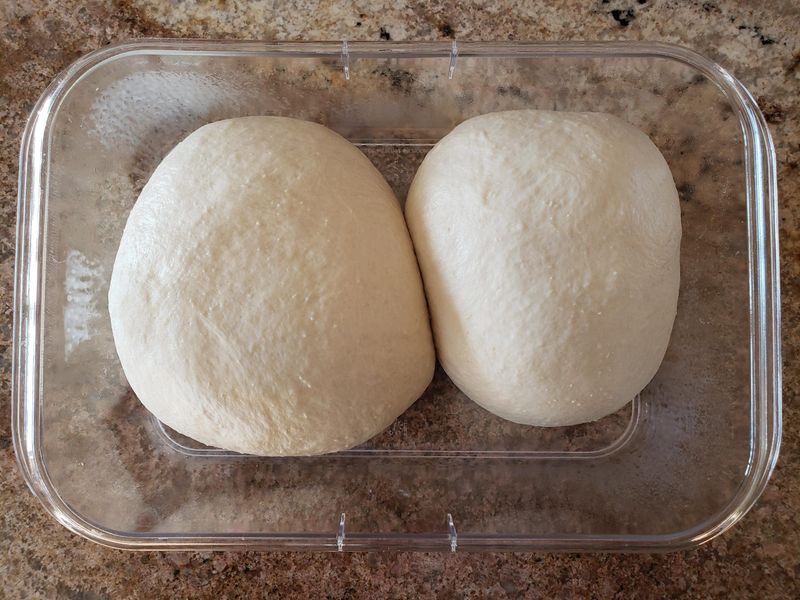
7. Cold ferment for best crust
A cold ferment in the fridge slows everything down and develops deeper flavor and better chew. The dough relaxes, hydrates fully, and bakes with beautiful color.
Plan ahead and the fridge does the work.
Portion dough, lightly oil containers, and refrigerate 24 to 72 hours. Burp lids if needed as gas builds.
On bake day, bring dough to room temp before stretching. You will get an aromatic crust with blistered edges and satisfying bite.
8. Do not over-yeast it
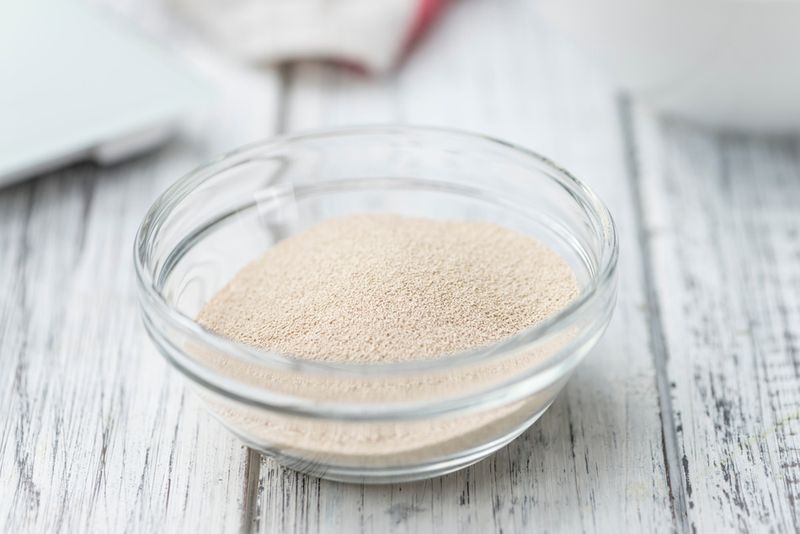
More yeast does not mean better dough. Too much speeds fermentation, blows past flavor, and leaves a boozy or yeasty aftertaste.
A modest amount with time gives cleaner results.
Use around 0.1 to 0.5 percent instant yeast depending on schedule and temperature. Warmer rooms and longer ferments need less.
Cooler kitchens and quick doughs need more. Keep notes and adjust.
You will get predictable rise without harsh flavors.
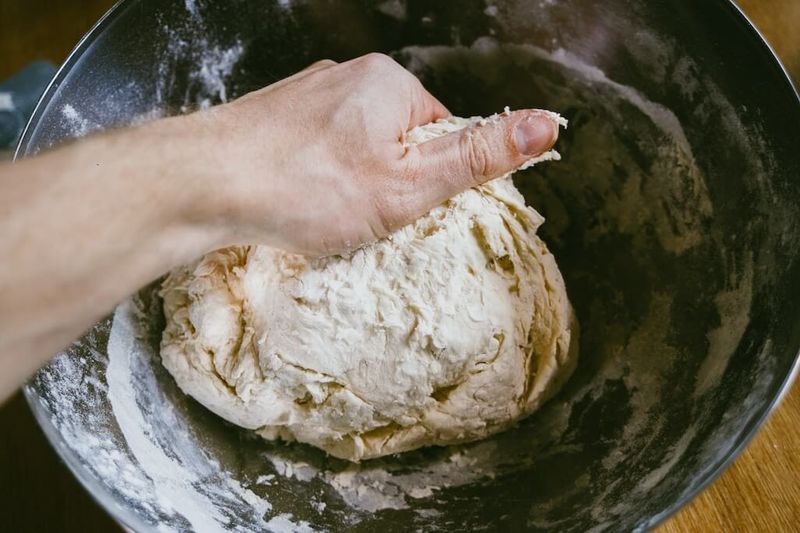
9. Knead just enough

Kneading builds gluten so your dough stretches instead of tearing. You are aiming for smooth, elastic, and slightly tacky.
Overkneading can make it tight and hard to shape.
Mix until shaggy, rest briefly, then knead a few minutes and check. If it stretches a couple inches without ripping, you are close.
Let rest between short kneads to relax the dough. Efficiency beats marathon kneading and preserves tenderness.
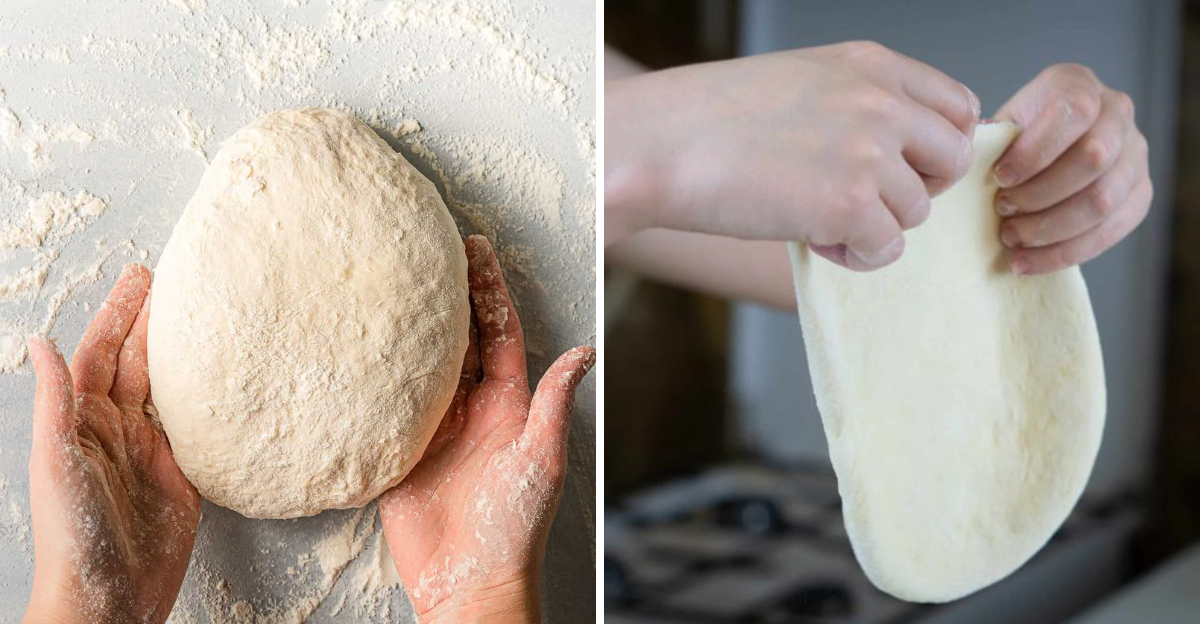
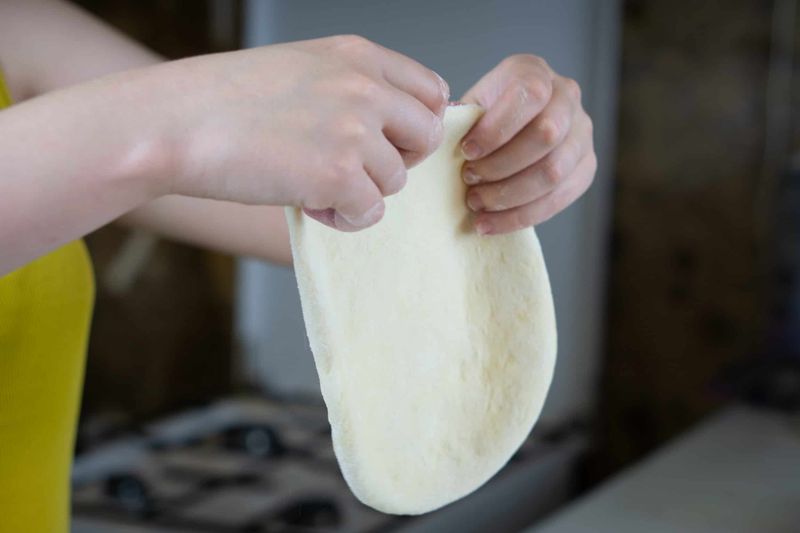
10. Use the windowpane test

Pinch off a small piece and gently stretch it. If it thins enough to let light pass through like a windowpane without tearing immediately, your gluten network is ready.
If it rips fast, knead a bit more or rest.
This quick check prevents underdeveloped dough that tears during shaping. It also prevents overwork because you stop when you are there.
A simple habit that saves frustration and improves texture every time.
11. Let the dough rest before shaping
Gluten tightens as you mix and knead. Resting lets it relax so the dough stretches without snapping back.
If your dough keeps shrinking, it is asking for a timeout.
After dividing, let balls sit covered for 20 to 40 minutes at room temperature. Try again and feel the difference in stretch.
Short rests between attempts beat fighting it. You will get wider pies with less tearing and stress.
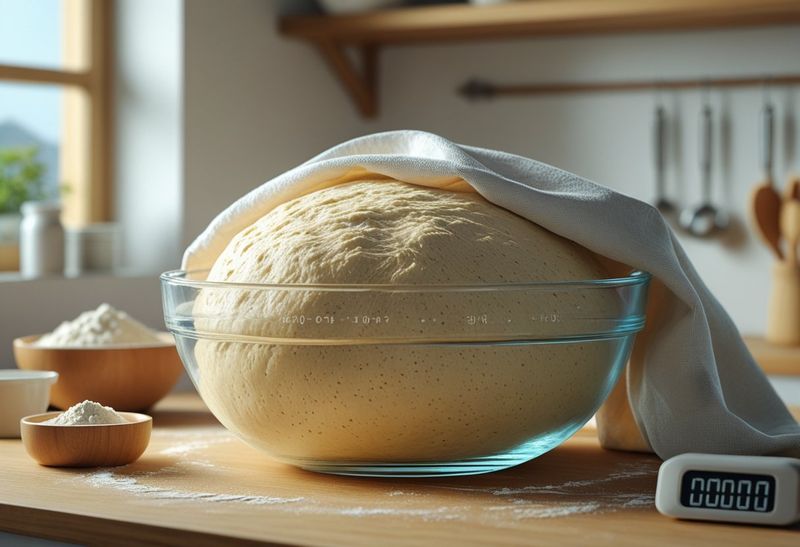
12. Lightly oil the bowl
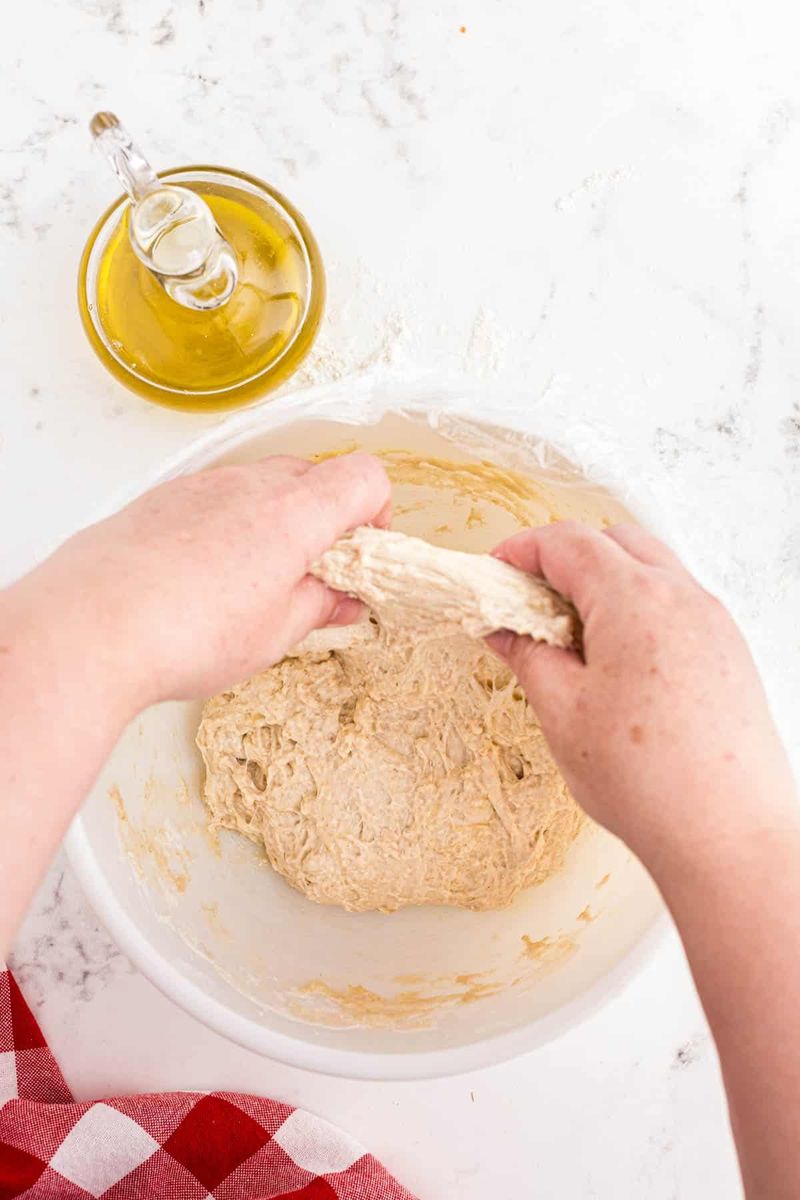
A whisper of oil keeps dough from sticking and tearing during the rise. It also makes handling gentler when you tip it out.
No need to drench, just a thin film is perfect.
Use neutral oil or olive oil and spread with fingers or a brush. Turn the dough to coat and cover.
You will preserve the smooth surface and keep cleanup easy. Little detail, big convenience.
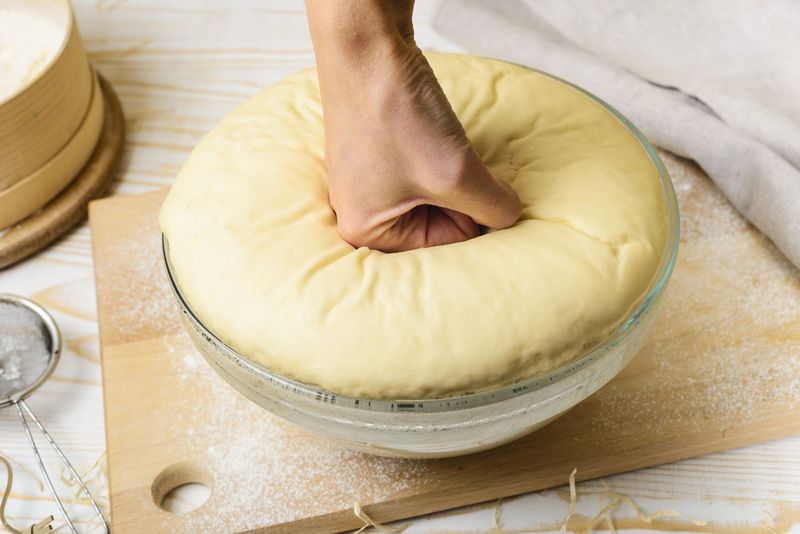
13. Do not rush the first rise
A steady, unhurried first rise builds structure and flavor. If it doubles too fast, your dough can taste bland and lack strength.
Cooler, slower fermentation often wins.
Watch the dough, not the clock. Aim for a gentle double in volume with small bubbles.
If your room is warm, use less yeast or a cooler spot. When you train patience here, your crust bakes taller and tastes richer.
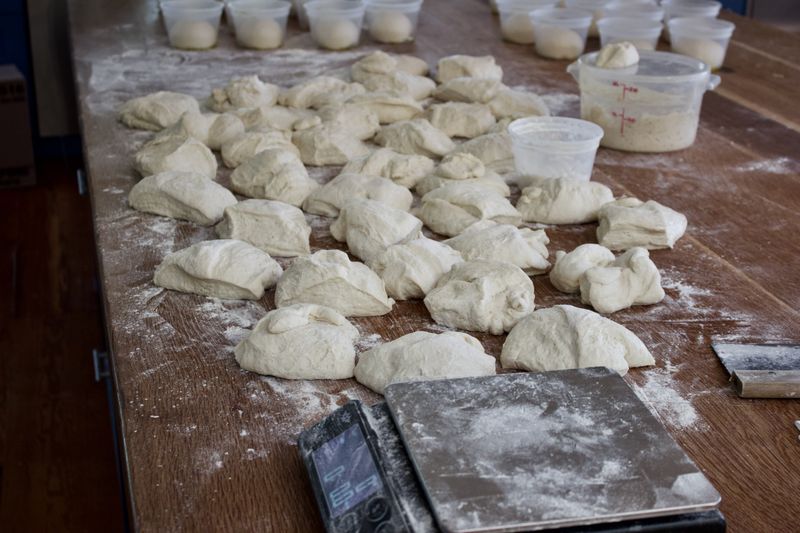
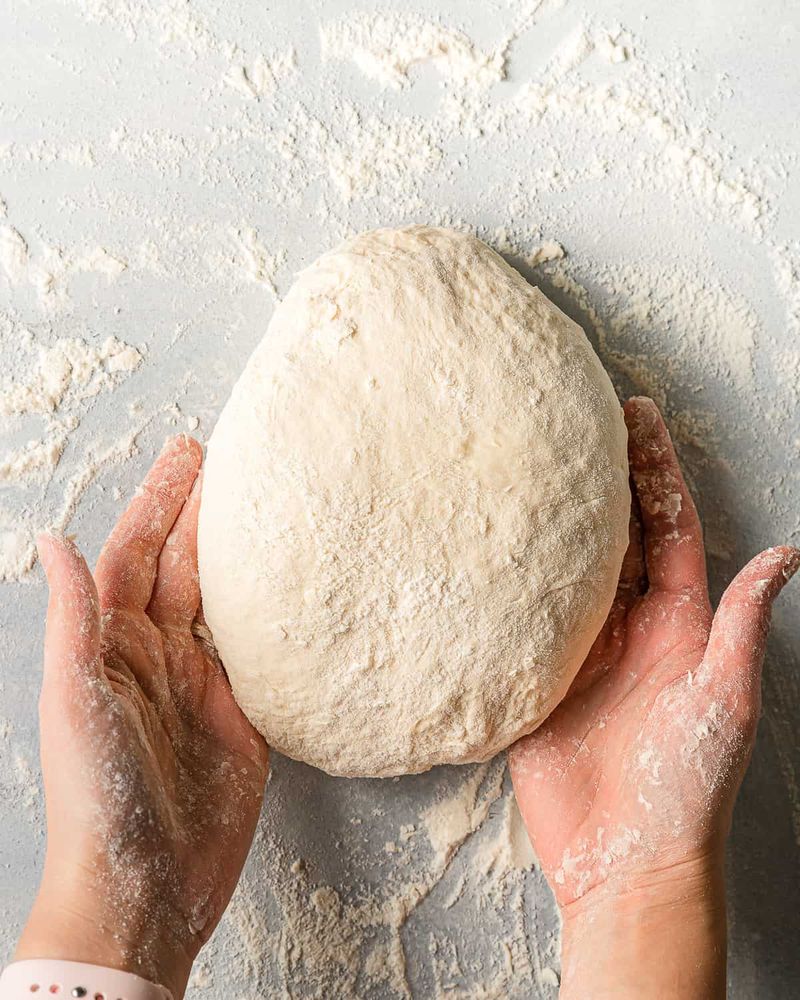
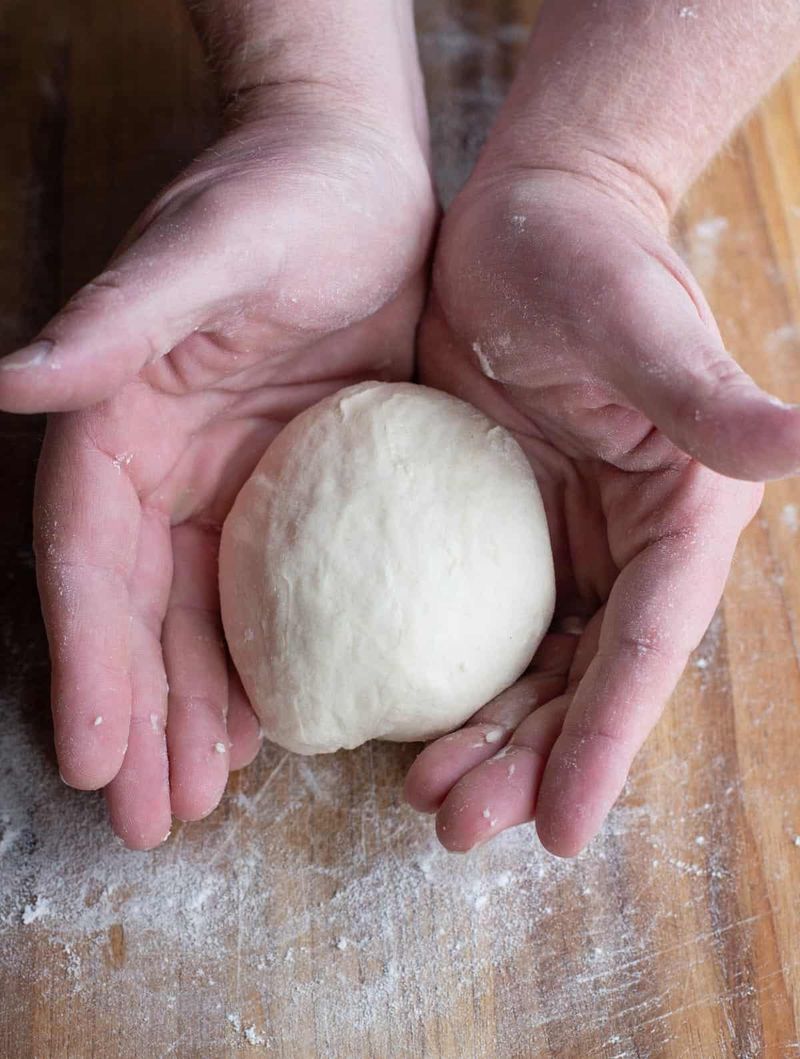
14. Portion and ball the dough
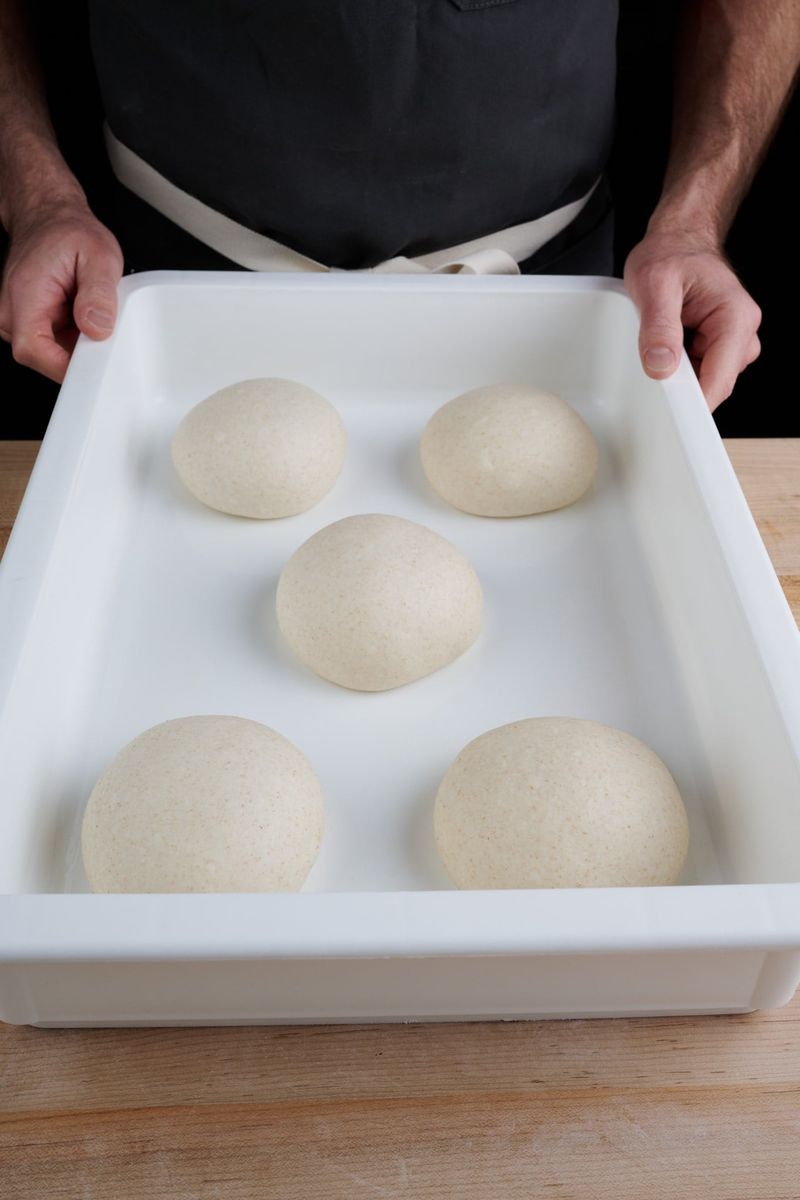
Even portions make even pizzas and predictable bake times. Balling creates surface tension that helps rise and shaping later.
A tight, smooth skin gives better puff around the edges.
Use a scale and a bench scraper to divide. Cup your hands and pull the dough against the counter to create tension.
Place seam side down. You will get consistent size, better oven spring, and easier stretching on bake day.
15. Keep the dough covered
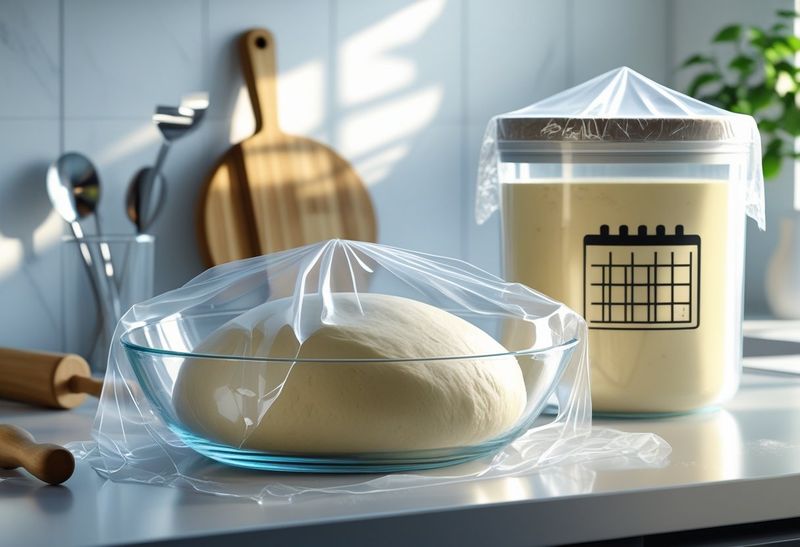
Dough dries fast and forms a crust that fights stretching. Keep it covered so the surface stays soft and elastic.
Plastic wrap, a lid, or a lightly damp towel all work.
Cover during rests, cold fermentation, and warm ups. If a skin forms, mist lightly and wait, but prevention is better.
Protected dough handles kinder, bakes prettier, and tastes better. Simple habit, big payoff.
16. Bring chilled dough to room temperature
Cold dough is stiff and tears easily. Let it warm until pliable so it stretches like a dream.
Rushing here leads to fighty dough and uneven thickness.
Pull dough from the fridge 60 to 90 minutes before shaping, depending on ball size and room temp. It should feel soft, slightly puffy, and relaxed.
You will get fewer tears, more bubbles, and gentler handling.
17. Stretch with your hands
Rolling pins crush the airy pockets you worked to build. Hand stretching preserves bubbles for a lighter, more open cornicione.
Use fingertips to press from center outward, then lift and let gravity help.
Turn the dough like a steering wheel and avoid thinning the rim. If it resists, rest it and try again.
You will keep volume and get that bakery-style edge at home.
18. Use a little flour, not too much
Flour is your friend until it is not. Too much dries the surface and toughens the bite.
Use just enough to prevent sticking, then dust off any excess before baking.
Lightly flour the bench and your hands. Semolina or rice flour on the peel can help with launch without drying the top.
Minimal flour keeps tenderness, color, and flavor right where you want them.
19. Preheat your oven longer than you think
A ripping hot oven sets structure and drives oven spring. Preheat at least 45 to 60 minutes with your stone or steel inside so the surface is truly hot.
The hotter the deck, the crisper the base.
Most ovens lie about being preheated. Trust time and a thermometer if you have one.
That extra patience gives you leopard spots, lift, and speed.
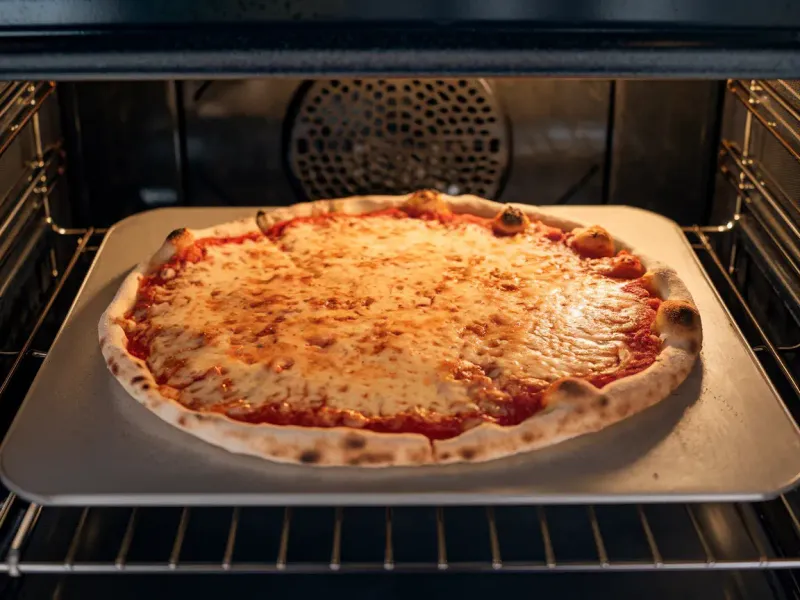
20. Bake on a hot surface
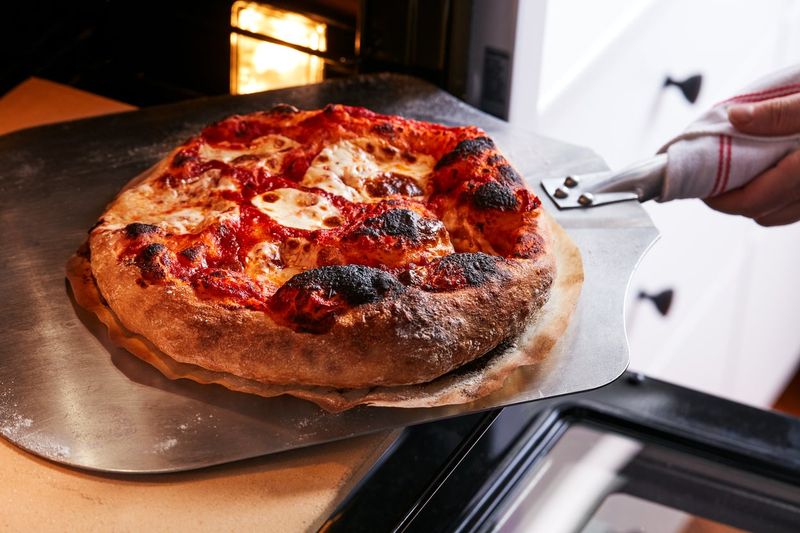
A preheated stone or steel delivers intense bottom heat so the crust sets fast. That quick set traps steam, lifts the rim, and keeps toppings from soaking the base.
Even a preheated sheet pan beats a cold rack.
Position it high for browning or low for a drier base, depending on your oven. Launch quickly, bake hard, and enjoy the crisp-chewy balance you crave.