Why Food Sticks To Pans And Ways To Prevent It
Ever wondered why a beautiful sear turns into a stubborn mess cemented to your pan? The culprits are usually simple: temperature, moisture, fat, and timing.
Master a few small tweaks and your food will release like a pro, with golden crusts and less frustration. Stick around and you will cook with confidence, no scraping required.
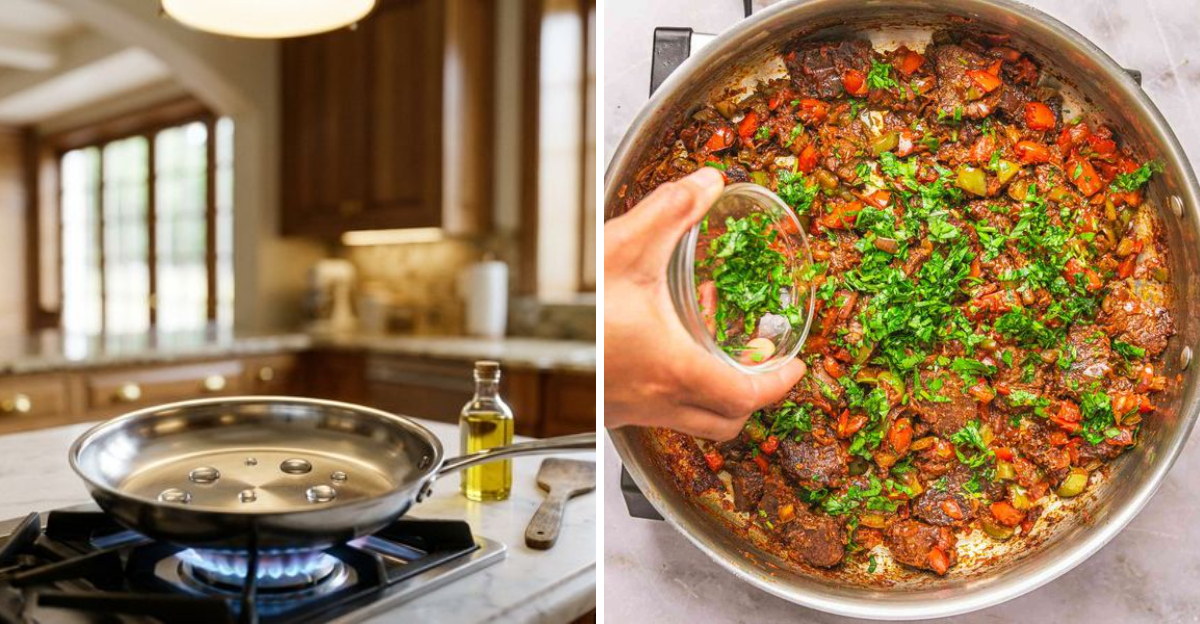
1. Cold pan, cold oil, cold food
Cold pan plus cold oil plus cold food is the classic sticking trap. Metal needs time to expand and create a micro-layer that helps release.
When everything is cold, proteins latch onto microscopic pores, and you end up scraping.
Preheat the empty pan for 2 to 3 minutes, then add oil. Wait until the oil shimmers before adding dry, seasoned food.
You will hear a lively sizzle.
Let it be. Once a crust forms, it naturally releases.
If it still clings, give it another thirty seconds.
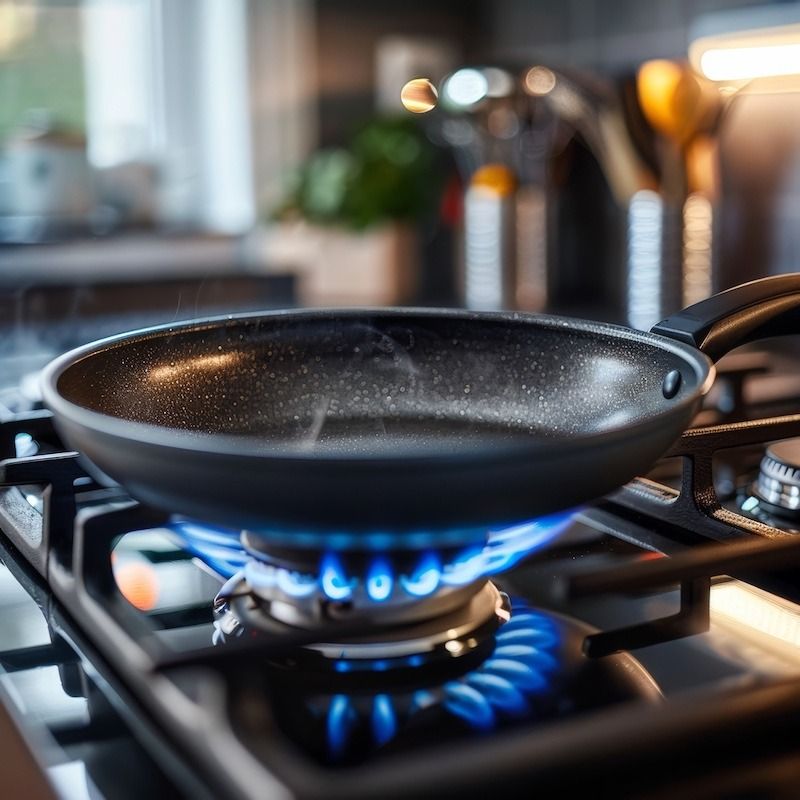
2. Not enough fat or wrong fat
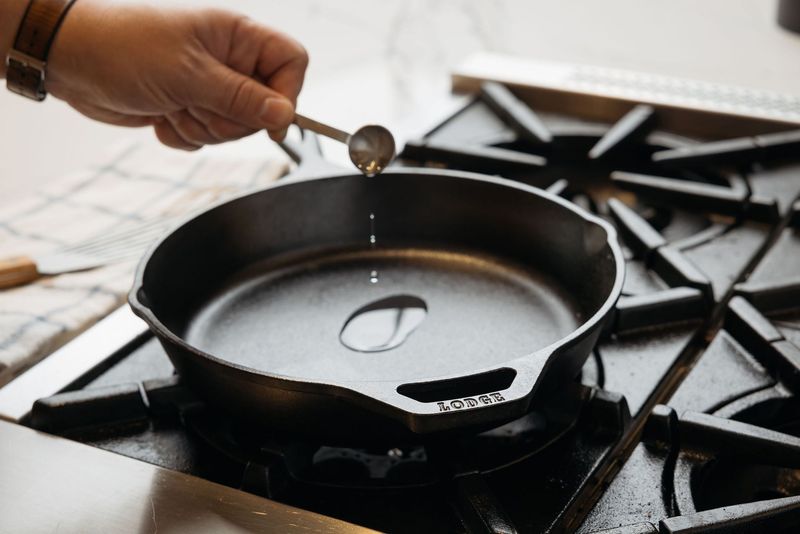
A whisper of fat is your pan’s nonstick friend. Oil fills microscopic valleys, preventing direct contact that glues proteins in place.
Too little fat leaves dry hot spots that grab and tear.
Choose the right oil for your heat level. Avocado, canola, or grapeseed tolerate higher temperatures.
Butter tastes great but burns fast, so pair it with oil.
Coat the pan evenly, then add food. You are not deep-frying, just creating a barrier.
Replenish if the film disappears.
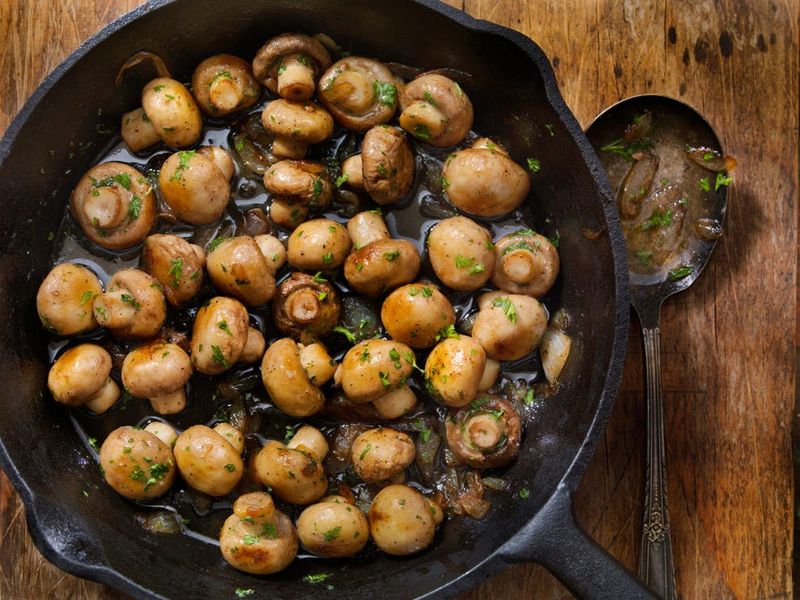
3. Adding wet food to the pan
Water fights browning. Drop damp fish or veggies into hot oil and steam forms first, cooling the pan and lifting proteins that glue back down.
The result is pale, stubborn sticking instead of crisp sear.
Pat food very dry with towels, then season. For extra insurance, chill uncovered to dry the surface briefly.
Shake off marinades.
Dry surface plus hot, shimmering oil equals a quick crust. You will hear a brighter sizzle and see immediate browning on contact.
That is your cue.
4. Overcrowding the pan
Too much food drops the temperature and floods the pan with steam. Steam blocks browning and turns surfaces tacky.
That sticky film fights release and ruins crusts.
Cook in batches. Leave at least a fingertip of space between pieces so heat can circulate.
You will get deeper color and easier flips.
Keep finished pieces warm in a low oven. Deglaze between batches if residue darkens.
The pan will behave better with manageable loads.
5. Moving food too soon
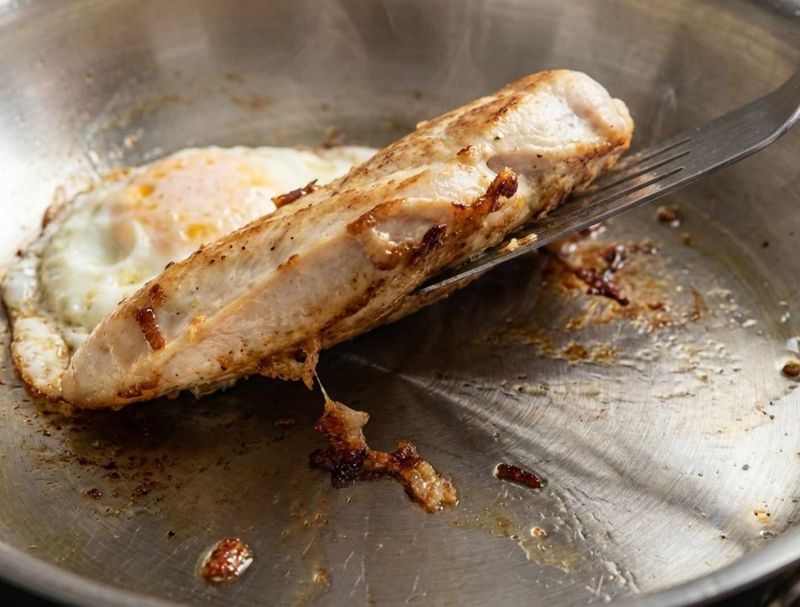
Most proteins cling at first, then release themselves when a crust sets. If you force the flip early, fibers tear and stick worsens.
Patience saves dinner and dignity.
Watch for visual cues. Edges turn golden and the surface looks slightly drier.
Tongs should meet less resistance.
Try a gentle nudge. If it resists, wait thirty to sixty seconds.
The pan and food are negotiating release; let them finish the conversation.
6. Heat too high for the job
Blazing heat can carbonize sugars and proteins before a crust forms, welding bits to the pan. This shows up with marinades, honey glazes, or tomato sauces.
Burnt residue grabs everything next.
Dial back to medium or medium-high. Build color gradually, then finish sauces afterward or off heat.
You will keep fond flavorful, not charred.
Use higher smoke point oils when needed. If smoke billows early, the pan is too hot.
Reset and try again.
7. Damaged or dirty pan surface
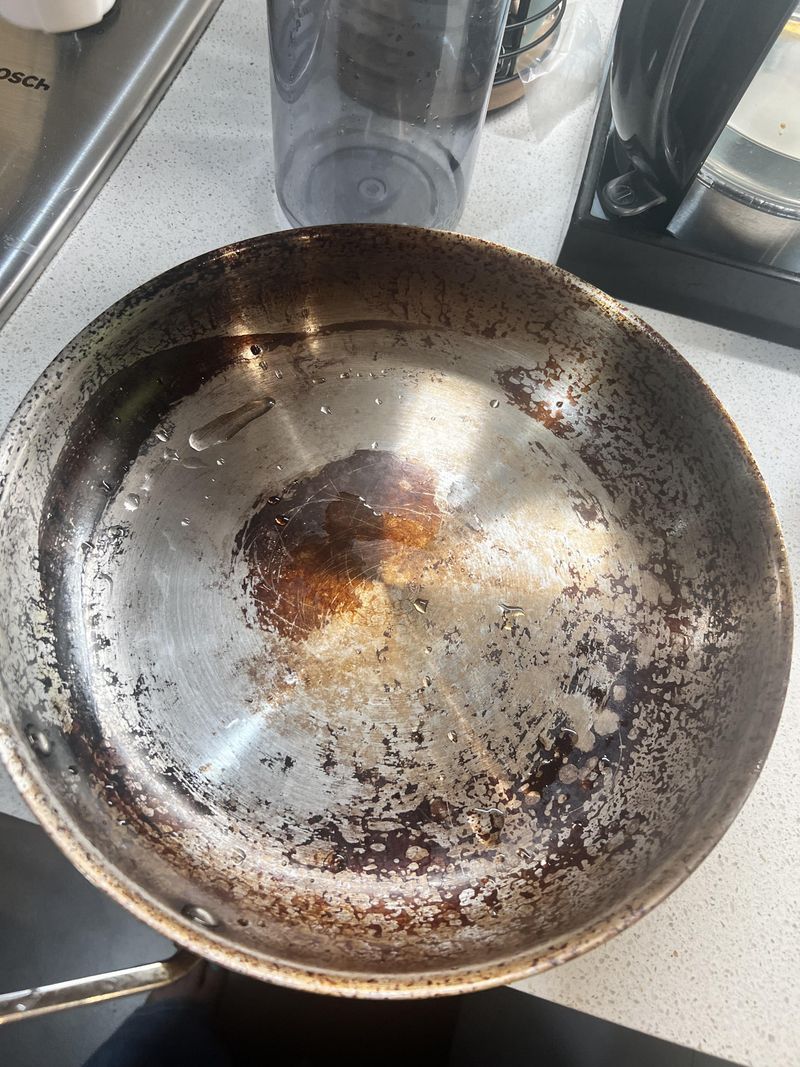
Rough, scratched, or warped surfaces create peaks and valleys that snag food. Burnt-on oil forms a sticky varnish that refuses to let go.
Even great technique struggles against neglected gear.
Scrub away polymerized gunk with baking soda paste or a dedicated pan cleaner. Rinse, dry, and re-season cast iron.
Keep stainless bright.
Inspect for warping and retire flaking nonstick. A clean, smooth surface lets oil spread evenly, improving release and browning.
Maintenance pays off every time.
8. Mismatched pan for the task
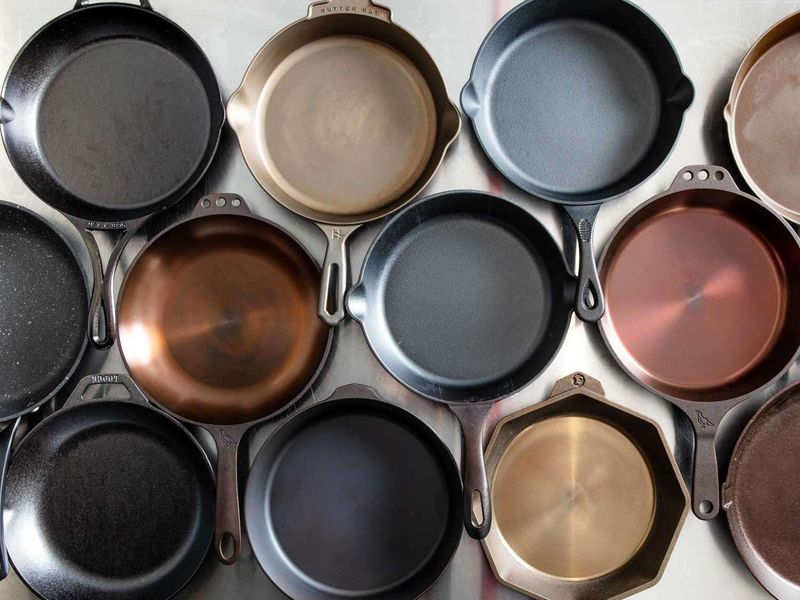
Every pan has a lane. Stainless excels at searing and building fond, but needs preheat and oil discipline.
Cast iron loves steady heat and rewards seasoning. Nonstick shines for eggs and delicate foods, not raging sears.
Pick the tool that suits the job. Hot stainless for steak, cast iron for crusty potatoes, nonstick for omelets.
You will fight less sticking instantly.
Respect limits. Avoid metal tools on nonstick, and keep acids shorter in young cast iron.
Technique plus fit equals freedom.
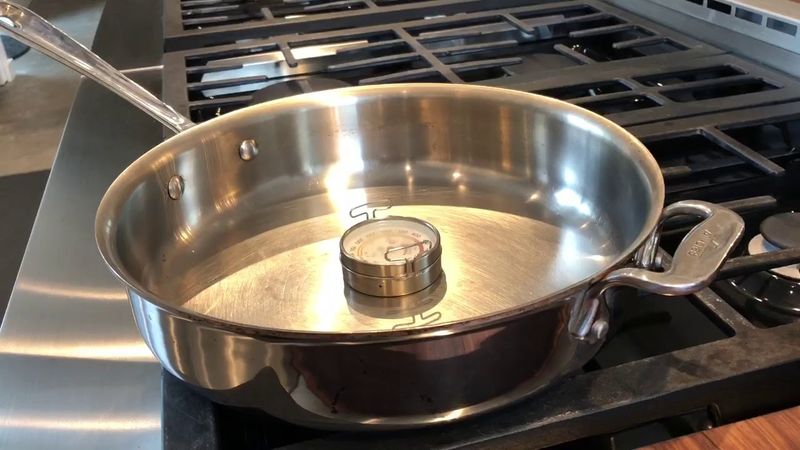
9. Stainless steel: preheat and water test
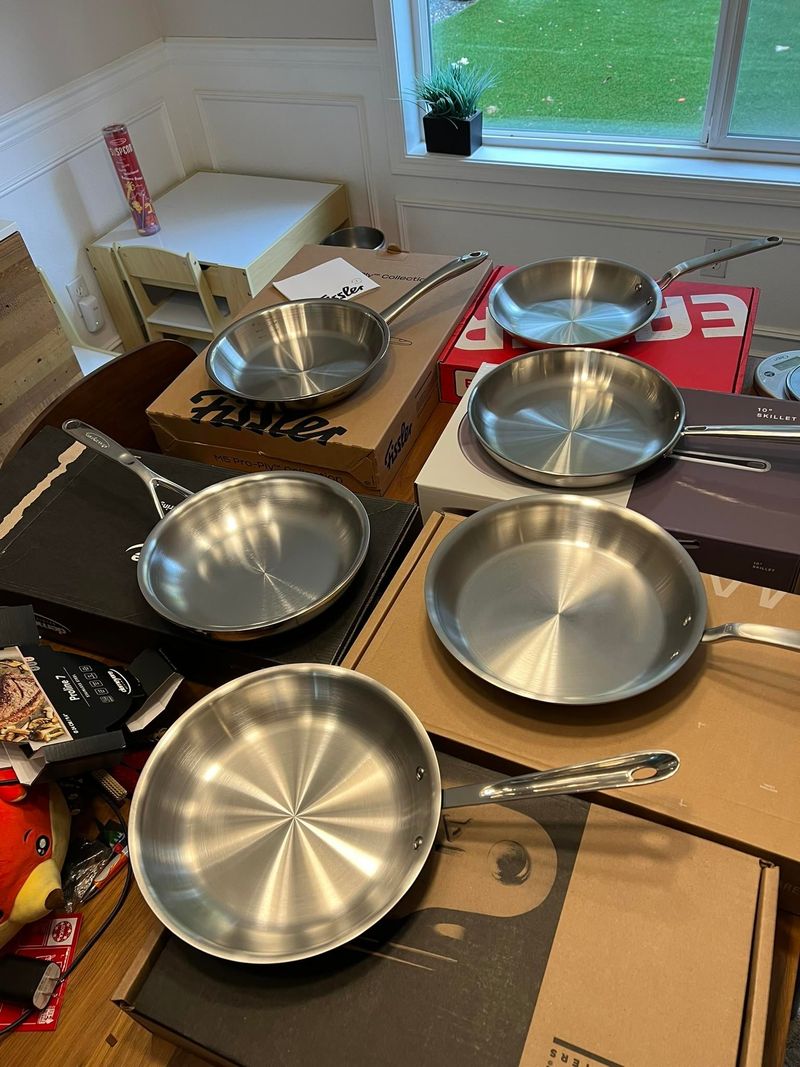
Stainless sticks unless you do it right. Heat the empty pan two to three minutes, then add oil and wait for a glassy shimmer.
Do the water drop test first: beads should skitter and dance.
Pat food dry, season, and add without crowding. Let a crust form before flipping.
If it tugs, give it time.
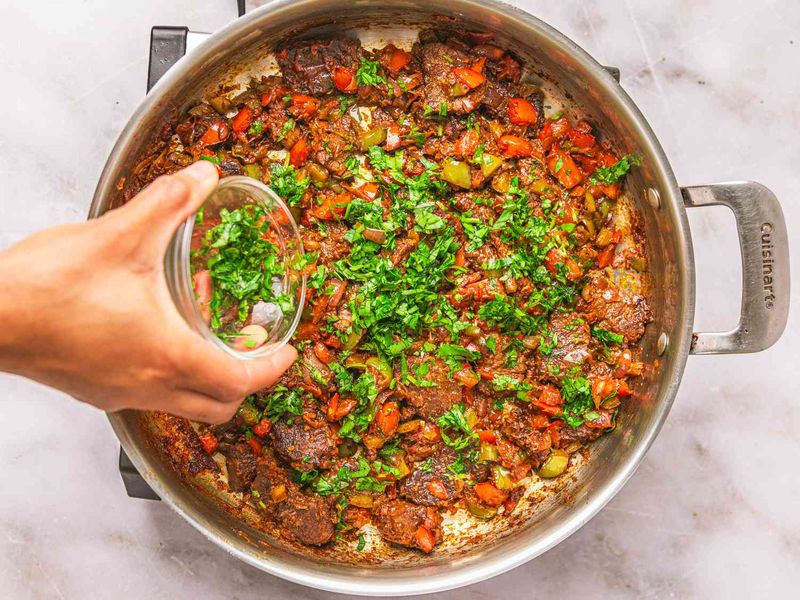
Use enough oil to coat, not drown. When finished, deglaze stuck bits into sauce.
That fond is flavor, not failure.
10. Cast iron and carbon steel: seasoning care
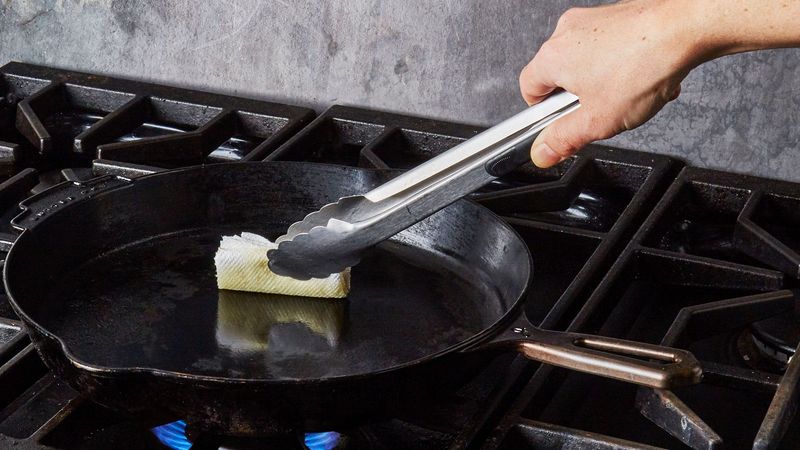
Seasoning is your release agent. Layers of polymerized oil create a slick, resilient surface.
Protect it by avoiding long acidic simmers until it is strong, and by cleaning gently.
Preheat gradually, then add oil with decent smoke point like avocado, canola, or grapeseed. Cook, wipe, and dry thoroughly.
After cleaning, warm the pan and rub a whisper-thin film of oil. Do not scrub seasoning off.
Over time, food releases easier and browning gets glorious.
11. Nonstick: gentle heat and tools
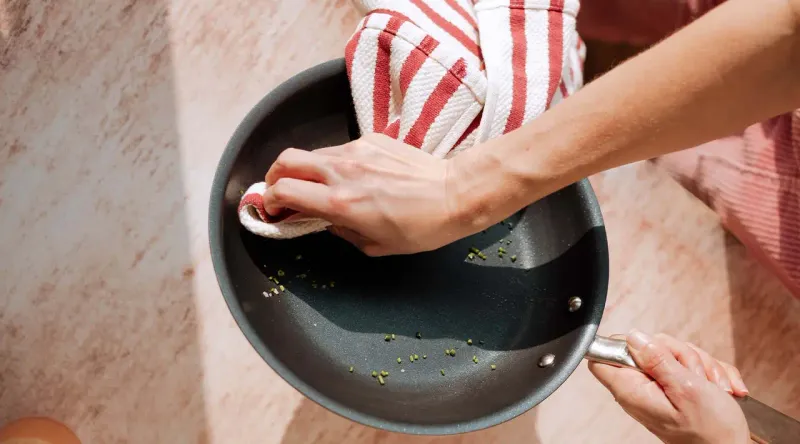
Nonstick is easy mode within limits. Keep heat at medium or medium-low to protect the coating and prevent sticking.
Use a little fat anyway for flavor and glide.
Only silicone or wood tools touch the surface. Metal creates scratches that turn sticky trouble spots.
Hand wash gently.
When coating peels or looks rough, replace it. Worn nonstick grips and flakes.
Respect the pan’s lane and it will return smooth breakfasts.
12. Universal tricks: timing, temp, cleanup

Bring proteins closer to room temperature for even cooking and better release. Do not flip delicate foods too early; wait for edges to set and color to develop.
If bits stick on stainless, deglaze with broth or wine and turn them into sauce.
Clean off old burnt oil to remove sticky varnish. A baking soda paste or pan cleaner revives performance.
Thoughtful timing, proper heat, and tidy surfaces make sticking rare.
Practice builds intuition. Your pan will start talking, and you will understand.