Your Guide To Buying And Storing Shell Beans
Shell beans feel nostalgic in the best way, with a creamy texture that instantly upgrades simple meals. Whether you’re grabbing them fresh at the market or stocking your pantry with dried and canned options, a little know-how goes a long way.
This guide shows you exactly what to buy, how to store it, and how to keep that silky bite intact. You’ll cook smarter, waste less, and enjoy better beans every time.
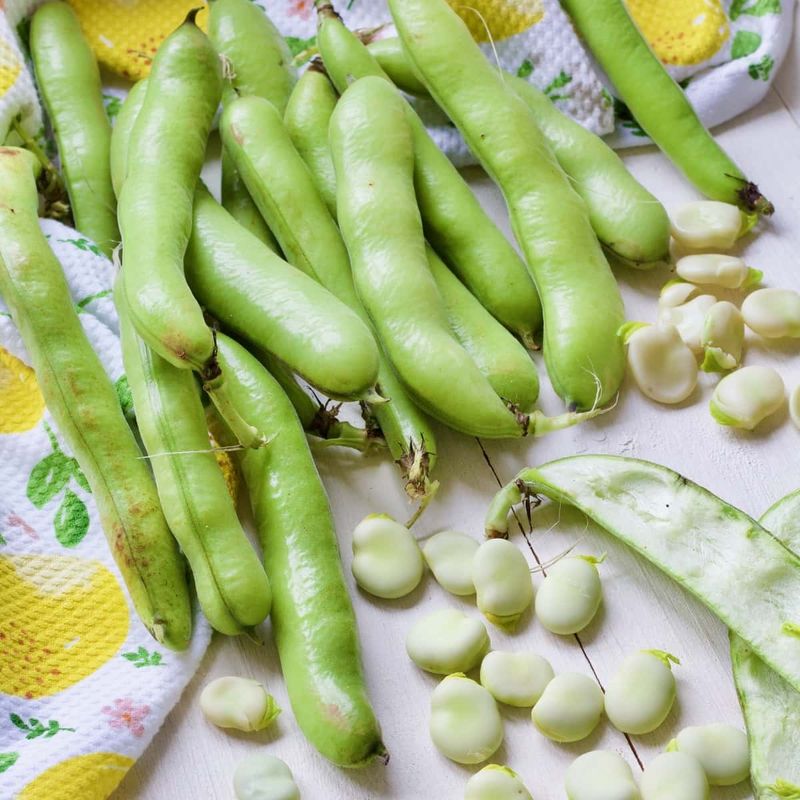
1. What shell beans actually are
Shell beans are beans you eat for their seeds, not the pod. Think of plump little gems tucked inside jackets you remove before cooking.
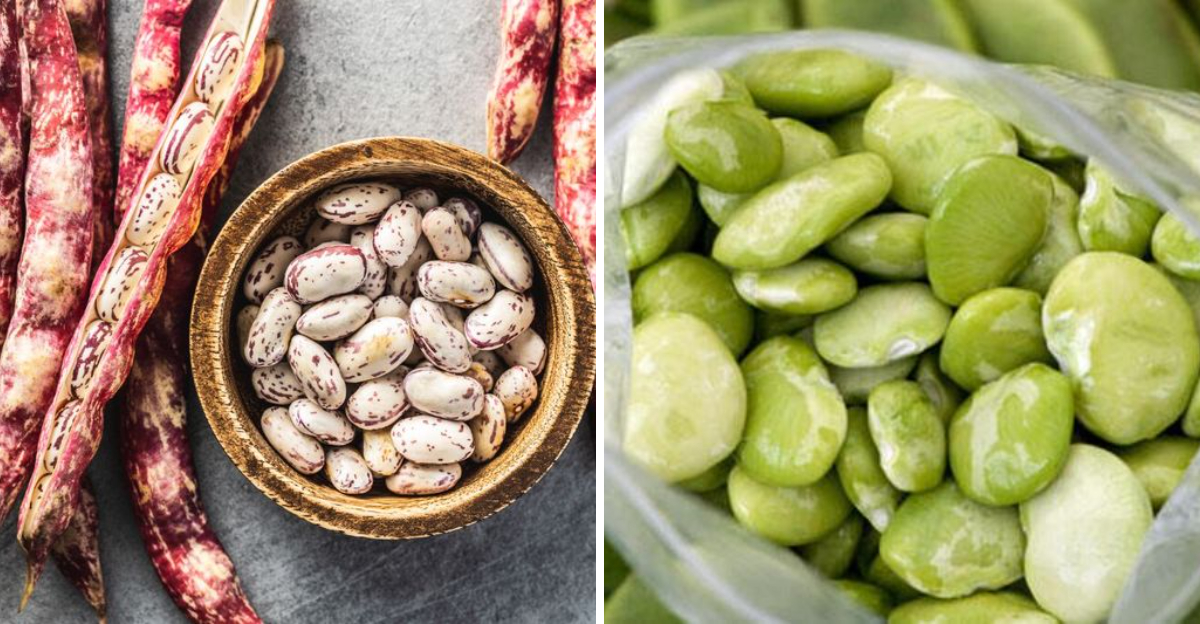
You’ll see fresh cranberry beans, favas, and limas at markets, usually harvested when full and creamy, not fully dried. They taste richer than green beans and feel indulgent without fuss.
You get satisfying texture with delicate skins.
What makes them special is their stage of maturity. They’re between green and fully dried, so they cook quickly and stay tender.
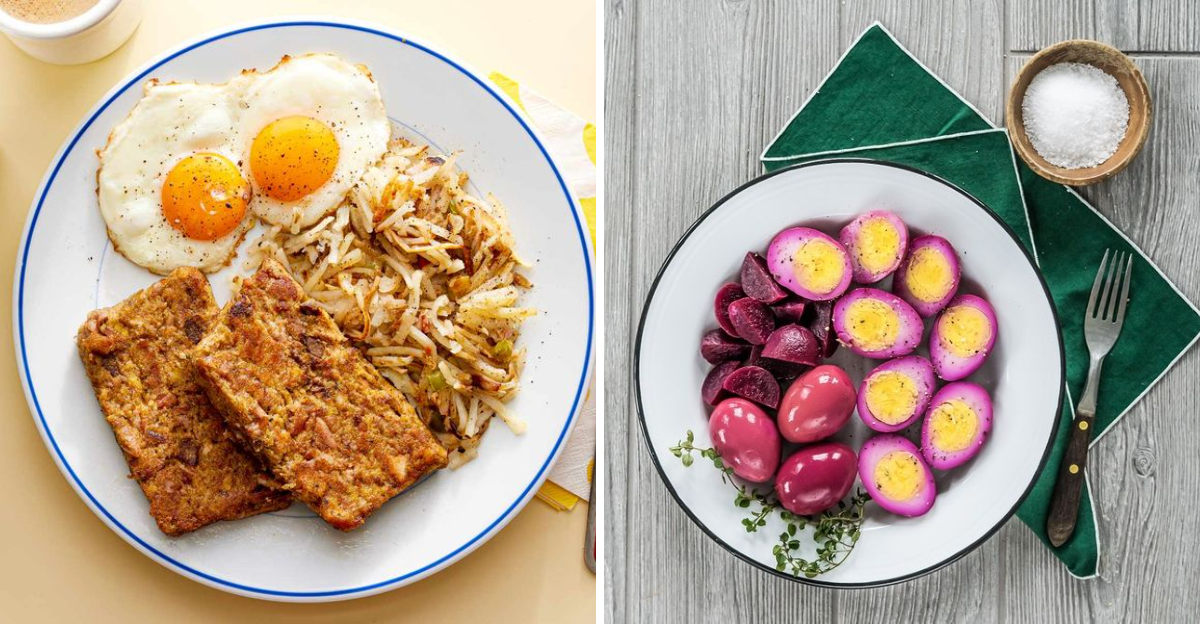
You can simmer them simply with olive oil, aromatics, and salt for a dish that feels cozy yet elegant. If you spot them, grab extra.
They’re seasonal and worth the shelling time.
2. Fresh vs dried vs frozen vs canned
Fresh shell beans cook fast and turn silky with minimal effort. They bring a gentle, almost buttery bite that shines with simple seasoning.
Dried beans are budget friendly and versatile, but they need soaking or longer simmering. They develop deep flavor with time.
Frozen beans strike a nice balance, keeping great texture while staying convenient.
Canned beans are the speed champions. You open, rinse, and go, though texture can be softer and salt levels vary by brand.
Choose based on time, texture goals, and recipe. For bright, clean flavor, reach for fresh or frozen.
For hearty stews or batch cooking, dried makes sense. When dinner needs to happen now, canned saves the day.
3. How to choose fresh shell beans in the pod
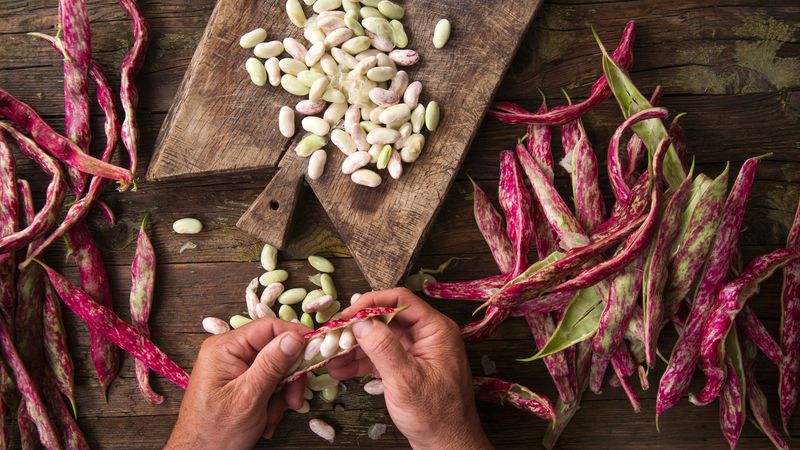
At the stall, lift the pods and feel their weight. You want plump pods with clear bumps where beans sit snugly.
Avoid flat, floppy, or shriveled pods that signal dryness. Check color and surface.
Skip anything with black spots, slimy tips, or a sour smell. Those are signs of age or mishandling.
Listen for a faint snap when you bend a tip. That usually means freshness.
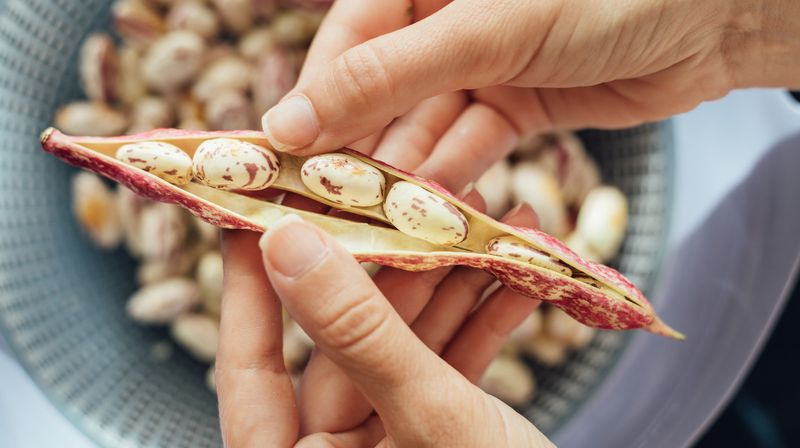
Pods should feel cool and slightly firm, not rubbery. If you can, open one to peek inside.
Beans should look glossy and well formed. Buying good pods upfront saves you time later and ensures creamy texture in the pot.
Trust your senses and be picky.
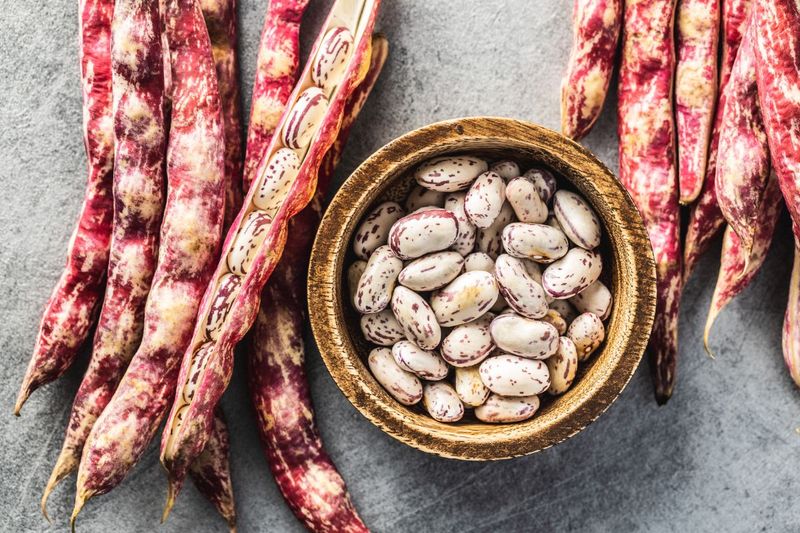
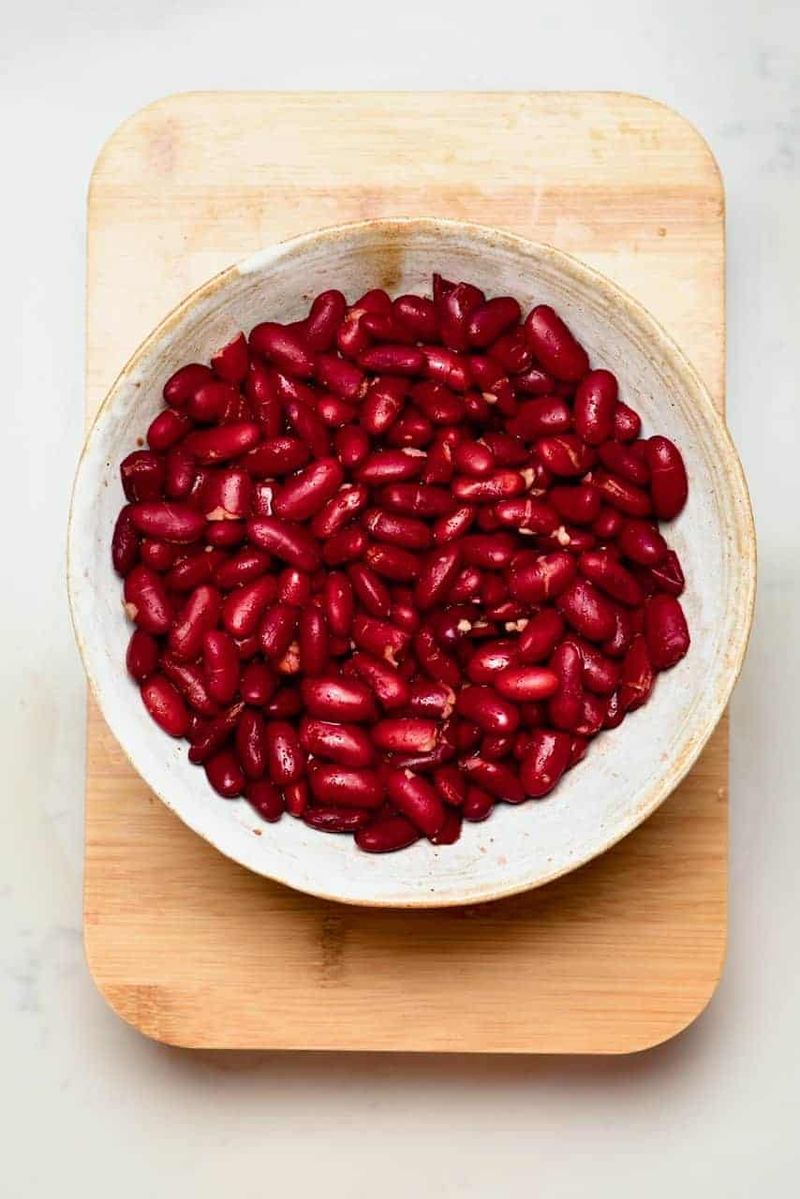
4. How to choose fresh shelled beans

When the beans are already out of the pod, scan for plump, smooth, evenly colored seeds. Natural variation is fine, but you want a consistent batch.
Avoid wrinkled skins, cracks, or dull gray patches that hint at age. Try to buy from a vendor with quick turnover.
Fresher beans keep their sweetness and cook more evenly.
Give the bin a gentle shake if allowed. Beans should glide rather than stick, which suggests dryness without moisture issues.
If they smell grassy and clean, you’re golden. A musty scent is a red flag.
Choose with care, and you’ll get that velvety interior after a short simmer. Good selection upfront means fewer cooking surprises later.
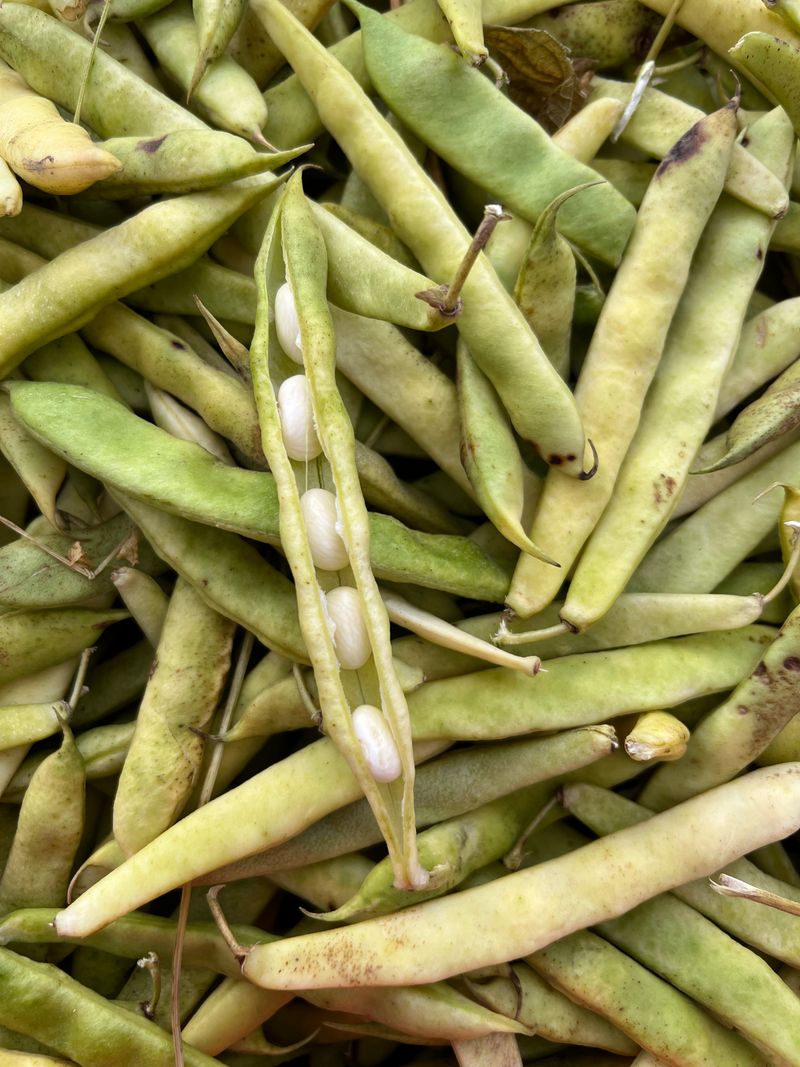
5. The sweet spot ripeness for best texture
Great texture starts with ripeness. You want fully sized beans that have not crossed into tough territory.
Skins should look thin and tender, not leathery. If beans look huge and starchy, expect longer cooking and a denser result.
They’ll still be good, just not as silky. Aim for that just-right fullness.
Press a bean gently. It should feel firm yet give slightly.
Overmature beans can cook unevenly and split. Undermature beans may be watery.
When you hit the sweet spot, you get a creamy center and delicate skins that hold. That makes every soup, salad, or sauté feel restaurant good.
Buy with this in mind, and cooking becomes easier.
6. How much to buy
Pods take up space and shrink after shelling, so plan generously. A big pile becomes a modest bowl once you pop them out.
If you’re feeding a few people, buy more than feels reasonable. Leftovers are a gift, and cooked beans hold beautifully.
For salads or sides, think in cups you want cooked, then round up.
As a loose guide, a pound of pods can yield roughly a cup of shelled beans, depending on variety. If you love leftovers, double it.
Extra cooked beans freeze well too. Nothing’s worse than running short at the table.
Overbuy slightly, and you’ll be thrilled later with an easy, ready-to-go base for meals.
7. How to store fresh beans in the pod
Keep pods unwashed in the fridge so they don’t trap moisture. Use a breathable bag or a container with the lid slightly ajar.
Airflow helps prevent sliminess. Pods are fragile and decline quickly, so plan to cook them soon.
The firmer they feel on day one, the better they’ll taste by day three.
If they arrive damp, pat them dry before storing. Avoid stuffing them into sealed plastic without ventilation.
That can speed up spoilage. Check daily and pull any questionable pods.
Fresher pods make for quicker, creamier cooking. With the right storage, you’ll stretch a market haul a few days without losing that springy snap and sweet aroma.
8. How to store fresh shelled beans
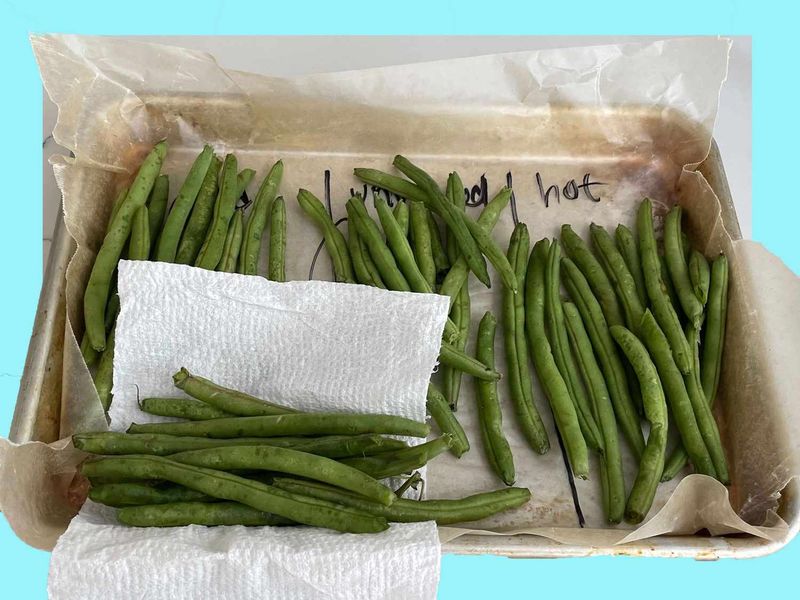
Once shelled, beans lose moisture fast. Refrigerate them in a covered container with a paper towel inside to absorb excess condensation.
Keep the lid on, and don’t leave them uncovered. Exposure dries the skins and toughens texture.
Try to cook within a couple of days for the best flavor and tenderness.
If the towel gets damp, swap it out. Avoid washing until just before cooking to reduce waterlogging.
A clean, cold, stable environment keeps them happy. Label the container with the date so you remember your window.
Good storage gives you that creamy, gentle bite you’re after. Treat them like delicate produce, and they’ll reward you at the stove.
9. What freezing is best for
Freezing shines when you have more beans than you can cook right away. It preserves that fresh flavor and buys you time.
Shell beans take beautifully to the cold, so you can enjoy market quality later. If you love batch cooking, freezing turns a big weekend haul into easy weeknight wins.
It also reduces waste. Instead of letting pods wilt in the fridge, you lock in peak texture.
Pull a bag whenever you need a hearty addition to soups, stews, or sautés. Frozen beans cook fast and reliably.
With a little prep, you get convenience without sacrificing quality. Think of your freezer as a pause button for peak-season perfection.
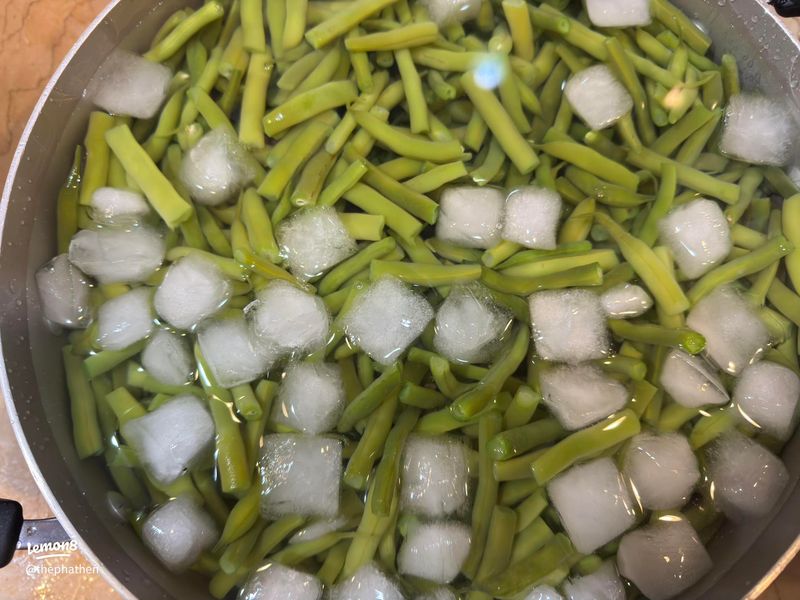
10. The best way to freeze fresh shell beans
Start by shelling, then rinse quickly and dry well. For most varieties, blanch briefly to set color and texture.
Shock in ice water, drain thoroughly, and pat dry again. Moisture is the enemy of good freezing.
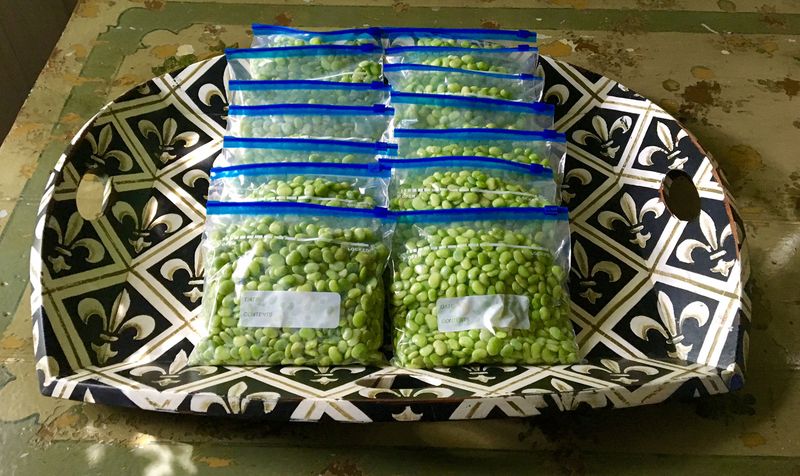
Spread beans on a tray to pre-freeze so they don’t clump, then pack in flat bags.
Press out excess air and label with date and variety. Flat bags stack nicely and thaw evenly.
This method keeps skins supple and interiors creamy. You’ll thank yourself later when dinner needs speed.
With consistent prep, frozen beans taste remarkably close to fresh. It’s the easiest way to capture the season and cook on your schedule.
11. How to use frozen shell beans
Use frozen beans straight from the bag, no thawing required. Drop them into soups, stews, and braises.
They soften quickly and hold shape nicely. If texture precision matters, like in a salad, thaw gently in the fridge and pat dry before cooking.
Either way, they deliver dependable creaminess.
Remember they cook faster than dried beans, so taste early and often. Season as you go and add salt gradually.
For quick meals, sauté aromatics, add frozen beans, cover with broth, and simmer until tender. Finish with olive oil, herbs, and lemon.
You’ll have a satisfying bowl in minutes. Frozen beans make weeknight cooking feel thoughtful and relaxed.
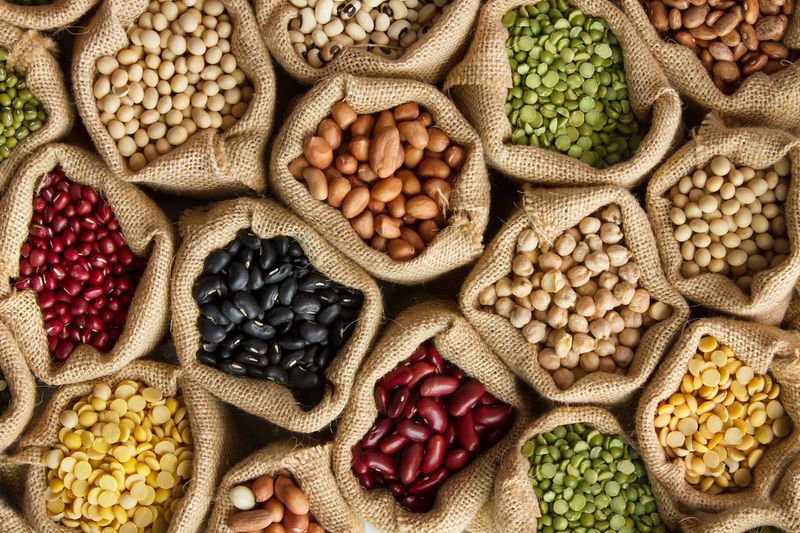
12. Buying dried beans that cook evenly
Look for dried beans that are uniform in size and color. Fewer cracked skins and minimal debris mean better sorting and more even cooking.
If possible, buy from a shop with steady turnover so beans aren’t ancient. Older beans can be stubborn and take forever to soften, which can derail dinner plans.
Consider reputable farms or brands known for freshness. Transparent harvest dates help.
When beans look bright and clean, they typically hydrate predictably. You’ll notice shorter simmer times and fewer split skins.
A little attention at purchase saves burners and patience later. Think of it like choosing good produce, just dried.
Quality in equals reliability in the pot.
13. Storing dried beans the right way

Store dried beans in airtight containers to protect them from humidity and pantry odors. Keep them in a cool, dark place away from heat sources and sunlight.
Light and warmth speed staling and can dull flavor. If you live somewhere humid, the seal matters even more.
Good storage preserves aroma and reduces cooking surprises.
Label jars with purchase dates so you rotate stock. Avoid leaving beans in torn bags that invite moisture and pests.
A tidy pantry setup pays off every time you cook. Beans will hydrate more evenly and soften as expected.
With a little organization, your pantry becomes a reliable, delicious resource for quick, nourishing meals.
14. Do dried beans go bad
Dried beans rarely spoil dangerously if they stay dry, but they do get stale. Over time, they hydrate sluggishly and may never fully soften.
Flavor can turn flat or musty. If beans smell off, feel oddly soft, or show signs of moisture exposure, it’s time to toss.
Safety comes first, and quality matters too.
Very old beans can behave unpredictably and demand long cooking without reward. You might burn through time and energy for a mediocre bowl.
Keep an eye on age and storage conditions. When in doubt, replace them.
Fresh dried beans sound funny, but that’s the goal. You’ll taste the difference in every spoonful.
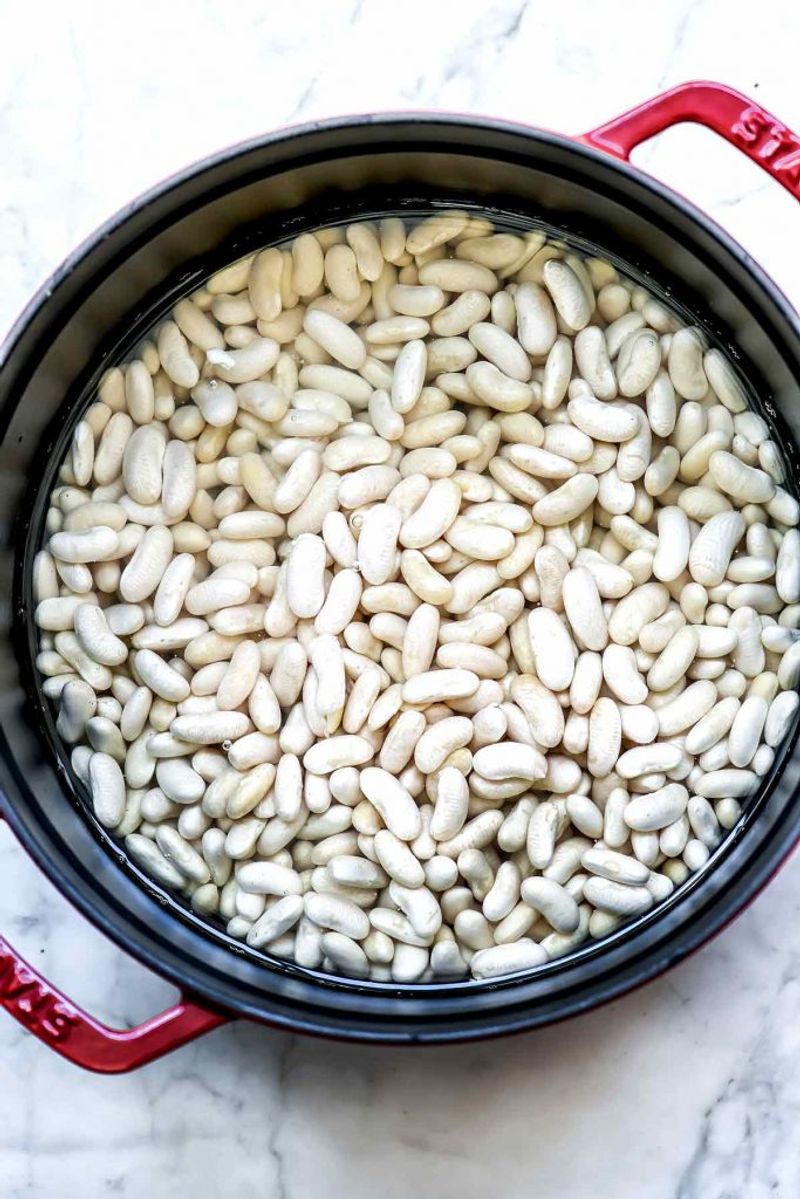
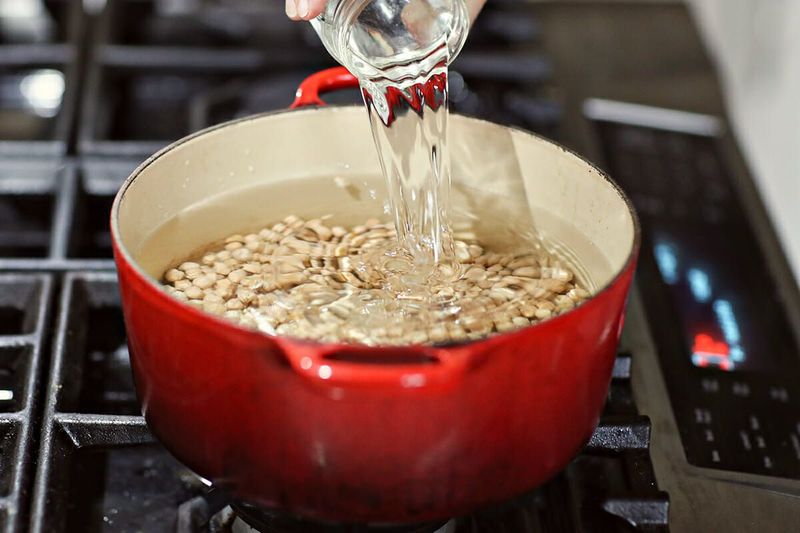
15. Soaking basics for dried shell beans
Soaking helps beans hydrate evenly and cook more predictably. An overnight soak in plenty of water is the simplest route.
If you forget, use a quick soak: bring beans to a boil, turn off heat, let sit, then drain and proceed. Both methods can shorten cooking time and reduce split skins.
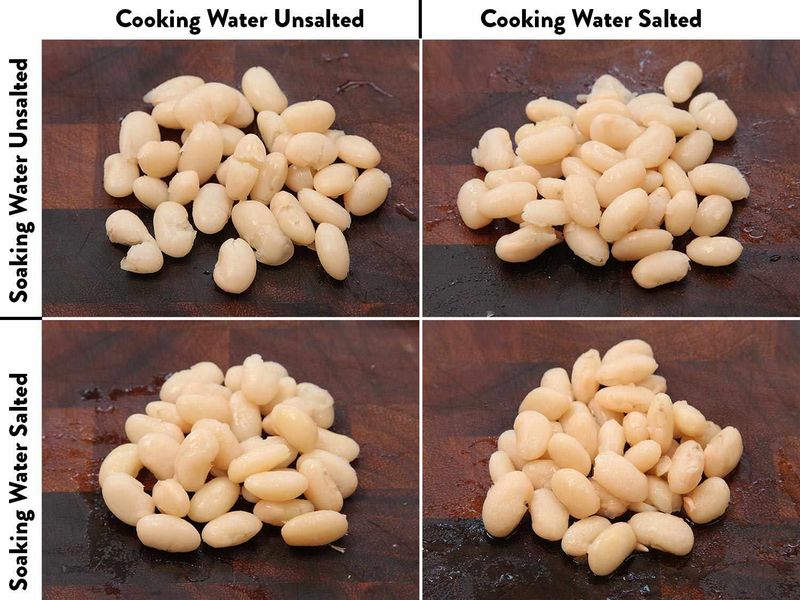
Salt the soaking water lightly if you like seasoned beans from the core. It does not toughen skins.
Rinse after soaking and cook in fresh water or broth. Aromatics like onion, garlic, and bay build flavor from the start.
With either method, you’ll get creamier centers and fewer burst beans. Soaking is a reliable path to tender results.
16. Salt and acid timing matters
Salt early and season confidently. Contrary to myth, salt helps beans cook evenly and taste great throughout.
The troublemaker is acid. Tomatoes, vinegar, wine, and citrus can slow softening if added too soon.
Hold acidic ingredients until beans are mostly tender, then finish the dish. Your pot will reward you with creamy interiors and intact skins.
Taste as you go. Adjust salt and add aromatics in stages.
When the beans reach near-tender, stir in tomato or lemon and simmer gently to meld flavors. This timing keeps texture luscious while building brightness at the end.
It’s a tiny shift that delivers big results and fewer frustrating, stubborn beans.
17. Buying and storing canned beans
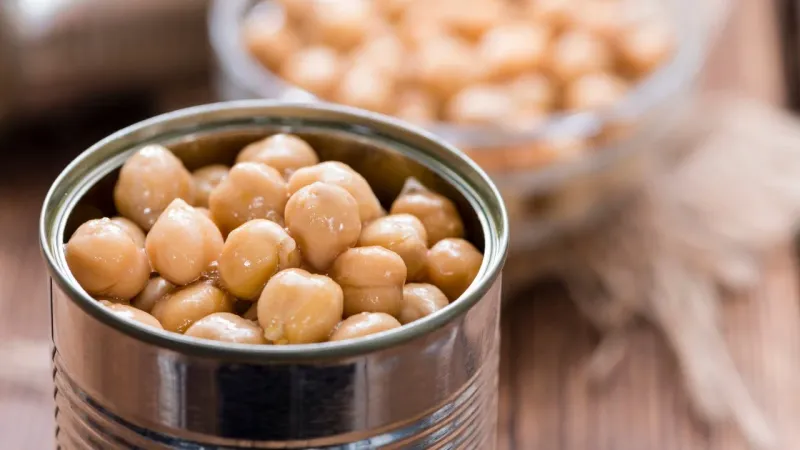
When buying canned beans, inspect each can. Avoid dents on seams, bulging ends, rust, or any leaks.
Brand matters for texture and salt level, so find one you like. At home, store cans in a cool pantry away from heat.
Rotate stock and keep older cans up front so you use them first.
After opening, transfer leftovers to a container, not the can, and refrigerate. Rinse to control salt if needed.
Canned beans make fast, dependable meals with minimal planning. You can mash, marinate, or simmer them in minutes.
A few pantry checks and good habits keep convenience safe and delicious.
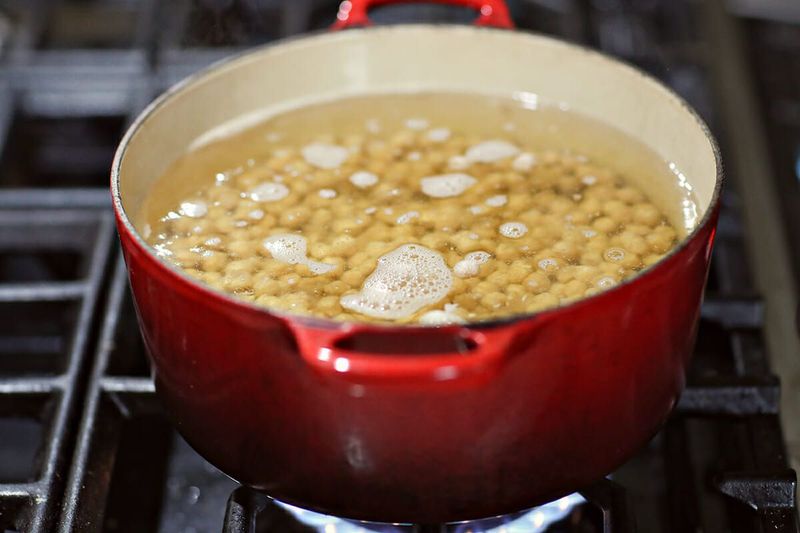
18. Keeping cooked shell beans from turning mushy
Gentle heat is your friend. Keep the pot at a steady simmer, not a rolling boil.
Vigorous bubbling bangs beans around and splits skins. Stir less than you think, and use a wide spoon.
If you’re making soup, consider cooking beans separately until just tender, then combining near the end to finish together.
This approach protects texture while letting flavors marry. If a recipe calls for long simmering, add cooked beans later and heat gently.
Taste frequently to hit the sweet spot of doneness. A drizzle of olive oil can cushion movement and add gloss.
With a calmer pot, you’ll keep that creamy center intact.
19. How to store cooked shell beans
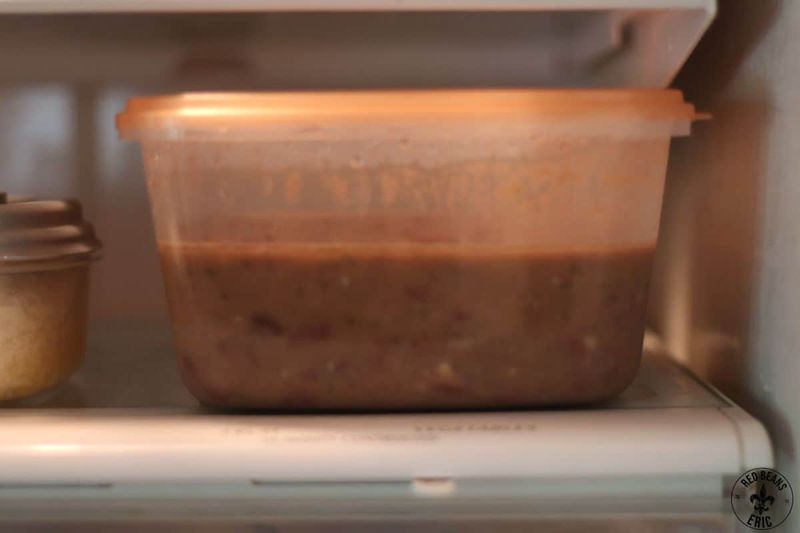
Cool cooked beans quickly and refrigerate them in a sealed container. Save some of their cooking liquid to cover the beans.
That broth keeps them creamy and prevents drying. Beans stored dry tend to firm up and taste less fresh.
Label with the date so you remember your timeline for using them.
They keep well for several days. When reheating, warm gently and add a splash of water or broth if needed.
Season to taste and finish with olive oil or herbs. You’ll revive their silky texture and bring back aroma.
With a little care, leftovers become the best part of your week.
20. Freezer tips for cooked beans
Cooked beans freeze beautifully if you portion them with some cooking liquid. Cool completely, then pack into freezer-safe containers or flat bags.
Press out air to minimize ice crystals. Label with date and portion size for easy meal planning.
Flat packs thaw quickly in a bowl of cold water or overnight in the fridge.
When reheating, warm gently to keep skins intact. Use them straight in soups, stews, or quick sautés.
If they seem a bit firm, simmer a few extra minutes. A squeeze of lemon or a splash of oil refreshes flavor.
With smart freezing, you’ll always have creamy beans on standby for fast, satisfying meals.
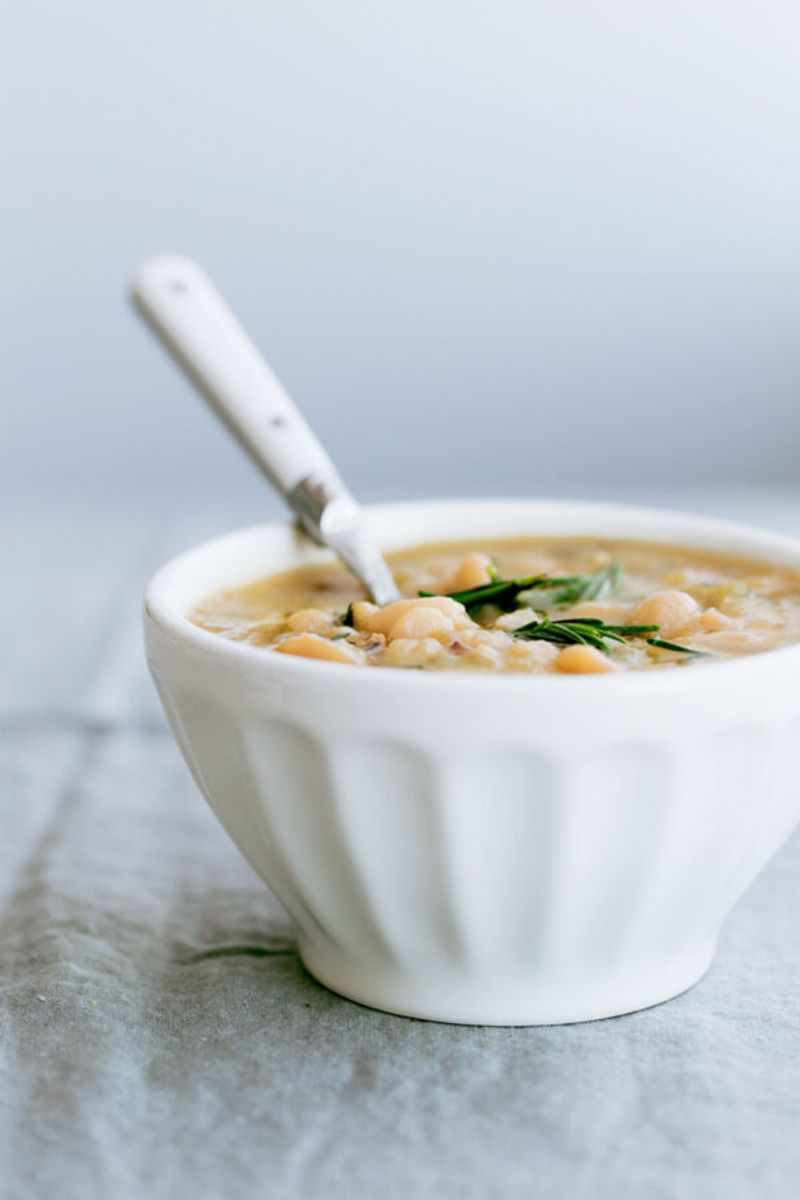
21. Simple cooking method for fresh shell beans
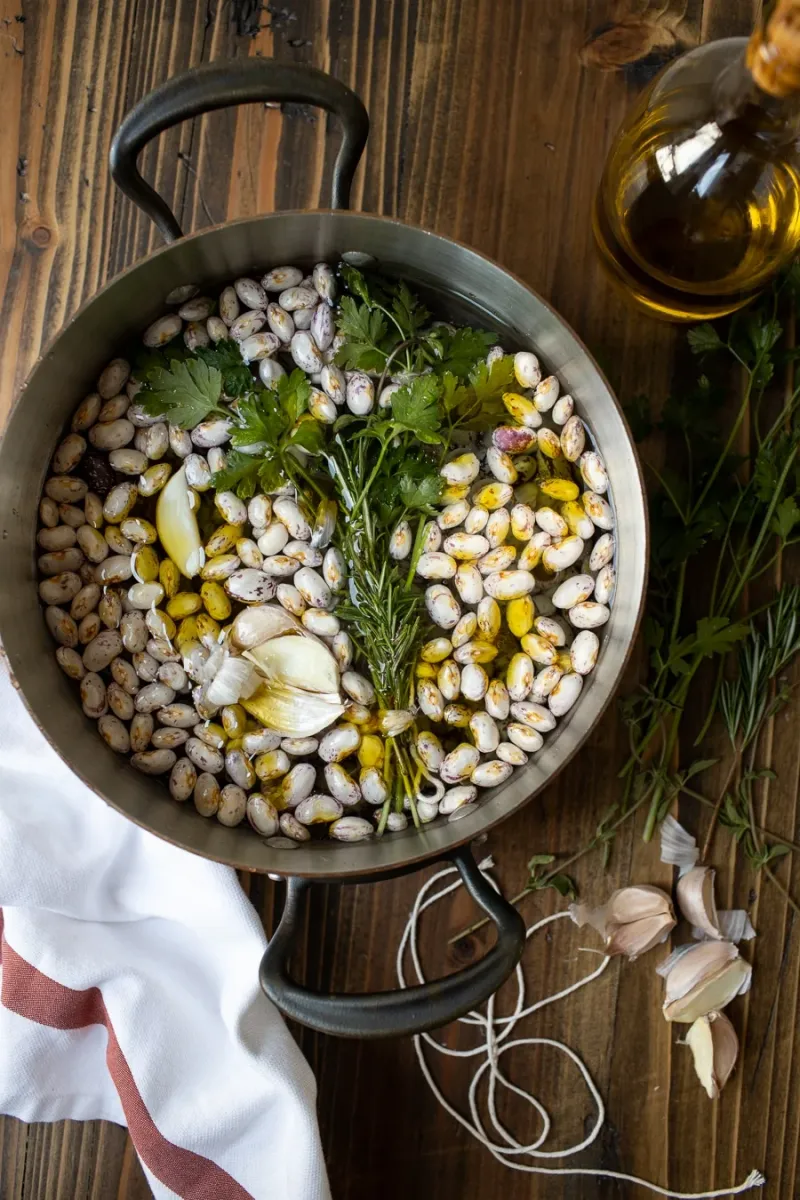
For an easy baseline, cover fresh beans with water or light broth. Add a glug of olive oil, a smashed garlic clove, a slice of onion, and a bay leaf.
Salt early but lightly. Simmer gently until just tender, then rest a few minutes in the liquid.
Taste and adjust salt. The result is pure, cozy comfort.
From there, you can turn them into dinner. Spoon over toast, fold into pasta, or dress warm beans with lemon and herbs.
Save the cooking liquid for soups or grains. This simple pot teaches you timing and texture so every batch afterward becomes second nature.
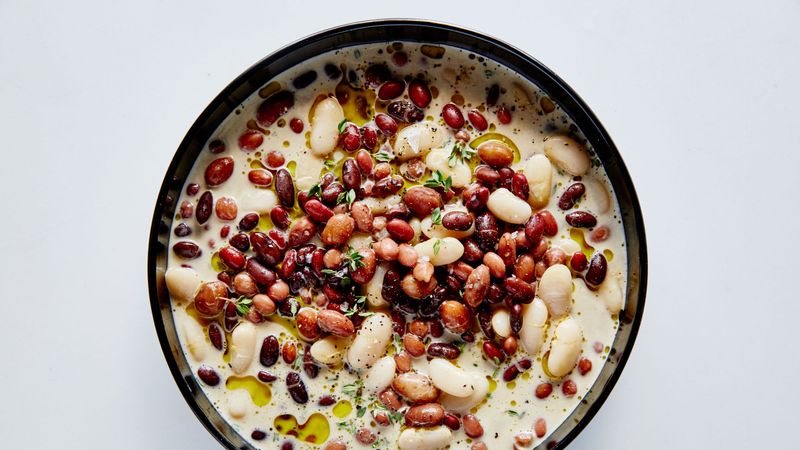
22. Flavor boosters that love shell beans
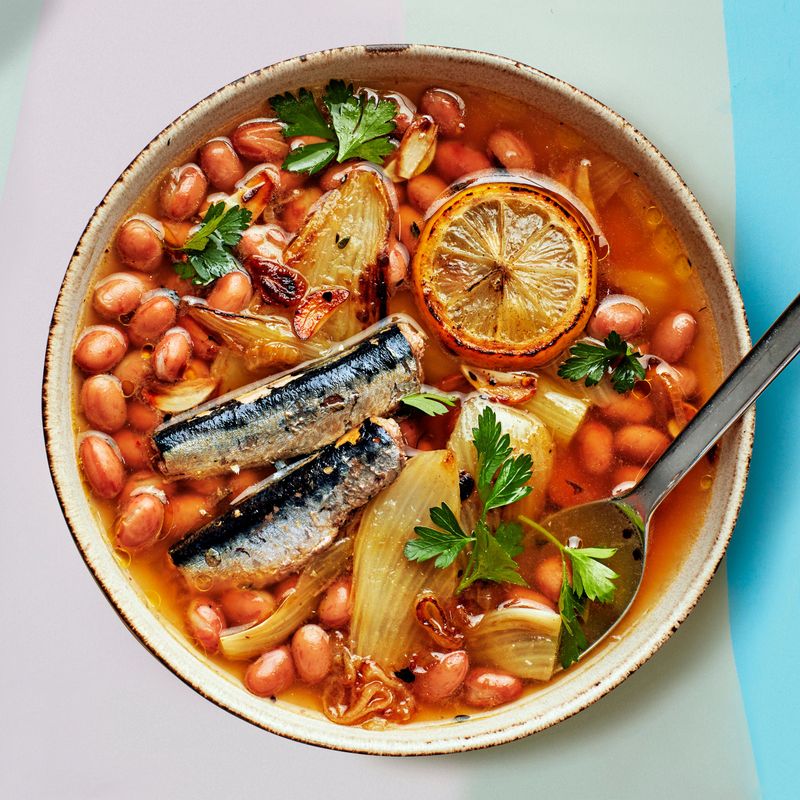
Shell beans adore companions that add brightness and depth. Think lemon zest, good olive oil, fresh herbs like dill or parsley, and a whisper of chili.
A parmesan rind in the pot adds savoriness. Anchovy, rosemary, or smoked paprika can transform a simple bowl.
Start small, taste, and build. Beans soak up flavor gracefully.
Acid wakes them up at the end. A squeeze of lemon or splash of vinegar lifts richness.
For creaminess, swirl in tahini or a knob of butter off heat. Texture loves contrast, so add toasted breadcrumbs or nuts.
With a few pantry players, humble beans become dinner-worthy and memorable.
23. Signs shell beans should be tossed

Trust your senses. Fresh beans that feel slimy, smell sour, or show mold or odd fermentation need to go.
Cooked beans with a sour odor, visible mold, or fizzy liquid are unsafe. Don’t taste to confirm.
Canned beans in bulging, leaking, or seam-dented cans are off limits. If a can spurts when opened, discard.
Safety beats thrift every time. When in doubt, toss and start fresh.
Good storage and timely cooking prevent most issues. Keep an eye on dates, rotate stock, and maintain a clean fridge and pantry.
You’ll avoid waste in the long run by keeping quality high and risks low.