15 Common Caramel Mistakes A Confectioner Sees Most Often

Caramel looks simple, but it punishes small mistakes faster than almost any other sweet. If yours turns grainy, bitter, or dangerously splashy, the problem is usually a tiny decision made too early.
I see the same caramel errors again and again, and they are absolutely fixable. Once you know what to watch for, you can make caramel that tastes deeper, smoother, and far less stressful.
1. Walking Away for Just a Second
The biggest caramel mistake I see is treating it like a recipe you can multitask. In the early stages, you may have a little breathing room, but once the sugar starts turning golden, every second counts.
That beautiful amber can become bitter, smoky, and unusable faster than most people expect.
If you step away to grab cream, answer a text, or wash a spoon, you are gambling with the whole batch. I always tell you to prepare everything before the pan goes on the heat.
Stay close, watch the color constantly, and trust that caramel rewards full attention more than speed ever will.
2. Using a Pot That’s Too Small
Caramel needs more space than many people think, especially if you plan to add butter or cream. The moment dairy hits hot sugar, the mixture surges upward in a furious boil that can easily climb out of a shallow pan.
A pot that feels fine at the start can become a safety hazard seconds later.
I recommend using a tall, heavy saucepan with plenty of headroom, even for a modest batch. That extra space protects your hands, your stove, and your nerves when the bubbling gets wild.
If your caramel has ever boiled over, the pot size was probably part of the problem.
3. Starting with a Dirty Pot or Spoon
Caramel is less forgiving about cleanliness than many other desserts, and tiny leftovers can cause outsized trouble. A greasy film, old sugar residue, or bits of batter on a spoon can introduce off flavors or encourage crystallization.
When sugar is this exposed, even small contamination has a way of showing up dramatically.
I always start with a thoroughly washed pot, a clean utensil, and a dry workspace. It feels fussy until you have to toss a grainy batch that never had a fair chance.
If you want smooth caramel with pure flavor, treat clean equipment as part of the recipe, not an optional extra step.
4. Stirring at the Wrong Time
With dry caramel, stirring too early is one of the fastest ways to create clumps and frustration. As the sugar melts unevenly, aggressive stirring can pull solid crystals through liquid spots and encourage the whole mixture to seize.
That is why a pan of melting sugar often responds better to patience than enthusiasm.
Instead of stirring immediately, I prefer letting the heat start the process and then gently swirling the pan as needed. Swirling redistributes heat without scraping stubborn crystals into the mix.
Once most of the sugar has melted, you can guide it more confidently, but in the beginning, restraint is usually your best tool.
5. Not Dissolving All Sugar in Wet Caramel
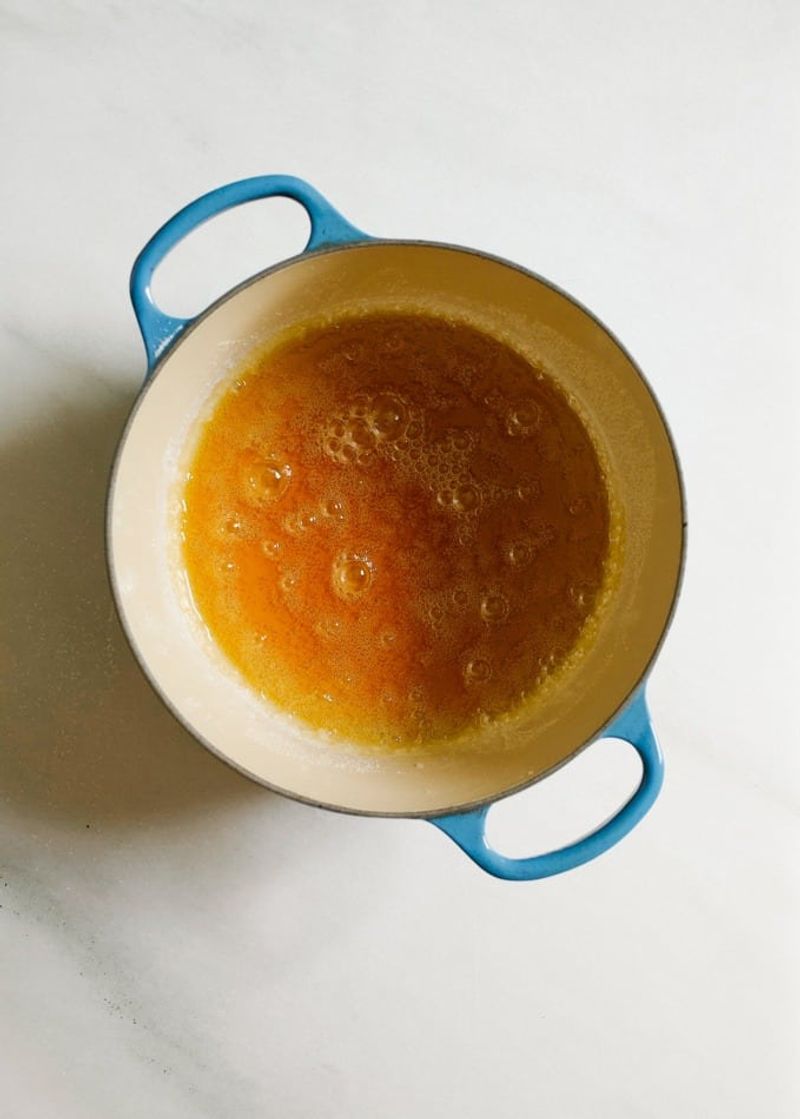
When you make wet caramel, the water gives you a gentler start, but it does not remove the need for precision. If dry sugar remains on the sides or bottom of the pot, those crystals can later seed the entire batch and turn it grainy.
The syrup may look calm at first, then suddenly lose its smooth texture.
I like to check carefully before the mixture boils and make sure every grain has dissolved. A brief pause at the start saves a disappointing ending later.
If your wet caramel repeatedly crystallizes, the culprit is often not bad luck at all, but sugar that never fully dissolved in the first place.
6. Skipping a Pastry Brush for Wet Caramel
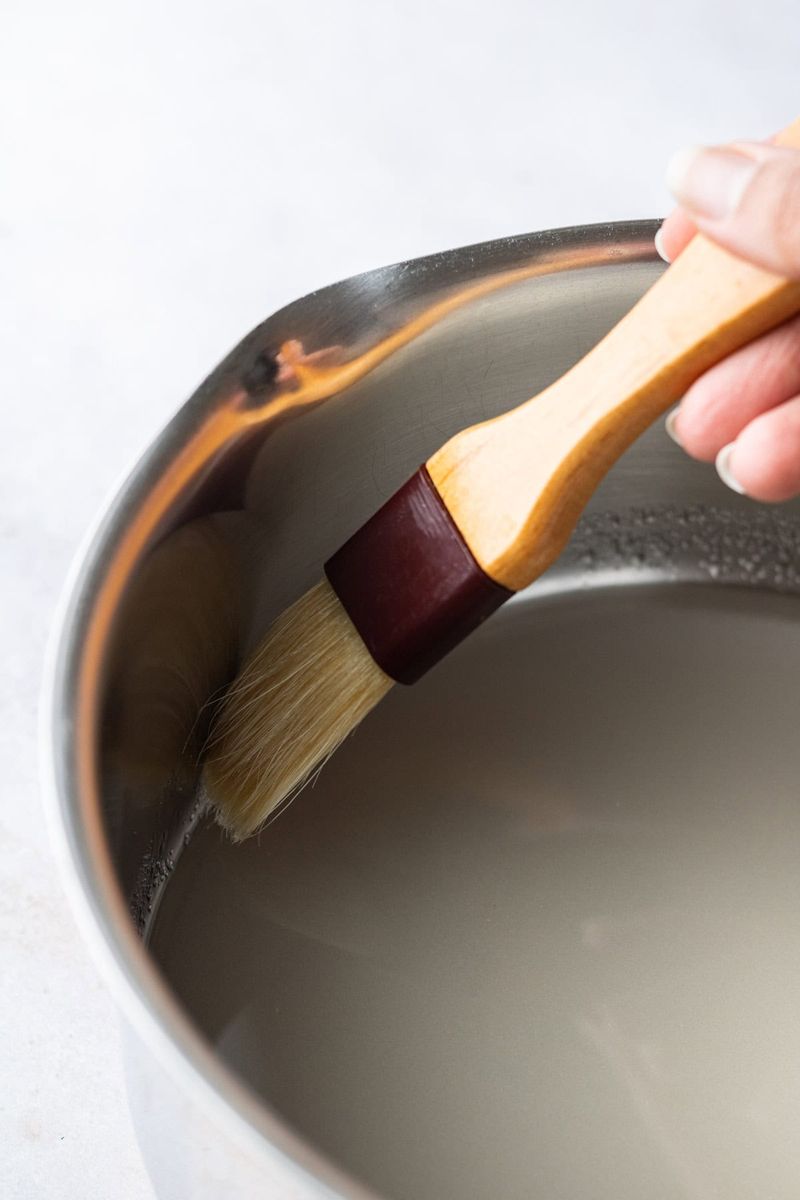
One small tool solves a surprisingly common caramel problem, and that tool is a pastry brush. In wet caramel, stray sugar crystals often cling to the sides of the pan above the bubbling syrup.
If they stay there, they can drop back in later and trigger crystallization through the whole batch.
I keep a brush and a little water nearby, then gently wash down the sides as needed. It is a simple move, but it protects the smooth texture you are working so hard to achieve.
If you usually skip this step and wonder why your caramel turns grainy, this is a smart habit to adopt immediately.
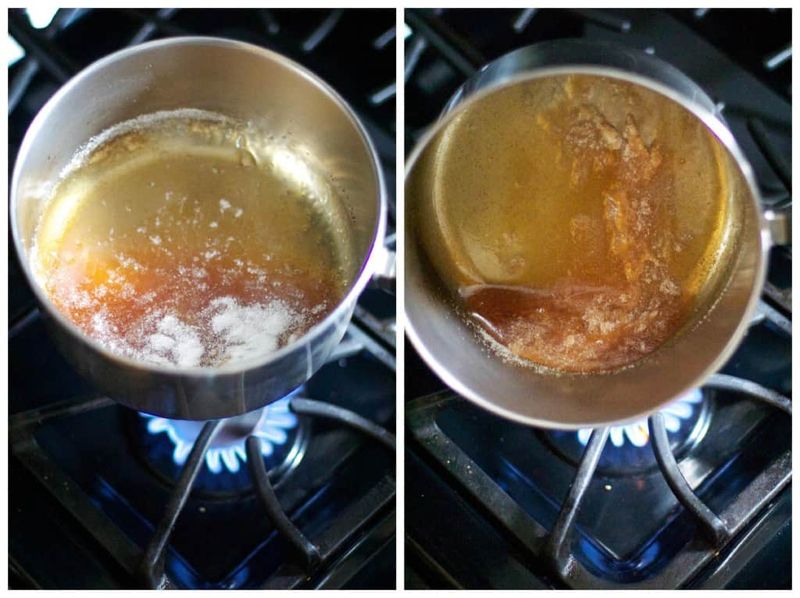
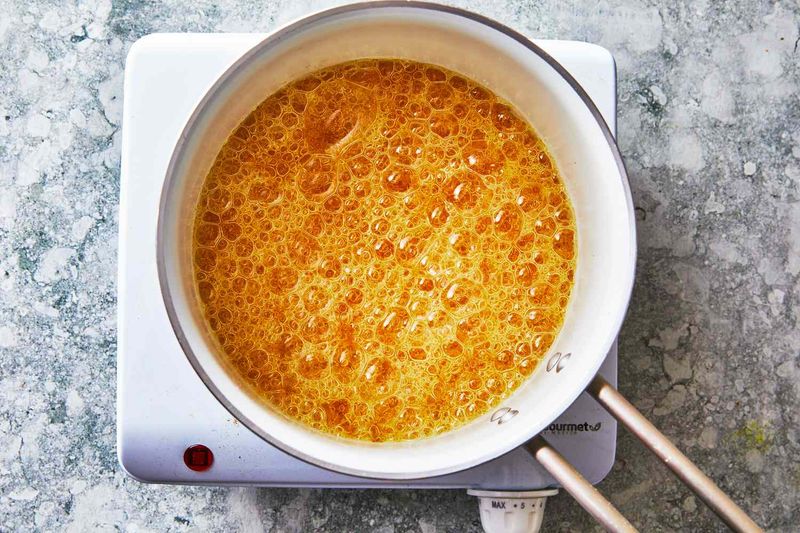
7. Letting the Heat Run Too High

High heat feels efficient, especially when you are impatient for sugar to melt and deepen in color. The problem is that caramel develops fast enough already, and excessive heat narrows your control window to almost nothing.
You may get dark spots, uneven coloring, or a scorched flavor before the rest of the batch is ready.
I usually tell you to think steady rather than fast. Medium heat gives the sugar time to melt more evenly, and it gives you time to react before perfect amber becomes burnt.
If your caramel tastes harsh or looks patchy, turning the burner down may improve your results more than any fancy technique.
8. Pulling It Too Early
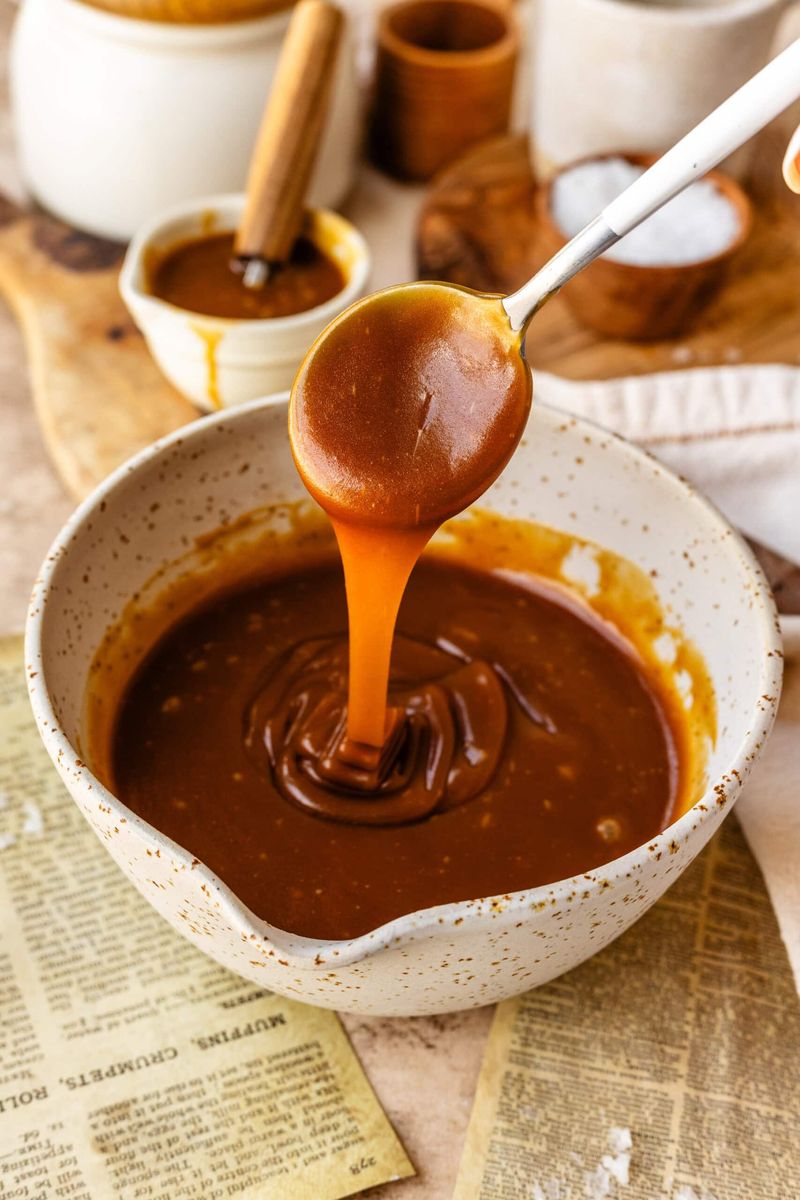
Many people stop caramel too soon because they are afraid of burning it, and that caution is understandable. Still, pale caramel often tastes mostly sweet, without the nutty, bittersweet complexity that makes caramel memorable.
If the color is only faintly golden, the flavor usually has not developed enough depth yet.
I like to remind you that caramel should look confidently amber, not timidly beige. The difference of a minute can turn flat sweetness into something layered and rich.
Watch carefully, use your nose along with your eyes, and let the sugar deepen enough to earn that true caramel flavor before you pull it from the heat.
9. Going Too Far
Deep caramel can be gorgeous, but there is a razor-thin line between bold and burnt. Once sugar crosses that line, no amount of cream, butter, or wishful thinking will remove the bitter taste.
People often hope a slightly too-dark batch will mellow later, yet burnt notes usually become even more obvious.
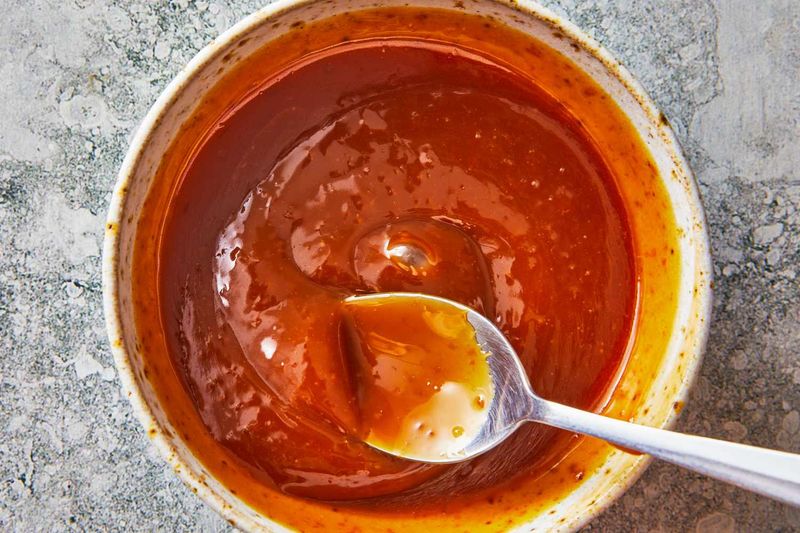
I watch for a rich amber shade and act before it turns chestnut or starts smelling acrid. The darker it gets, the faster it keeps changing, so hesitation matters.
If your caramel consistently tastes bitter, aim to stop a little earlier and remember that complexity should taste roasty and balanced, never like charred sugar.
10. Not Accounting for Carryover Cooking
A mistake that surprises many home cooks happens after the caramel leaves the burner. The sugar is still extremely hot, and the pot itself holds plenty of residual heat, so the cooking does not stop instantly.
If you wait until the color looks exactly right in the pan, it may continue darkening into bitterness.
I like to pull caramel just before it reaches my ideal shade, especially in a heavy saucepan. That small bit of anticipation gives carryover cooking room to finish the job instead of ruining it.
When your batches always seem darker than expected, the issue may not be your heat, but your timing after the heat ends.
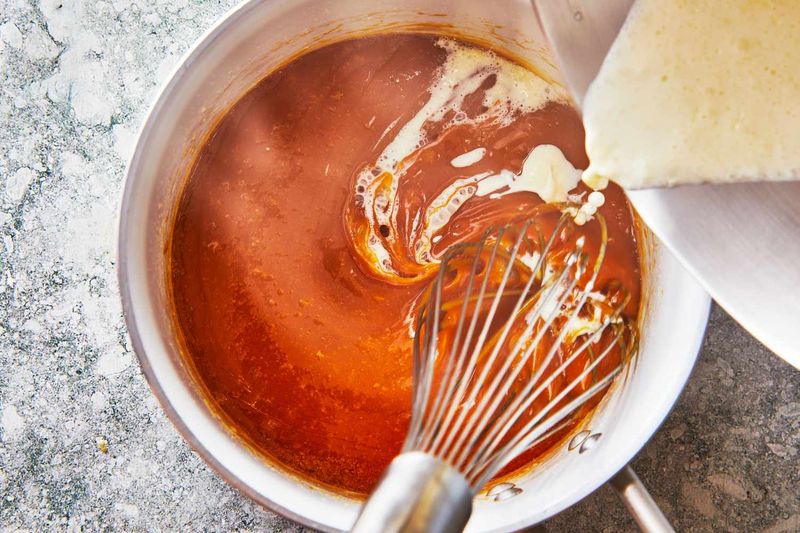
11. Adding Cold Butter or Cream
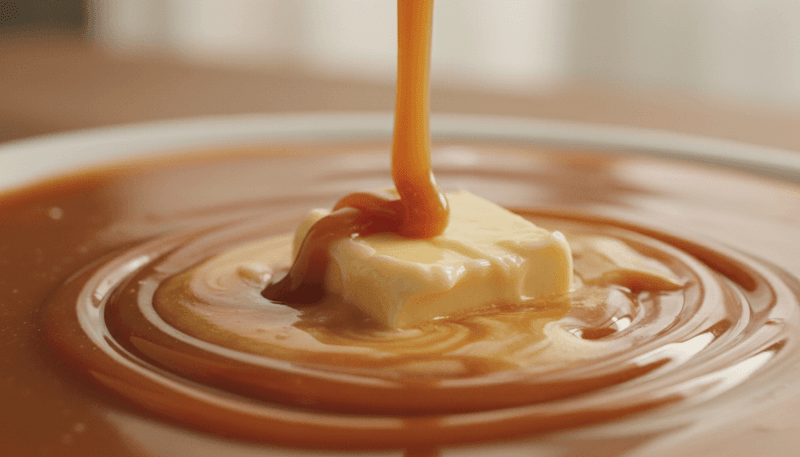
Cold dairy and hot caramel are a rough pairing, and the shock can be dramatic. When chilled cream or cold butter hits molten sugar, the caramel may seize, harden in spots, or splatter aggressively.
That reaction is not just messy, it can be dangerous when the bubbles leap up unexpectedly.
I prefer to warm the cream first and let the butter come to room temperature whenever possible. That softer temperature transition makes the mixture easier to control and helps the final sauce stay smooth.
If your caramel turns lumpy or erupts when you add dairy, the temperature contrast is probably working against you.
12. Pouring Cream in Too Fast

Even when your cream is warm, speed matters more than many recipes emphasize. Dumping it in all at once can trigger a violent bubble-up, and the sudden temperature change may shock the caramel into seizing.
It is one of those moments where a little patience protects both texture and safety.
I pour cream in a thin, steady stream while stirring carefully and keeping my hands clear of the steam. That controlled addition gives the sugar time to adapt and emulsify instead of panicking into chaos.
If your caramel clumps after dairy goes in, or if it splashes alarmingly, slow down and let the mixture catch up.
13. Using the Wrong Thermometer or Trusting It Blindly

A thermometer can help, but caramel is one of those sweets where numbers alone do not tell the whole story. Some candy thermometers run a little high or low, and even accurate readings need to be interpreted alongside color and aroma.
If you trust the tool blindly, you can miss what the sugar is clearly showing you.
I use temperature as a guide, not a substitute for attention. The shade of amber, the smell in the pan, and the speed of color change all matter just as much.
If your thermometer says one thing but the caramel looks wrong, believe your senses and test your thermometer later in boiling water.
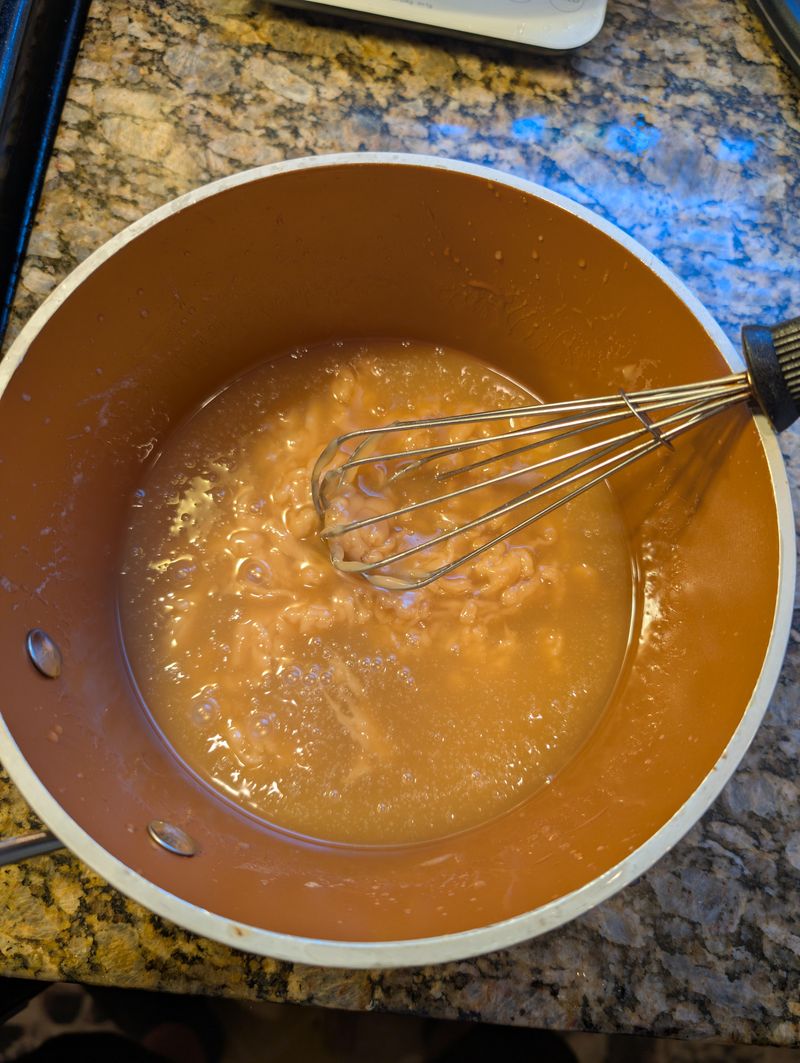
14. Not Stirring After Adding Dairy
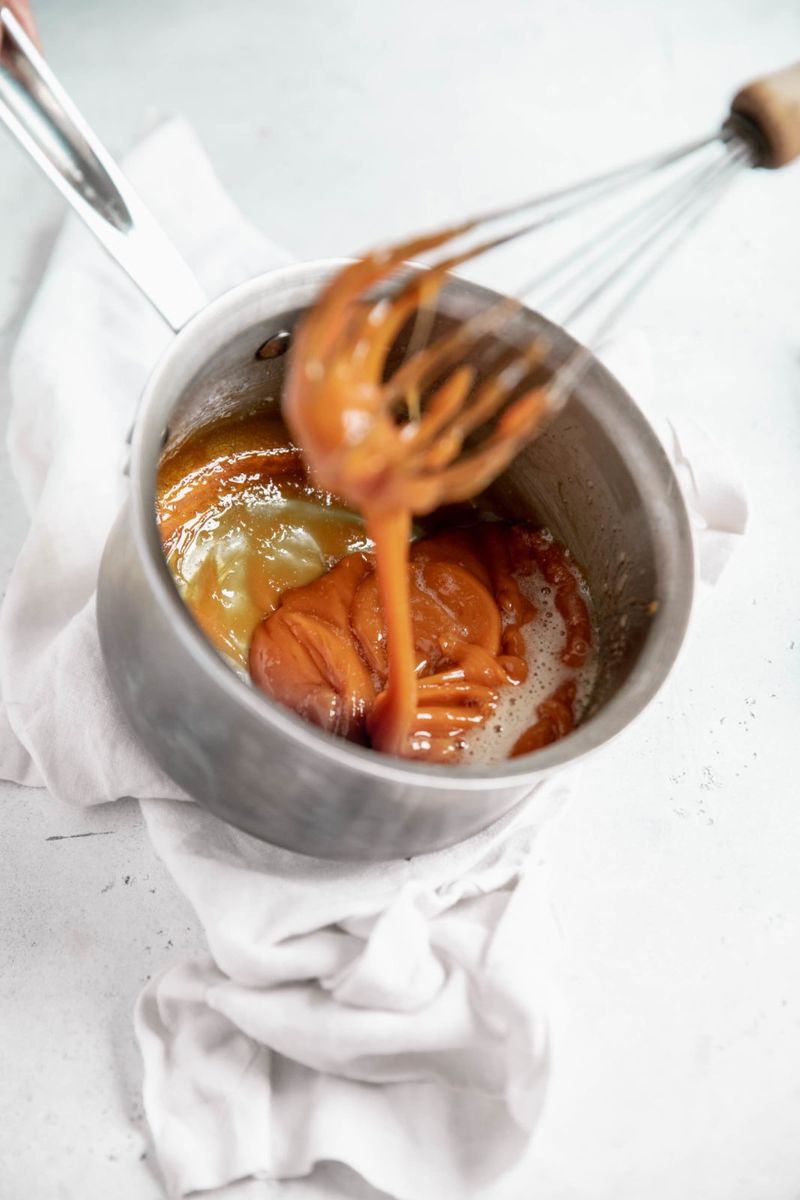
The no-stir advice for early caramel often confuses people once cream or butter enters the picture. At that stage, you do need to stir because you are no longer just melting sugar, you are building an emulsion.
Without enough mixing, the fat and sugar can separate into oily patches and gritty syrup.
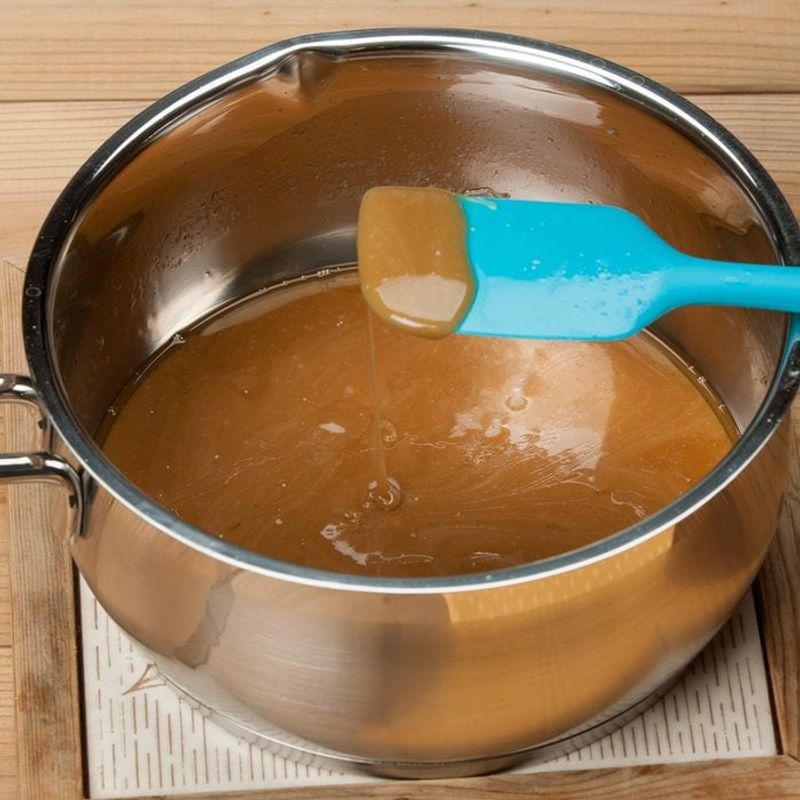
I stir steadily after adding dairy until the sauce looks smooth, unified, and glossy. This is the moment where active mixing helps rather than hurts.
If your finished caramel looks greasy on top or oddly thick underneath, there is a good chance it never fully emulsified, and a bit more stirring would have brought it together.
15. Pouring Caramel into a Cold Container
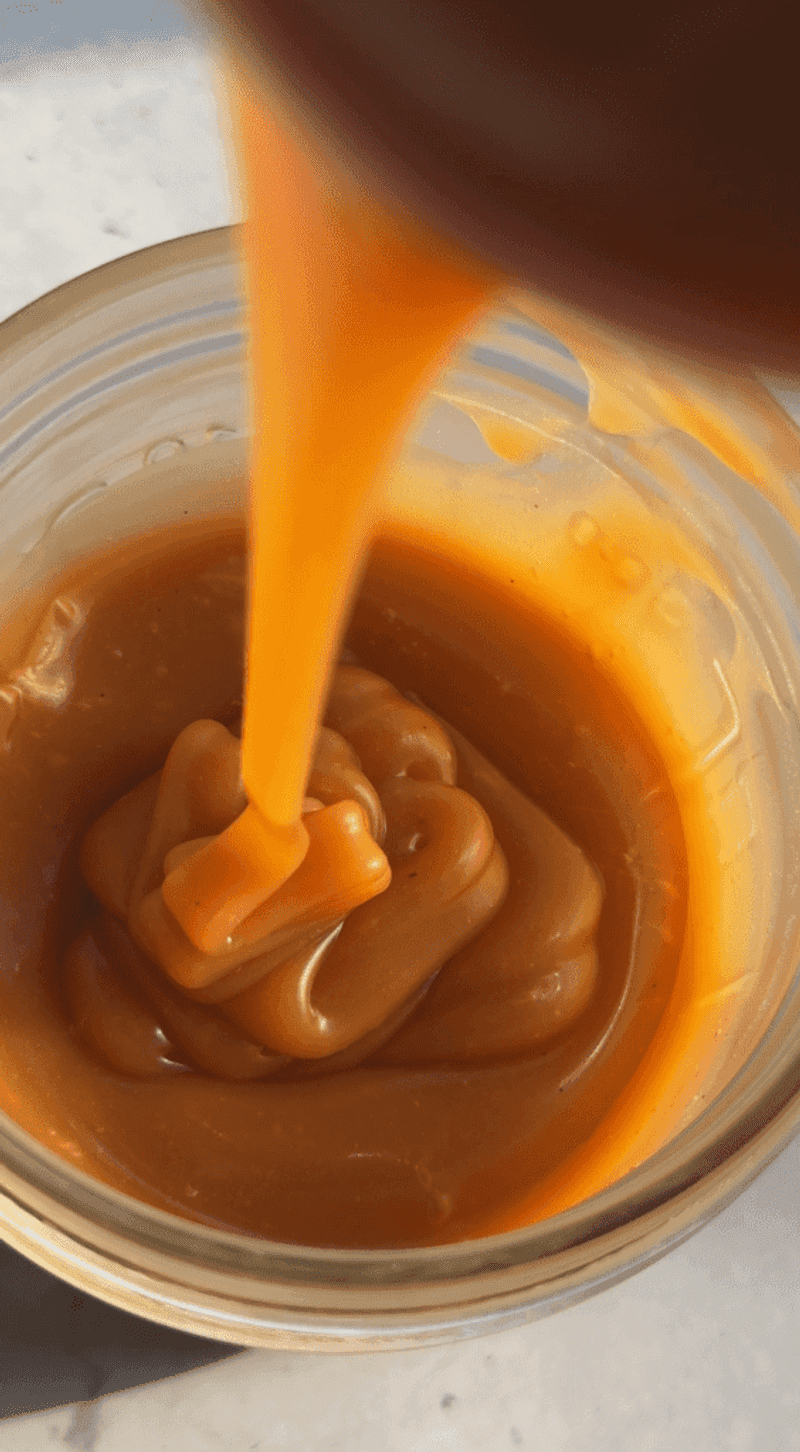
The final mistake often happens when the caramel is technically finished, but still vulnerable to temperature shock. Pouring hot caramel into a very cold jar, bowl, or pan can make it thicken suddenly or set unevenly around the edges.
That quick chill can affect texture before you even realize what happened.
I like to slightly warm the receiving container so the caramel stays fluid and settles smoothly. This is especially helpful when you want a glossy sauce or an even layer for candy making.
If your caramel seems perfect in the pot but awkward once poured, the temperature of the container may be the overlooked reason.