15 Oven Bacon Tips That Make Cleanup Easier
Bacon in the oven is the secret to crispy strips without a greasy stovetop battle. With a few smart tweaks, you can cut splatter, control drippings, and make cleanup feel almost effortless.
These tips focus on minimizing mess while keeping your bacon beautifully cooked. Ready to spend less time scrubbing and more time snacking?
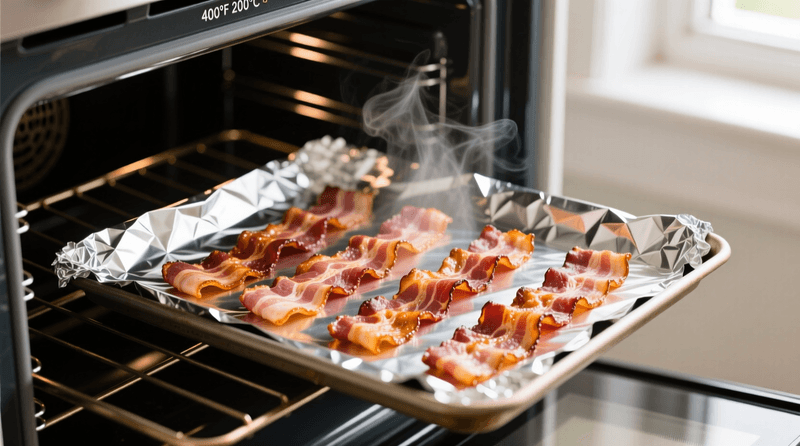
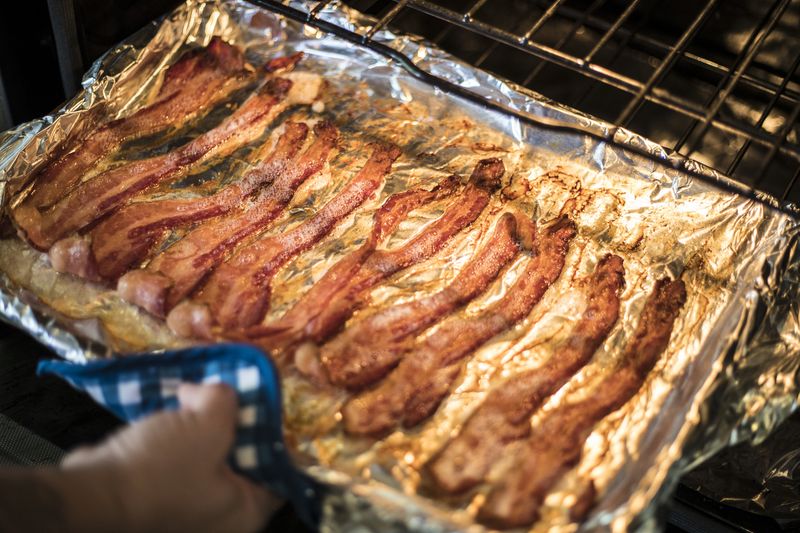
1. Line the sheet pan with heavy-duty foil
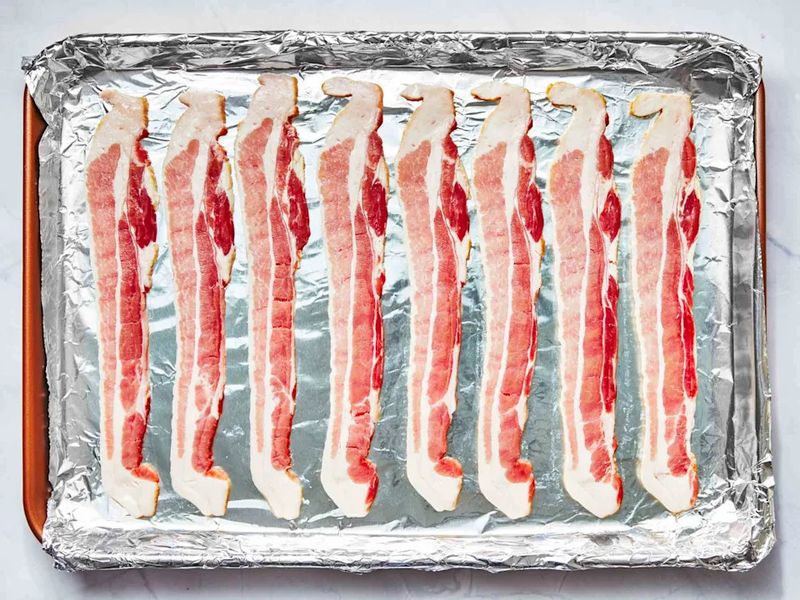
Line your rimmed sheet pan with heavy-duty foil, making sure it climbs up the sides. That full wrap creates a leak barrier, so grease does not sneak under and burn on the pan.
When you are done, the liner lifts away like a tidy package.
Press the foil into corners for a snug fit and overlap the edges slightly. Choose heavy-duty for fewer tears and sturdier handling.
Cleanup becomes lift and toss, no chisel required.
If a tear happens, stack a second layer right away. Double-lining still beats scrubbing.
You will thank yourself when everything peels off cleanly.
2. Add parchment on top of the foil
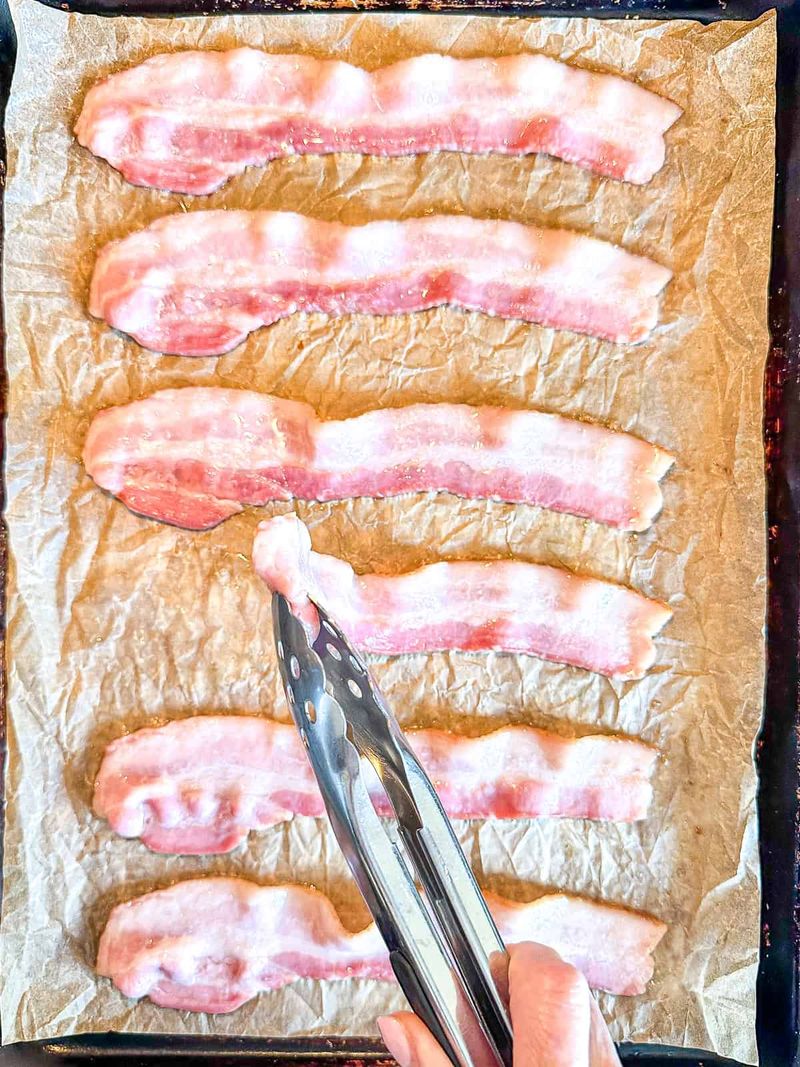
After foiling the pan, add a sheet of parchment on top. Parchment helps bacon release cleanly, so fewer bits fuse to the surface.
It also shields the foil from scorching, keeping your liner intact for easy lifting.
Trim parchment to fit within the rim, leaving no loose edges to curl. The foil beneath gives structure and blocks leaks.
The duo creates a sturdy, stick-resistant base.
When cooking is done, slide off parchment with the cooled bacon for quick transfer. Underneath, the foil stays mostly spotless.
That layered setup turns cleanup into a simple grab and toss.
3. Use a rimmed baking sheet
Skip flat cookie sheets and reach for a rimmed baking sheet. Those raised sides keep hot grease contained, cutting down on drips and dangerous sloshes.
It makes moving the pan safer and your oven cleaner.
Choose a sturdy, warp-resistant pan that heats evenly. A standard half-sheet fits most ovens and handles multiple bacon rows.
Durable aluminum or stainless steel works beautifully.
If your pan is older or warped, rotate it halfway through cooking to balance heat. The rim also supports foil neatly.
Trust the rim to keep messes from cascading onto the oven floor.
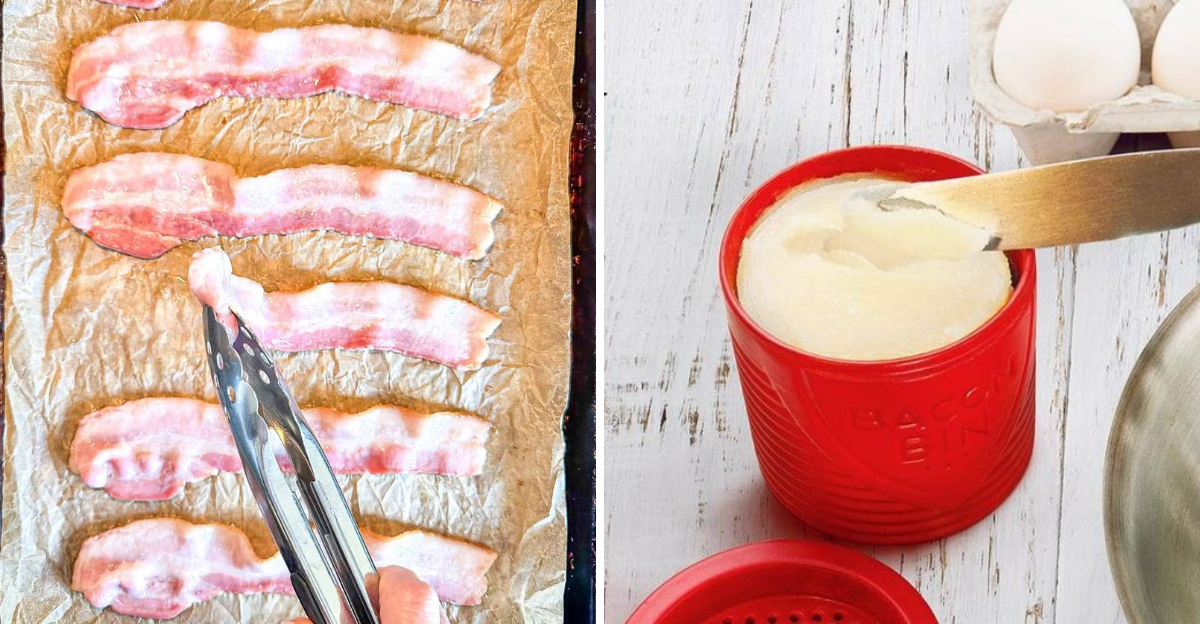
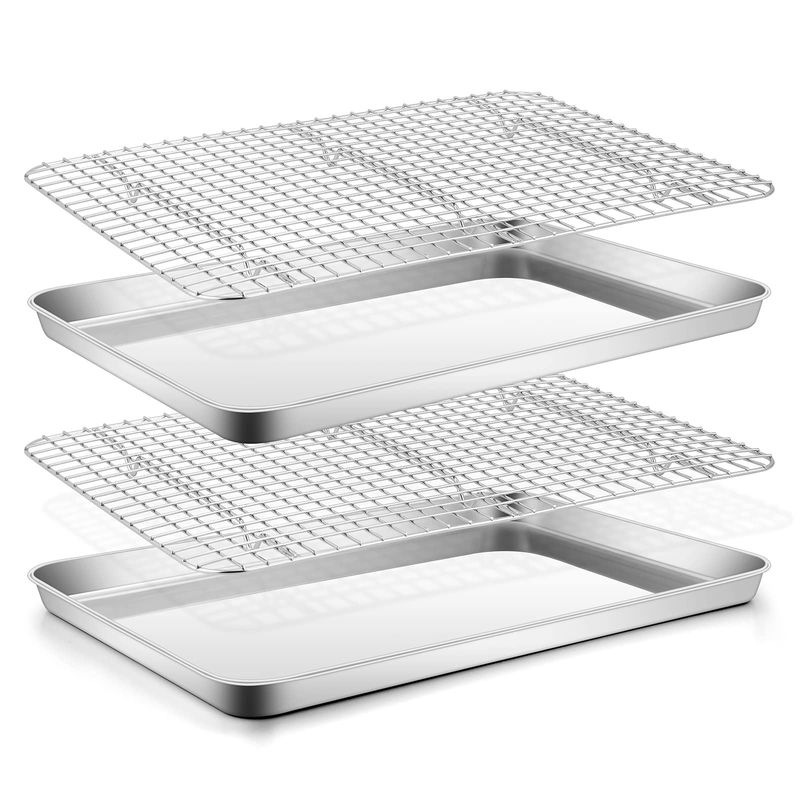
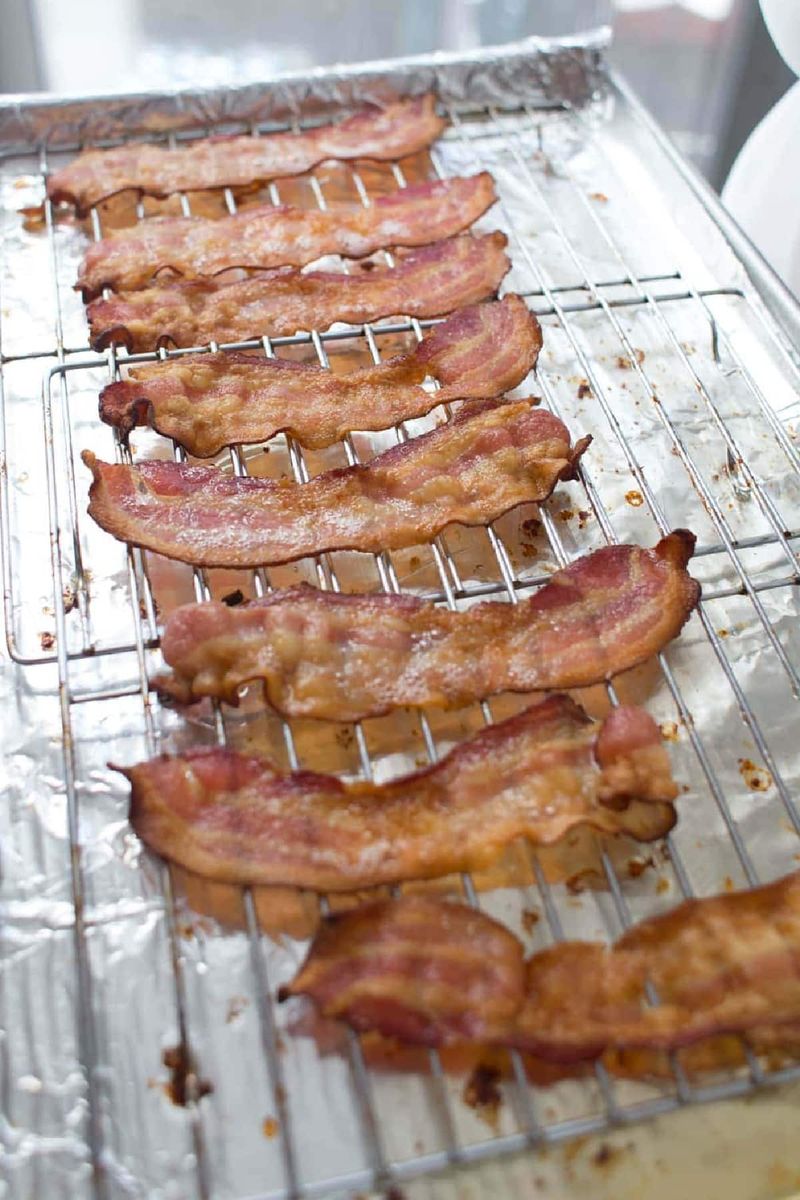
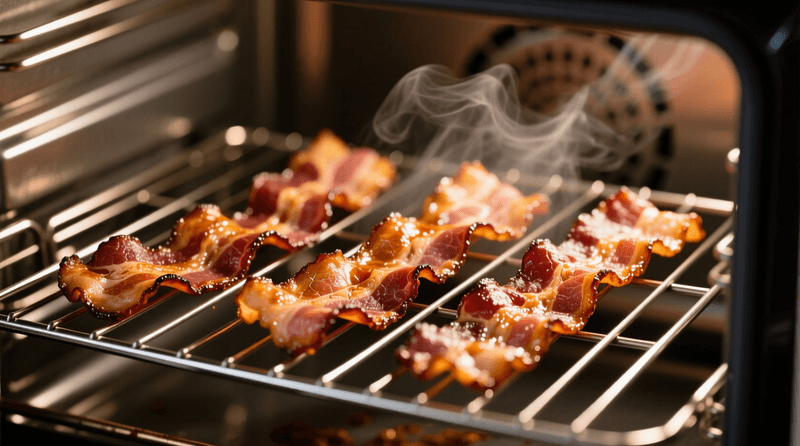
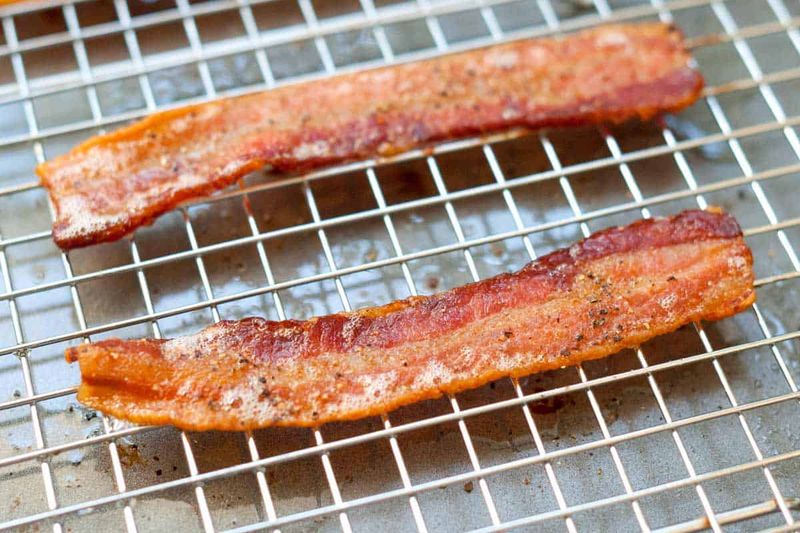
4. Put a cooling rack on the pan

Set a metal cooling rack inside your lined sheet pan. Bacon cooks elevated, so fat drips below instead of pooling around each strip.
That separation means crispier edges and less greasy residue clinging to the meat.
Choose an oven-safe, tight-grid rack that fits your pan. The grid supports bacon evenly and prevents sagging.
Position it flat for steady airflow and even browning.
Cleanup gets easier because drippings stay under the rack. When done, lift bacon straight to a plate.
The rack might need a soak, but your bacon will taste cleaner and cook more consistently.
5. Spray the rack lightly first
Give the rack a quick, light oil spray before laying down bacon. That thin coat helps prevent sticking where the meat meets the wires.
You will release strips cleanly without tearing or leaving crispy bits welded on.
Hold the sprayer several inches away for a fine mist. Aim for barely-there coverage, not puddles.
Too much oil can smoke and defeat your cleanup goals.
If you do not have spray, rub a drop of oil on a paper towel and wipe the rack. Focus on the contact points.
A 10-second prep saves minutes of scrubbing later.
6. Start in a cold oven

Place the prepared pan in a cold oven, then turn it on. Starting cold encourages the fat to render gradually, reducing sudden pops that fling grease.
Less splatter means fewer spots on oven walls and the door.
This gentle ramp also promotes even cooking from edge to center. You will get crispness without scorched ends.
It is a calmer, cleaner path to perfect bacon.
Note that timing shifts slightly. Begin checking a bit later, since preheating occurs with the bacon inside.
The tradeoff is a tidier oven and more controlled browning.
7. Use a lower temperature for less splatter
Dial the oven to around 350 F for gentler cooking. Lower heat curbs aggressive bubbling, so grease stays calmer and splatter is limited.
The result is fewer dots on your oven surfaces and cleaner air.
Yes, it takes a little longer, but bacon renders more predictably. You will still hit crisp, just with better control.
Consider rotating the pan once for uniform color.
For thin-cut bacon, start checking a few minutes earlier. For thick-cut, add several minutes and watch the edges.
The sweet spot balances patience with a noticeably tidier bake.
8. Cover loosely with another sheet of foil
Create a loose foil tent over the pan to tame splatter. Do not seal it tight or moisture will trap and steam the bacon.
A gentle arch allows heat to circulate while catching stray pops.
Pinch corners lightly to keep the tent in place without crimping the rim. Leave vents along the sides.
You are aiming for shelter, not a seal.
Check occasionally and lift a corner to monitor browning. Remove the tent for the final minutes if you want extra crisp.
The payoff is less mess without sacrificing texture.
9. Do not overcrowd the pan
Give each strip some breathing room. Overlapping bacon traps fat, causing uneven cooking and splashy pooling.
Spacing helps grease spread safely and promotes even crisping edge to edge.
If cooking a lot, use two pans or bake in batches. Crowding only seems faster, but cleanup takes longer.
Airflow between strips truly matters for a clean cook.
Lay slices parallel with slight gaps so tongs can grab cleanly. Rotate pans midway if using two racks.
A little discipline here prevents greasy hot spots and keeps your oven surfaces cleaner.
10. Save grease with a controlled pour
Let the pan cool a few minutes until bubbling stops. Then tilt gently and pour drippings into a heat-safe container.
A slow, controlled pour prevents slippery spills that coat counters and floors.
Use oven mitts for a steady grip and angle the pan away from you. Strain through a fine mesh if you want pristine grease for cooking.
Label and refrigerate for future flavor boosts.
Saving grease keeps it out of your sink, where it can clog pipes. It also gives you a delicious, versatile fat for eggs, greens, or cornbread.
11. Use a foil spout for cleaner pouring
Before cooking, fold one corner of the foil into a tidy spout. After baking, that built-in channel guides drippings neatly into your container.
It minimizes drips down the pan edges and keeps counters spotless.
Reinforce the corner with an extra fold for strength. When ready to pour, tilt gradually so the grease follows the crease.
Move slowly for accuracy.
If the spout feels flimsy, support it with tongs while you pour. Aim the stream into a wide-mouthed jar for fewer misses.
This tiny prep step pays off in mess-free transfers.
12. Let grease solidify before tossing the liner
If not saving grease, let it cool until it thickens. Solidified fat turns a risky liquid dump into a tidy bundle toss.
You avoid scorching drips and surprise splashes on the floor.
Set the pan safely on a heat-proof surface and wait. The foil cradles everything while it firms up.
Then lift corners together and transfer to the trash in one motion.
Do not pour hot grease into the sink. It hardens in pipes and creates clogs.
Patience here protects plumbing, your trash bag, and your cleaning time.
13. Put the pan on the middle rack
Slide the pan onto the middle rack for the cleanest results. Too close to the top invites extra splatter and potential smoking.
The center balances radiant heat and airflow for consistent cooking.
Middle placement also reduces hot spots that can scorch edges. You will get golden, even bacon without overbrowning.
It is the simplest positioning upgrade available.
If running two pans, stagger on middle and lower racks, then swap halfway. Keep at least a rack of space between them for circulation.
Better airflow equals cleaner walls and steadier crisp.
14. Add a thin layer of water under the rack (optional)
For an extra smoke reducer, pour a thin layer of water under the rack. Keep it shallow so it does not touch bacon or slosh.
The water catches drippings and prevents them from burning onto the foil.
As the fat falls, it cools on contact, cutting smoke. You still get crisp bacon because airflow remains above.
Replenish only if it nearly evaporates during long cooks.
Do not overdo it, since too much water can slow browning. Aim for just enough to cover the foil.
This optional step helps sensitive kitchens stay fresher.
15. Soak the rack right away
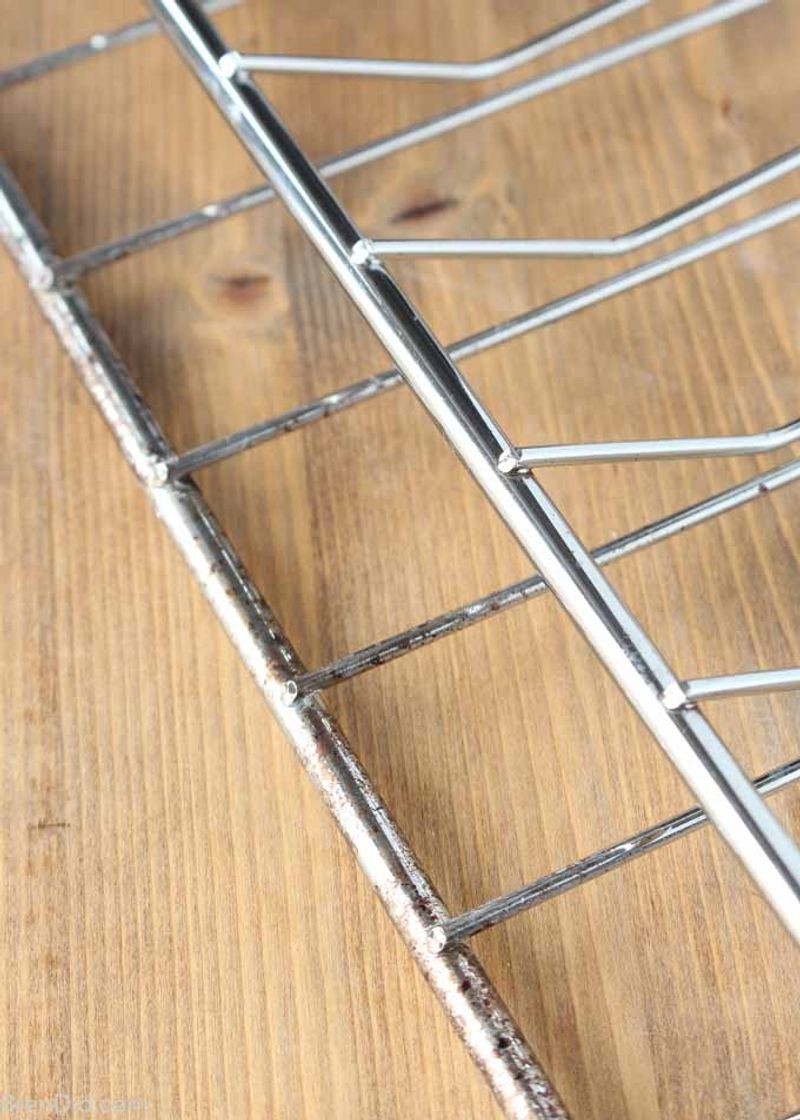
Once the bacon is off, drop the rack into hot, soapy water immediately. Even a short soak loosens stuck-on bits before they harden.
You will scrub less and finish faster.
Use a brush to chase residue between the grid wires. If needed, add a sprinkle of baking soda for gentle abrasion.
Rinse with hot water to melt remaining grease.
For stubborn spots, a 10-minute soak boost works wonders. Dry thoroughly to prevent rust if your rack is not stainless.
Quick action here keeps tomorrow’s breakfast cleanup simple.