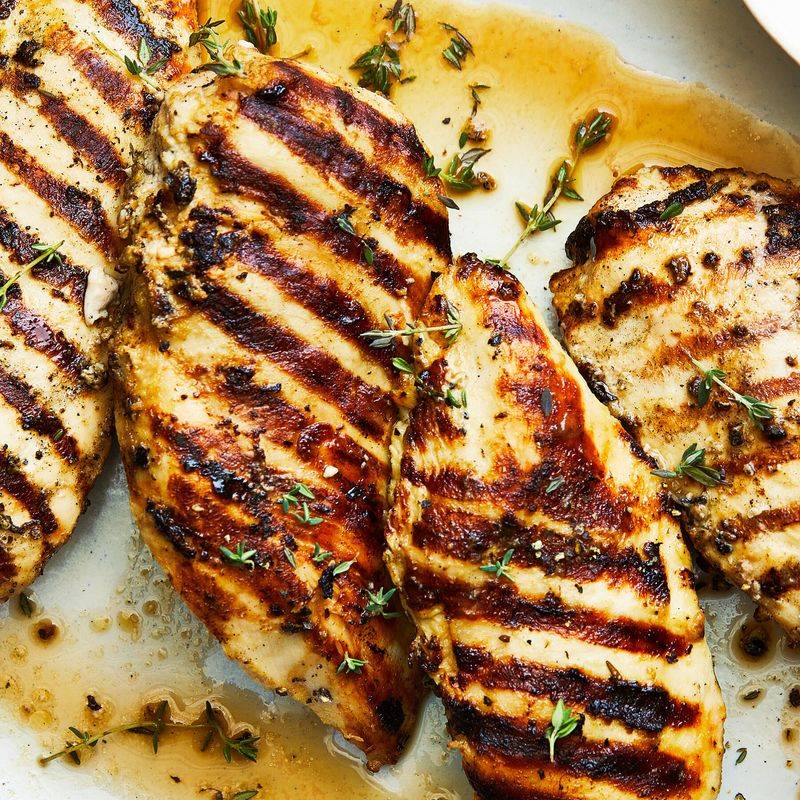
15 Years In The Kitchen Taught Me These 15 Secrets To Perfect Grilled Chicken
Fifteen years at the grill taught me that perfect chicken is not luck. It is a series of tiny, repeatable choices that keep juices in and flavor bold. If you have ever battled dry breasts or charred skin, this guide will change your routine tonight. Read on, and steal the shortcuts that restaurants use but rarely explain.
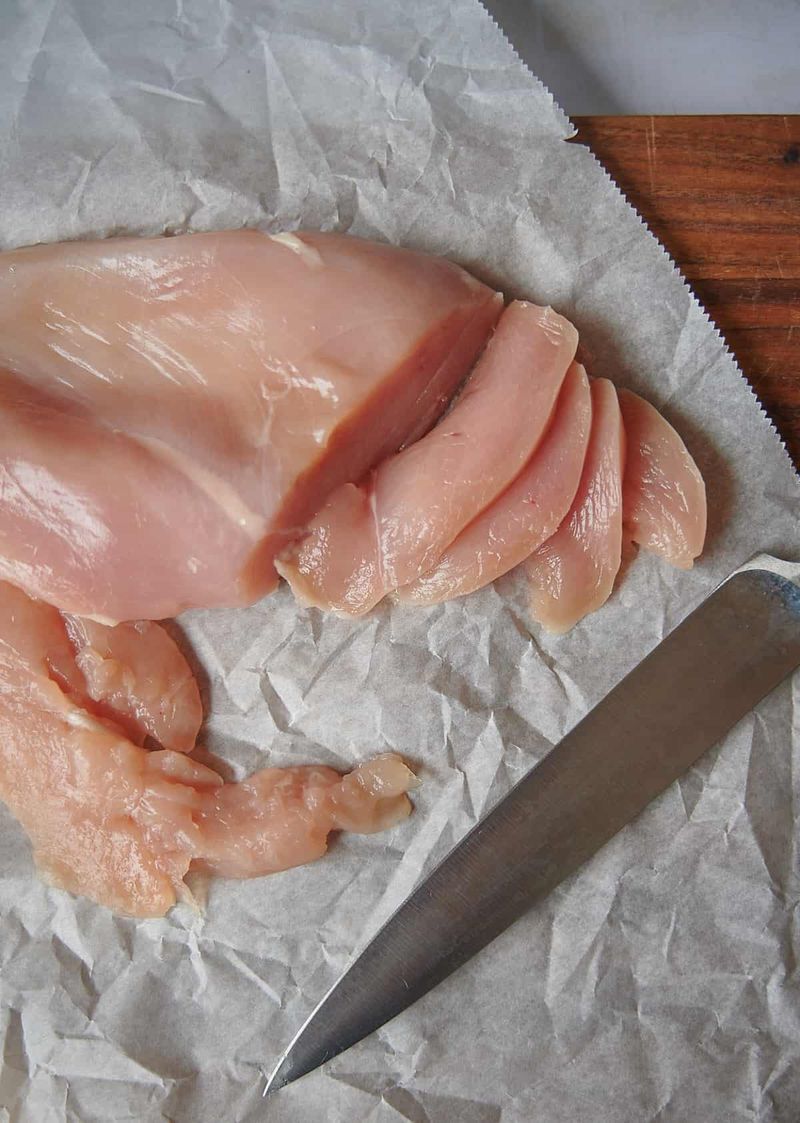
1. Start With Even Thickness
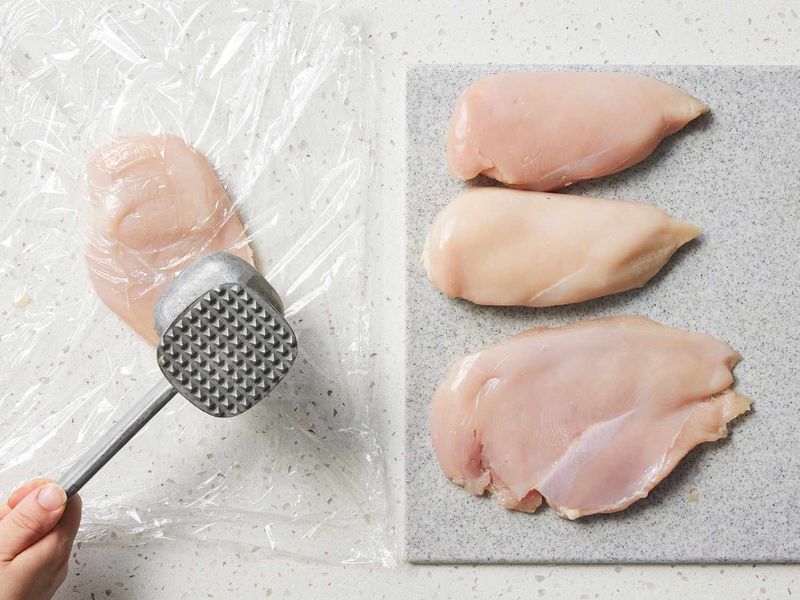
Even thickness means even cooking, so start by pounding breasts to a uniform half inch. Use a mallet under plastic wrap to protect the meat fibers and your board. When every piece matches, you will not chase doneness across hot and cold spots.
This simple step prevents dry edges and undercooked centers. It also speeds up cooking and makes timing predictable for sides. Take a minute to level them out, and your grill will reward you with consistent juiciness.
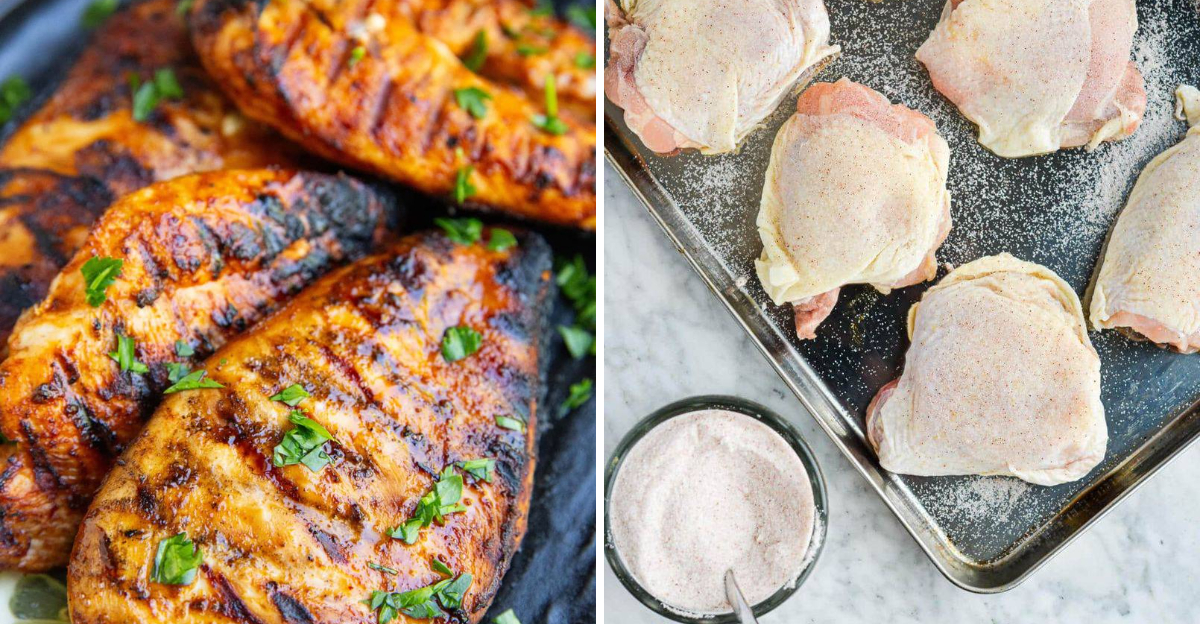
2. Use A Dry Brine
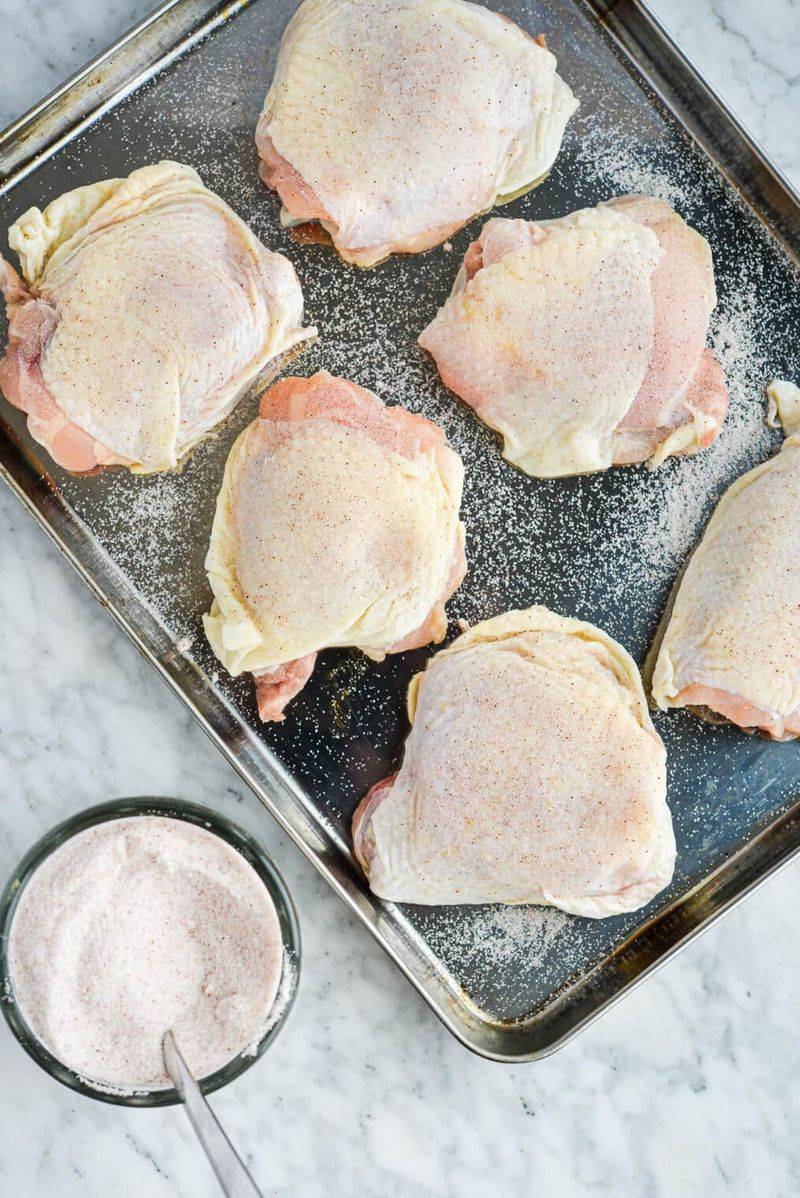
Salt early and let it rest. A dry brine draws moisture to the surface, dissolves the salt, then pulls it back in for seasoned, juicy bites. Sprinkle kosher salt evenly, set the chicken on a rack, and refrigerate uncovered for one to 24 hours.
This firms the exterior slightly, encouraging better browning on the grill. It also reduces the need for heavy sauces. You get deeper flavor all the way through, not just outside.
3. Pat It Very Dry
Moisture is the enemy of browning. After brining or marinating, pat the chicken very dry with paper towels. A dry surface sears quickly, creating flavorful browning and reducing sticking.
Do not skip this because it takes seconds and pays off fast. Wet meat steams, which dulls flavor and texture. Dry meat sizzles and leaves clean grill marks that signal crisp edges and juicy interiors.
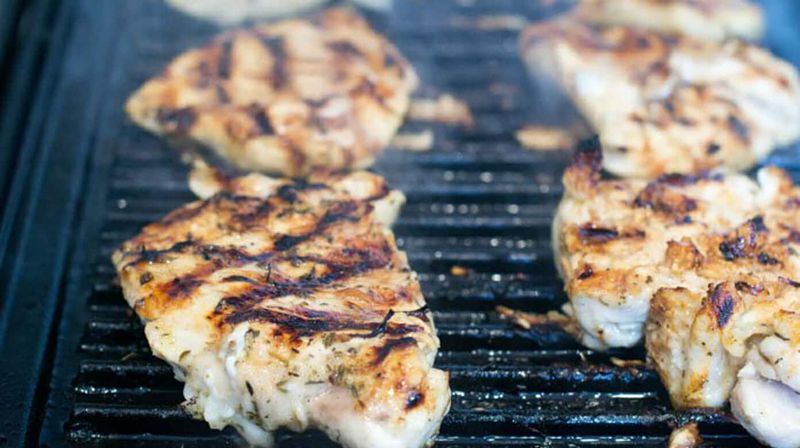
4. Two Zone Heat Matters
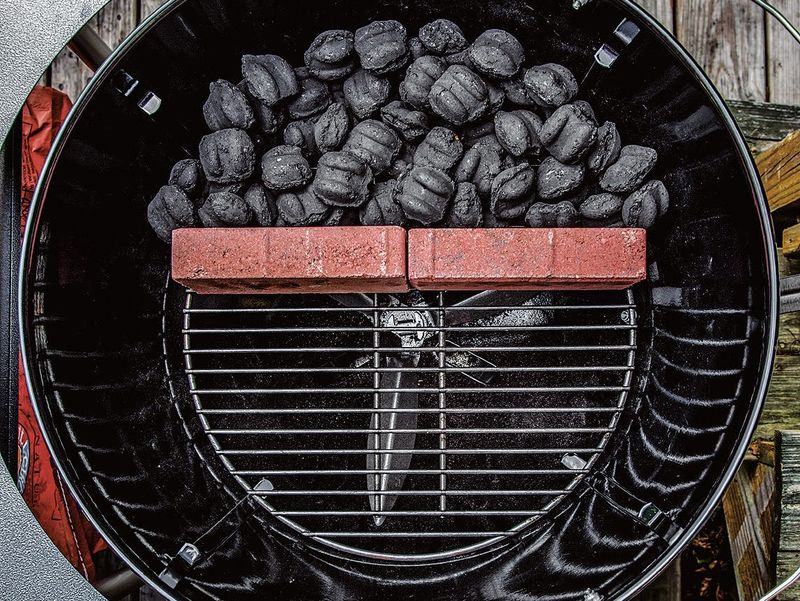
Build a hot zone and a cool zone. Sear over high heat for color, then slide to the cooler side to finish gently. This method protects lean chicken from burning while hitting safe temperatures.
On charcoal, bank coals to one side. On gas, light half the burners. You will gain control, avoid flare ups, and time your finish precisely.
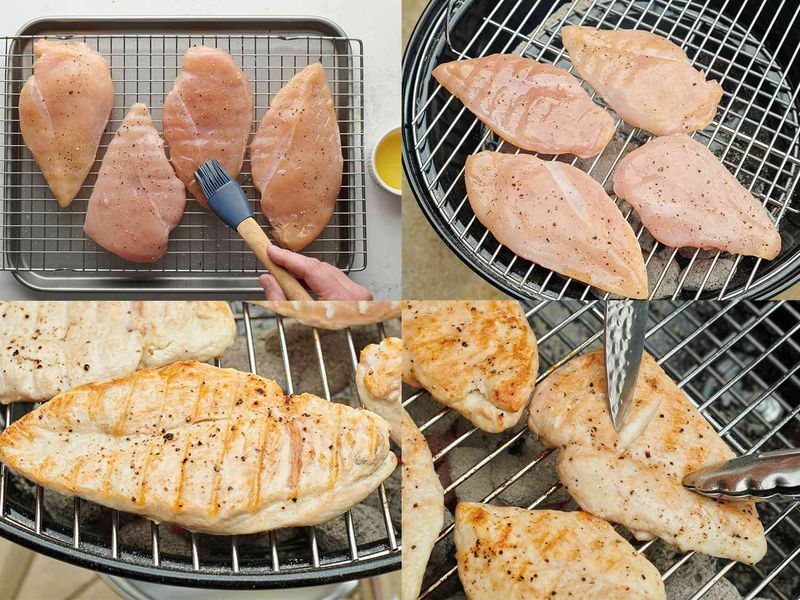
5. Oil The Chicken Not The Grill
Brush a light film of high smoke point oil directly on the chicken, not the grates. It prevents sticking without creating flare ups. Excess oil on grates can burn and taste bitter.
Use avocado, canola, or refined peanut oil for reliability. A thin coat also helps spices adhere. Keep it minimal so you do not drench the fire and lose your hard earned browning.
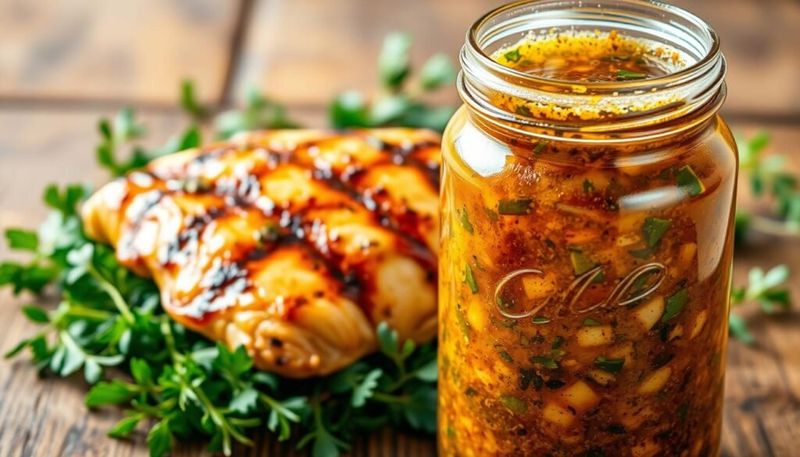
6. Marinades Need Balance
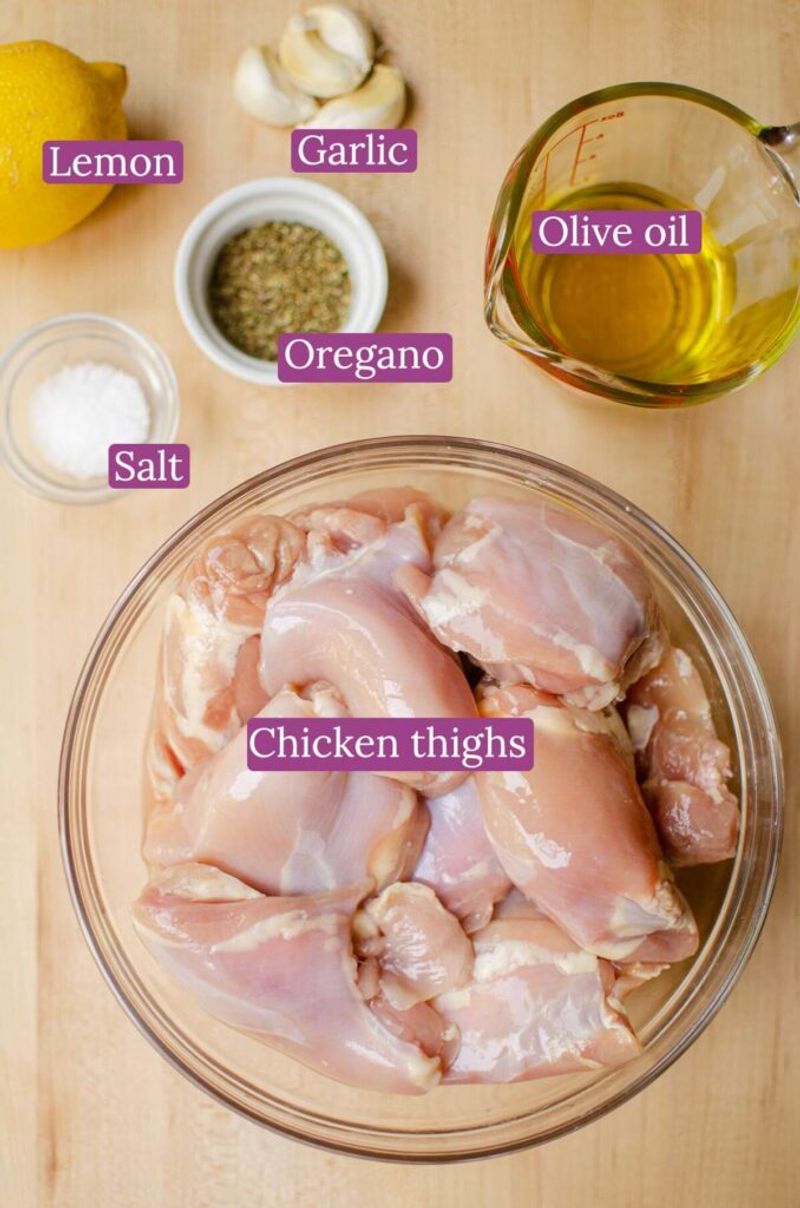
Great marinades balance acid, fat, salt, and a touch of sweetness. Too much acid tightens proteins and leads to squeaky texture. Aim for one part acid to three parts oil, seasoned boldly with salt and aromatics.
Marinate breasts for 30 minutes to two hours. Thighs can handle longer. Wipe off excess before grilling so sugars do not scorch and ruin the crust.
7. Master The Internal Temp
Do not guess. Use an instant read thermometer and pull white meat at 160 F, dark meat near 175 F. Carryover heat will finish the job off the grill.
This keeps juices where they belong and prevents overcooking. Poke the thickest part and avoid bone for accuracy. Your timing becomes repeatable, and your results finally match the photos you crave.
8. Let It Rest Properly
Resting is not optional. Five to ten minutes lets juices redistribute so they do not flood your board on the first slice. Set chicken on a rack, not a plate, to keep the crust from steaming.
Tent loosely with foil and wait. That pause finishes carryover cooking and upgrades texture from good to wow. You worked for that juiciness, so give it time to settle.
9. Season In Layers
Season before grilling, after searing, and again lightly when resting. Each layer boosts flavor without overwhelming. Start with salt and pepper, then add a finishing sprinkle of flaky salt or citrus zest.
Layering means every bite hits lively and complete. It is the difference between flat seasoning and dimensional flavor. Keep a small pinch for the end, and you will taste the upgrade immediately.
10. Use A Clean Hot Grate
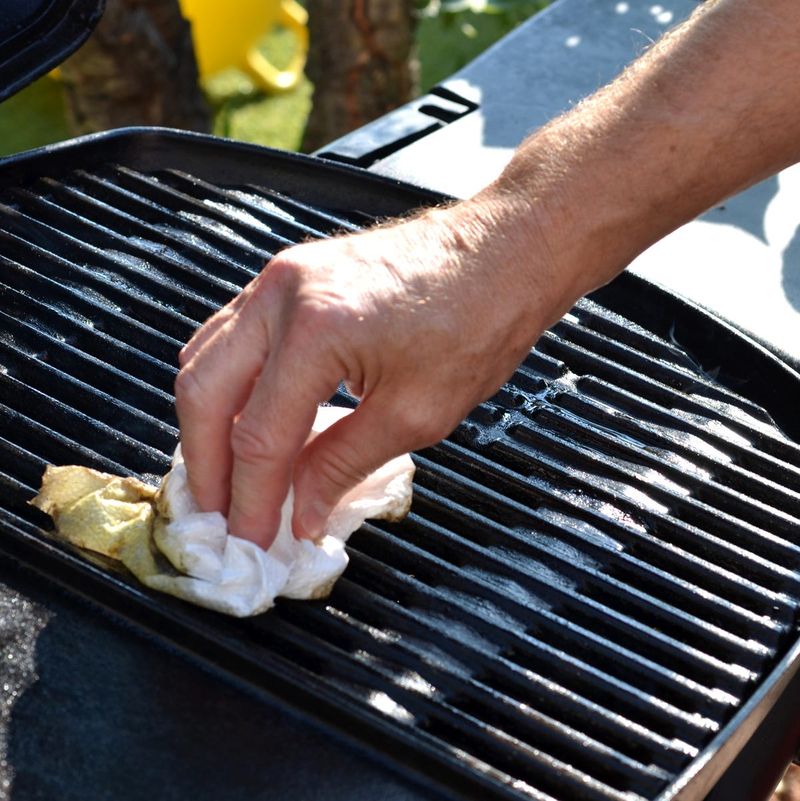
Clean grates prevent sticking and off flavors. Heat the grill, brush aggressively, then wipe with an oiled towel held by tongs. A clean, hot surface sears fast and releases food easily.
This routine also removes old smoke and burnt fats that can taste rancid. Start each session fresh and your chicken will taste brighter. It is five minutes that saves your dinner.
11. Control Flare Ups Fast
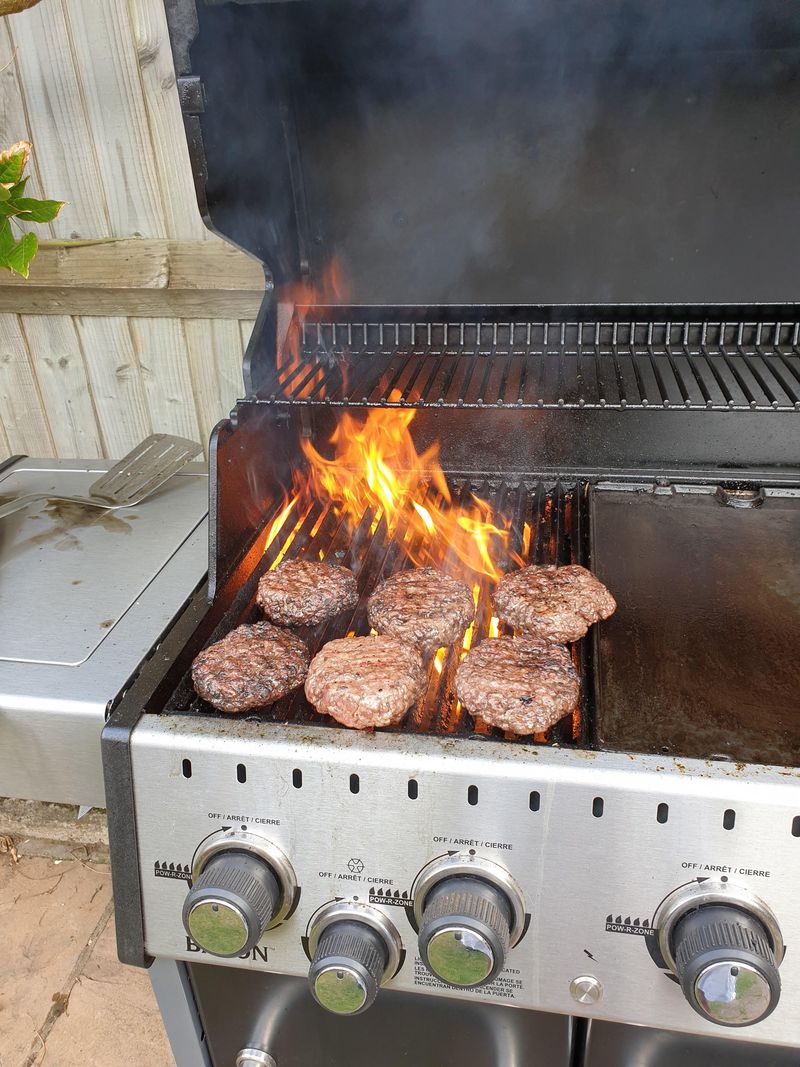
Fat drips cause flare ups that scorch the exterior while the inside lags. Keep a cool zone ready and move pieces immediately when flames jump. Keep the lid down more often to limit oxygen feeding the fire.
Resist water sprays, which kick ash and spread mess. Instead, shift, close, and wait. Calm control prevents bitter soot and preserves that golden crust.
12. Glaze At The End
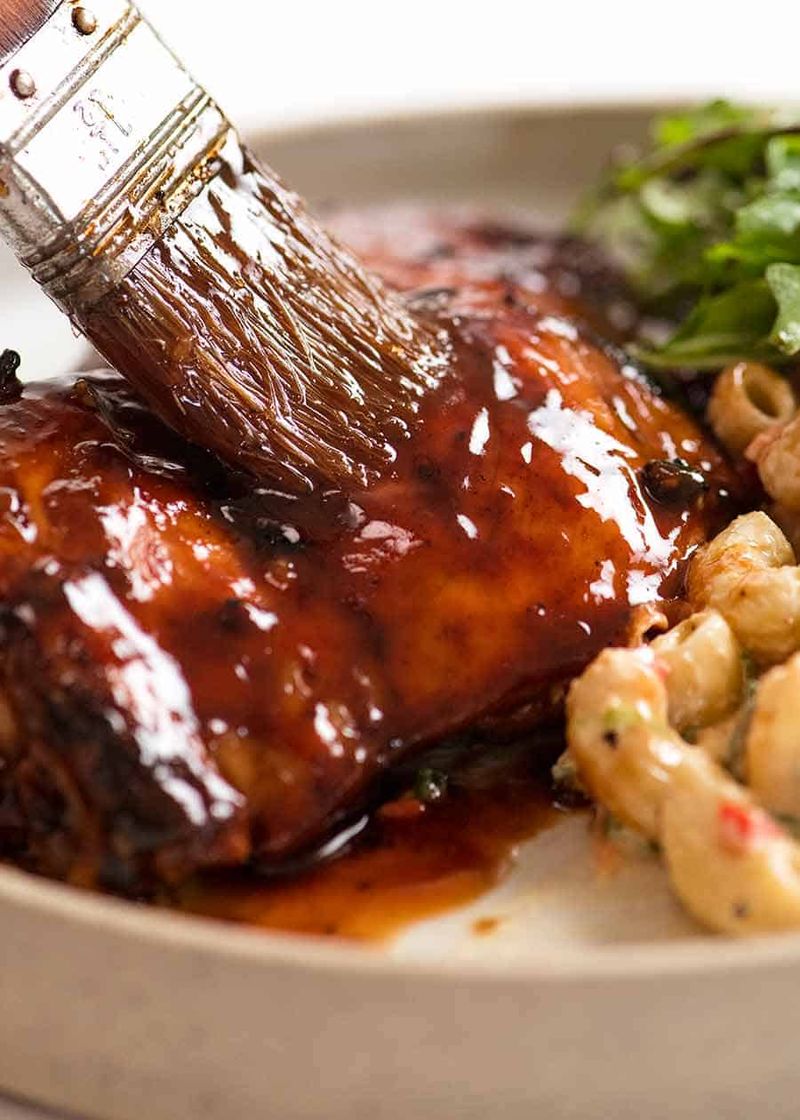
Sugary sauces burn fast, so glaze near the end over indirect heat. Brush, close the lid for a minute, then repeat until glossy. You get lacquered flavor without blackened sugar.
Let the glaze bubble gently so it sets. If you want more char, kiss it briefly over direct heat right before pulling. Timing here separates sticky deliciousness from bitter disappointment.
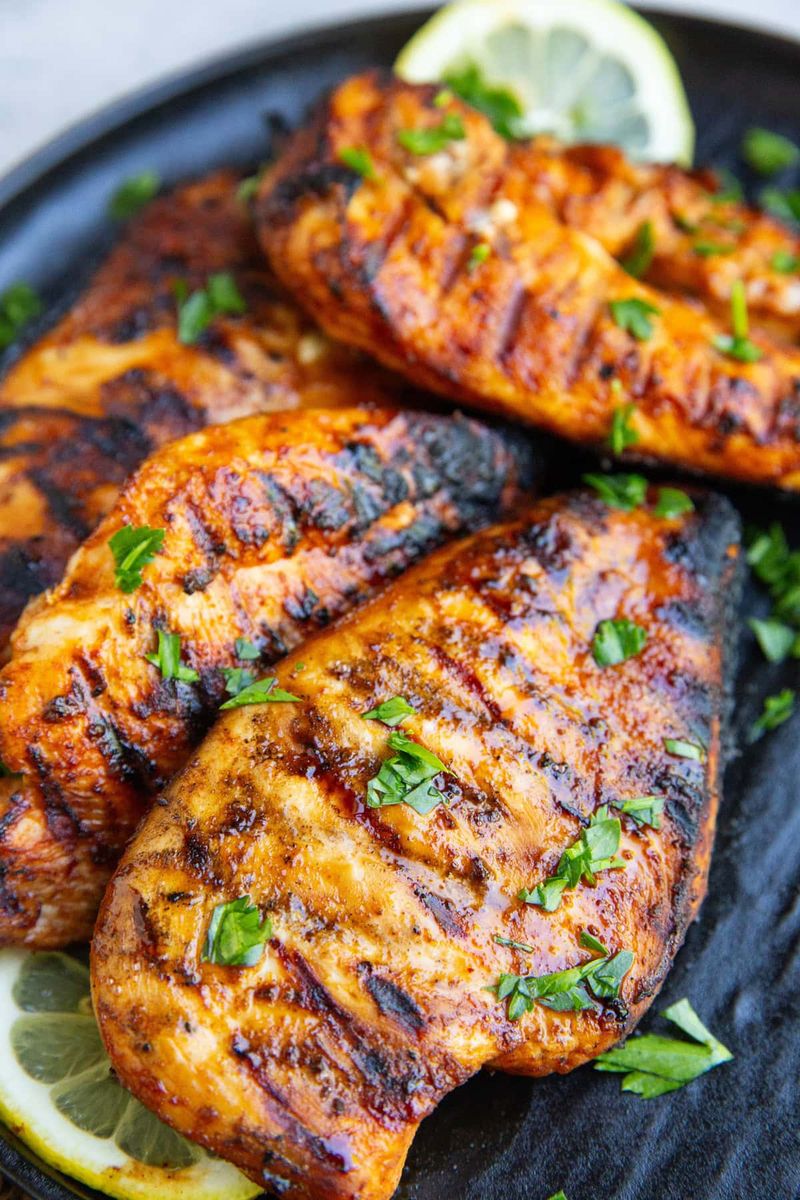
13. Use Citrus And Fresh Herbs
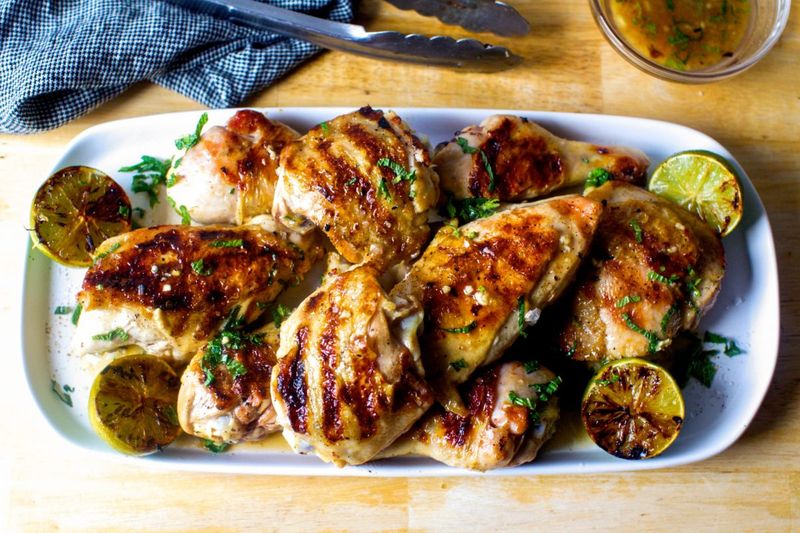
Brightness cuts richness and wakes up grilled flavors. Finish with lemon or lime juice, a little zest, and chopped herbs like parsley, dill, or cilantro. The contrast makes smoky notes pop and keeps bites lively.
Add citrus off heat to protect freshness. A quick drizzle of good olive oil ties everything together. You will taste the difference instantly, especially with darker thigh meat.
14. Mind The Marinade Sugar
Sugar helps browning but punishes neglect. If your marinade is sweet, grill cooler and watch closely. Wipe off excess and apply a controlled glaze later for shine and flavor.
For savory styles, keep sugar minimal and lean on aromatics and umami. You can always add honey at the end. This approach protects tenderness and avoids bitter black patches.
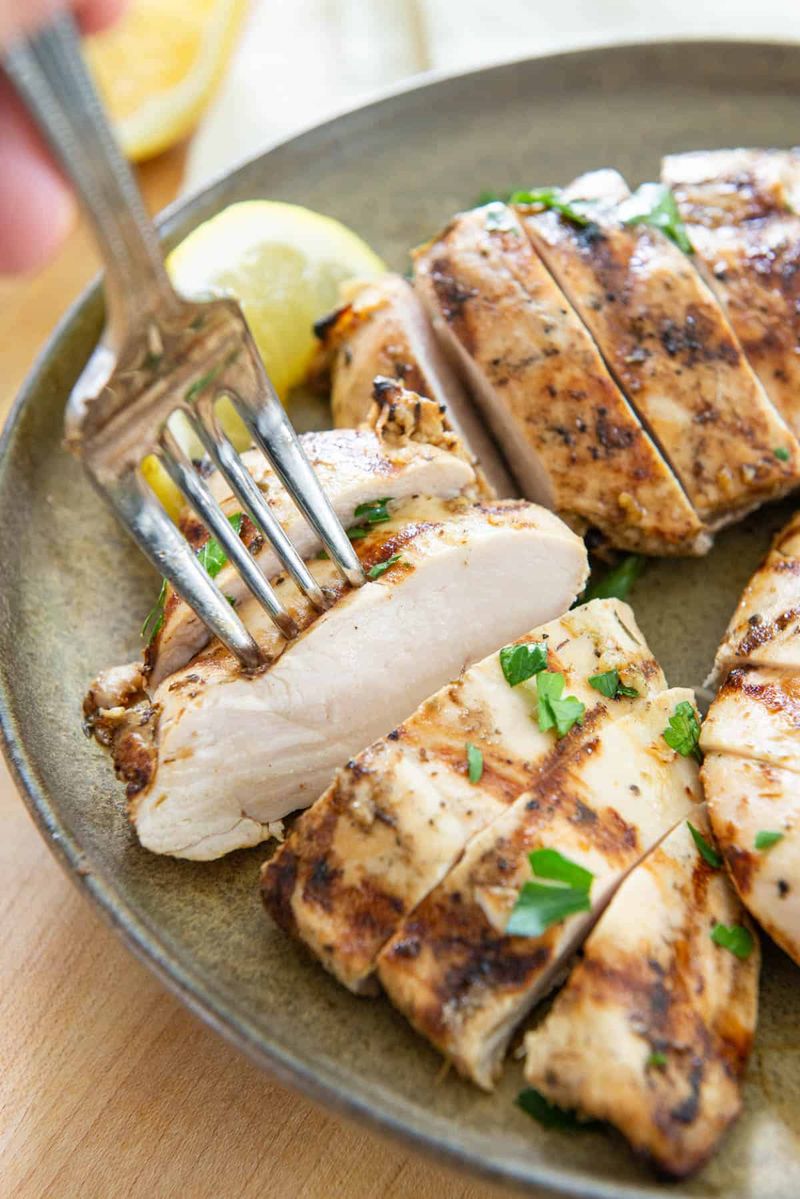
15. Slice Against The Grain
The final cut decides tenderness. Look for the direction of muscle fibers and slice perpendicular to them. Thinner slices feel juicier because you shorten those fibers and release flavor.
Use a sharp knife and gentle pressure. Rest, then slice and serve immediately to keep heat and moisture. A perfect grill deserves a perfect finish on the board.