20 Sourdough Mistakes That Destroy Your Loaf
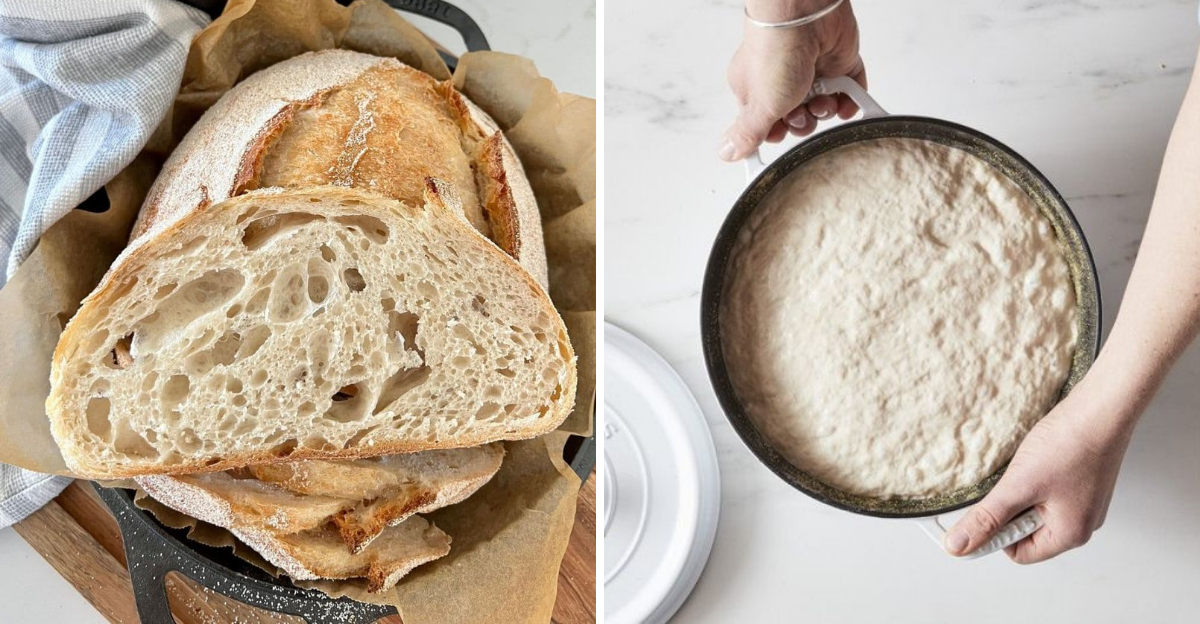
You can do everything “right” and still pull a dense, dull loaf from the oven. The truth is, sourdough rewards small, consistent habits more than heroic effort.
If you keep tripping over the same mistakes, your starter, dough, and timing will quietly sabotage the bake. Learn these common pitfalls so you can spot them early, adjust with confidence, and finally get the springy crumb and blistered crust you want.
1. Using a starter that is not truly active
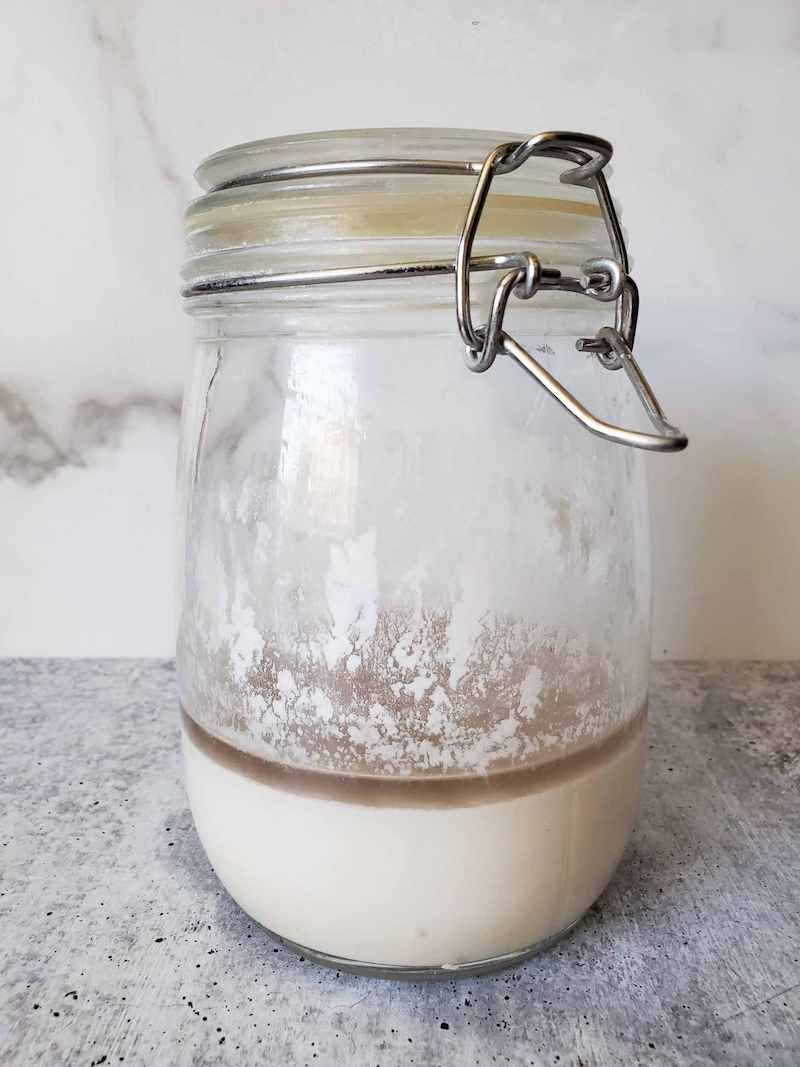
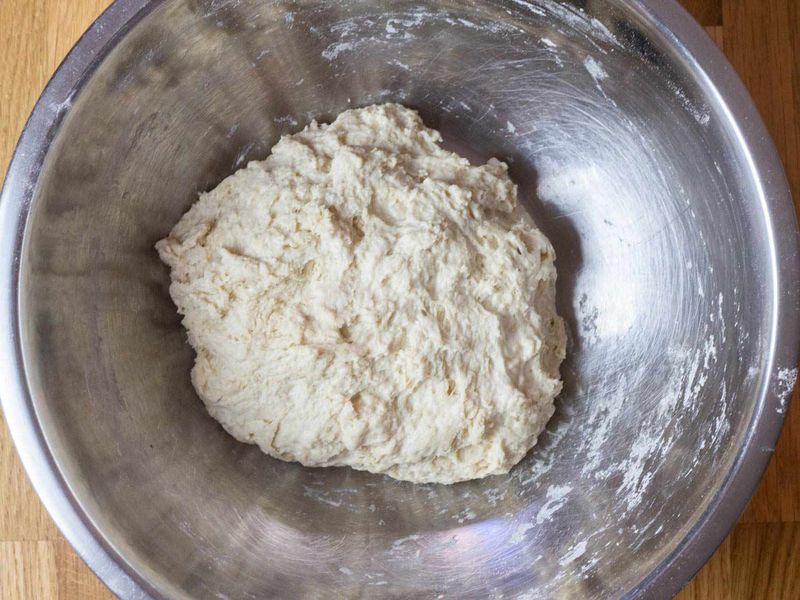
An inactive starter drags everything down. It smells dull, rises sluggishly, and leaves your dough feeling heavy.
If your jar does not double at predictable intervals, your bread will not either. You need consistent feeding, warmth, and the right ratio to build strength.
Watch for bubbles, a domed top, and a sweet tang.
Test activity with a float test if it suits your flour and hydration. Better yet, learn its rhythm by observing size, smell, and texture.
Feed on schedule, discard thoughtfully, and keep records. You will recognize peak readiness and bake with confidence.
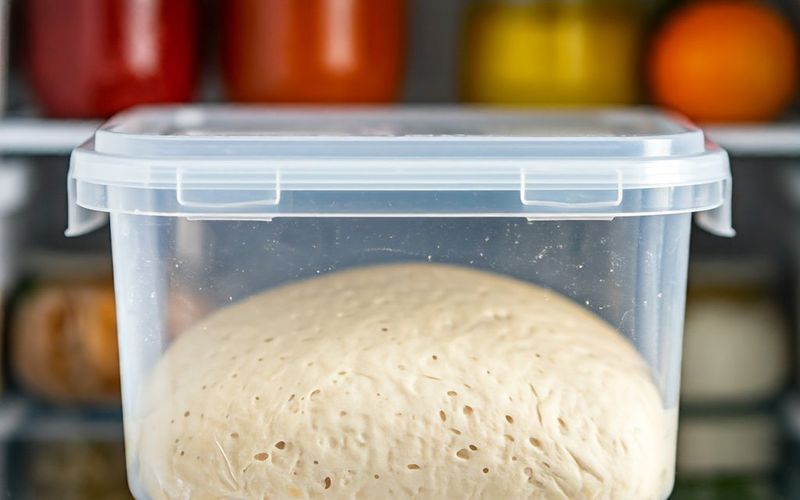
2. Baking before the starter reaches peak
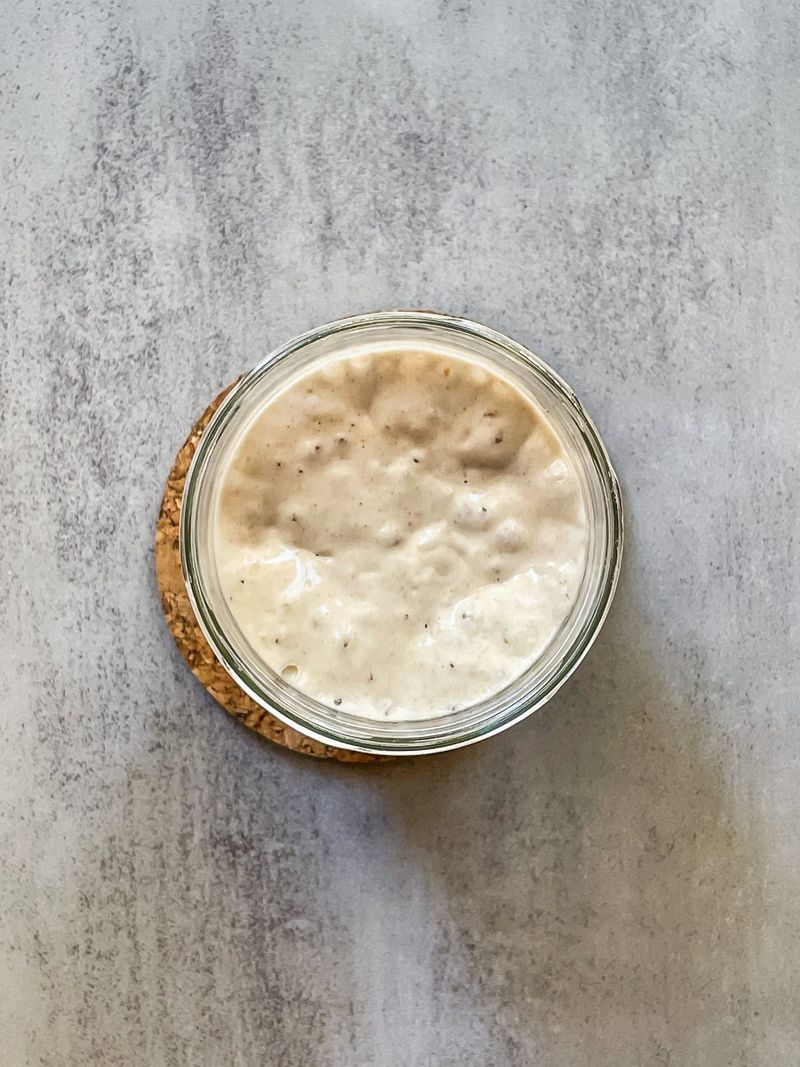
Timing your starter is everything. Too early and it lacks gas, too late and it collapses, losing lift.
You need that sweet spot when it is airy, domed, and buoyant. Mark the jar with a band to track rise.
Note how long it takes to double at your kitchen’s temperature.
Build a routine. Feed, then set a timer and check the look, smell, and feel.
When the starter just begins to flatten on top, it is usually at peak or slightly past it. Mix your dough then, and your loaf will thank you with better spring.
3. Feeding inconsistently with random schedule or ratios
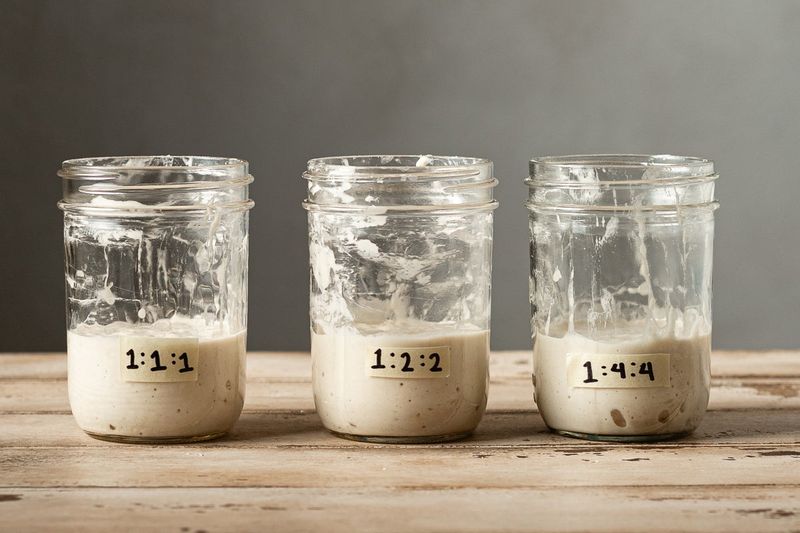
Random feedings make a random starter. If you change the ratio and timing every day, the microbes never settle into a reliable rhythm.
Your dough will behave unpredictably. Decide on a feeding ratio, like 1:4:4 at room temp, and stick with it.
Use a scale to measure precisely, and keep simple notes.
Track temperature too, since warmer rooms speed everything up. Consistency builds strength, flavor, and timing intuition.
Once the starter behaves predictably, your bulk and proof times suddenly make sense. That calm predictability is the secret sauce behind great sourdough.
4. Using tap water with heavy chlorine

Chlorine can suppress the very microbes you are trying to nurture. If your starter feels sluggish or off despite regular feedings, your tap might be the culprit.
Try filtered, spring, or dechlorinated water. You can also let tap water sit uncovered overnight to dissipate chlorine.
Notice whether activity and aroma improve afterward.
Small switches often yield big gains. Better water encourages livelier bubbles, cleaner smells, and stronger rises.
When in doubt, audit your inputs. Flour, water, temperature, and time form a system.
Fixing water quality might be the quiet unlock your starter needed.
5. Measuring by cups instead of weight
Cups are sneaky. Depending on how you scoop, a cup of flour can swing dramatically, wrecking hydration and dough feel.
A simple digital scale removes the guesswork. You get repeatable ratios every time.
That means consistent fermentation, gluten development, and shaping. Your future self will thank you.
Weigh starter, water, flour, and salt. Record your formulas in baker’s percentages.
If something goes wrong, you can troubleshoot intelligently. Switch to grams and watch your dough become predictable, responsive, and easier to handle.
Accuracy is not fussy. It is freedom.
6. Adding too much flour during shaping
Flour on the bench should prevent sticking, not dry your dough out. Heavy dusting tightens the crumb and dulls fermentation signals.
Aim for a light sprinkle or use a very thin film of oil or water. A dough scraper helps too.
Keep the dough’s surface tacky enough to grip the bench and build tension.
If you dust aggressively, you will trap raw flour lines and compromise oven spring. Clean your bench between sets.
Use a little rice flour on the basket instead. Gentle restraint here preserves moisture, elasticity, and that beautiful open crumb.
7. Making the dough too dry to make it easier
Dry dough feels obedient, but it pays you back with a tight crumb. Without enough water, gluten cannot extend, and gas cannot expand freely.
You might get neat shaping, yet the loaf bakes dense. Try nudging hydration upward in small steps.
Learn the feel of supple, slightly tacky dough that relaxes but holds shape.
Use coils or gentle folds to build strength instead of cutting water. Track how temperature and flour type affect absorption.
With a little practice, you will trade rigid control for airy openness, better flavor, and satisfying spring.
8. Making the dough too wet before you are ready
High hydration can deliver stunning open crumbs, but technique matters. If you jump too fast, the dough spreads and bakes flat.
Start where you can manage. Build strength with folds, learn tension, and then climb hydration gradually.
Wet hands and a scraper help control stickiness. Temperature awareness helps too.
As you improve, your dough will feel cooperative rather than chaotic. Then add water in small increments.
Master structure before chasing high hydration glory. Result: better shape, easier handling, and more reliable oven spring without panic.
9. Skipping the autolyse when your flour needs it
Autolyse is a quiet hero. Mixing flour and water, then resting, jumpstarts gluten and hydrates bran.
The dough becomes smoother and more extensible. That means easier mixing, gentler handling, and improved crumb.
Not every flour needs a long rest, but many benefit from 20 to 60 minutes. Watch how the dough transforms.
If your dough tears or resists stretching, try autolyse. Add starter and salt afterward and feel the difference.
You will likely need fewer folds and less kneading. It is a simple change with outsized payoff, especially with stronger or whole grain flours.
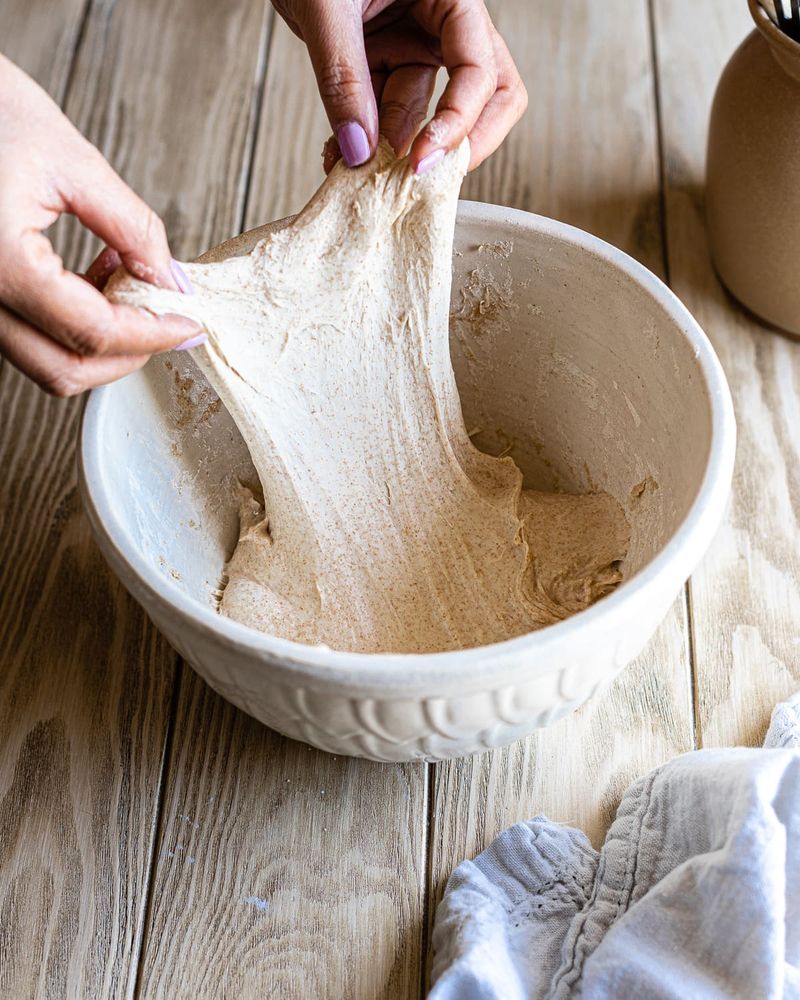
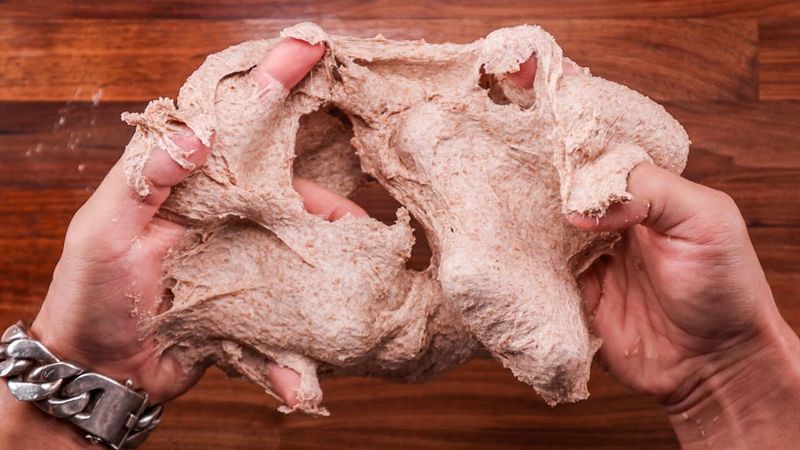
10. Under-developing gluten
Weak gluten cannot trap gas, so your loaf stays flat. During bulk, aim for gradual strength using stretch and folds or coils.
The dough should go from shaggy to elastic and puffy with bubbles. It will feel smoother, stand taller, and resist tearing.
Windowpane tests can guide you, but trust feel and structure.
Stop short and you will see spreading and poor spring. Keep notes about timing and temperature.
When properly developed, shaping becomes smooth, the dough holds tension, and the oven spring finally shows up.
11. Overworking the dough aggressively
Too much kneading or rough handling can shred gluten and squeeze out gas. The dough turns tight, then oddly sticky, and loses structure.
Remember, sourdough benefits from gentle strength building, not punishment. Use relaxed folds spaced through bulk.
Handle lightly during shaping, preserving internal bubbles for the oven.
If the dough feels hot, tired, and glossy, you likely went too far. Pause, cool it down, and shorten handling next time.
Let fermentation do more of the heavy lifting. Your crumb will look livelier and the crust will sing.
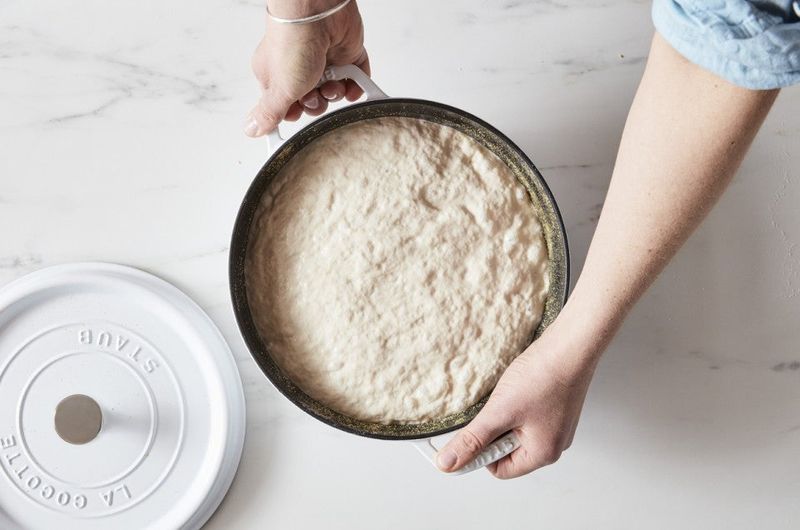
12. Bulk fermenting by the clock, not the dough
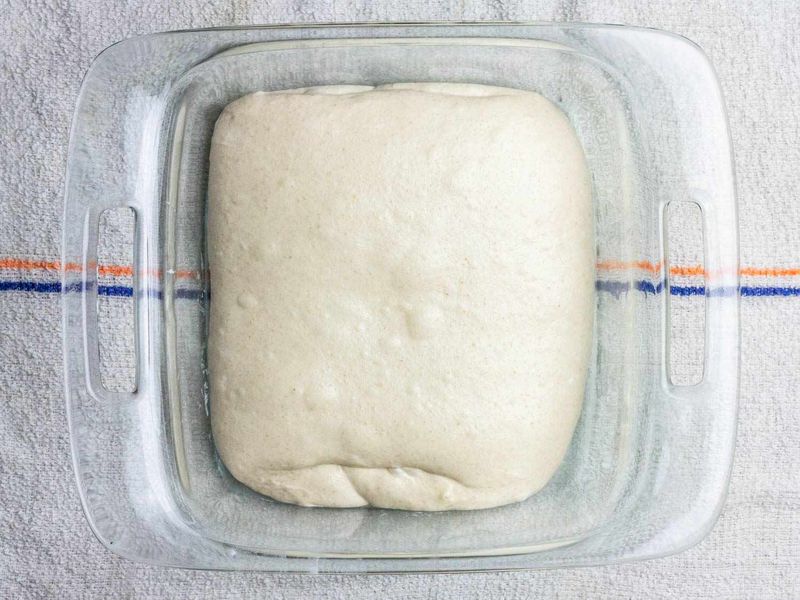
Time is a guide, not a rule. Temperature, flour, and starter strength shift everything.
Instead of chasing hours, watch the dough. Look for a 50 to 75 percent rise, domed surface, bubbles at the edges, and a jiggly feel.
Those cues mean gas and strength have developed. If it is cold, extend.
If warm, shorten.
Learning to read dough removes stress. Your bakes become consistent across seasons.
Use notes and photos to build intuition. The clock can help, but the dough decides.
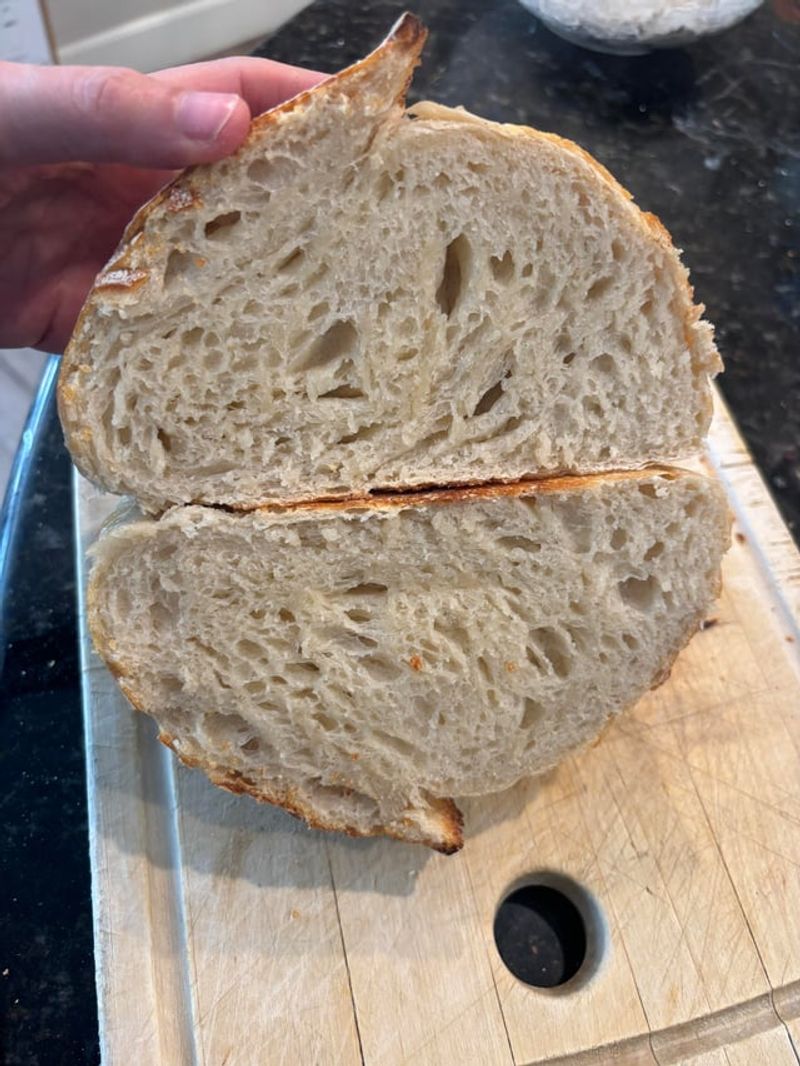
13. Under-fermenting the bulk
Cut bulk short and you lock in a tight crumb and muted flavor. The dough will shape stiffly, resist stretching, and spring unevenly.
You will see few bubbles and little rise. Give it more time and warmth.
Aim for noticeable volume increase and a lively, jiggly feel.
Under-fermented dough often explodes randomly in the oven because tension has nowhere to go. Let it ferment longer next bake and compare.
Patience here pays dividends in openness, aroma, and balance. Trust the dough’s signals, not a strict schedule.
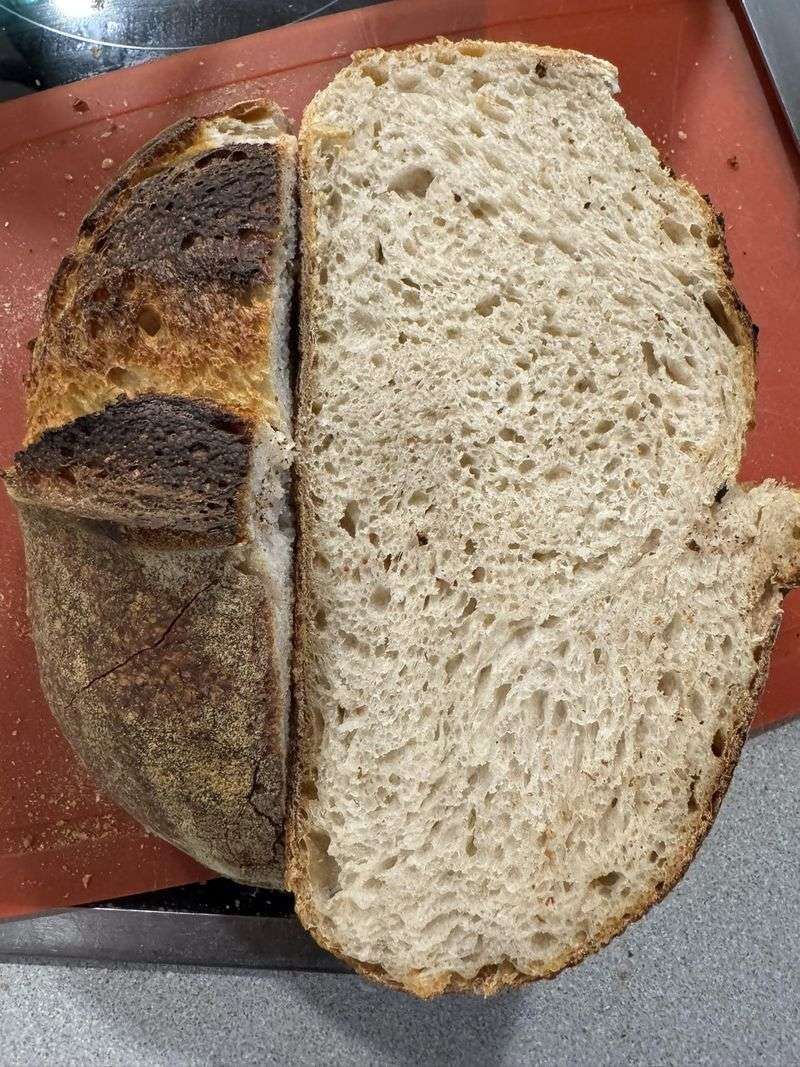
14. Over-fermenting the bulk
Push bulk too far and the dough turns slack, sticky, and fragile. It collapses when handled and bakes flatter with a tangier bite.
Watch for excessive rise, huge bubbles, and a weakening dome. Cooler temps or earlier shaping help.
You can rescue slightly by shortening proof or baking in a tin.
Record times at different room temperatures. That history saves future batches.
Over-fermentation usually teaches you to value restraint. Aim for lively, not exhausted, dough.
Your oven spring will return.
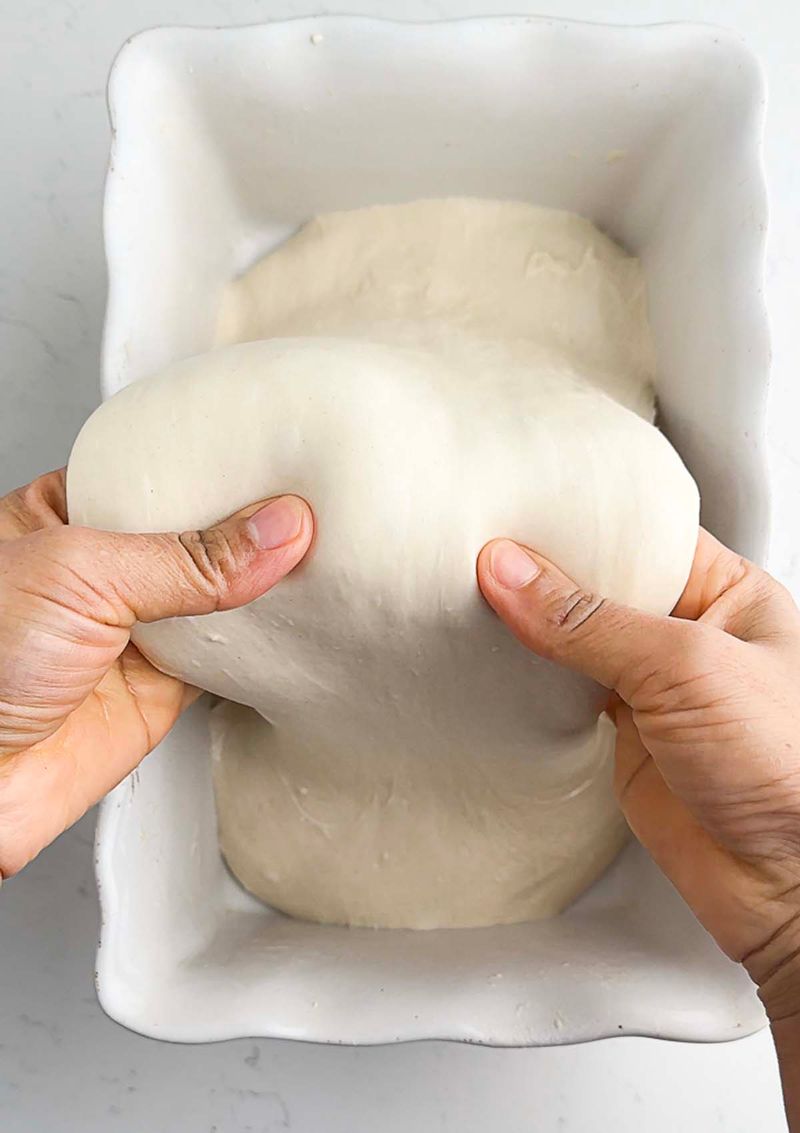
15. Shaping without creating surface tension
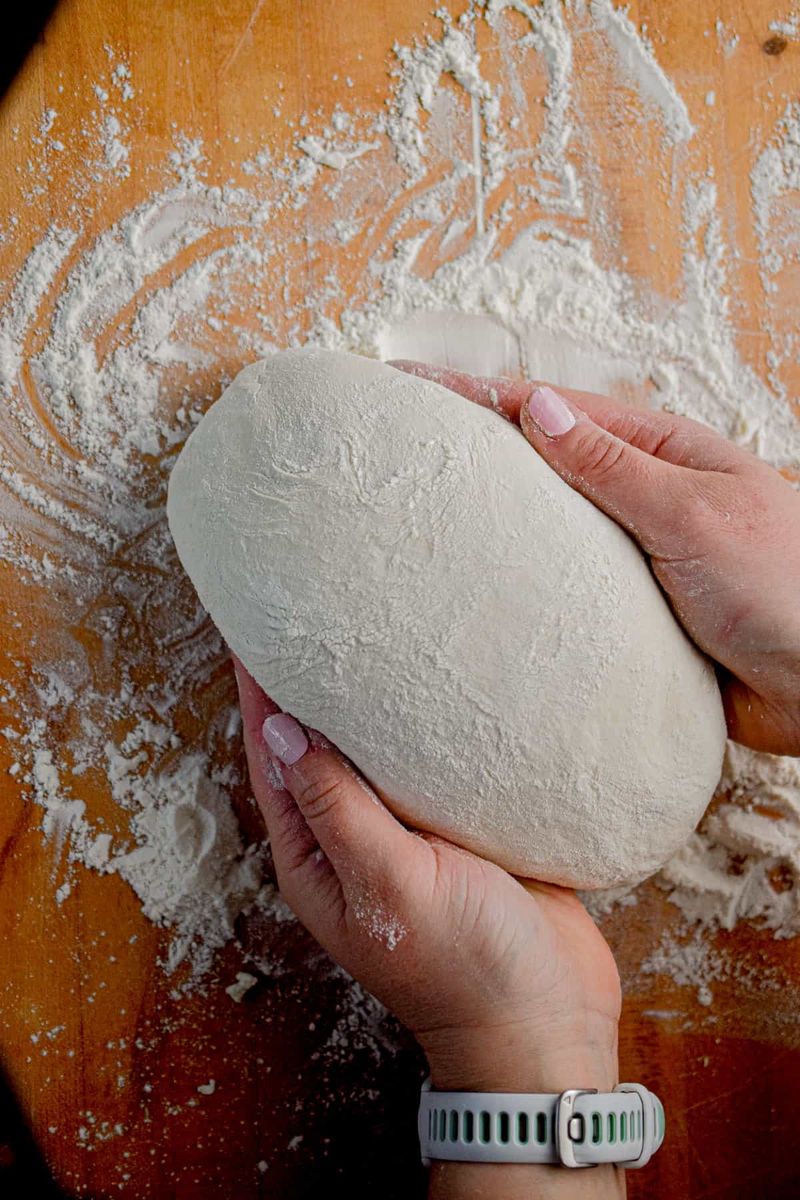
Surface tension is your loaf’s backbone. Without it, dough spreads sideways and springs poorly.
Use firm, gentle movements to tuck and drag the dough, tightening the outer skin. A bench scraper helps.
You want a smooth, taut surface that holds form without tearing. Rest briefly, then finish shaping for final tension.
Practice makes this intuitive. Handle swiftly to preserve gas, and support the shape with a banneton.
Good tension creates a controlled bloom at the score line and a taller profile. Your loaf will look proud instead of puddled.
16. Proofing too long at room temperature
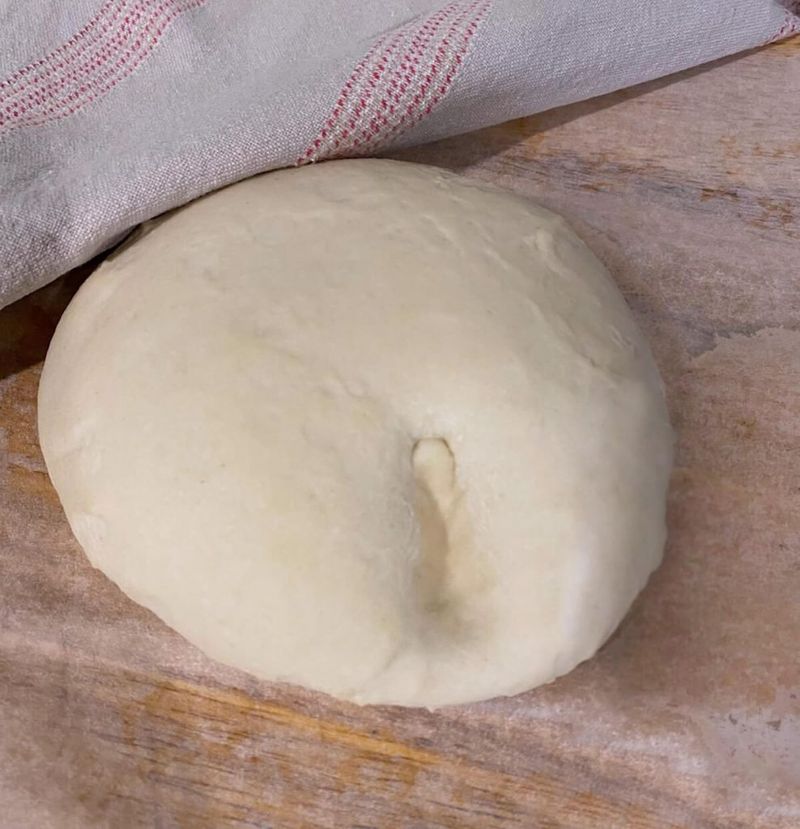
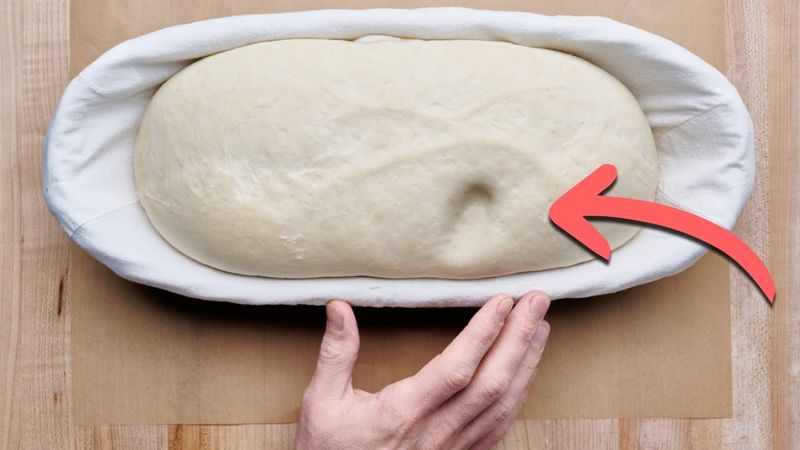
Room temperature proofing can sprint ahead without warning. If you go too long, the dough weakens, the score barely opens, and the loaf bakes flat.
Use the gentle poke test and watch the dough’s rise. A slow, partial spring back suggests readiness.
Full collapse means you overshot. When warm, shorten proof or chill sooner.
Keep notes on seasonal shifts. A fridge proof often brings control and flavor.
Do not be afraid to adapt on the fly. The dough tells you more than the recipe does.
17. Not cold proofing when the kitchen is warm
Warm kitchens shrink your window of control. Cold proofing slows fermentation, deepens flavor, and firms the dough for cleaner scoring.
If your loaves keep overproofing, tuck them into the fridge after shaping. Twelve to twenty four hours is common.
The dough will relax flavors while holding structure.
Chill time also makes scheduling easier. Bake straight from the fridge for better ears and bloom.
You will love the calmer pace and more predictable results. Use your refrigerator as a reliable brake pedal when temperatures run hot.
18. Scoring too shallow or skipping scoring
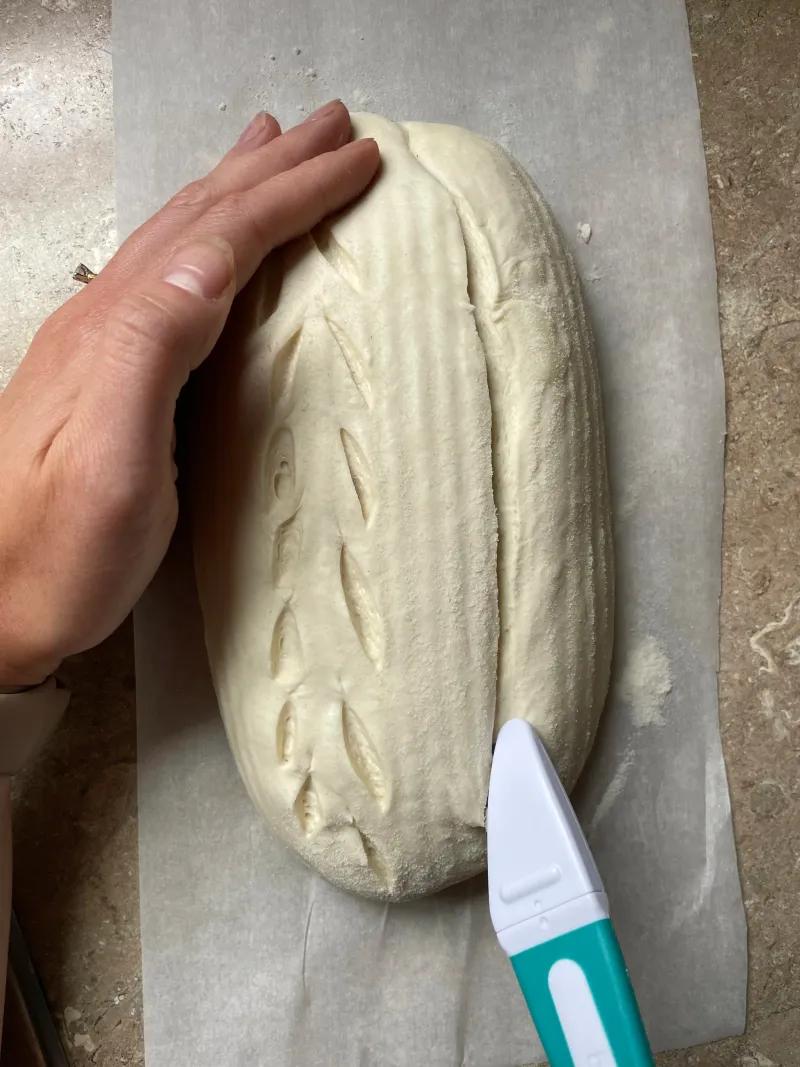
Scoring is not decoration. It is a pressure release that guides expansion.
Shallow cuts or none at all force the loaf to burst awkwardly. Use a sharp lame and commit to depth and angle.
A confident slash about a quarter inch deep for boules is common. For batards, use a long, shallow cut along the top.
Score decisively just before baking. Practice on chilled dough for cleaner lines.
The oven will reward you with controlled bloom, ears, and height. Your loaf will finally open where you ask it to.
19. Baking without enough steam
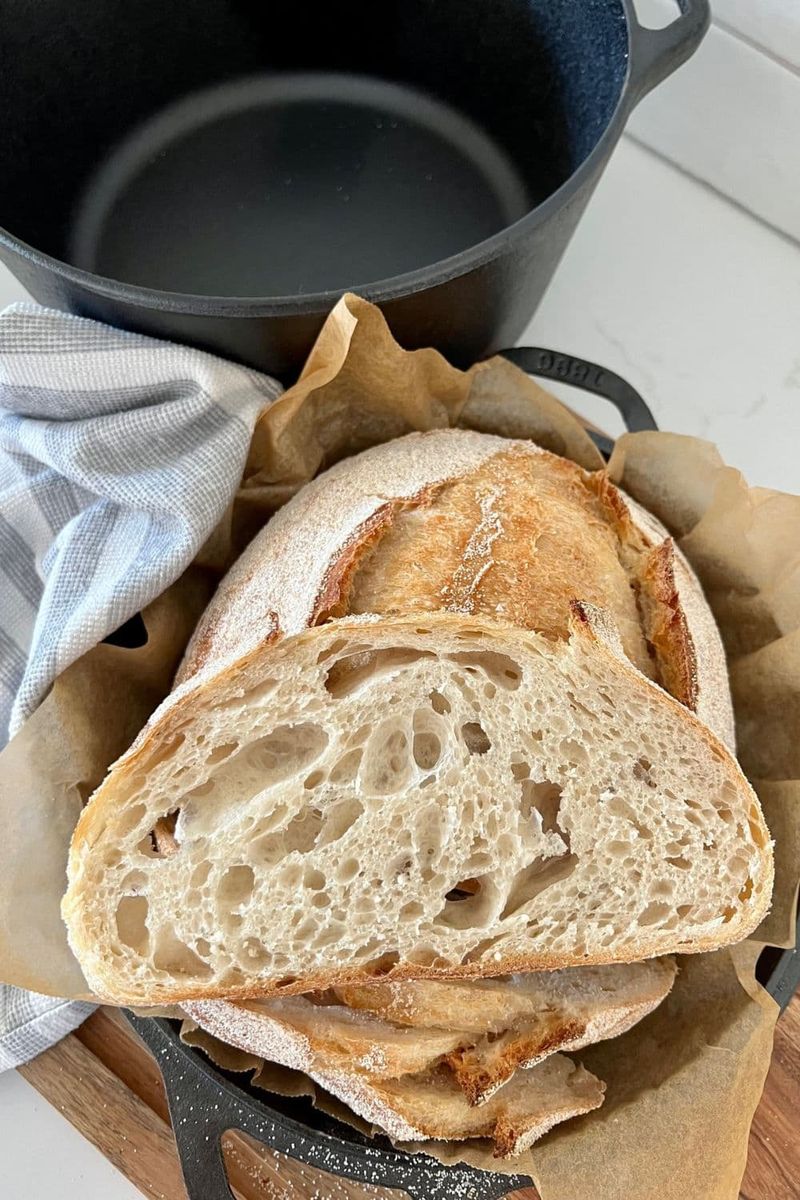
Early steam keeps the crust flexible so the loaf can expand. Without it, the crust sets too soon and smothers oven spring.
A preheated Dutch oven traps steam beautifully. If baking on a stone, add a steam tray or lava rocks and pour hot water carefully.
Aim for strong steam in the first fifteen minutes.
Vent later to crisp the crust. You will see sharper ears, taller loaves, and a thin, crackly shell.
Steam is simple physics in your favor. Do not skip it.
20. Cutting into the loaf too soon
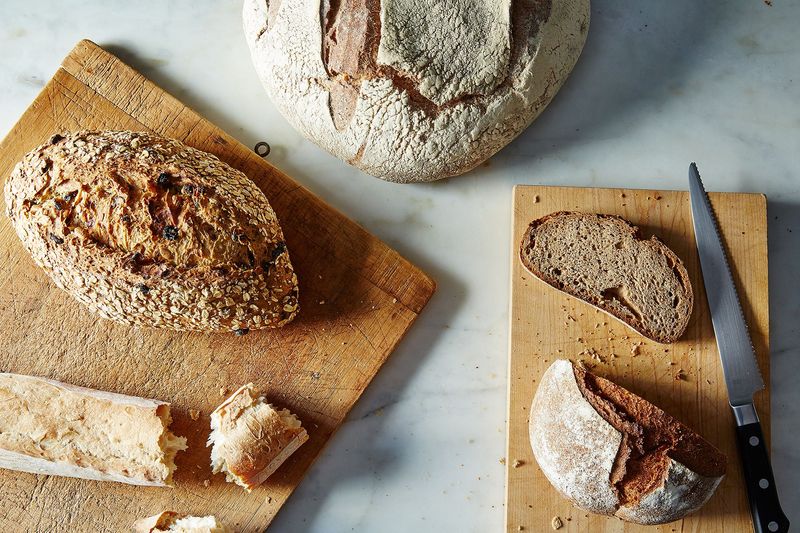
Hot bread smells irresistible, but slicing immediately wrecks the crumb. Steam rushes out, turning the interior gummy and squashed.
Let the loaf cool until the internal structure sets. Wait at least one hour, sometimes longer for large loaves.
The crust will crisp and the flavor will settle.
Use a rack so moisture escapes evenly. If you must sample, cut a small heel to vent less.
Patience here preserves the work you put into fermentation and shaping. Tomorrow’s toast will be exceptional too.