How To Achieve The Crispiest Air Fryer Fries
Crispy air fryer fries are closer than you think, and you do not need a deep fryer to get them. A few small tweaks transform good fries into shatteringly crisp, golden perfection.
You will learn exactly what to do, what to avoid, and when to do it. Stick with these steps and your fries will finally stay crunchy outside and fluffy inside.
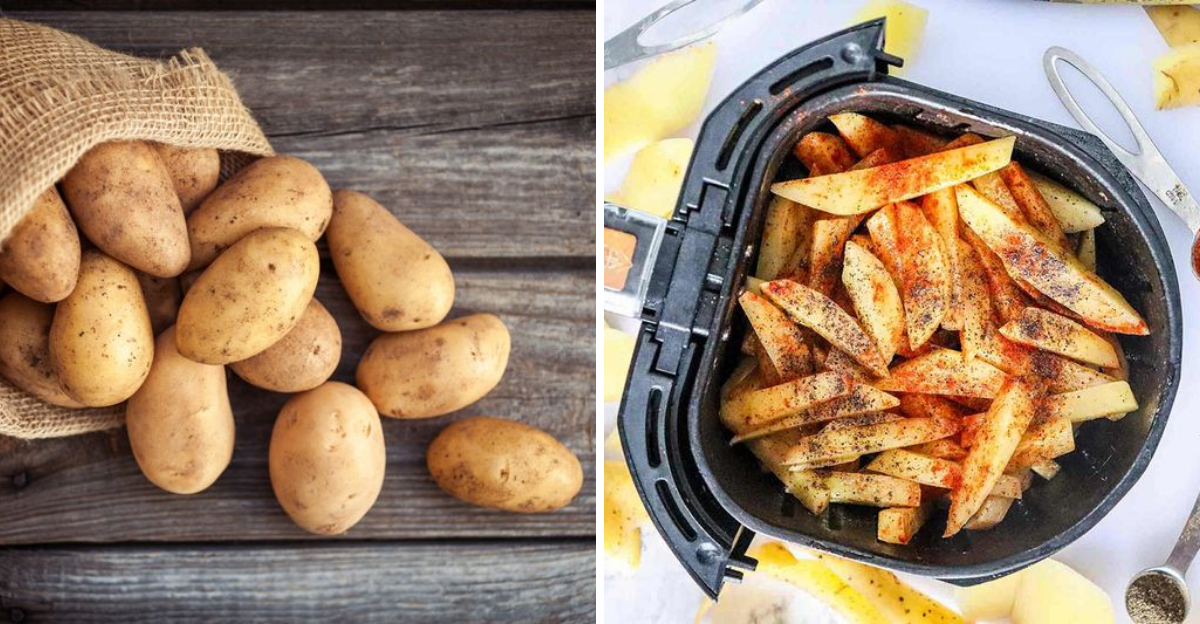
1. Pick the right potato
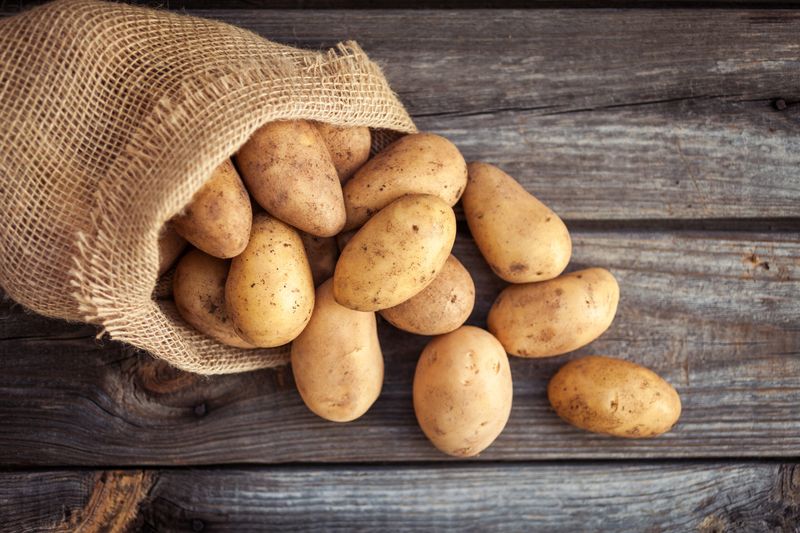
Start with Russet potatoes for that classic crisp exterior and fluffy middle. Their high starch and low moisture deliver the best shatter factor after air frying.
Yukon Golds are great when you want a creamier bite with still respectable crunch.
Choose firm, unblemished potatoes and store them in a cool, dark spot. Avoid refrigerated spuds since cold converts starch to sugar and can overbrown.
You will get the most consistent results if you keep varieties separate and note timing.
2. Cut them evenly
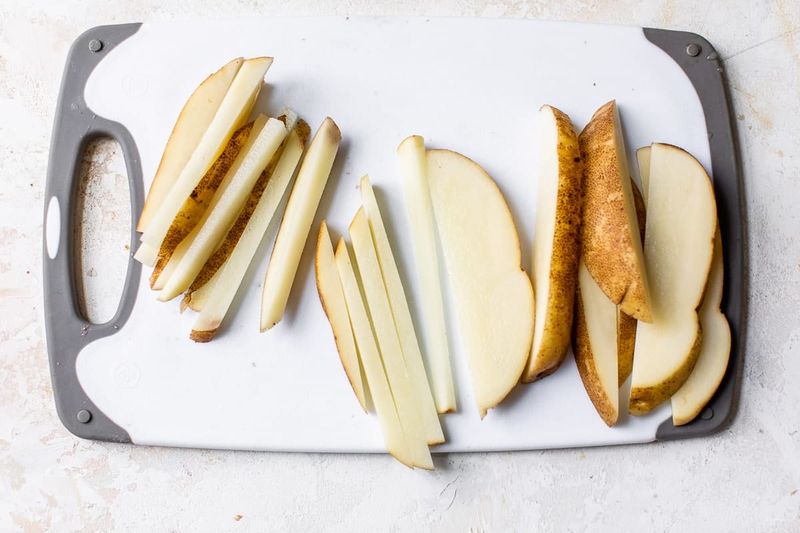
Uniform cuts matter more than you think. Even thickness means every fry finishes at the same time, preventing half soggy and half burnt batches.
Aim for matchsticks about the same width for predictable browning.
Thicker fries cook longer and yield a fluffier interior, so adjust time accordingly. Thinner fries crisp faster but can dry out if you overshoot.
Use a mandoline or a steady knife and line them up to check consistency before moving on.
3. Soak to remove starch
A cold water soak pulls surface starch that can glue fries together and block airflow. Thirty minutes is ideal, but even 10 to 15 minutes helps when you are rushed.
The water should turn cloudy as starch releases.
Change the water if it becomes very murky for extra clarity. This step sets you up for crisp edges later.
When the soak is done, drain thoroughly and rinse briefly to remove lingering starch dust before drying.
4. Dry them aggressively

Moisture is the enemy of crisp, so dry like you mean it. After soaking and rinsing, spread fries out and pat them thoroughly with towels.
Then let them air dry for about five minutes to finish the job.
Any lingering surface water will steam and soften the crust. Work in batches to keep towels effective, swapping if they become damp.
When the fries feel tacky rather than wet, you are finally ready to season and oil.
5. Use just enough oil
Lightly coat fries with about 1 to 2 teaspoons of oil per medium potato. You want a thin sheen that promotes browning and prevents dryness.
Too much oil can cause limp, greasy fries that refuse to crisp.
Toss thoroughly so every surface gets a whisper of oil. Use a high heat oil like avocado, canola, or refined peanut.
The goal is even coverage without glistening puddles, so wipe the bowl if needed and toss again.
6. Add a crisp booster
For extra crunch, dust fries with a small amount of cornstarch or rice flour. About 1 to 2 teaspoons per two potatoes is enough.
You are creating a micro thin film, not a batter, so go light.
Toss to distribute evenly and shake off visible excess. Cornstarch gives a delicate glassy crisp, while rice flour adds light grit and snap.
Combine with minimal oil for the best crust without heaviness.
7. Preheat the air fryer
Preheating jump starts browning by setting the exterior quickly. Run the air fryer empty for three to five minutes before loading.
A hot chamber reduces sticking and gives you a head start on crisp texture.
If your model lacks a preheat setting, just run it at the cooking temperature. Do not skip this step when chasing shatter crisp edges.
Hot air from the first second makes a noticeable difference in finish.
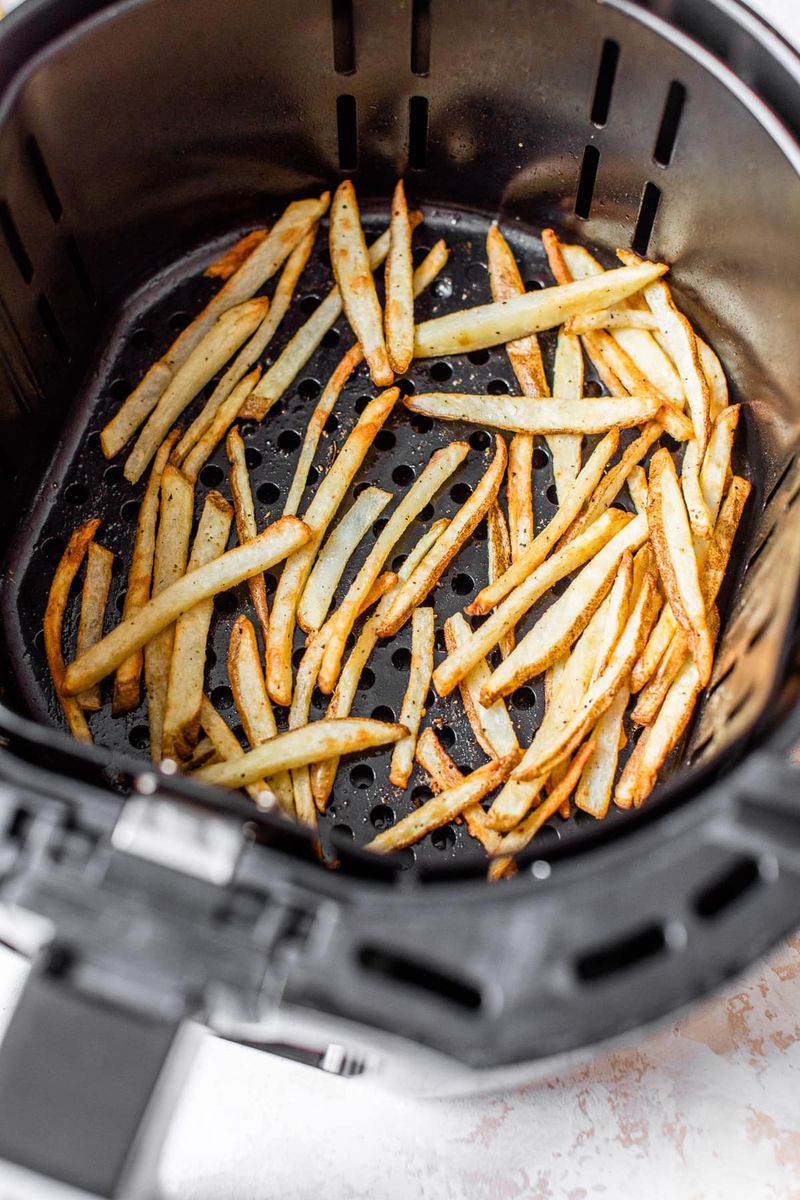
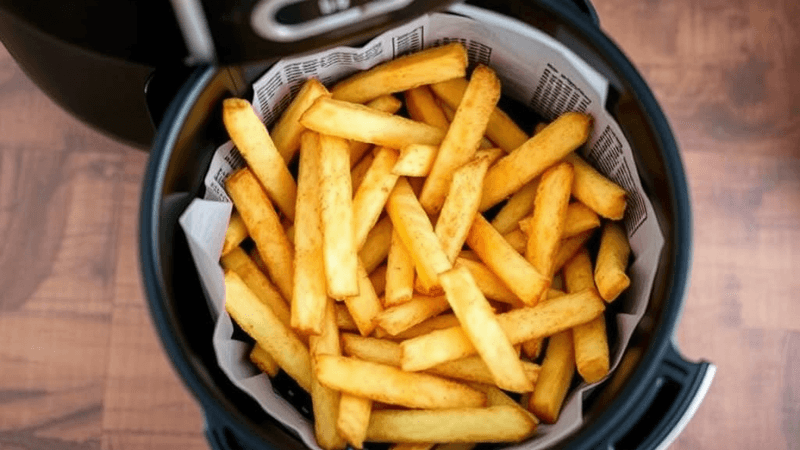
8. Do not crowd the basket
Air needs room to circulate around every fry. When you pile them up, steam builds and defeats crisping.
Spread fries in a single loose layer and cook in batches for consistent results.
Crowding costs you crunch and robs color. Batching also makes shaking more effective.
Keep the next batch ready so the machine stays hot, and rotate batches to a rack so nothing steams as it waits.
9. Try a two stage cook
Use a two stage schedule for reliable results. First, cook at 350 F for 10 to 12 minutes to soften the centers.
Shake or flip well, then increase to 400 F for 8 to 12 minutes to crisp the exterior.
Shake again halfway through the second stage. This approach balances creamy insides with golden, snappy crusts.
Adjust minutes for thickness, model, and load size while watching color closely.
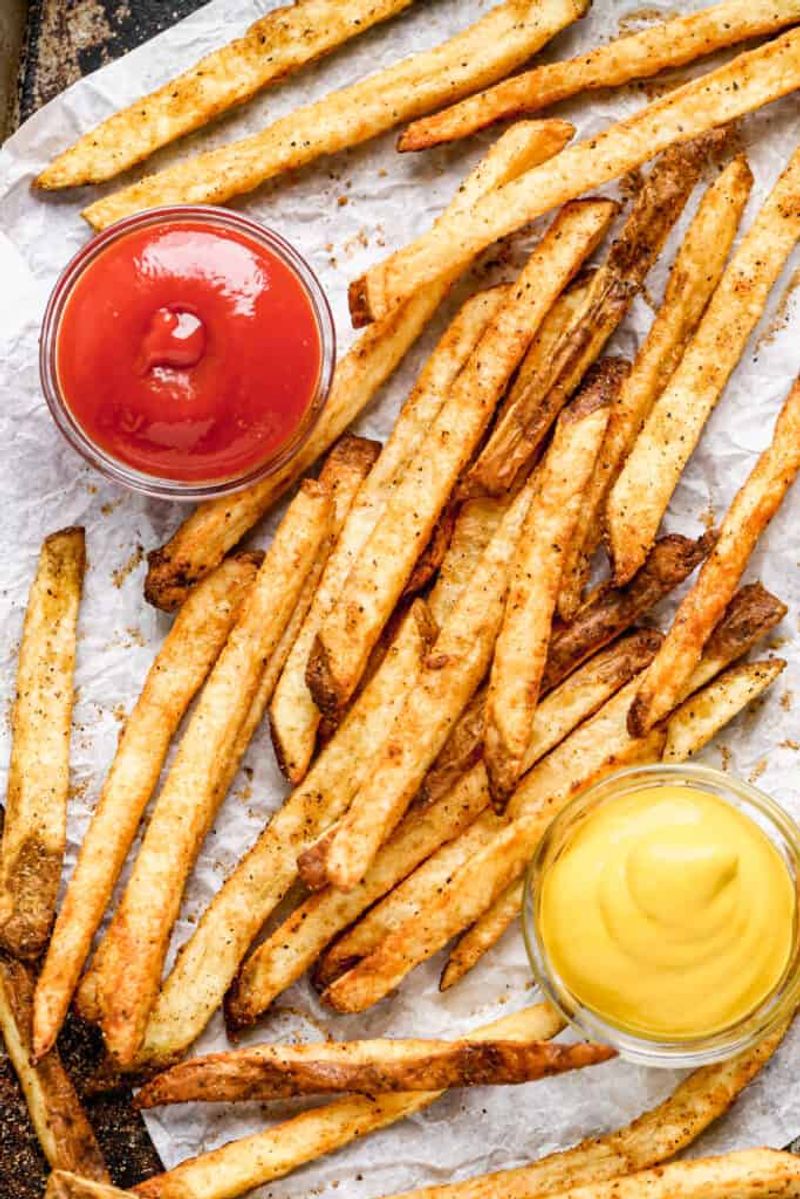
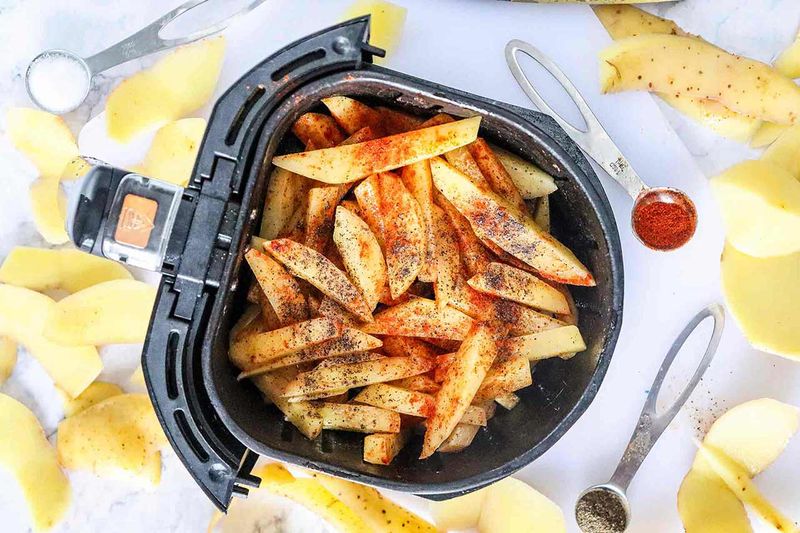
10. Salt at the right time

Season immediately after cooking so salt clings to steam and surface oil. A quick toss while the fries are hot locks in flavor.
Add your favorite blends after salting for best adhesion and balance.
Try garlic powder, smoked paprika, lemon pepper, or Old Bay. Taste, then adjust lightly rather than dumping.
Salting late risks bland fries and wasted seasoning that slides off onto the plate.
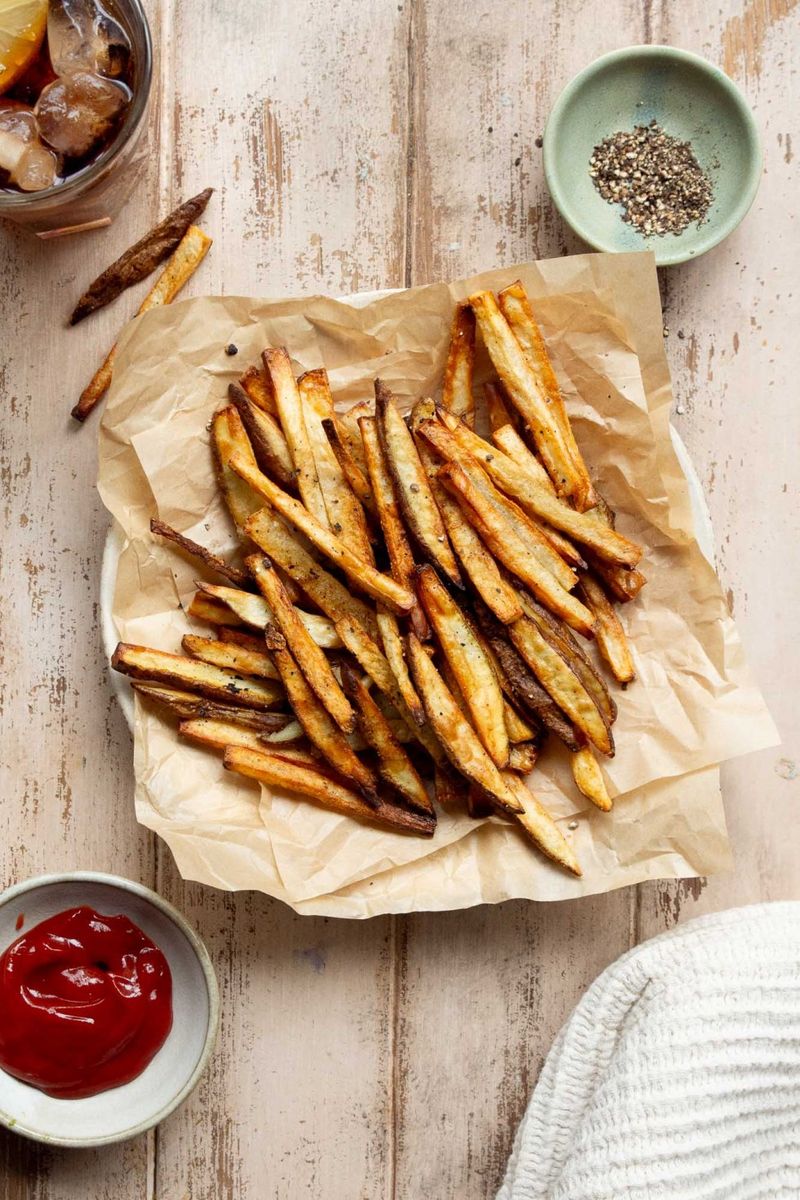
11. Keep finished fries crisp
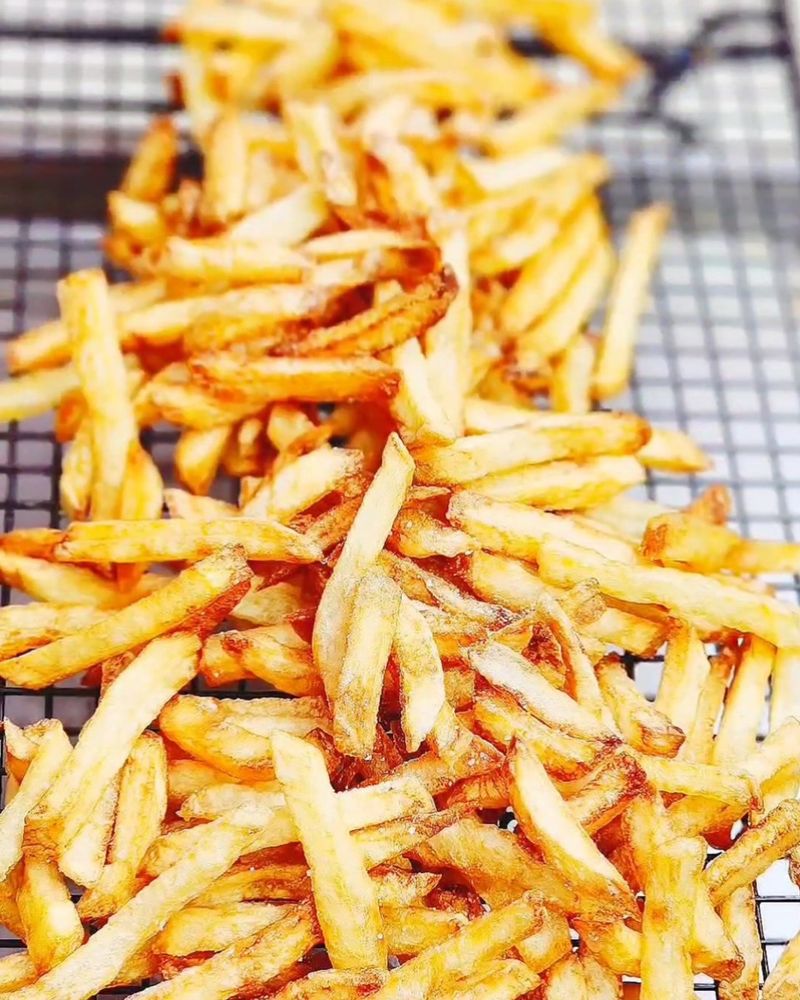
Do not stack finished fries in a bowl. Spread them on a wire rack in a single layer so steam can escape.
If making multiple batches, hold them in a warm oven around 200 F to maintain crunch.
The rack keeps bottoms dry and prevents soggy spots. Rotate trays if you are cooking a lot.
Move quickly between batches to avoid the dreaded soft pile effect.
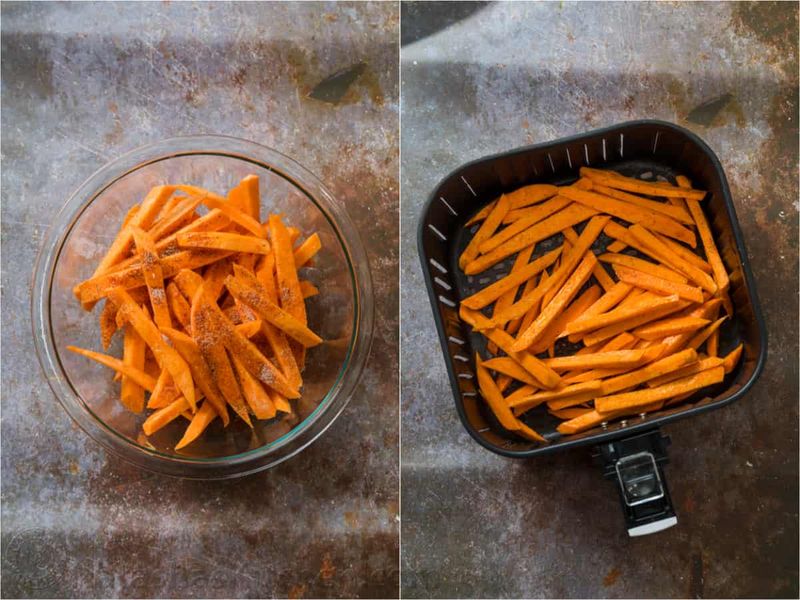
12. Use frozen fries wisely
Frozen fries are par cooked, so skip soaking and drying. Cook at 400 F, shake often, and do not overcrowd the basket.
Add two to four extra minutes at the end for a crisper finish.
Season right after cooking, same as fresh. Because coatings vary, watch color and adjust timing.
Keep batches small so the frozen surface does not steam and soften your hard earned crunch.