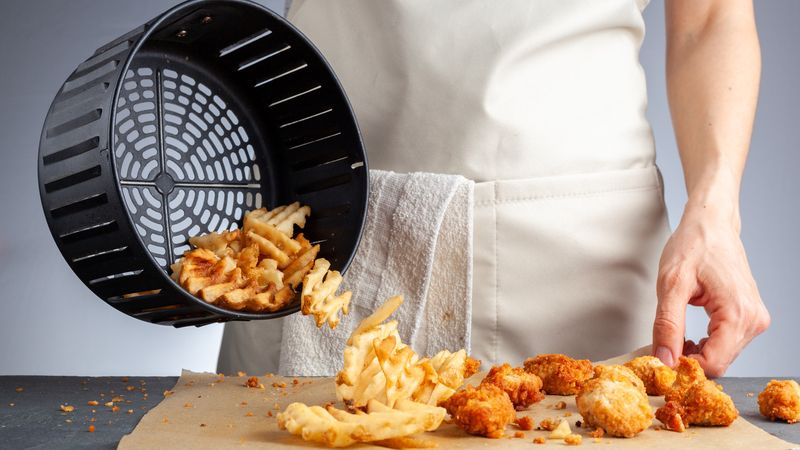
How To Prepare The Crispiest Air Fryer Fries
Craving fries that shatter with every bite without drowning in oil. You are in the right place.
With a few smart tweaks, your air fryer can deliver golden sticks that rival your favorite takeout. Stick around for the step by step playbook that turns humble potatoes into crunchy perfection every time.
1. Choose The Right Potato
Start with the right spud because starch matters. Russet potatoes are your best bet thanks to high starch and low moisture, which crisp beautifully.
Yukon Golds can work for a creamier interior but need extra drying.
Pick firm, heavy potatoes without green spots or sprouts. Size matters for even cuts, so choose similarly sized taters.
Store them in a cool, dark place, not the fridge.
Cold storage converts starch to sugar, causing overbrowning before crisping. If using Yukons, cut thinner for crunch.
For ultimate shatter, russets win consistently.
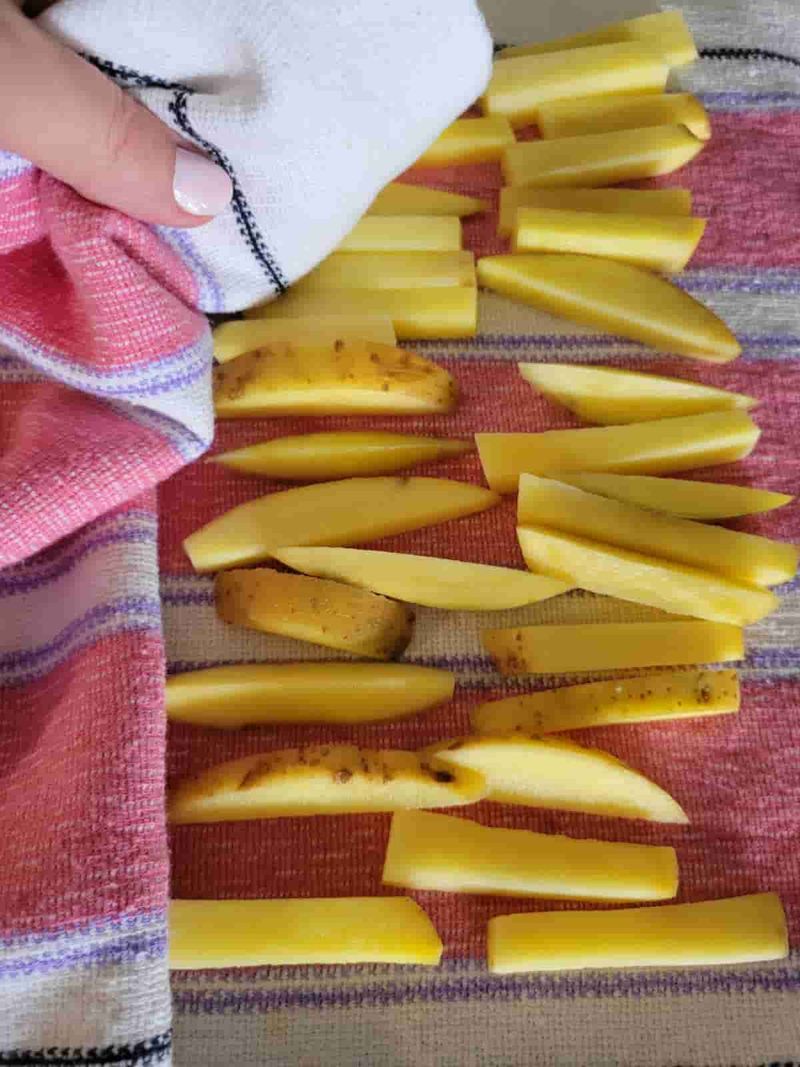
2. Cut Even Sticks

Uniform thickness is the secret to consistent crunch. Aim for 1/4 to 1/3 inch sticks using a sharp knife or fry cutter.
Square off the potato sides, make planks, then baton them into even strips.
Work carefully to avoid ragged edges that burn. If you prefer thicker steak fries, increase cook time and shake more often.
Even cuts reduce soggy centers.
Rinse cut fries under cold water to remove loose starch. Keep them submerged until all are cut.
This prevents oxidation and buys time before the next step.
3. Soak To Remove Excess Starch
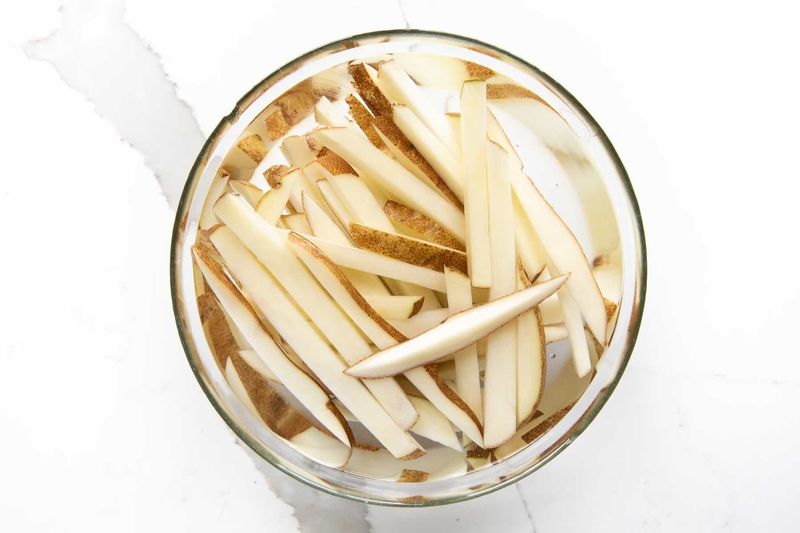
Soak the cut fries in very cold water for at least 30 minutes. This draws off surface starch that glues fries together and blocks crisping.
For next level results, change the water once.
In a rush, a 10 minute soak still helps, but longer is better. Add a handful of ice to keep the water chilly.
The colder the bath, the cleaner the surface starch.
After soaking, drain thoroughly. Shake in a colander to shed water before drying.
Excess moisture is the enemy of crisp.
4. Dry Completely Before Seasoning
Moisture fights crisping, so drying is non negotiable. Lay fries on a clean towel and pat aggressively until no surface wetness remains.
A salad spinner with a lined basket works brilliantly.
Air dry for 5 to 10 minutes for extra insurance. If the towel becomes damp, switch to a fresh one.
Dry fries grab oil and seasoning evenly.
Any lingering water steams the crust and softens edges. You want matte, not glossy, sticks before oiling.
Take your time here for truly glassy crunch.
5. Parboil Or Microwave Pre Cook
Pre cooking sets the exterior and softens the center so they crisp faster. Briefly parboil sticks in salted water for 3 to 4 minutes, then drain and dry again.
Alternatively, microwave in a covered dish for 3 to 5 minutes.
You are looking for slightly tender edges, not fully cooked. This step creates micro fissures that become crunchy bubbles.
Dry carefully after.
Skip this if rushed, but expect a bit less shatter. Parboiling plus drying gives the best ratio of crunch to fluffy center.
Worth the extra minutes.
6. Use Cornstarch Or Potato Starch Dusting
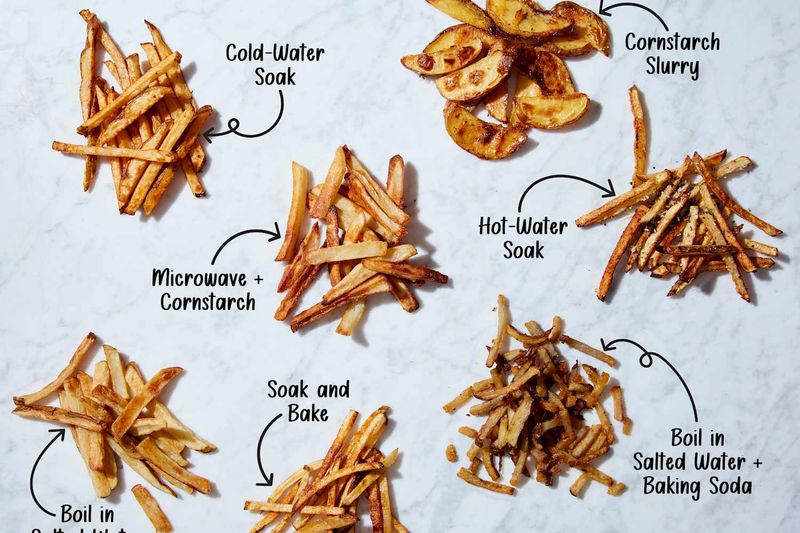
A light starch coat creates that signature crackly shell. Toss dried fries with 1 to 2 teaspoons cornstarch or potato starch per pound.
Shake off excess to avoid clumping.
Starch absorbs surface moisture and browns beautifully in hot circulating air. Season lightly with salt and garlic powder afterward, not before.
Salt early can draw water back out.
If you want spicy, mix in smoked paprika or chili powder. Keep the coating thin for delicate crunch.
Heavy dredging turns gummy instead of crisp.
7. Oil Just Enough
A small amount of oil supercharges browning without sogginess. Use 1 to 2 teaspoons neutral oil per pound, tossed evenly to glaze.
Avocado, canola, or light olive oil all work.
Too much oil drips and smokes, softening the crust. A spray bottle helps create a thin, uniform coat.
Avoid aerosol cans with propellants if possible.
You can lightly respray halfway if spots look dry. Aim for sheen, not slick.
This balance gives the satisfying crunch you are chasing.
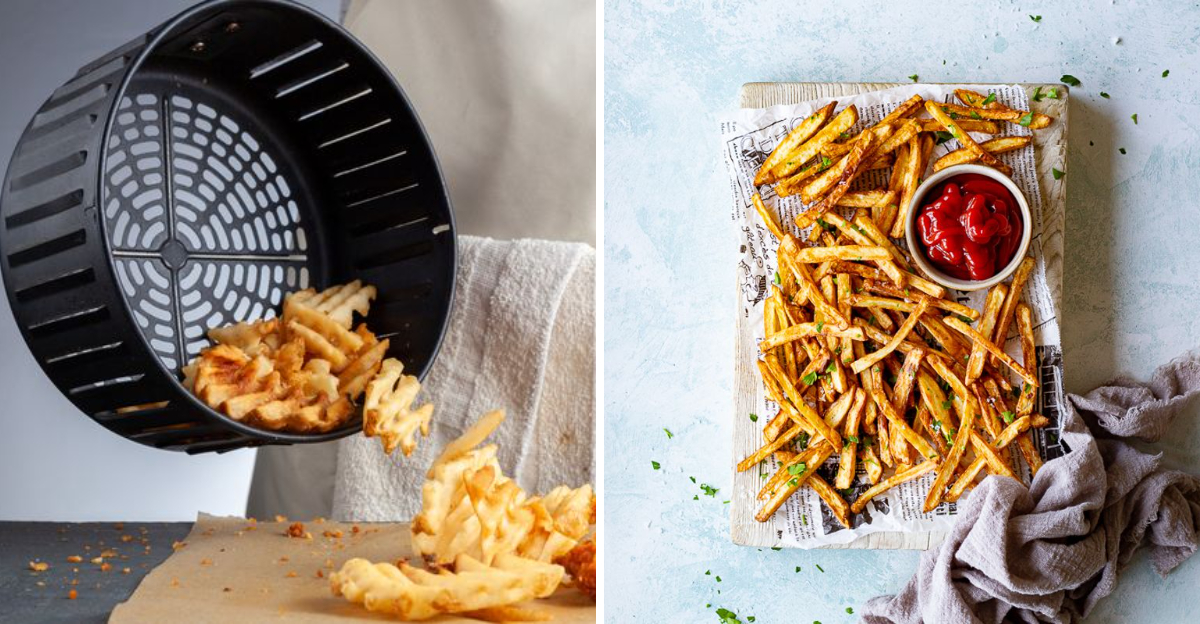
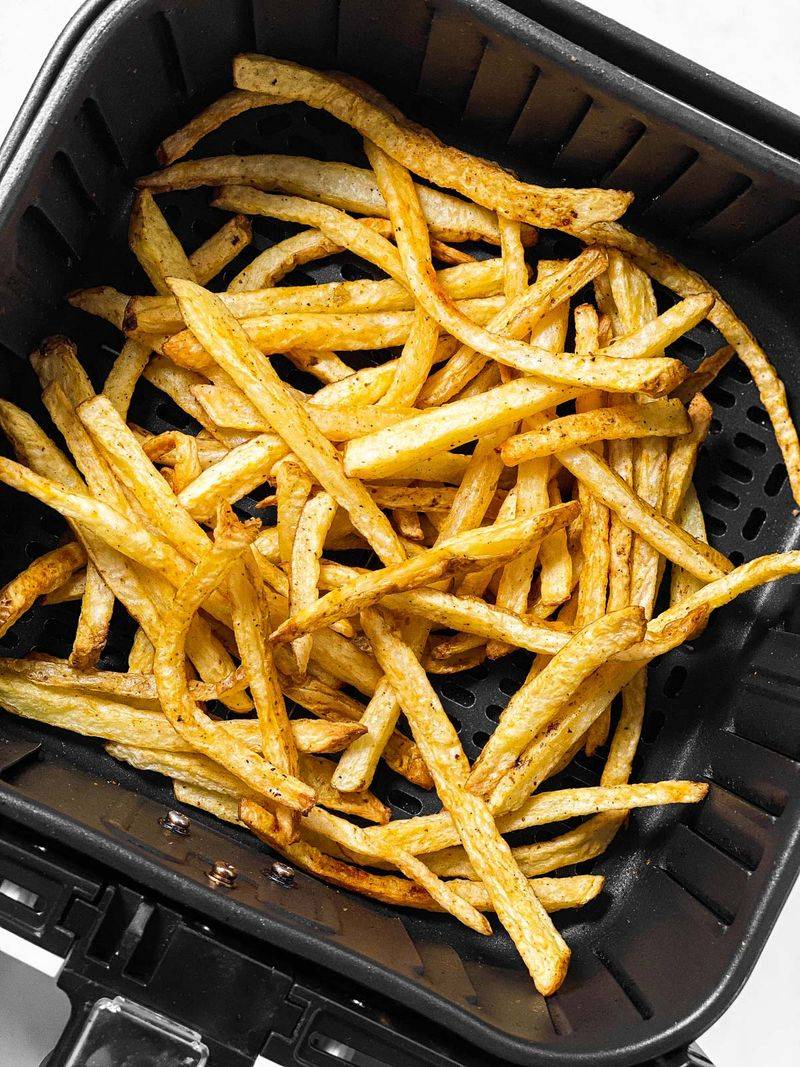
8. Preheat And Do Not Crowd
Preheat your air fryer for 3 to 5 minutes so heat hits instantly. A hot basket sets the crust quickly.
Work in batches to keep fries in a single, loose layer.
Crowding blocks airflow and leads to steaming. Shake the basket or turn fries every 5 minutes for even color.
If needed, rotate racks on dual layer models.
For shoestrings, reduce time and shake more often. For thicker cuts, extend by a few minutes.
Golden edges should appear before the centers dry out.
9. Dial In Time And Temperature

Start at 380 to 400 degrees Fahrenheit for 14 to 18 minutes, depending on thickness. Shake at least twice.
Look for deep gold edges and blistered surfaces.
If fries brown too fast, drop to 360 and extend time. If they pale and limp, bump to 400 for the final minutes.
Season with salt immediately after cooking.
Use an instant read thermometer only if curious about internal temp. Texture tells the truth.
Keep notes so next batch is perfect without guessing.
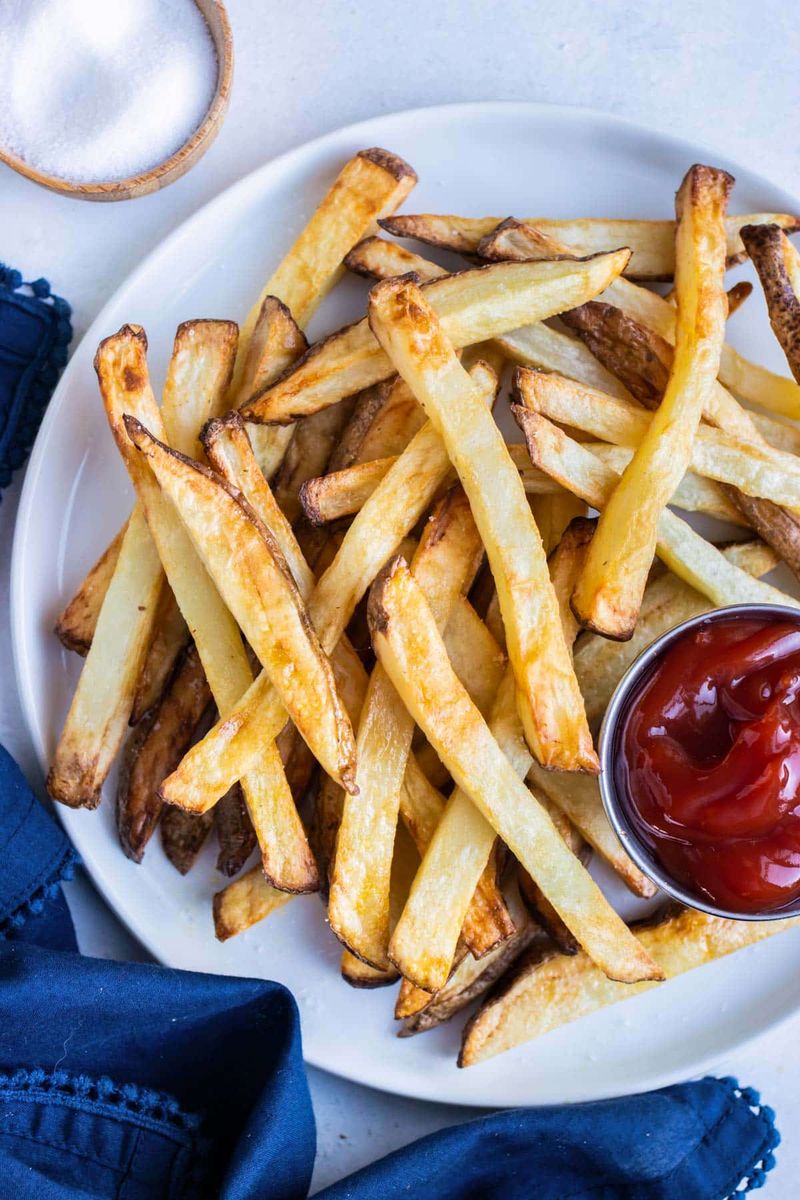
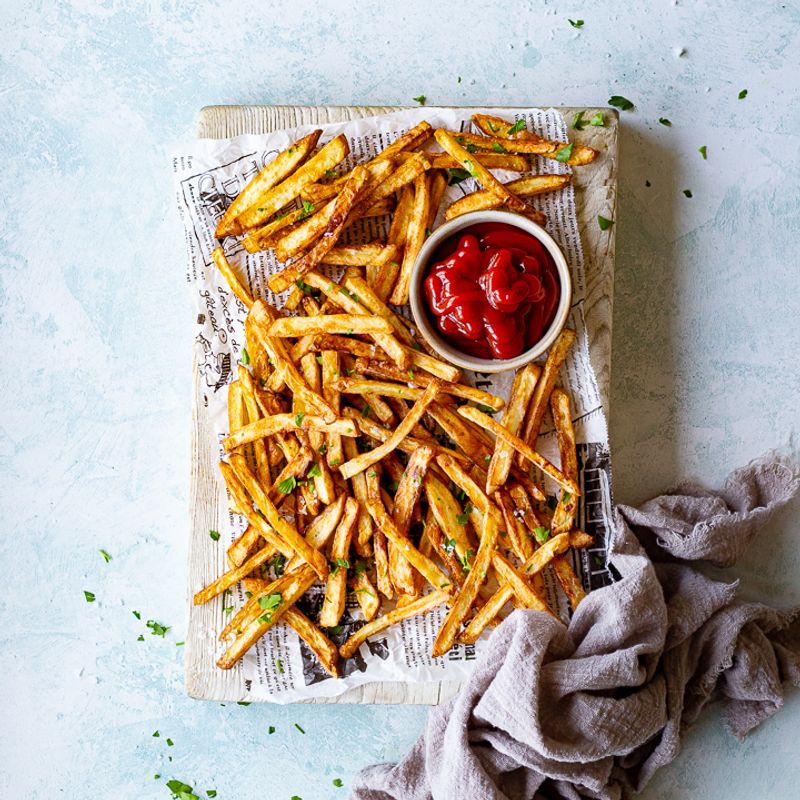
10. Finish And Serve For Maximum Crunch
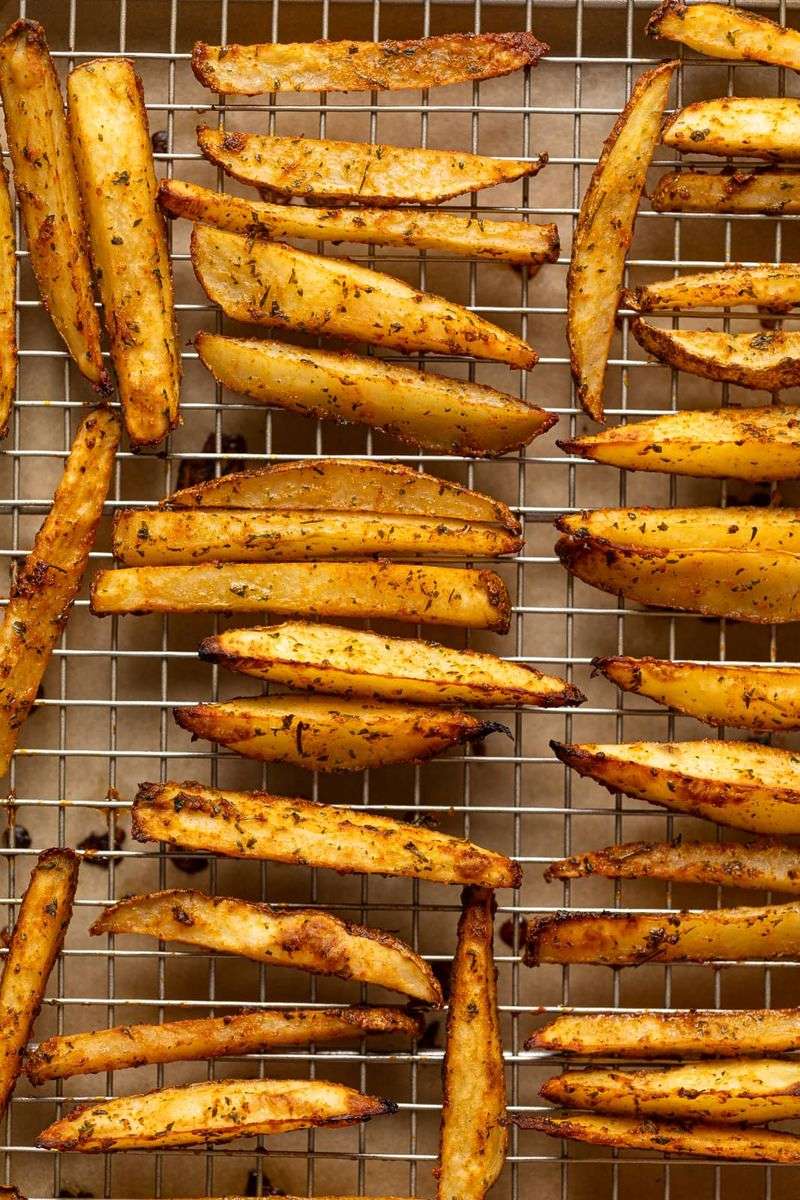
As soon as fries are done, dump them onto a wire rack set over a sheet pan. This preserves airflow while you salt and season.
Toss with fine salt so it sticks.
Want extra crunch. Return fries for a 1 to 2 minute blast after salting.
Thinly garnish with chopped parsley or Parmesan if you like.
Serve immediately with hot dipping sauces. Keep batches warm on the rack in a low oven.
Do not cover or they will steam and soften.