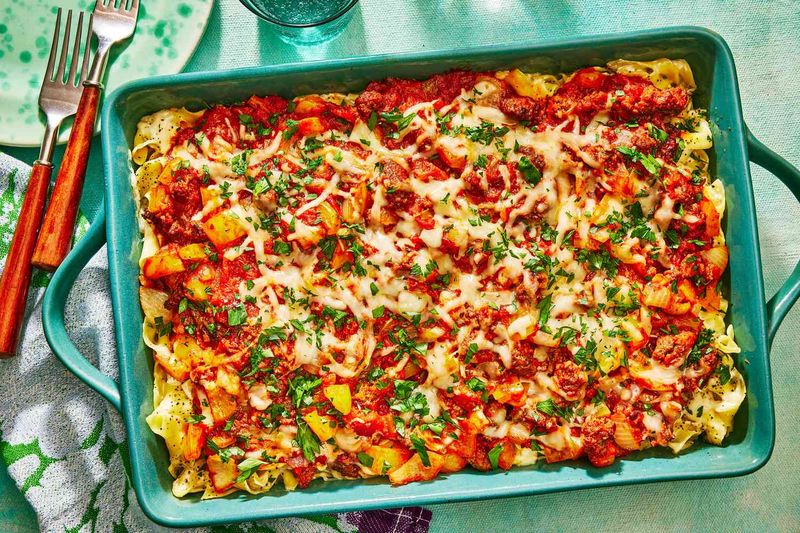
These 19 Casserole Baking Errors Are Surprisingly Common

Casseroles should be cozy, simple, and crowd pleasing, yet small missteps can wreck texture and flavor fast. If your top browns before the center sets or your noodles turn mushy, you are not alone.
These common errors sneak in during prep, assembly, and baking, but they are easy to fix once you know what to watch for. Use these tips to keep every pan bubbling, balanced, and delicious from first scoop to last.
1. Using the wrong size baking dish
Pan size matters more than you think. A too-small dish crowds ingredients, forces overflow, and traps steam so the center steams while the edges overcook.
A too-large dish spreads everything thin, causing rapid evaporation and dry, rubbery bites.
Check the recipe volume and match it to the stated dish dimensions, usually 9×13 inches for family casseroles. If swapping pans, adjust bake time, checking early for doneness and moisture.
Aim for about one to one and a half inches of depth for even heating and reliable browning without drying.
2. Skipping a quick grease of the dish
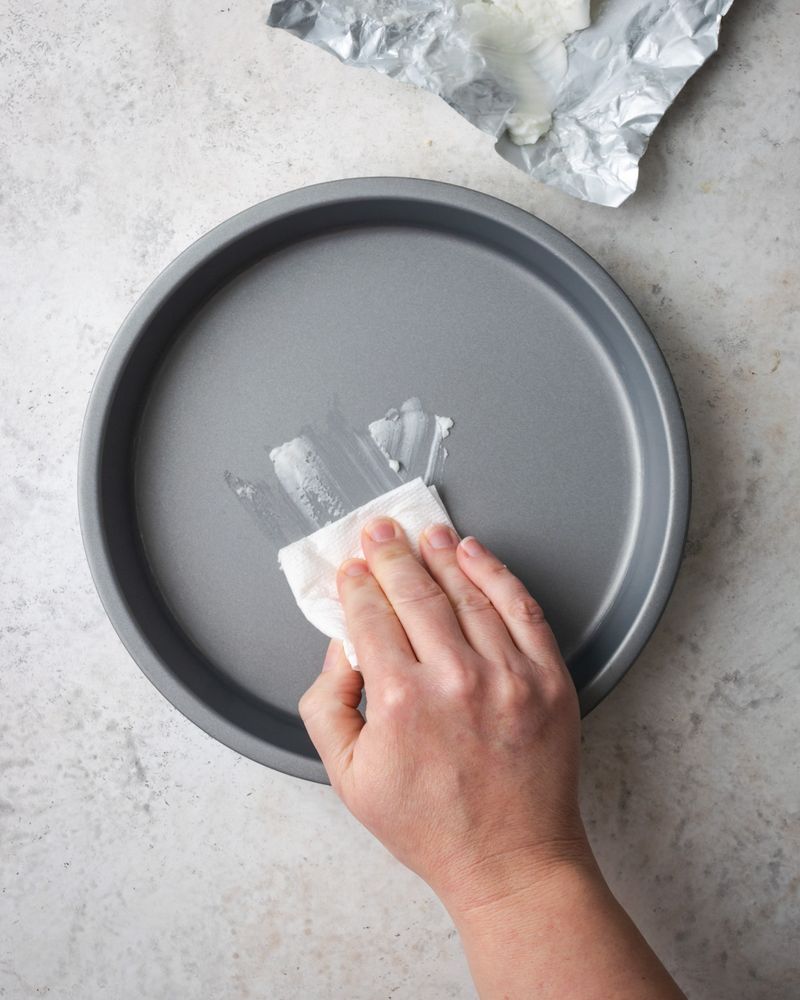
Even saucy casseroles stick stubbornly along corners and edges. A light swipe of butter, oil, or nonstick spray creates a protective barrier that improves browning and guarantees clean slices.
Greasing also prevents cheese from welding itself to the pan, which saves scrubbing later.
Use a paper towel to coat every surface, especially the vertical sides and corners where sticking is worst. For breadcrumb-heavy tops, grease plus a parchment sling helps lift neat portions.
If using cast iron, ensure it is well seasoned. This tiny step makes serving smoother and keeps textures intact.
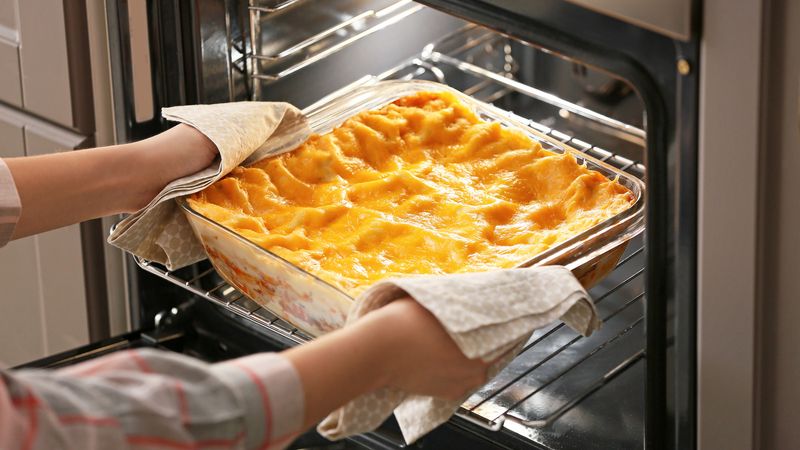
3. Not preheating the oven
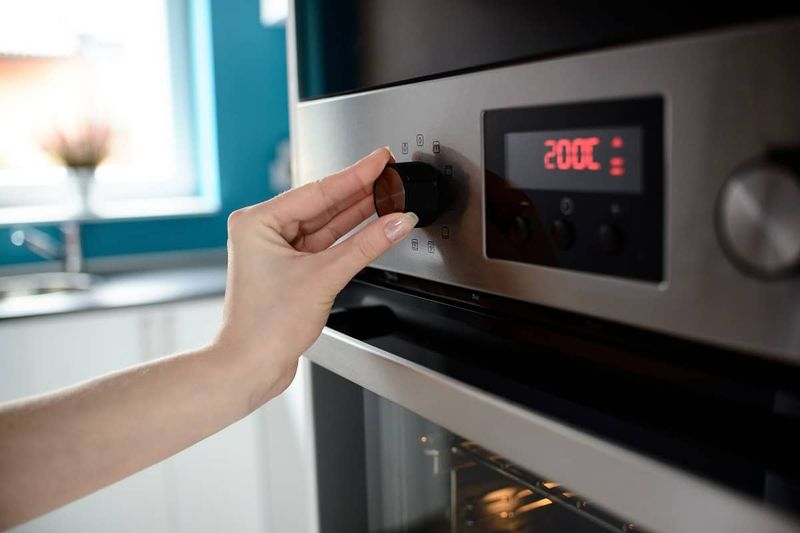
Cold starts sabotage texture. Without a fully preheated oven, the top warms slowly while the interior lags, so the crust dries out before the middle sets.
Preheating ensures immediate, steady heat transfer for predictable cook times and safe temperatures.
Wait until your oven actually signals readiness and verify with an oven thermometer if yours runs hot or cool. Slide casseroles onto a middle rack for even circulation.
If using a sheet pan underneath, preheat it too for better bottom browning. Consistent heat from minute one delivers creamy centers and crisp tops, not soggy disappointment.
4. Putting everything in cold
Fridge-cold ingredients slow the whole bake, causing a pale top and underdone center. Bringing components to room temp, or at least warming sauces, helps heat spread evenly.
Your casserole reaches safe temperatures faster and browns properly without drying out.
Let dairy, cooked proteins, and sauces sit 15 to 25 minutes while you prep. If using leftover rice or pasta, stir in a bit of warm sauce to loosen clumps.
Avoid hot-hot ingredients that melt cheese prematurely. Aim for pleasantly warm, not steaming, so everything cooks together on schedule.
5. Overloading with too many add-ins
More is not always better. When a casserole is packed with extras, the sauce cannot coat everything evenly, and heat struggles to penetrate.
You end up with dry pockets, soggy areas, and muddled flavors that fight instead of harmonize.
Choose a star ingredient and two to three supporting add-ins. Respect the sauce-to-solids ratio so each bite stays creamy and cohesive.
If you must stretch the mix, increase sauce proportionally and expand the pan size. Editing your mix-ins keeps textures balanced and flavors clear, delivering a casserole that scoops beautifully rather than crumbles.
6. Not cooking watery vegetables first
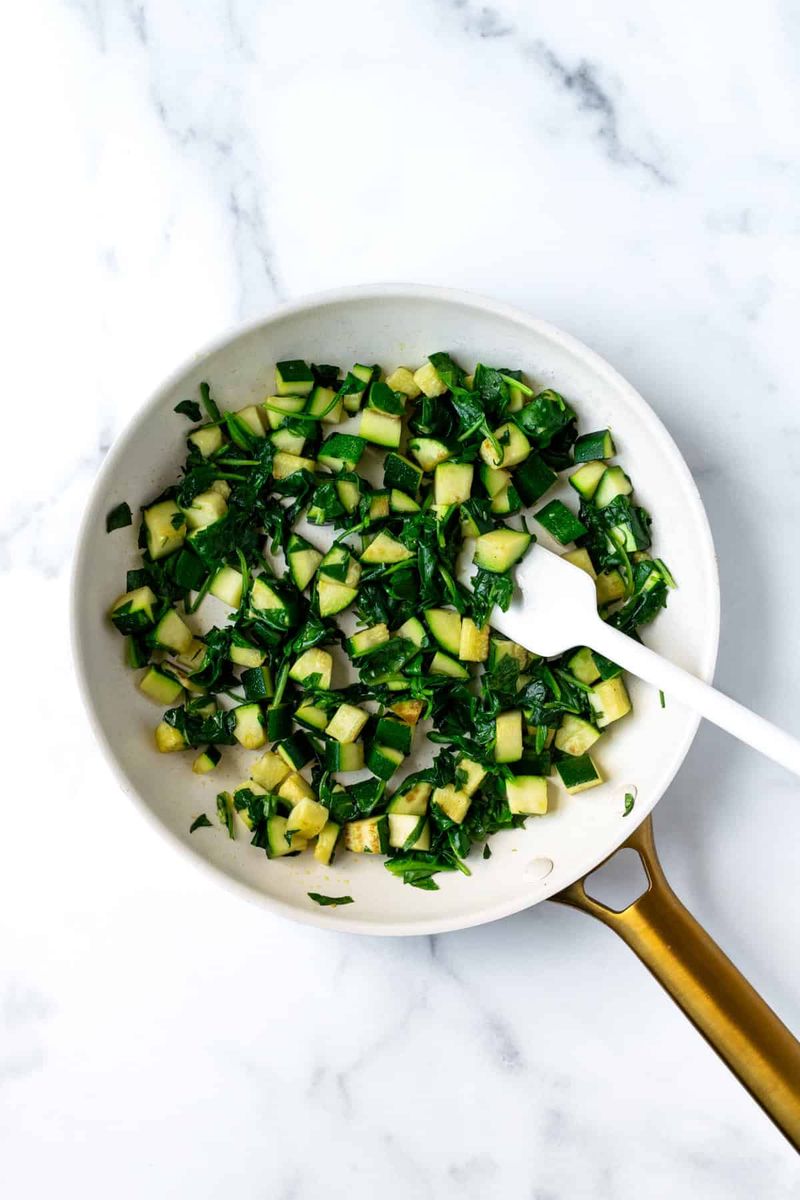
High-moisture vegetables flood casseroles with liquid. Mushrooms, zucchini, spinach, and onions need a quick sauté or roast to drive off water and build flavor through browning.
Raw, they weep into the dish and dilute your sauce into a thin, soupy mess.
Cook veggies until moisture evaporates and edges turn lightly golden. Season lightly as you go, then cool a few minutes before mixing into the casserole.
If using frozen spinach, thaw and squeeze dry. This one step concentrates flavor, protects texture, and keeps your sauce luxuriously thick instead of watery.
7. Forgetting to drain canned ingredients
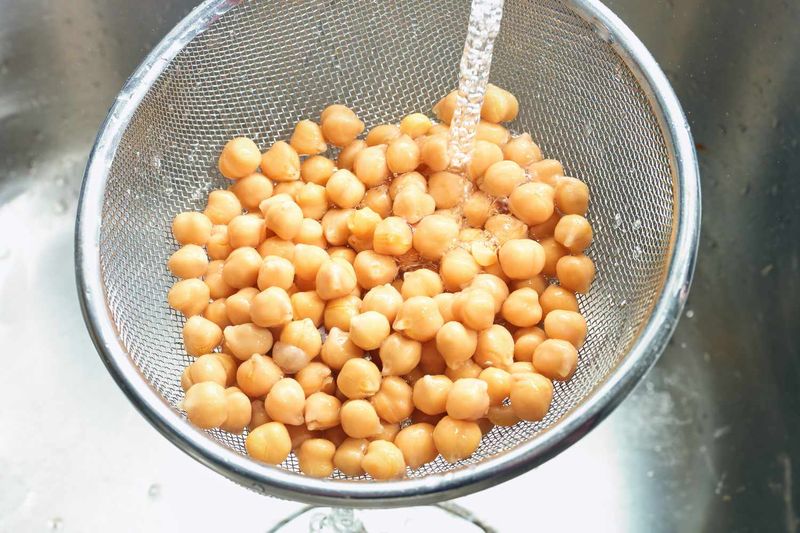
Canned beans, corn, tomatoes, and tuna carry extra liquid and sodium. If you dump them straight in, you thin the sauce and skew seasoning.
Draining, and sometimes rinsing, gives you control over texture and salt while letting flavors stay focused.
Use a fine mesh strainer and press gently to release excess. For tomatoes, drain but reserve some juices to adjust consistency later.
Rinse beans to remove starchy film if desired. Taste after mixing and season accordingly.
This quick tidy-up prevents sogginess and keeps your casserole cohesive, not sloshy.
8. Using frozen vegetables without adjusting
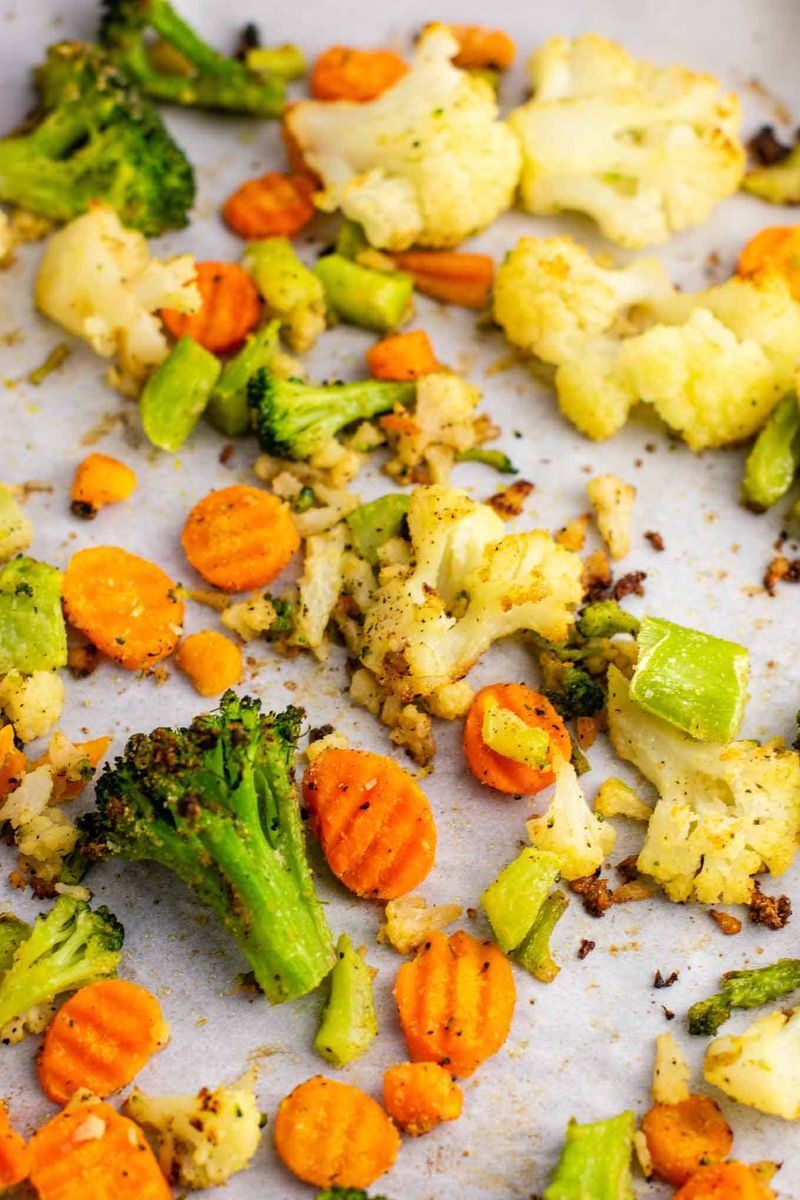
Frozen vegetables release a surprising amount of water as they thaw and bake. Tossing them in straight from the bag can waterlog your casserole.
You either need to pre-roast or sauté to evaporate moisture, or you must reduce added liquid in the sauce.
Spread frozen veg on a hot sheet pan, roast until edges dry and lightly brown, then fold into the mix. If skipping precook, cut broth or milk by a quarter and watch consistency.
Season after combining since concentration shifts. This adjustment preserves creamy texture and prevents blandness.
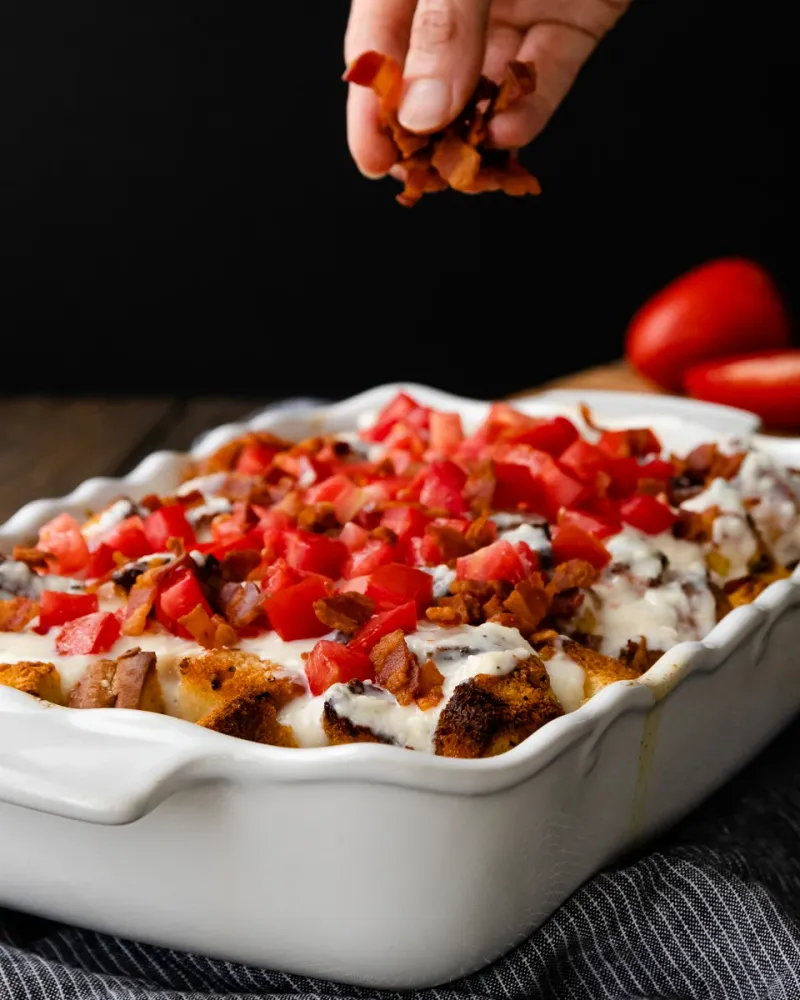
9. Not seasoning in layers

Seasoning only at the end leaves the interior bland. Layering salt, pepper, and aromatics into the protein, sauce, and starch ensures every bite tastes complete.
Gentle seasoning throughout also lets you use less overall while keeping flavors bright.
Taste each component before assembly. Add acidity like lemon or vinegar to the sauce, then balance with a pinch of salt.
Fold in herbs at the end to protect freshness. When the mixture is assembled, taste again and tweak.
Layered seasoning gives depth without harshness, making the final bake sing.
10. Going too heavy on salt without tasting
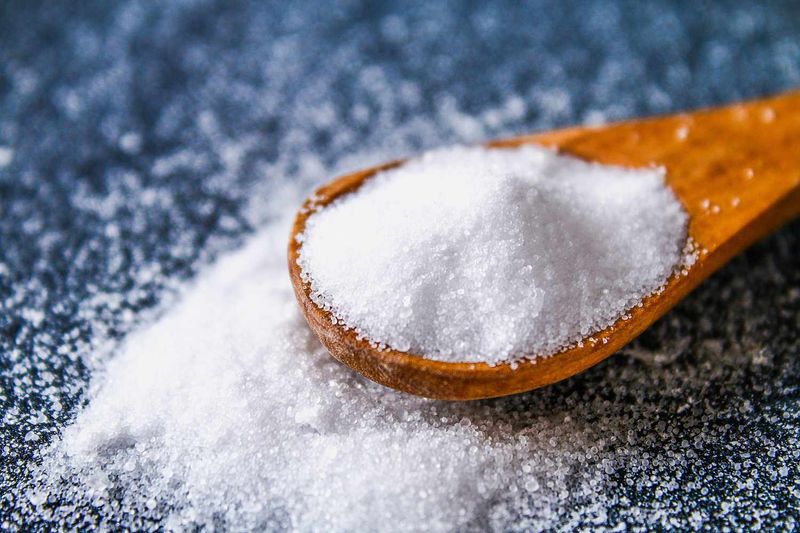
Salt stacks quickly. Store-bought broth, canned soups, cheeses, and cured meats carry significant sodium, so extra pinches push things over the edge.
Taste the combined mixture before baking, then adjust cautiously, remembering reduction concentrates flavors as moisture cooks off.
Use low-sodium broth, rinse canned items, and add salty mix-ins last so you can taste accurately. Consider acid or fresh herbs to brighten without more salt.
If you overshoot, stir in unsalted cream, extra cooked starch, or a splash of water to dilute slightly. Measured, mindful salting keeps the casserole balanced.
11. Overcooking pasta or rice before baking

Starches keep cooking in the oven as they absorb sauce. If your pasta or rice is already soft, it turns mushy by the time the casserole is done.
Aim for al dente pasta or slightly underdone rice so textures finish perfectly in the bake.
Boil pasta one to two minutes shy of package directions. For rice, cook to 85 to 90 percent and stop.
Toss with a little oil to prevent clumping, then combine with sauce. This buffer preserves bite and stops the dreaded gluey scoop.
12. Using dry chicken or meat

Overcooked protein stays dry, even under a blanket of sauce. If chicken or meat goes in already tough, the oven will not fix it.
Start with tender, just-cooked pieces or use shredded rotisserie meat moistened with a bit of sauce.
Poach chicken gently, roast to 160 to 165 F, or braise tougher cuts until shreddable. Rest and slice so juices redistribute.
Toss meat with some sauce before mixing to lock in moisture. Tender protein ensures every bite feels succulent rather than stringy.
13. Not thickening the sauce enough
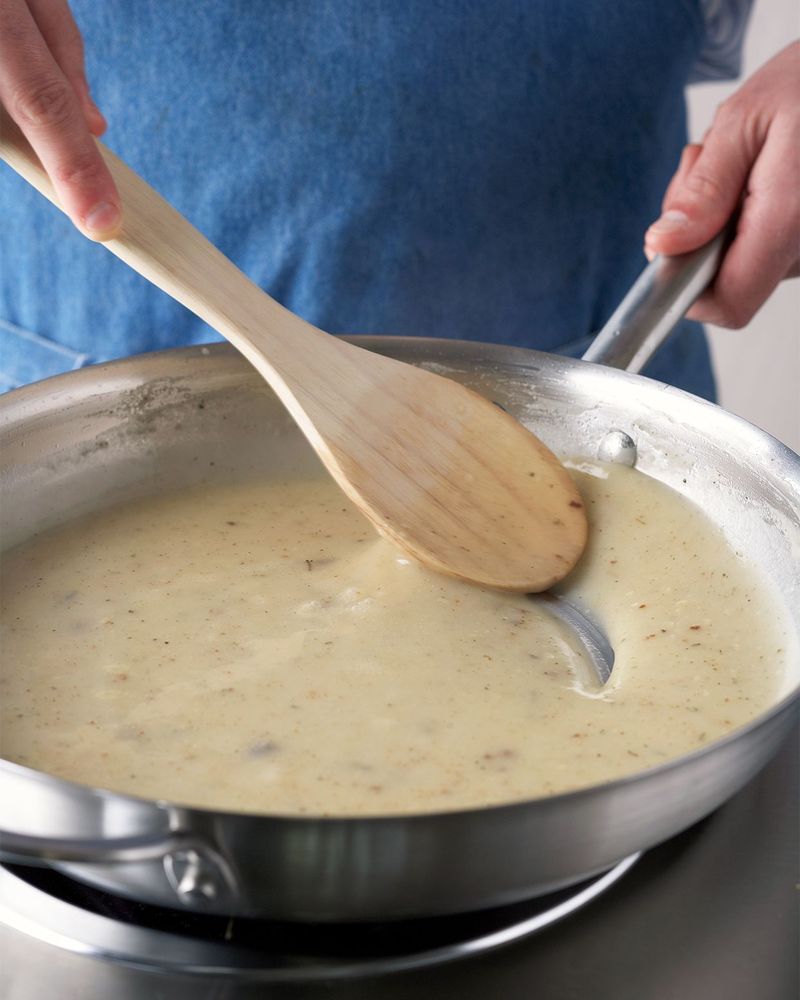
A thin sauce turns runny when combined with veggies, starches, and oven heat. You want a spoon-coating texture that holds a soft line when you drag a finger across the back of the spoon.
Proper body keeps layers cohesive and prevents puddling.
Simmer to reduce, or thicken with a roux, cornstarch slurry, or evaporated milk. Season after thickening, since concentration changes flavor.
When mixed, the casserole should look glossy, not soupy. A sturdier sauce bakes into creamy comfort rather than watery regret.
14. Forgetting a binder when you need one

Some casseroles need help holding together. Without a binder, scoops collapse into soup.
Eggs, melting cheeses, or a thickened sauce create structure while staying tender. The goal is sliceable, not rubbery.
Beat one or two eggs into a cooled sauce, or fold in cheeses that melt smoothly. For gluten-free options, use tapioca or cornstarch in the sauce.
Start modest and test a spoonful in a skillet to check set. The right binder delivers clean edges and a cohesive bite that still feels luxurious.
15. Adding delicate toppings too early
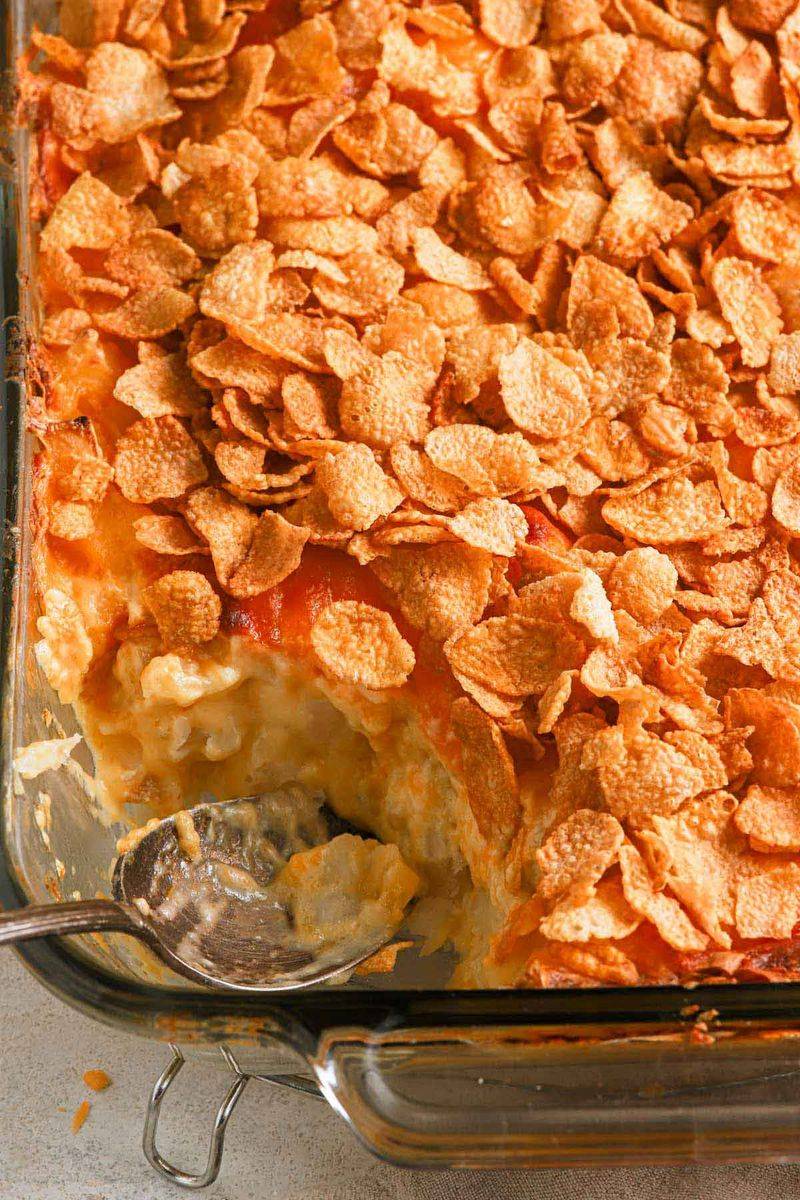
Crackers, chips, and crispy onions burn fast. Put them on too early and you get bitter, dark crumbs instead of a golden crunch.
Add delicate toppings near the end so they toast gently without scorching.
Bake covered or uncovered until the casserole is nearly done. Sprinkle toppings, drizzle a little butter for even browning, and return to the oven for five to ten minutes.
Watch closely under the broiler if finishing quickly. This timing gives you a shattering crunch that contrasts the creamy base perfectly.
16. Baking uncovered the whole time
Baking uncovered start to finish dries the top while the center lags behind. Covering traps steam, helping heat penetrate and set the interior evenly.
Then removing the cover lets the surface brown and crisp without overcooking the inside.
Use foil or a lid for the first two thirds of the bake. Vent slightly if excess steam builds.
Uncover to finish and watch for bubbling around the edges and a golden top. This two-stage approach delivers a creamy middle and a beautifully browned crown.
17. Baking at the wrong temperature
Too hot and the top burns before the center sets. Too low and the casserole takes forever, turning leaden and dull.
Most casseroles love a steady 350 F to 375 F range for even heating, safe temps, and reliable browning.
Use an oven thermometer to verify accuracy. If your pan is shallow or fillings are precooked, lean hotter and shorter.
For deep, dense bakes, lower temp extends gentle cooking. Adjust in small increments and check early so you hit creamy, not scorched.
18. Not letting it rest before serving
Right out of the oven, a casserole is molten and loose. Resting 10 to 15 minutes lets bubbling subside and starches set, so slices hold together.
Skip this and you will watch dinner slide into a messy lava pool.
Tent loosely with foil to retain gentle heat without trapping too much steam. Use the pause to prep toppings or a salad.
When you cut, the edges will be tidy and the center creamy. Patience here rewards you with beautiful portions and better texture.
19. Not storing leftovers properly
Sealing a hot casserole traps steam that soaks the topping and breeds sogginess. Let leftovers cool briefly before covering and refrigerating.
Shallow containers chill faster, protecting food safety and texture.
Cover loosely for 15 to 20 minutes, then transfer to airtight containers. Place paper towels between lid and crispy toppings if needed to absorb moisture.
Reheat gently, covered, then uncover to re-crisp under the broiler. Smarter storage keeps yesterday’s slice tasting fresh, not limp.