10 Tips For Stretching Pizza Dough Like A Seasoned Cook
Your dough can feel stubborn, but with a few smart habits, you will stretch like a pro. These tips show you exactly how to keep that rim puffy, the center even, and the shape satisfyingly round.
You will avoid tears, reduce frustration, and get consistent results every time. Ready to turn that ball into a beautiful, bake-ready canvas you are proud to top and launch?
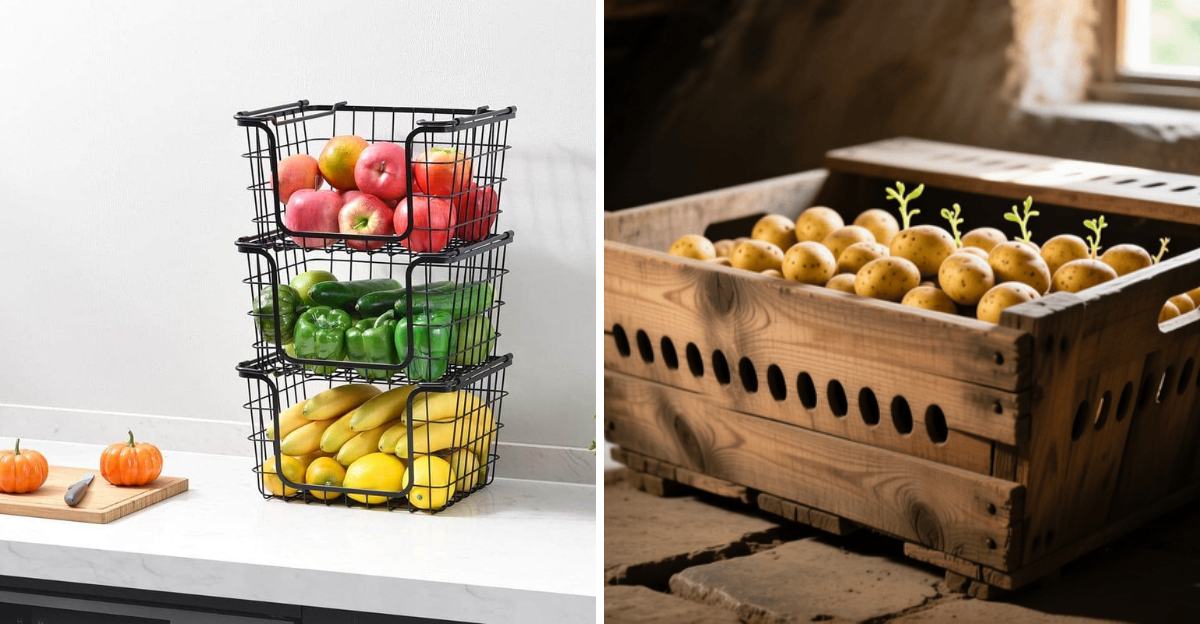
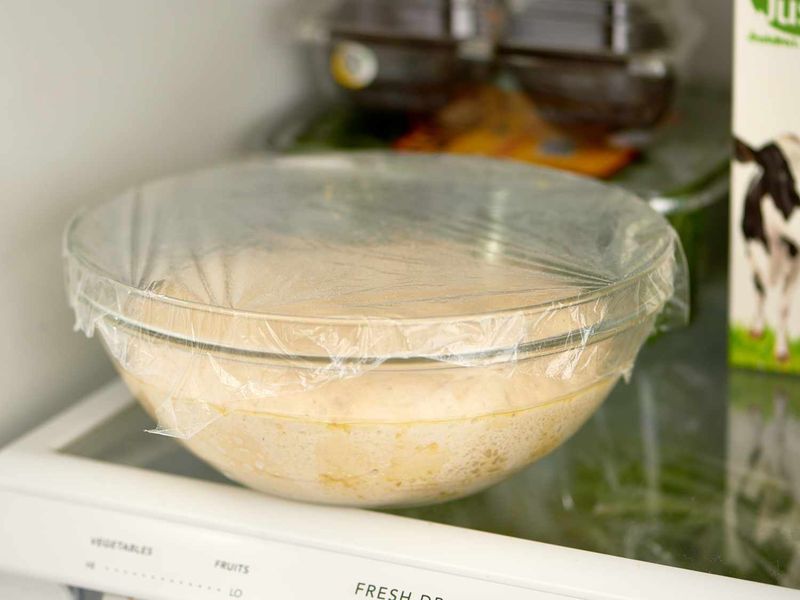
1. Let the dough come to room temperature
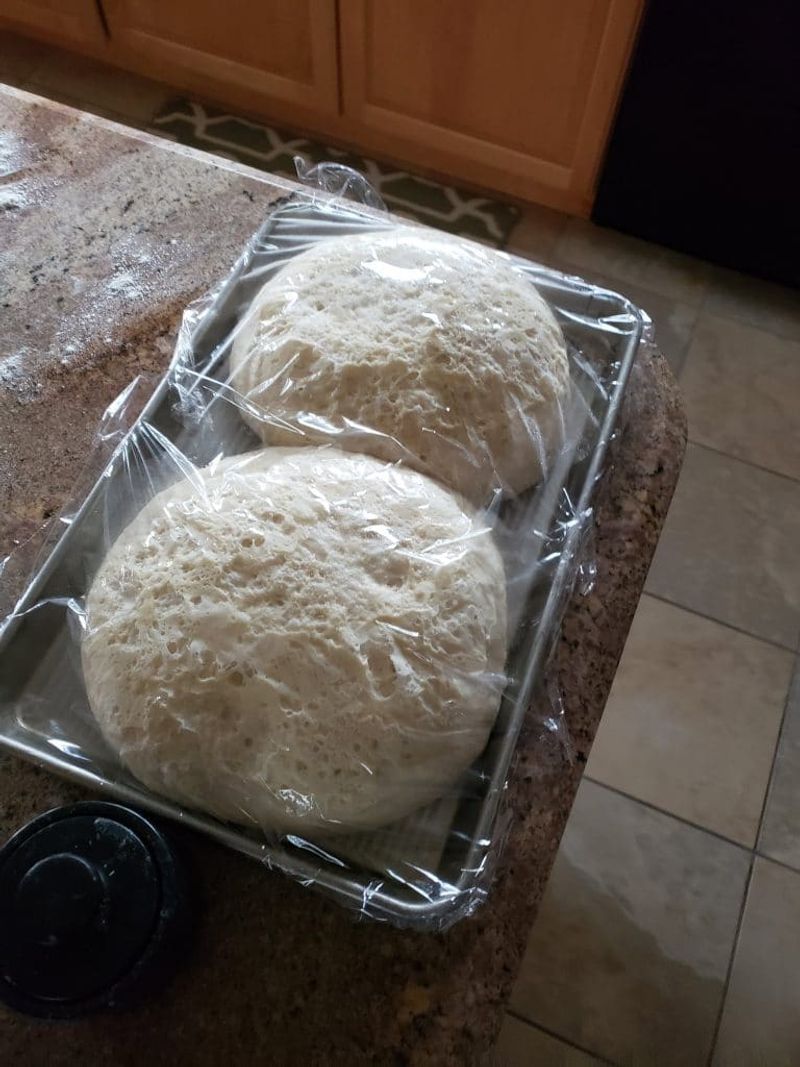
Cold dough fights back, so give it time to warm up. Take it from the fridge and leave it covered until it feels soft and relaxed.
You will notice it stretches with less resistance and fewer tears.
Set the container on the counter for 45 to 90 minutes, depending on your kitchen. If it still feels tight, wait a little longer rather than forcing it.
Patience here pays off with a silky, pliable dough that behaves when you stretch. Cover it lightly to prevent drying, and dust off condensation before stretching.
Relaxed dough equals easier shaping and better oven spring.
2. Start with a well-floured surface, but not too much
Start with a lightly floured work surface and your hands dusted too. That thin coating prevents sticking without turning the dough slippery.
Too much flour makes it skate around and can dry the exterior, sabotaging stretch.
Dust the top, then brush away excess with the back of your hand. If the bench still grabs, add a pinch more flour instead of showering the whole board.
Balanced friction gives you control while keeping the dough moist, supple, and responsive. Use semolina or rice flour sparingly for extra glide without drying.
Wipe the counter between rounds to reset traction for consistent stretching.
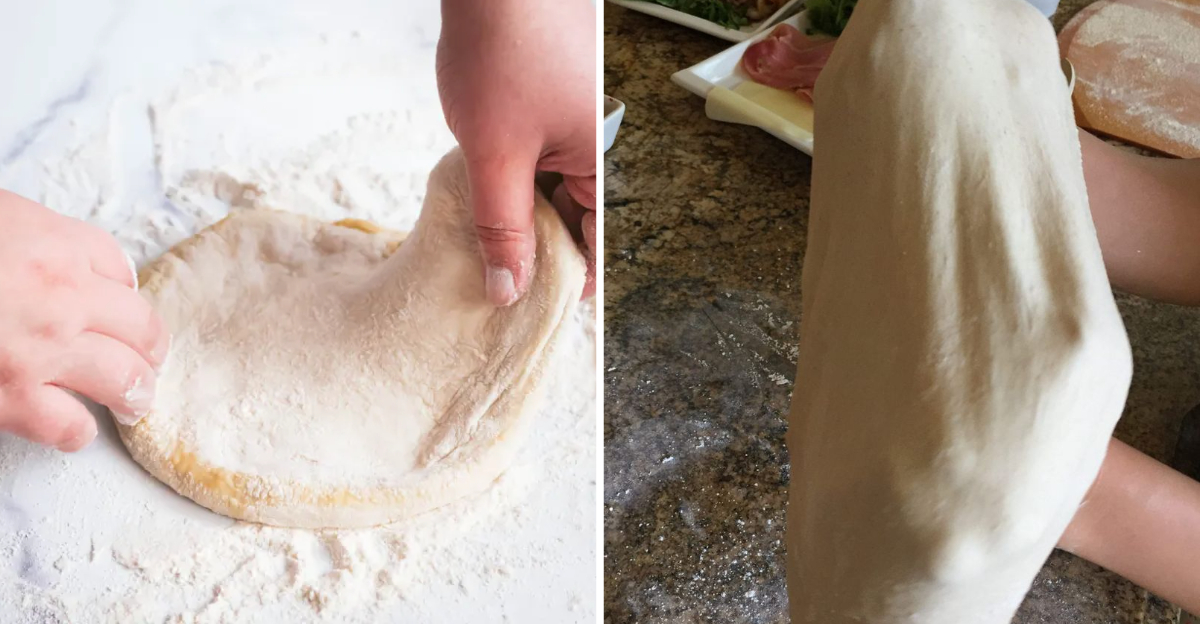
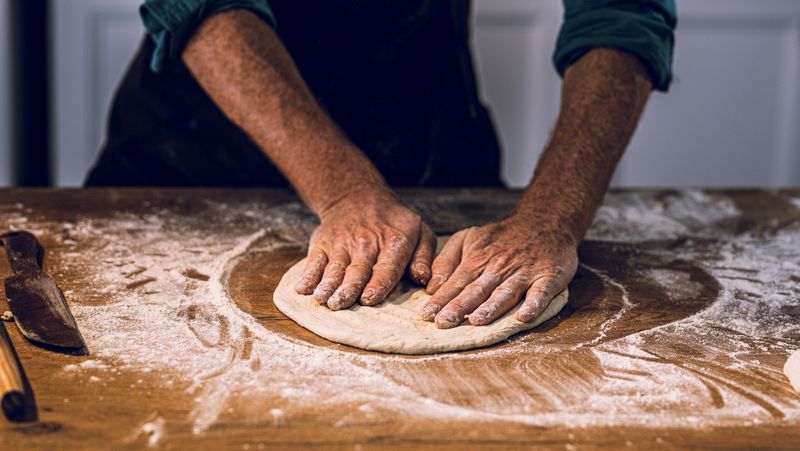
3. Handle it gently from the start
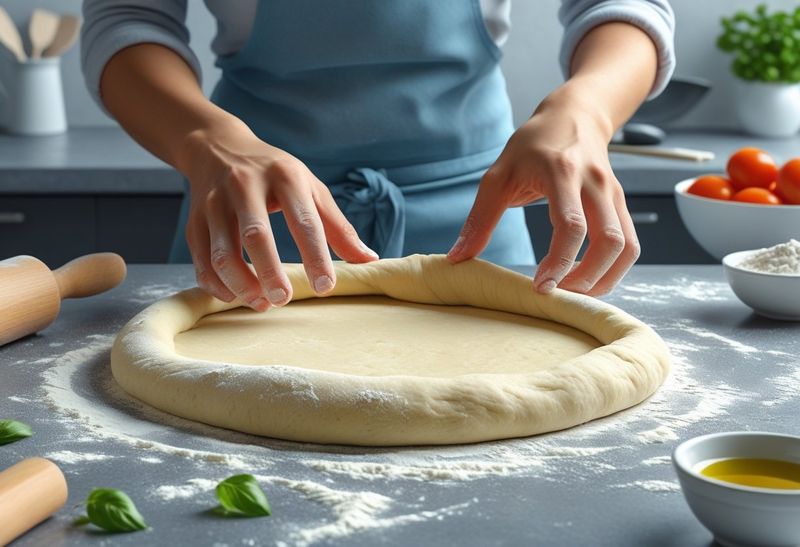
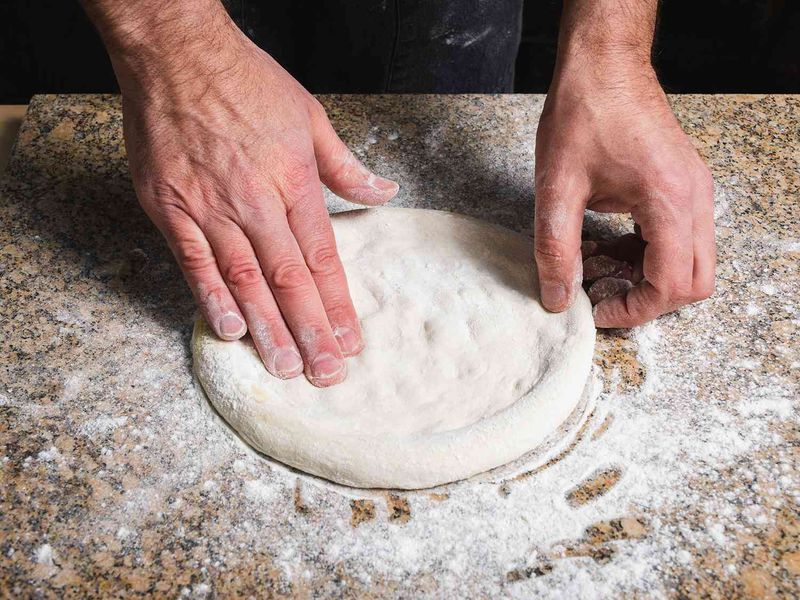
Treat the dough like a bubble you do not want to pop. Press from the center outward using gentle pressure, leaving the edge thicker for a lofty rim.
Preserving those gas pockets means better chew, flavor, and beautiful blisters.
Avoid punching, slamming, or overworking it early, which tightens gluten. If you accidentally deflate the rim, let it rest a few minutes and rebuild thickness with fingertips.
Gentle handling builds structure without squeezing out air, giving you an airy cornicione that bakes proudly. Think supportive touches, not brute force, and the dough will reward your patience.
Light hands make lighter pizza.
4. Use your fingertips, not a rolling pin
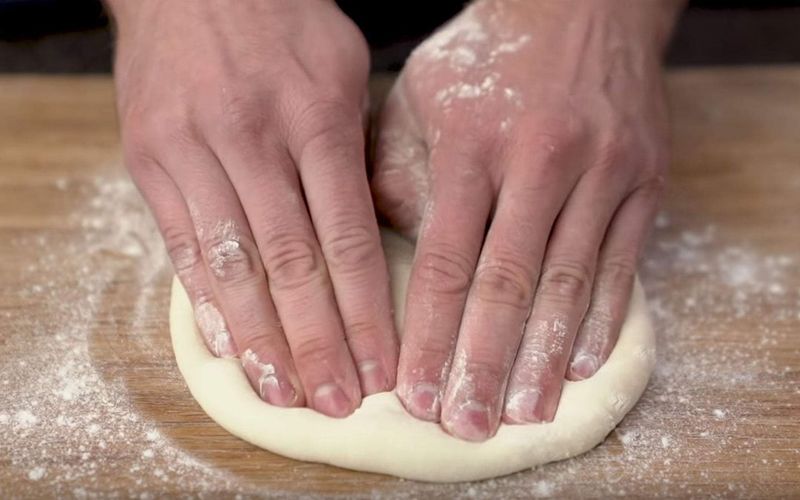
Skip the rolling pin when stretching. A pin presses everything equally and crushes the delicate rim you worked to preserve.
Fingertips let you nudge the dough outward while protecting that airy edge and controlling thickness.
Dimple the center with fingertips, then push gently toward the perimeter in small passes. Lift occasionally to ensure it is not sticking, and keep the rim untouched.
You get better oven spring, visible bubbles, and a crust that feels alive rather than compressed. Use knuckles later for bigger stretches, but start with fingertips to map thickness.
That foundation prevents tearing and keeps your circle round.
5. Flip and rotate as you go
Stretch a little, then rotate. Keeping the motion rhythmic helps maintain a circular shape and avoids creating thin zones.
Short, repeated moves are easier to control than one aggressive pull.
Flip the dough occasionally so both sides see flour and friction evenly. Each turn lets you feel where the dough needs help, guiding pressure to the right spots.
That cadence builds confidence and keeps your round consistent from center to edge. If it starts to oval, rotate faster and refocus on even passes.
Use your fingertips as tiny anchors, lifting slightly, so the dough slides rather than drags and tears.
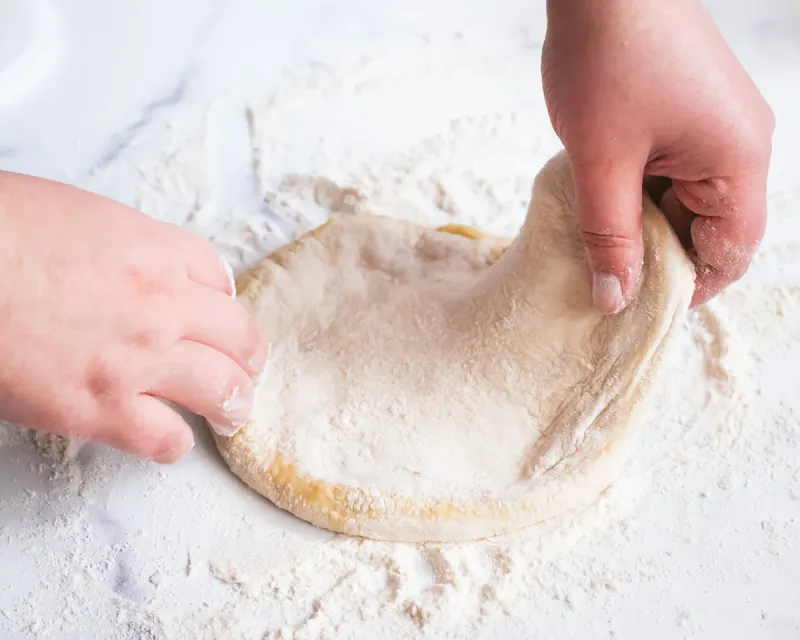
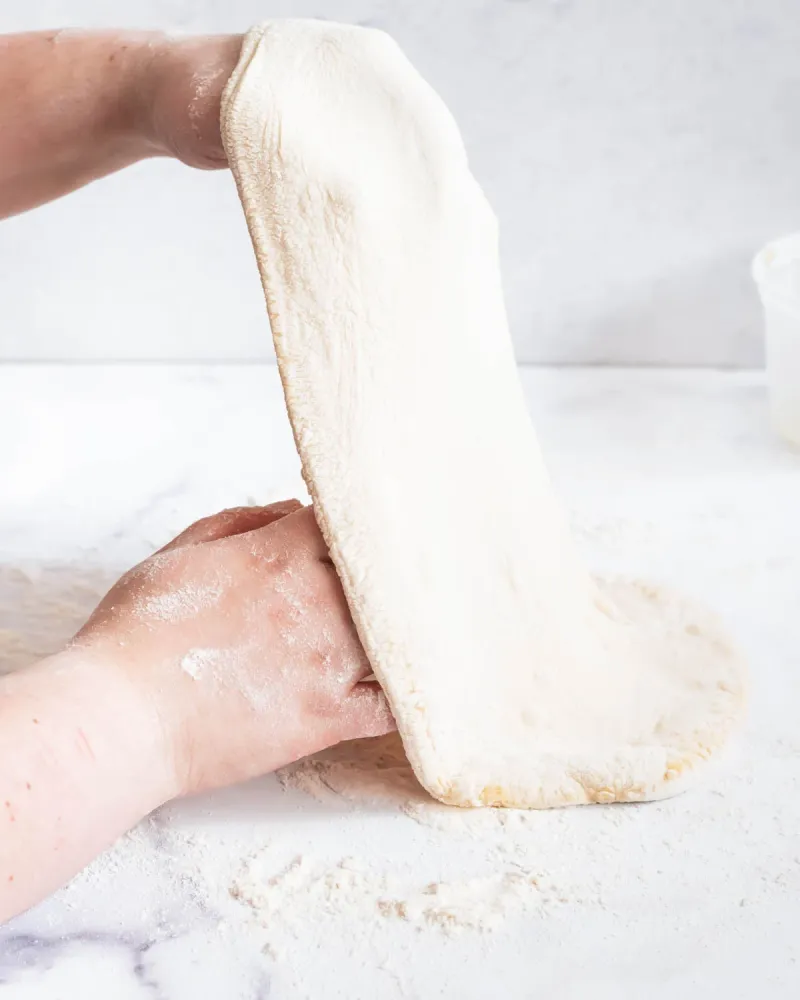
6. Lift it and let gravity help
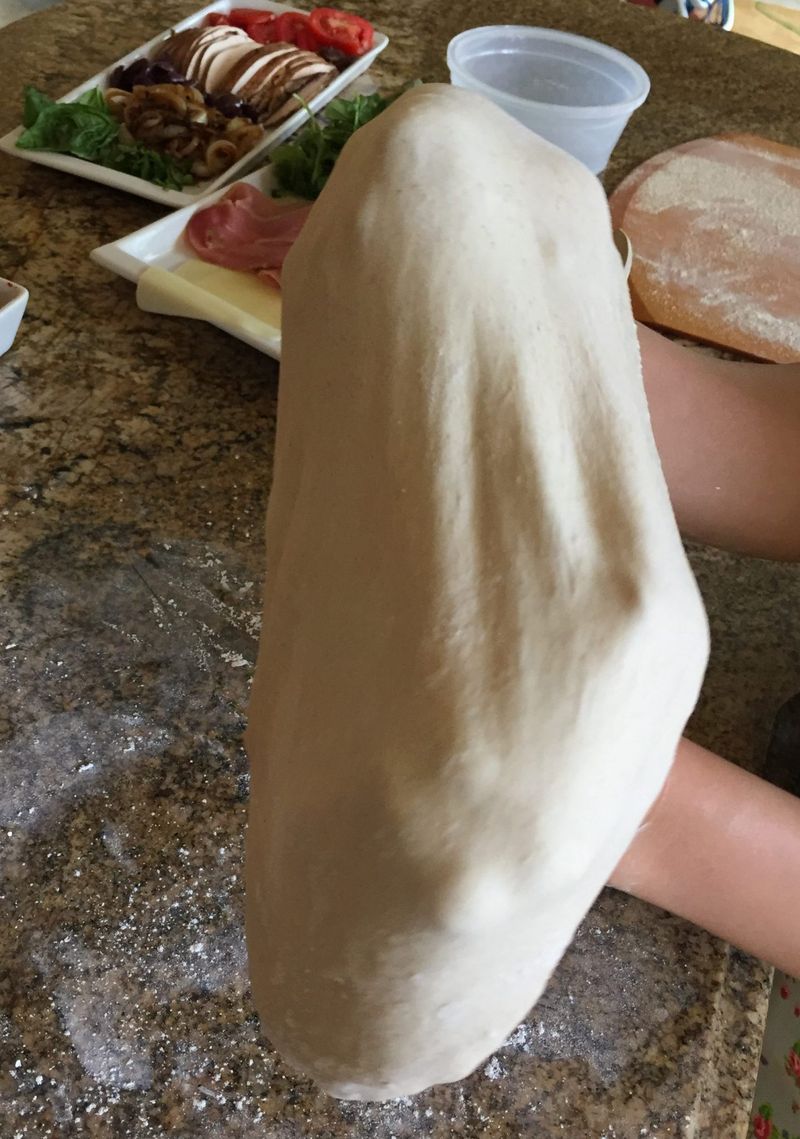
When the round reaches plate size, pick it up and drape it over your knuckles. Let gravity assist while you rotate gently, allowing the dough’s weight to stretch it evenly.
Keep fingertips curled so they do not poke holes.
Move your hands around the perimeter, supporting thicker areas and avoiding thin ones. If you feel a hot spot thinning, lower that section onto the bench and shift support.
Slow rotations maintain control, and the dough relaxes into a wide, even sheet. Stay near the rim to protect the center, and pause whenever elasticity fights back.
Gentle gravity beats aggressive pulling.
7. Stretch the thick spots, not the thin spots
Read the dough like a map. If you notice a translucent area forming, stop stretching there immediately.
Shift your attention to thicker zones and apply pressure outward to even the disc.
Rotate frequently so adjustments stay balanced around the circle. Lifting a thicker edge while letting a thinner section rest prevents blowouts in the oven.
You are guiding dough density with small nudges, protecting structure while coaxing size, until the surface looks consistently opaque. If a spot thins too far, fold a tiny flap over it and meld gently.
Then return to thicker sections to redistribute stretch and strength evenly.
8. If it keeps shrinking, let it rest
When the dough keeps snapping back, gluten is telling you it needs a timeout. Lay it down, cover it lightly, and wait 5 to 10 minutes.
That brief rest resets elasticity so the next stretch feels smoother.
Use the pause to tidy flour, breathe, and visualize your target size. Coming back calm helps you stretch deliberately without overreacting to resistance.
Repeating short rests as needed makes the dough cooperative, not combative, and your round grows predictably without tearing or frustration. Cover with the bowl to prevent drying and to keep drafts away.
Rested dough stretches wider with much less effort.
9. Patch small tears fast
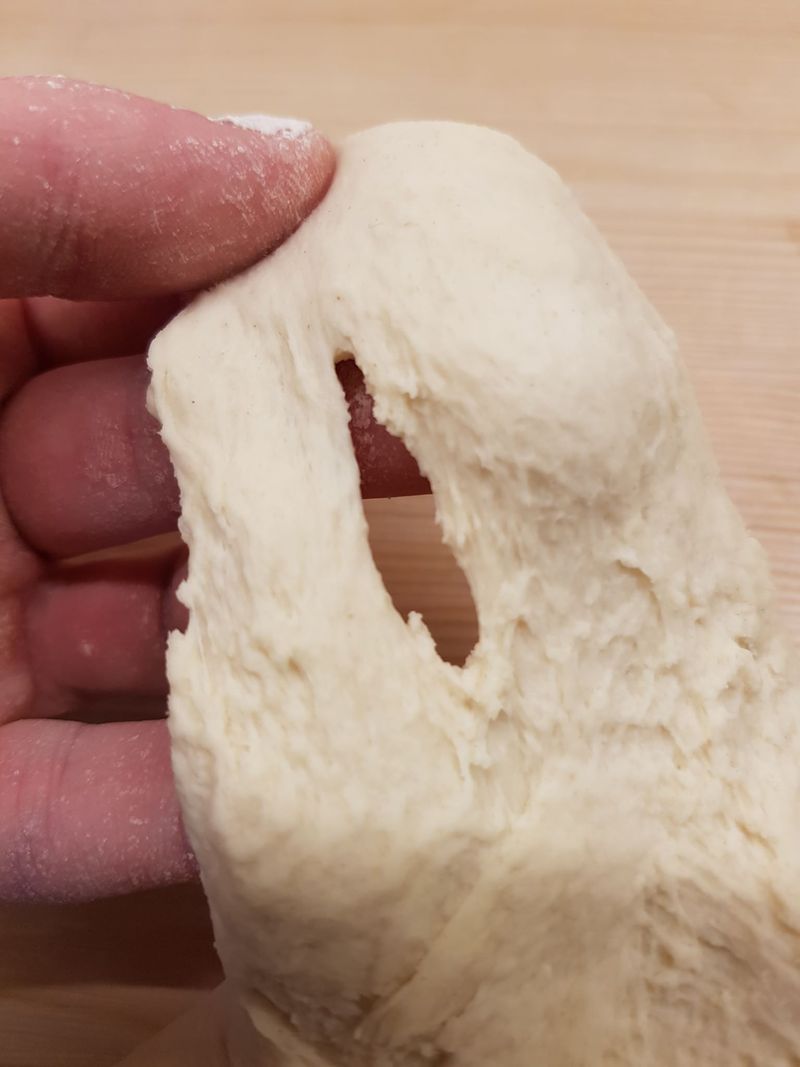
Small tears happen, so fix them immediately before they widen. Pinch the edges together with floured fingertips, or lay a pea sized scrap over the hole.
Press gently to meld the patch without thinning surrounding dough.
If the spot still looks weak, relocate it toward a thicker section and continue stretching elsewhere. Once topped, keep heavy ingredients away from repaired zones.
You just need it to hold through bake and launch, not win a beauty contest, and nobody will notice. A light brush of flour can stop sticking while you reinforce the seal.
Confidence returns, and stretching stays on track.
10. Do not chase perfection
Forget perfect circles and focus on function. A slightly lopsided pie still bakes beautifully if thickness is even in the center with a proud rim.
Rustic shapes feel handmade and taste every bit as good.
Aim for consistency, not symmetry, and let your hands learn. If a bubble rises funny, embrace it as character and bake with confidence.
The win is a tender, airy crust that supports toppings and slices cleanly, not a geometry prize on Instagram. Give yourself permission to make delicious progress, one stretch at a time, and celebrate every round that lands on the peel without stress.