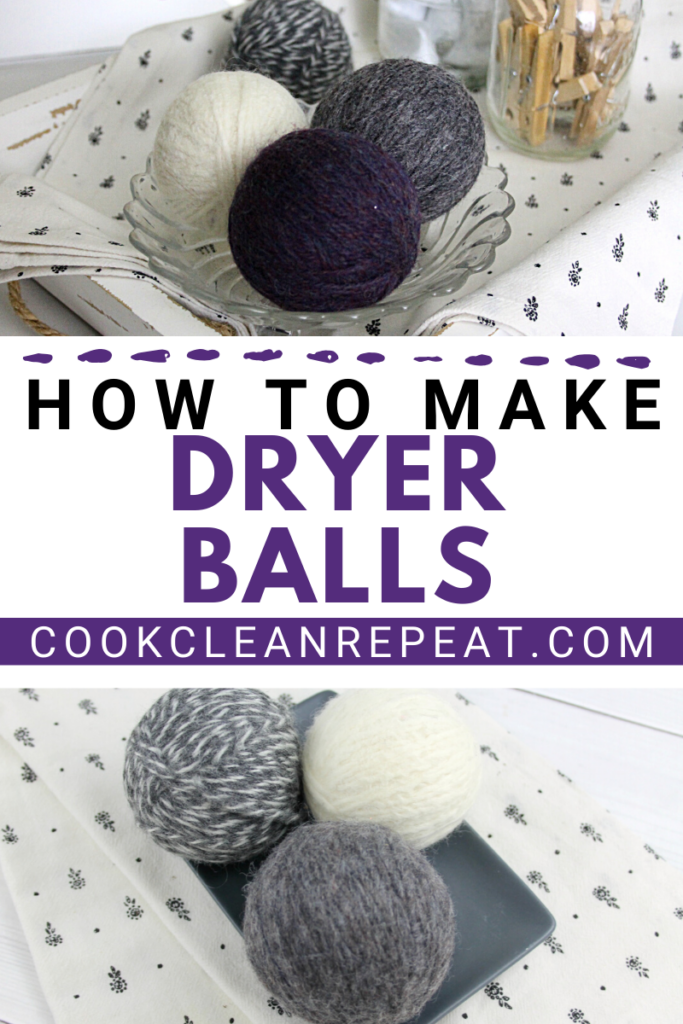
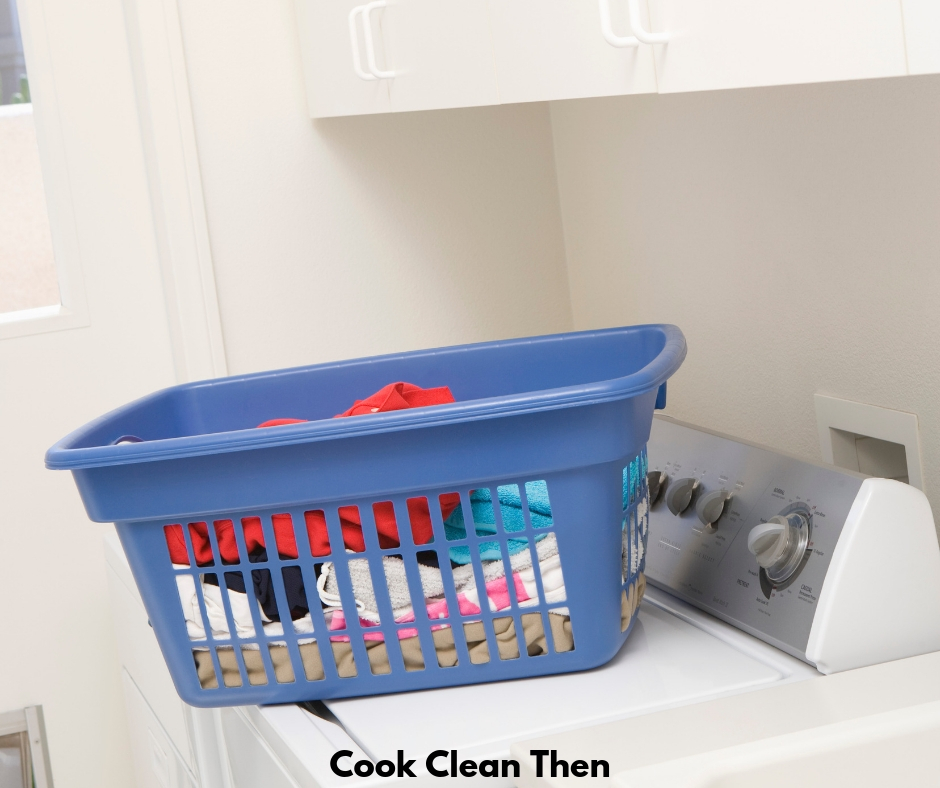
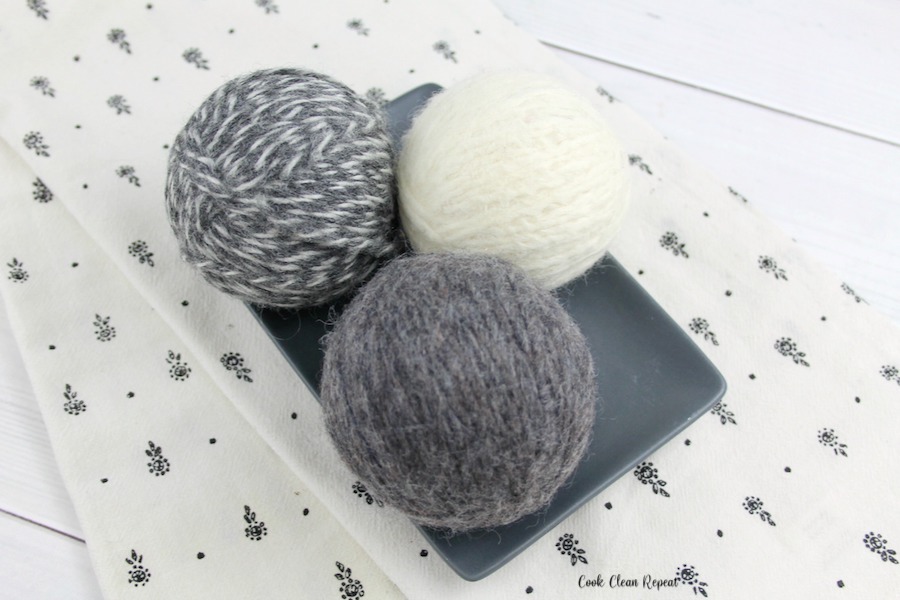
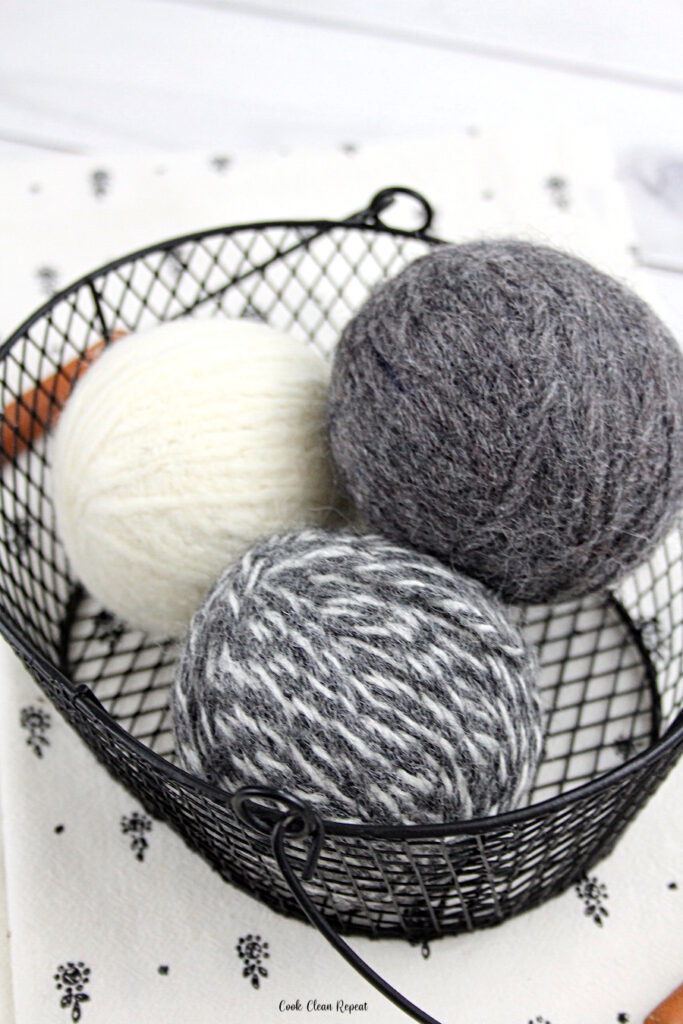
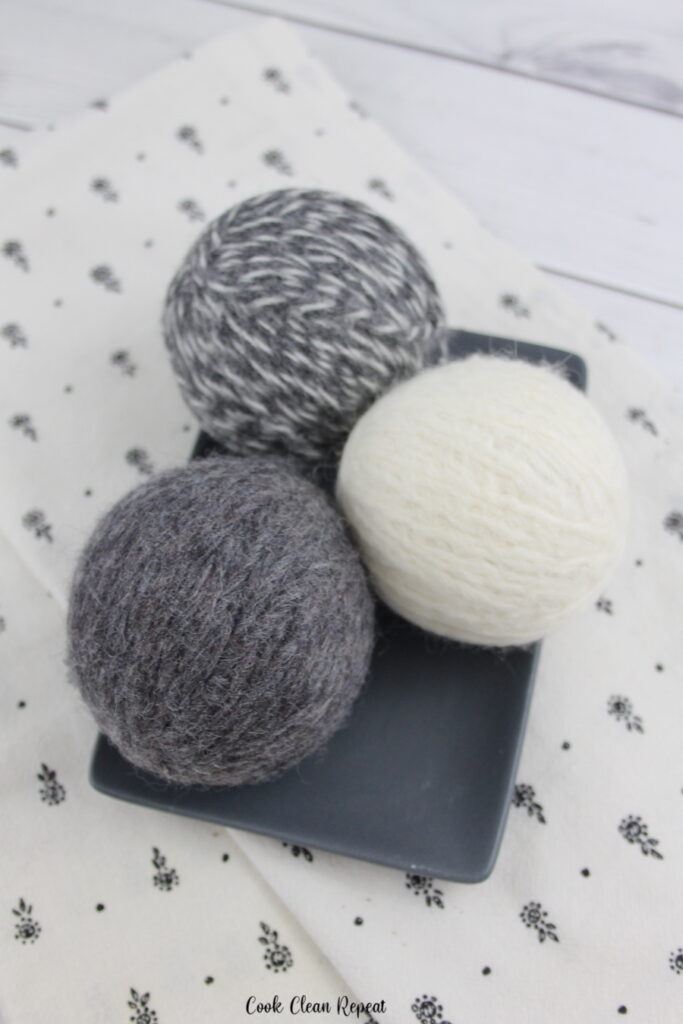
DIY Dryer Balls

Have you ever wanted to use dryer balls in the laundry? Not sure where to buy them? You don’t have to purchase them! You can make DIY dryer balls at home in just a few minutes!
This post contains links to products I like and think will be useful to you. If you click through and make a purchase I make a commission.
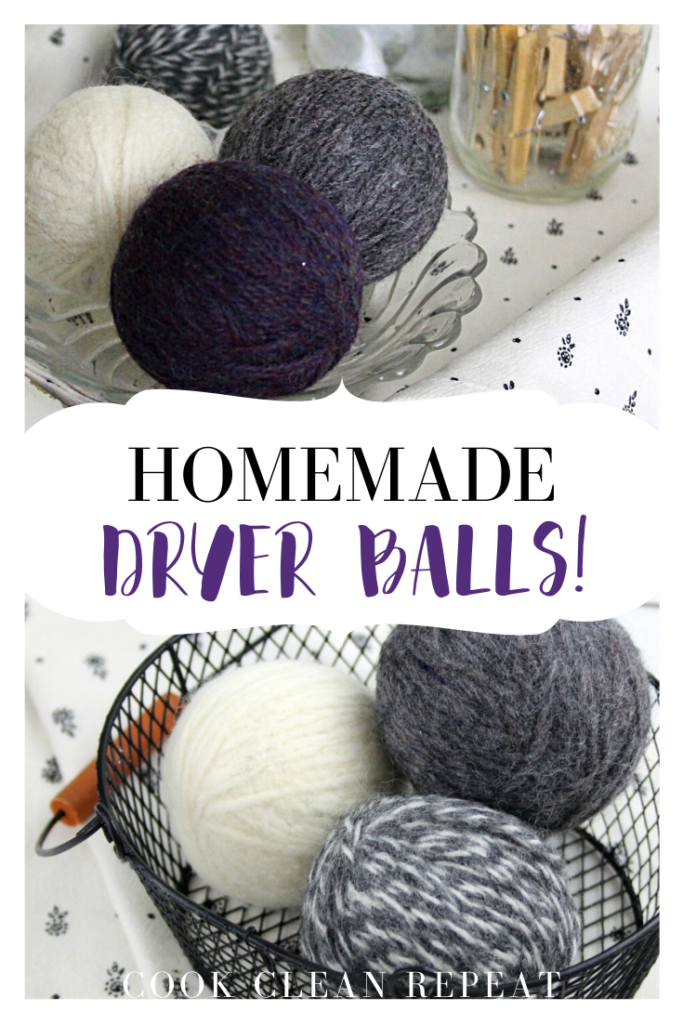
I’ll show you how easy it is to make these homemade wool dryer balls. I’m also sharing some of the great reasons why I love using them in the laburny and how they can help you make your home more efficient, eco-friendly, and safe!
DIY Dryer Balls
Fist of all let’s talk quickly about why dryer balls are beneficial to your home.
You probably already know some of the benefits and that’s why you want to make some for yourself, but if not…these reasons will definitely help you understand why they’re so popular!
The main reason we use balls like this in the laundry is to help dry the clothing more quickly. The balls retain heat, distribute laundry more effectively, and help keep laundry from clumping together when it is dried.
If you have to use a dryer these DIY dryer balls can help make the process quicker so you can use less energy. They also keep your laundry from clumping up which means you don’t have to use dryer sheets.
Wool dryer balls do the work of dryer sheets naturally. There are no chemicals which is one of the biggest reasons I love using them!
Anyone out there with asthma might be able to attest to the fact that dryer sheets are rather toxic. They contain chemicals that stick to clothing, are released into the air, and can cause and trigger breathing problems in people and pets.

Not only are dryer sheets full of chemicals, but they are also bad for the environment. They don’t break down like a regular sheet of paper or a paper towel.
They’re more plastic and take a long time to decompose. Unless you are using specifically compostable dryer sheets chances are those sheets are just sitting in a landfill somewhere waiting for the next millennium…yuck.
Here is what you will need to make DIY dryer balls at home:
Let’s dive on into this crafty opportunity. The great thing about this DIY project is that you can easily get your hands on everything that you need for these wool dryer balls. Some of the stuff you probably already have at home!
You will need a crochet needle, scissors, twine, and some pantyhose along with 2-3 skeins of worsted wool or 100% wool thread. The worsted wool feels better but both will work.
Pro Tip: check the wrapping on your wool yarn to make sure it’s 100% wool, blends will not felt and therefore will not form into balls!
How to make worsted wool dryer balls:
The process of making these wool dryer balls is really simple. You’ll love the finished product and you can even make these as gifts for those you love!
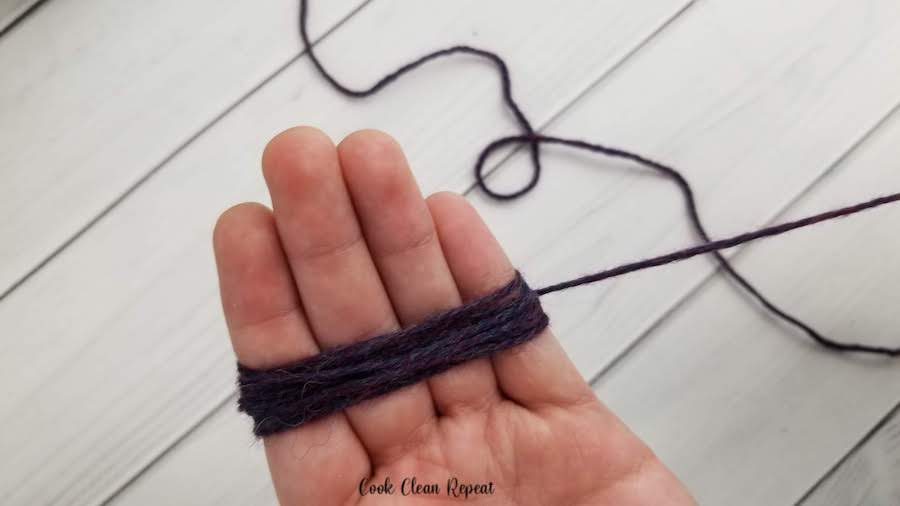
Find your beginning piece of yarn and wrap around your fingers 10-15 times.
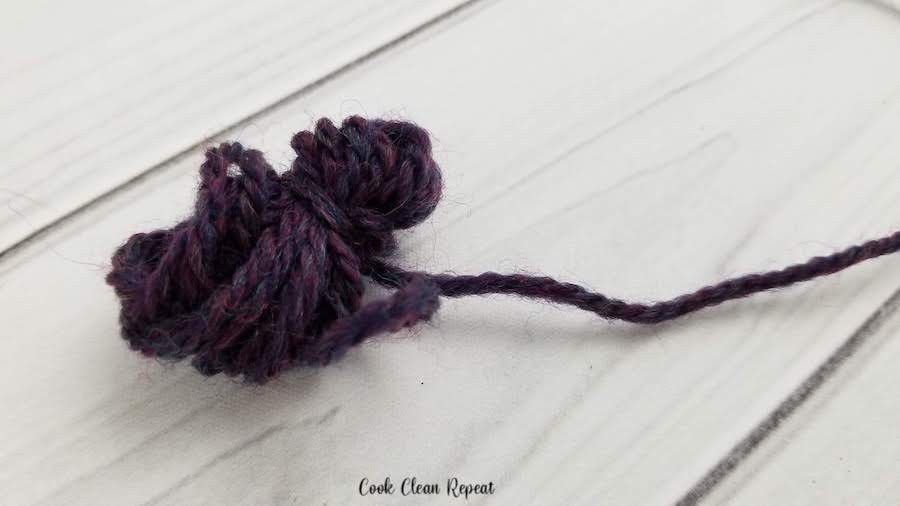
Slip the yarn from your fingers and pinch it closed. Wrap your yarn around the middle about 10 times.
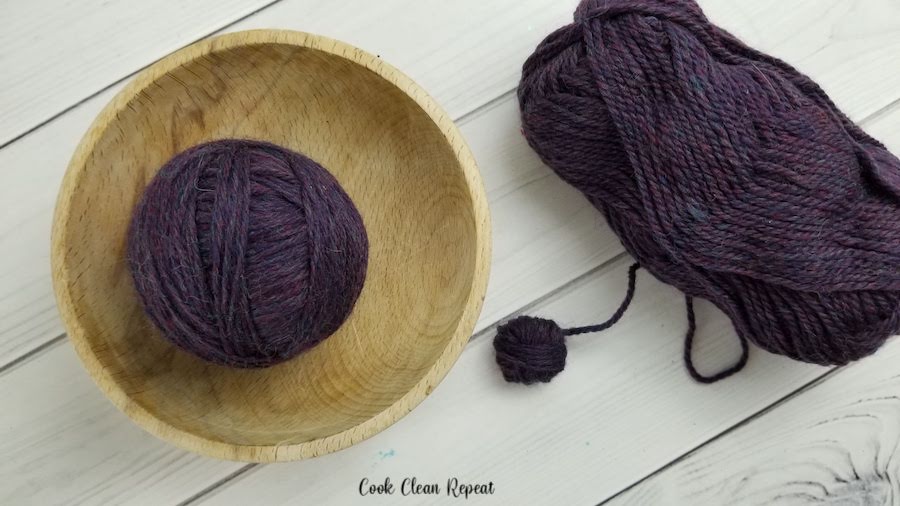
This small ball is the beginning of your dryer ball. Keep wrapping your yarn around your little ball, going in different directions as you wrap, until it is about the size of a baseball.
When you get your yarn ball to the size you want, cut the yarn and using your crochet needle, push the end of the yarn into one end of the ball.
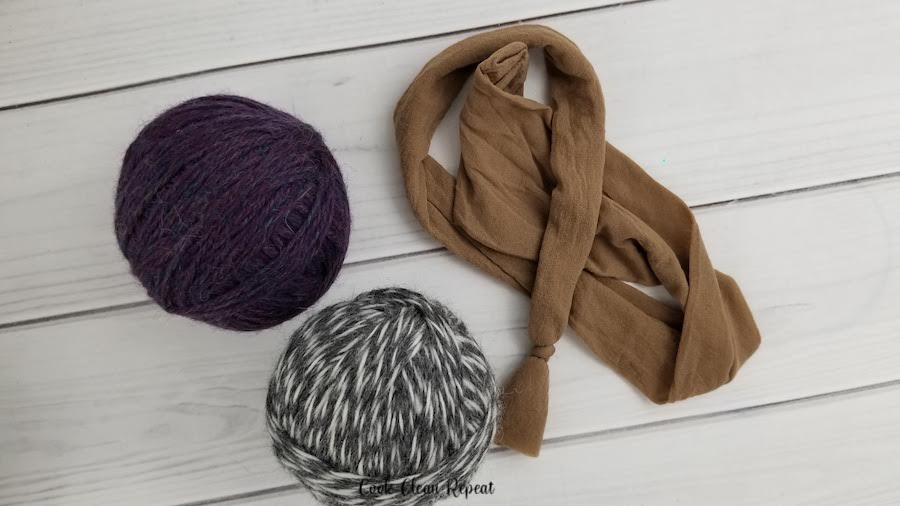
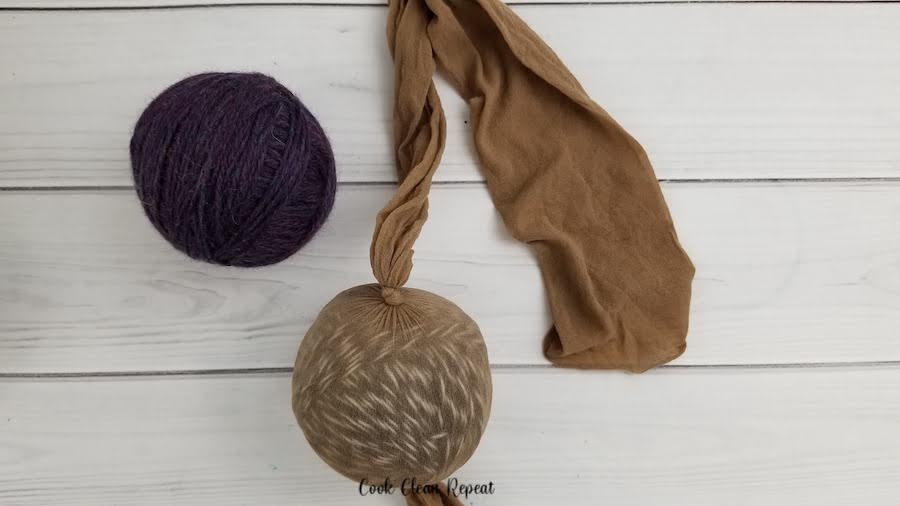
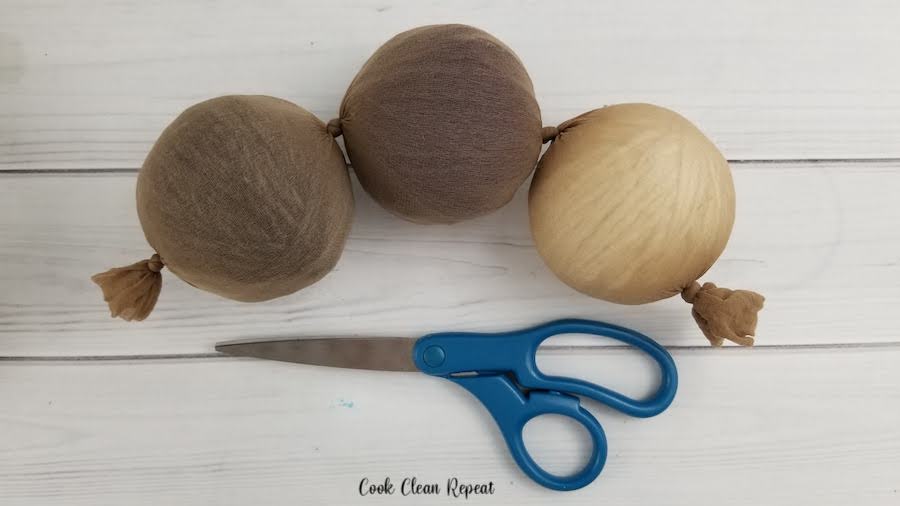
Cut the leg off your pantyhose and tie a knot in the foot of the hose. Push one of your yarn balls into the hose and tie a knot. Repeat.
You should be able to get 4-5 balls into one leg. Tie the open end into a knot.
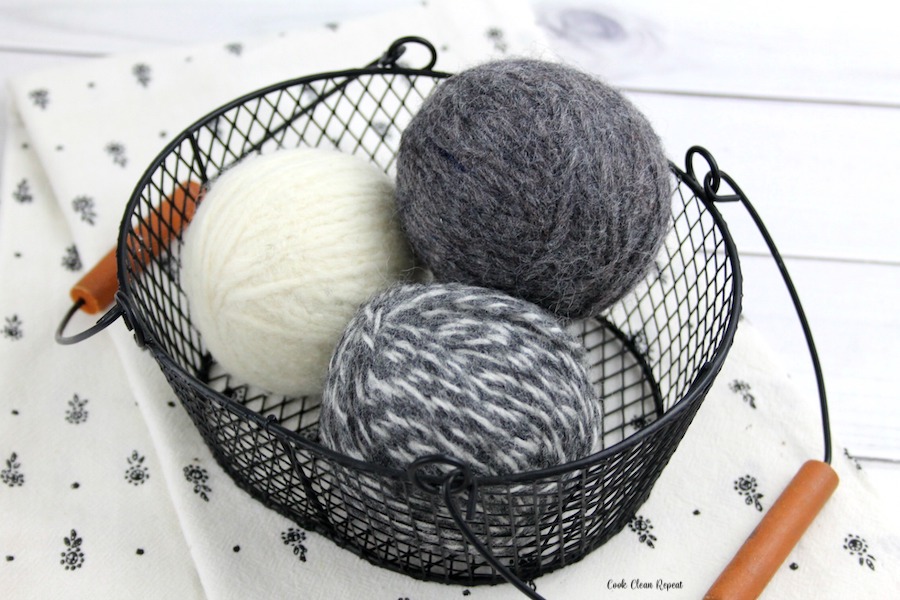
Place your pantyhose into the washing machine on hot water. After the washing cycle ends, add the pantyhose to the dryer on hot. This is where your dryer balls will become felted.
This process fuses the yarn together until it becomes more solid in appearance. Add a few towels to keep the noise of the bumping balls quiet.
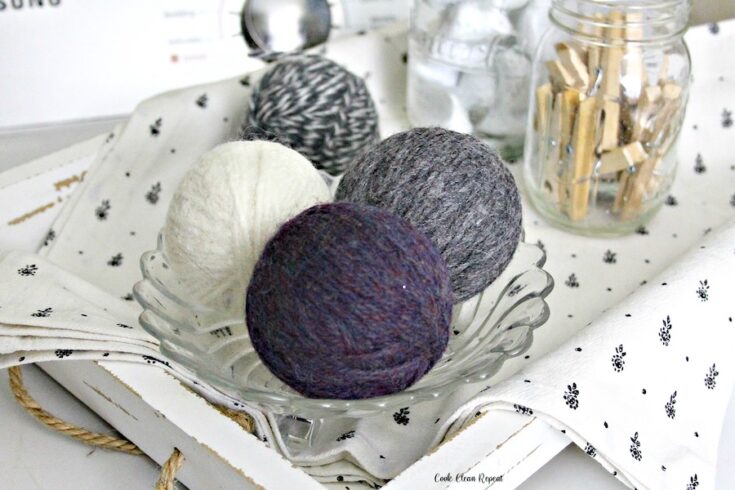
Add to the dryer to soften clothes with each load of laundry. If you like, you can add a few drops of your favorite essential oil.
Looking for more awesome DIY home projects?
You have come to the right place. We have some great DIY content for you to check out.
If you are looking for other ways to be busy in the laundry room check out this post about how to organize like a pro. While you are organizing you might want to tackle your purse as well!
Check out this post on how to reuse K Cups for even more DIY and crafty inspiration. Once you have all of your creations ready to go, head on over to Etsy to start selling, we’ve got tips and tricks to be the best seller you can be!
Printable DIY Dryer Balls Tutorial:
DIY Dryer Balls
Have you ever wanted to use dryer balls in the laundry? Not sure where to buy them? You don't have to purchase them! You can make DIY dryer balls at home in just a few minutes!
Materials
- 2-3 skeins of worsted or 100% wool (Either one will work, but the worsted wool felts better than the 100% wool. Be sure to look at the wrapper around the yearn to be sure it is 100% wool and not part wool and part acrylic as this will not felt)
- 1 pair of pantyhose
- Twine
Tools
- 1 medium size crochet needle
- Scissors
Instructions
- Find your beginning piece of yarn and wrap around your fingers 10-15 times.
- Slip the yarn from your fingers and pinch it closed. Wrap your yarn around the middle about 10 times.
- This small ball is the beginning of your dryer ball. Keep wrapping your yarn around your little ball, going in different directions as you wrap, until it is about the size of a baseball.
- When you get your yarn ball to the size you want, cut the yarn and using your crochet needle, push the end of the yarn into one end of the ball.
- Cut the leg off your pantyhose and tie a knot in the foot of the hose. Push one of your yarn balls into the hose and tie a knot. Repeat. You should be able to get 4-5 balls into one leg. Tie the open end into a knot.
- Place your pantyhose into the washing machine on hot water. After the washing cycle ends, add the pantyhose to the dryer on hot.
- This is where your dryer balls will become felted. This process fuses the yarn together until it becomes more solid in appearance. Add a few towels to keep the noise of the bumping balls quiet.
- Add to the dryer to soften clothes. If you like, you can add a few drops of your favorite essential oil.