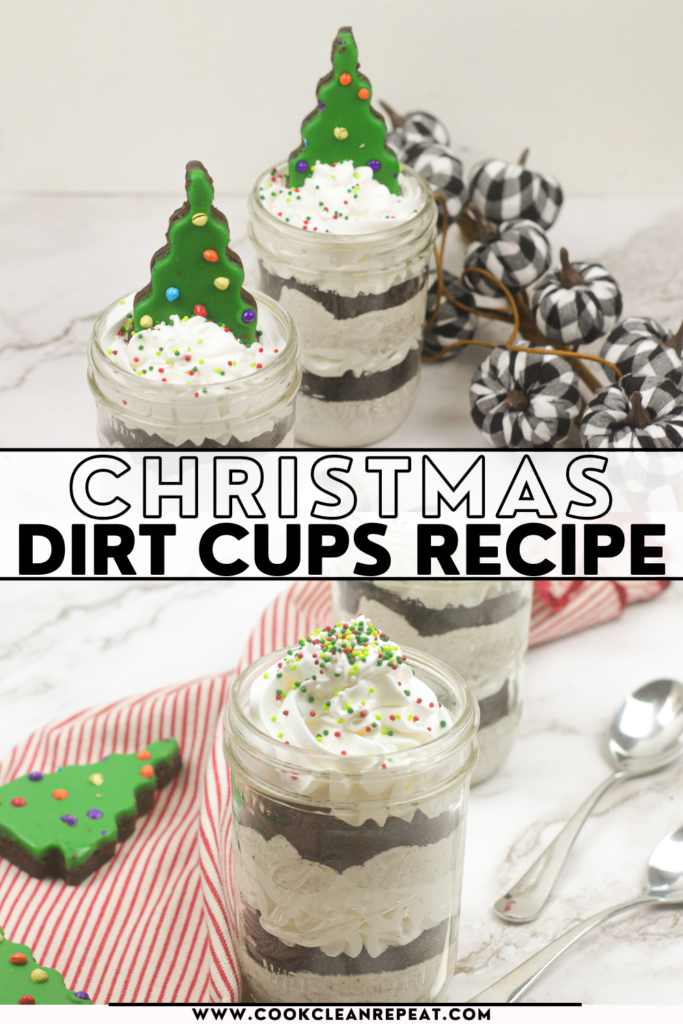
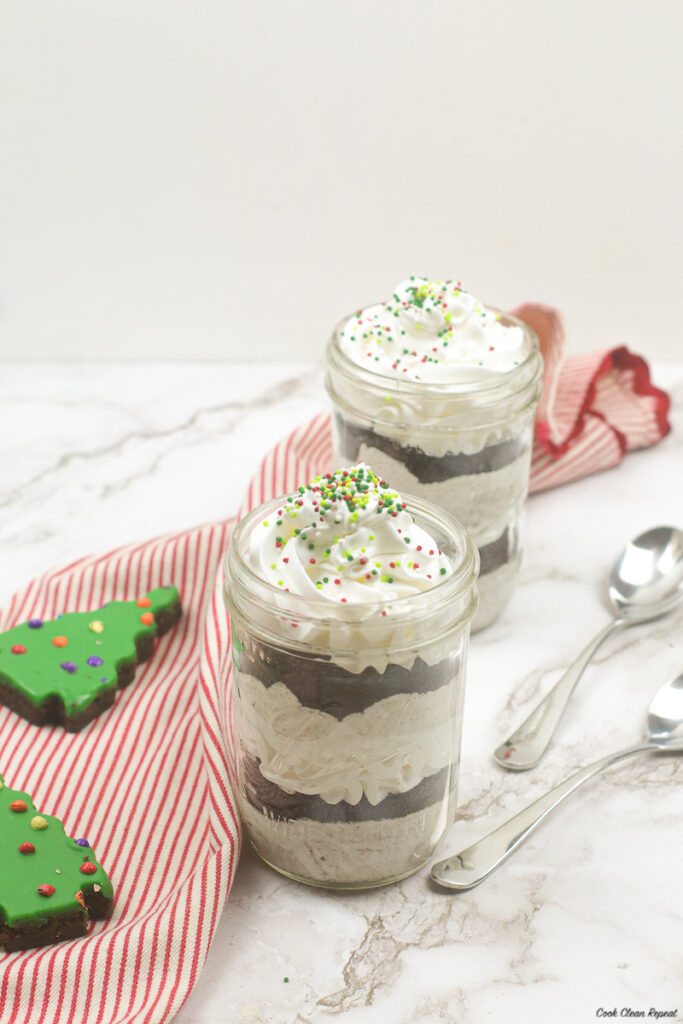
Christmas Dirt Cups
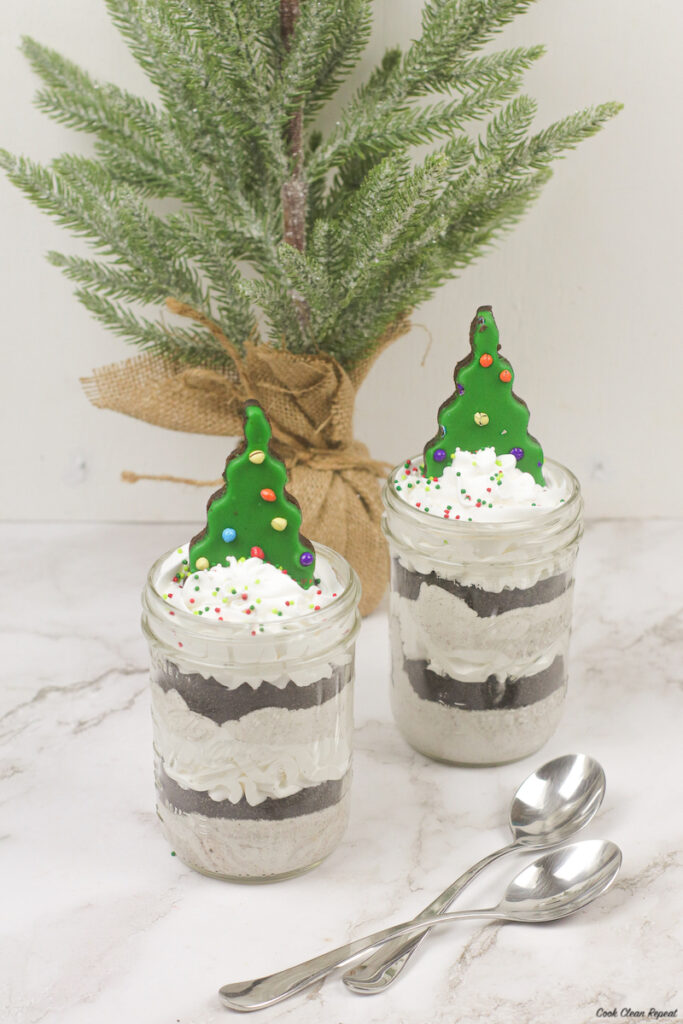
These fun Christmas dirt cups are a tasty pudding treat that everyone will love. They are excellent for the holidays and perfect to share!
For those of you who are looking for a great no bake dessert recipe that is festive for the holiday season, look no further. I hope you’ll give these other no bake desserts a glance as well, lots to choose from!
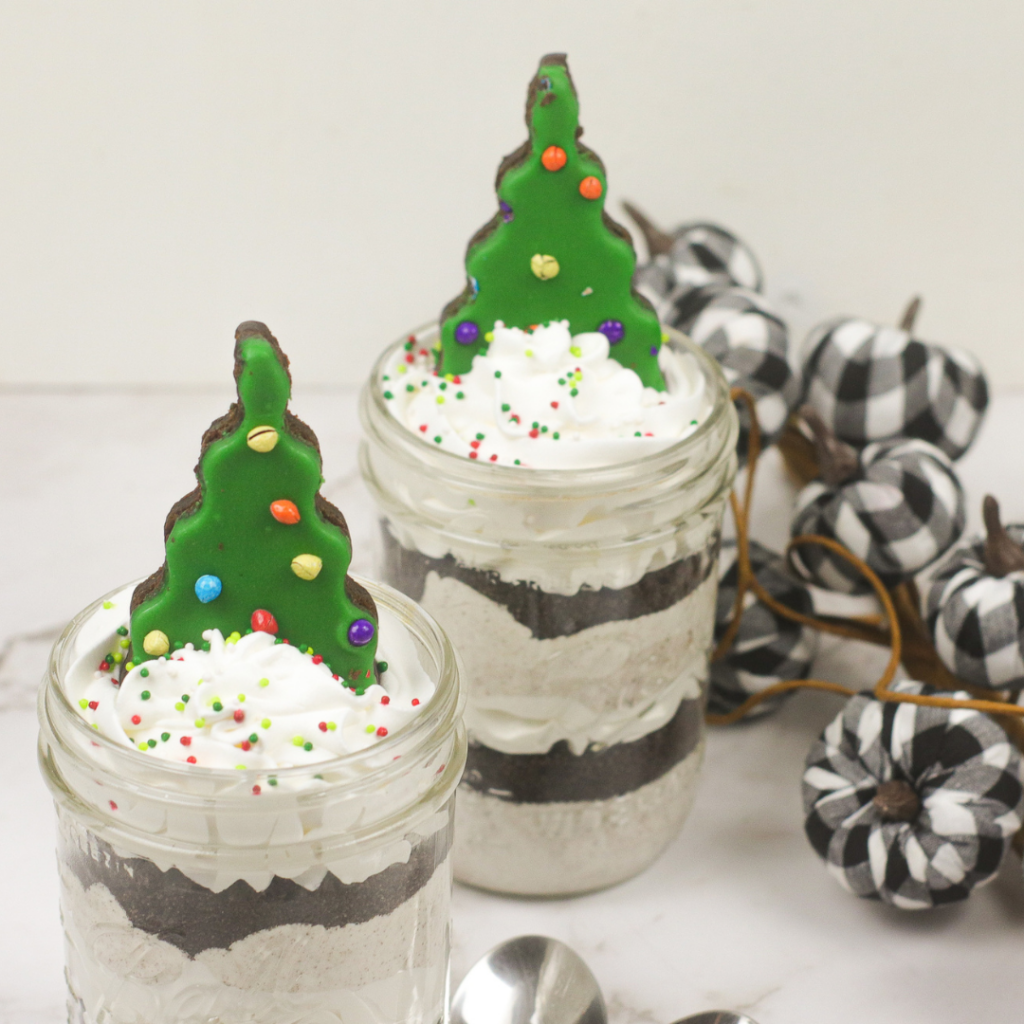
Don’t worry, there is no actual dirt in these tasty treats. We have all the details below but I’m sure you can imagine that layers of whipped topping, pudding, and brownies is pretty hard to resist!
This post contains links to products I like and think will be useful to you. If you click through and make a purchase I make a commission.
This is a really easy recipe to put together. The no bake elements are all exactly what you’d expect so feel free to scroll down to the printable recipe card for a one sheet handy printable of the recipe, ingredients, and more.
First, let’s dive into some questions about this Christmas dirt cups recipe so you can get the low down on all the holiday goodness we’ve got in store for you today!
What is dirt pudding?
Dirt pudding is a no bake dessert that typically contains layers of Oreo cookie crumbs, chocolate pudding, and whipped topping. It gets its name from the fact that it resembles dirt or mud!
We always include some gummy worms for effect when making dirt pudding recipes. You can also use your favorite flavored Oreo cookies this time of year. There’s always new and fun ones out there to give you some inspiration.
Is Christmas dirt pudding safe to eat?
Yes, Christmas dirt pudding is safe to eat. The pudding is made with milk and pudding mix as well as chocolate cookies and holiday brownies, all of which are safe to consume.
Again, no worries…no real dirt here…it’s all in the name. That said, let’s take a look at how we actually prepare this edible dirt cups treat.
What is a no-bake recipe?
No bake recipes are recipes that do not require any baking. These Christmas dirt pudding cups are a no bake recipe because they do not require any baking.
You don’t have to worry about heating up the house, using up oven space, or telling little ones “no” when they want to help! It’s a great recipe for kids to help make or for tweens and teens to make on their own!
What is the best way to store Christmas dirt pudding?
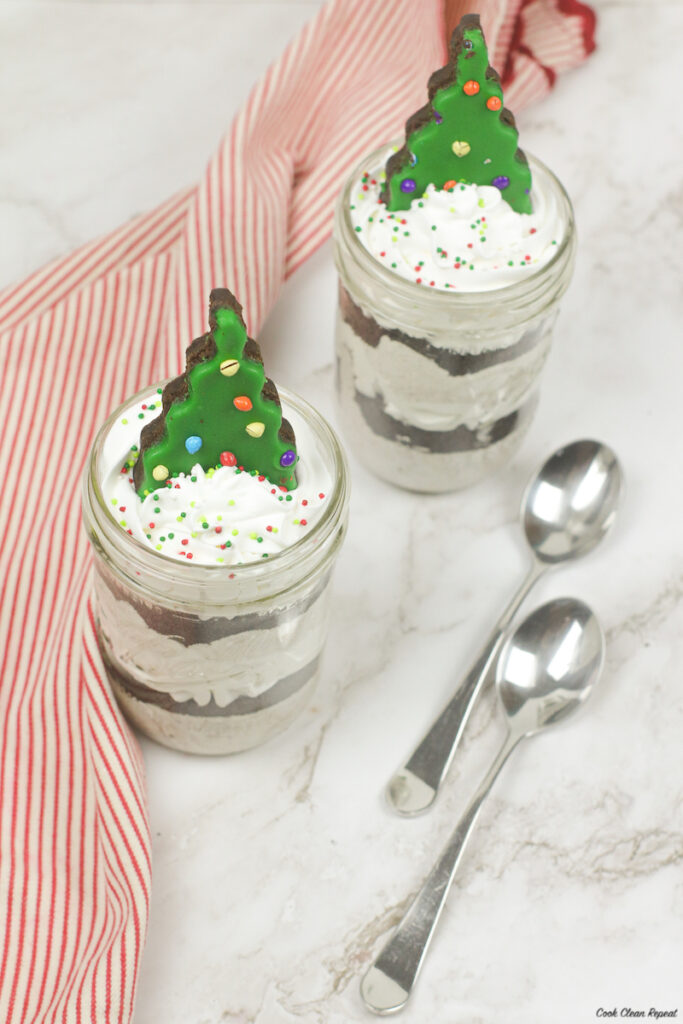
The best way to store Christmas dirt pudding is in an airtight container in the fridge for up to 3 days. I don’t recommend making them too far in advance. They are best served up fresh!
You can always get all of your supplies for the layers ready ahead of time and layer them up quickly when you are ready to serve and share.
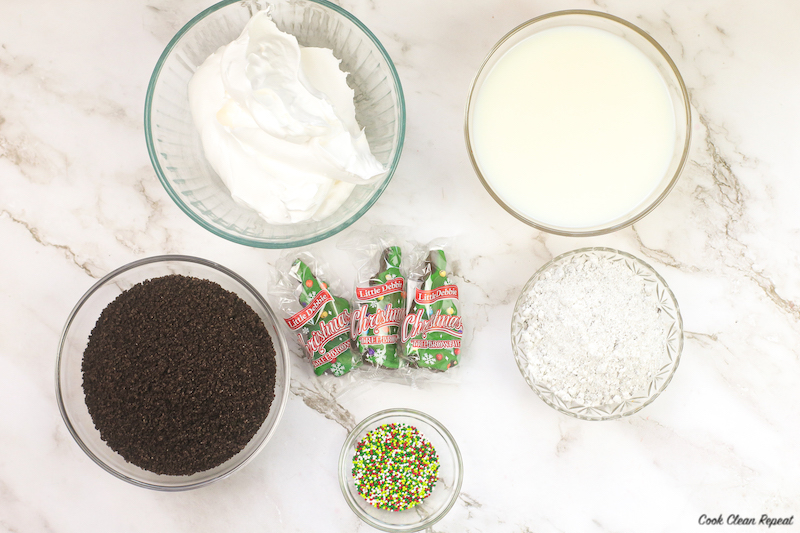
What do I need to make Christmas dirt cups?
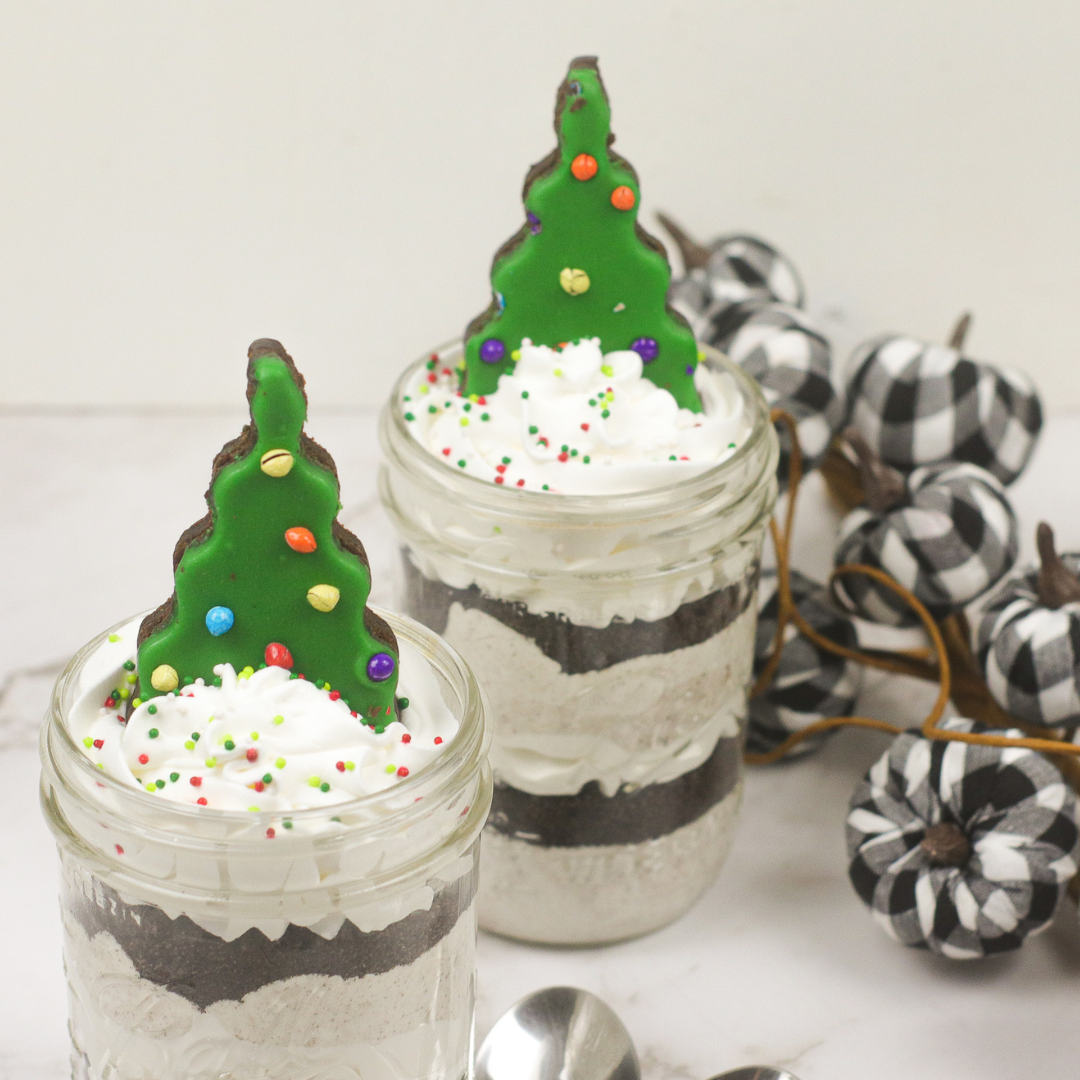
This recipe uses cookies and cream pudding, milk, sandwich cookies, whipped topping, Christmas tree brownies, and Christmas sprinkles.
There’s nothing super fancy that you need to create these cups either! We will be using things you likely already have in the kitchen and I’ll link some of my favorites below for you to shop if need be.
Remember, holiday deserts don’t have to be complicated in order to be everyones favorite. Try out this no bake Christmas dirt cups recipe and be sure to let us know how you enjoy it in the comments below.
Kitchen essentials for tasty no bake recipes:
When you head into the kitchen to make some of these great recipes you’ll want to have the best tools on hand.
Of course mixing bowls, a mixer, spatula, and some whisks should be on your list if you don’t have ones that you love. I also like to have a set of cooling racks so that my recipes can properly cool before they’re scarfed down by my family!
I like these casserole dishes from Pyrex which are great for no bake recipes and for all your favorite dinners, brownies, cakes, and more.
You can’t go wrong with some good sharp knives and a cutting board. They will always come in handy in the kitchen for recipes of any kind, even desserts!
How to make No Bake Christmas Dirt Cups:
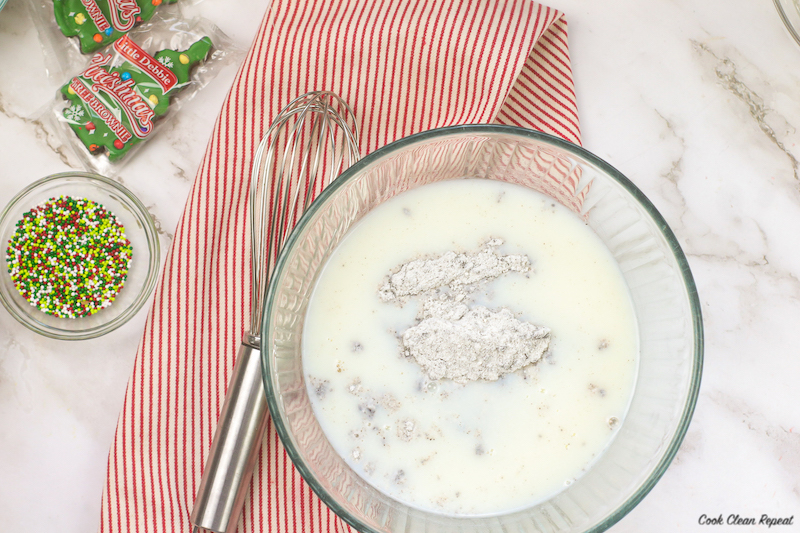
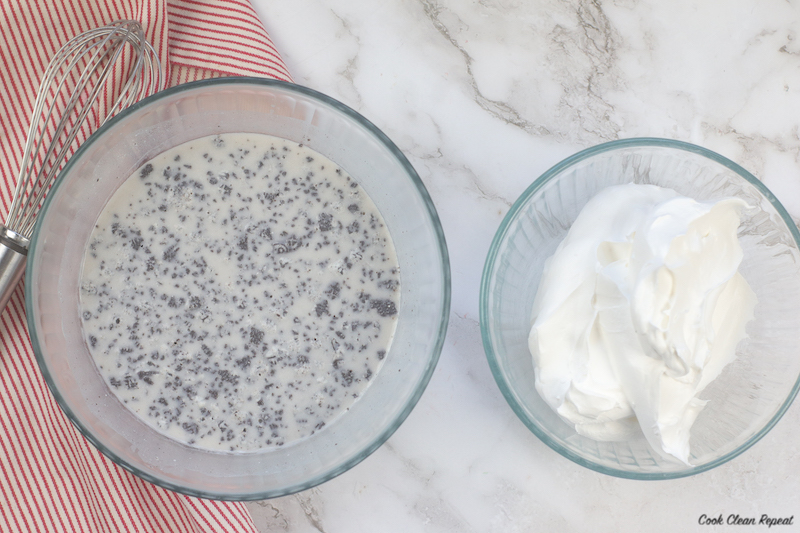
In a large bowl, add the pudding and milk. Whisk until well combined. Place in the fridge for 10 minutes or until set.
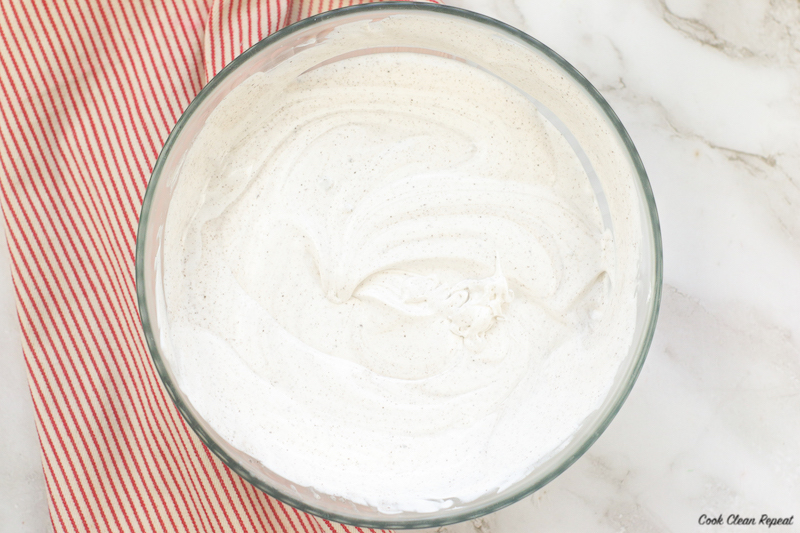
Remove the pudding from the fridge and fold in 2 cups of the whipped topping. Place in the fridge for 20 minutes or until set.
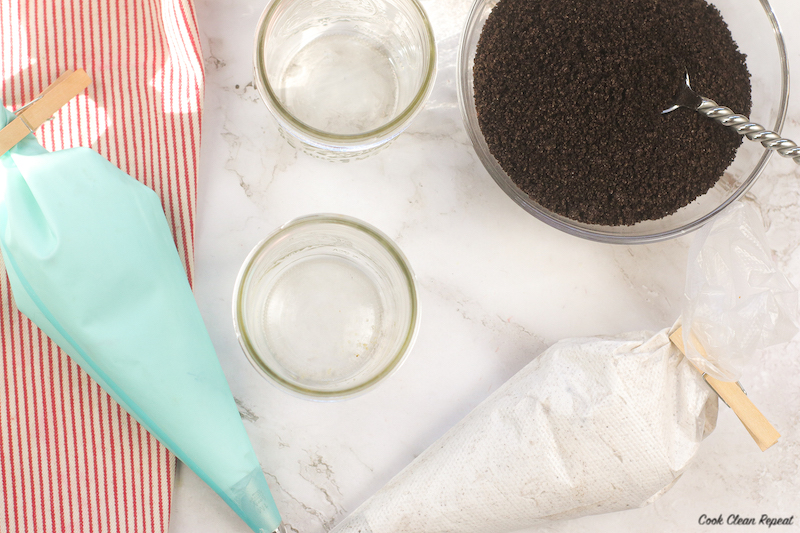
Add the pudding to one piping bag or Ziplock bag and the remaining whipped topping to the other.
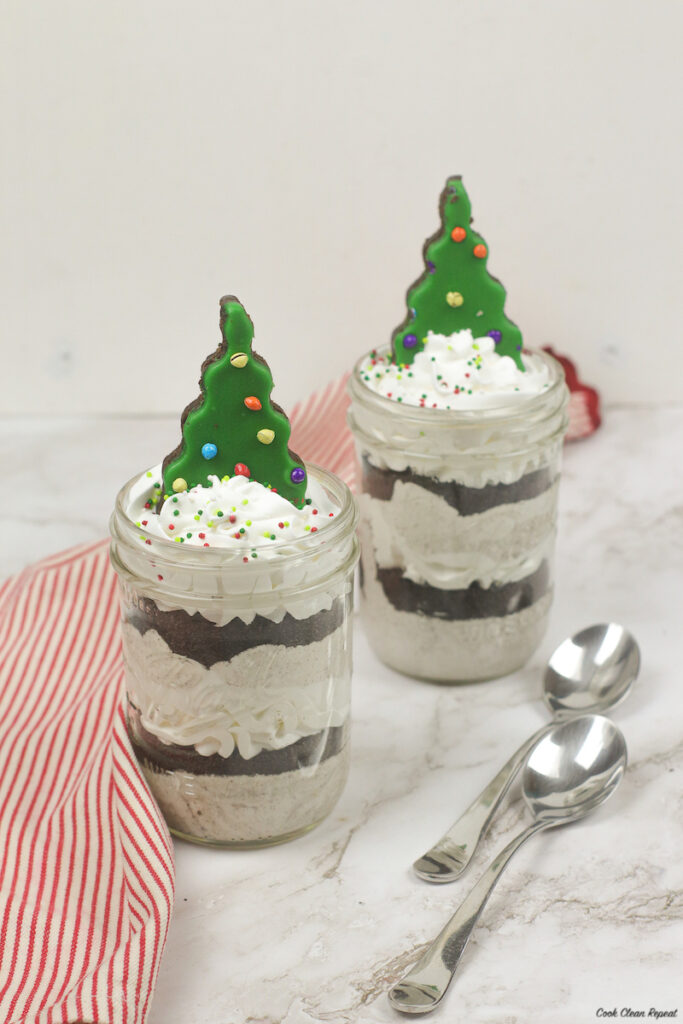
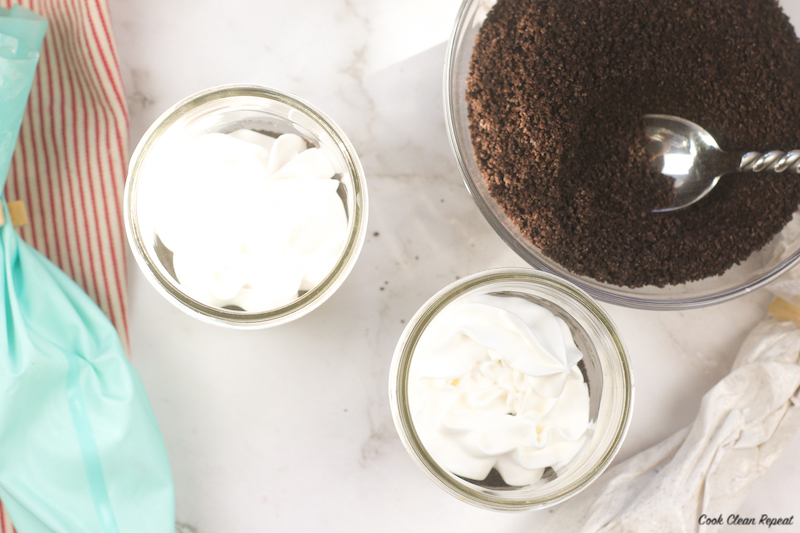
Set up an assembly line for your dirt cups. Fill the mason jars about ¼ of the way with the pudding mixture.
Next, add about 3 tablespoons of the crushed Oreos and then top with the whipped topping.
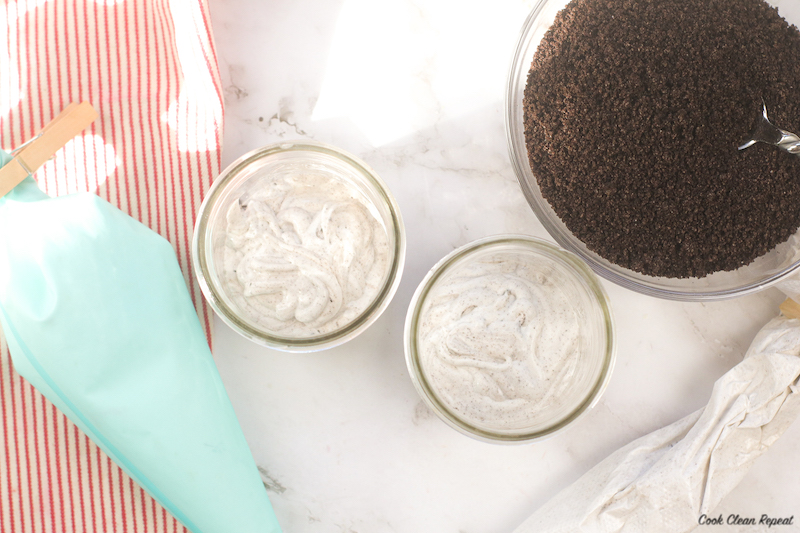
Repeat layers one more time.
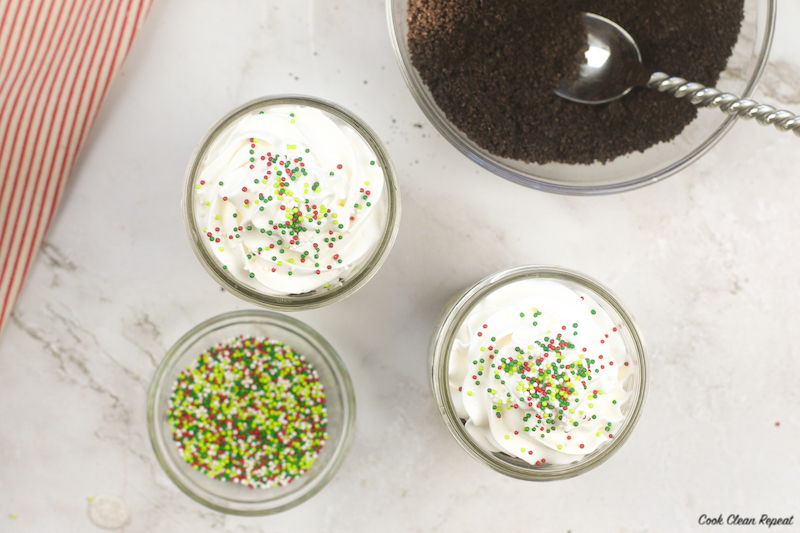
Top each dirt cup with Christmas Sprinkles and a Little Debbie Christmas Tree Brownie.
Looking for more delicious no bake recipes for the holidays?
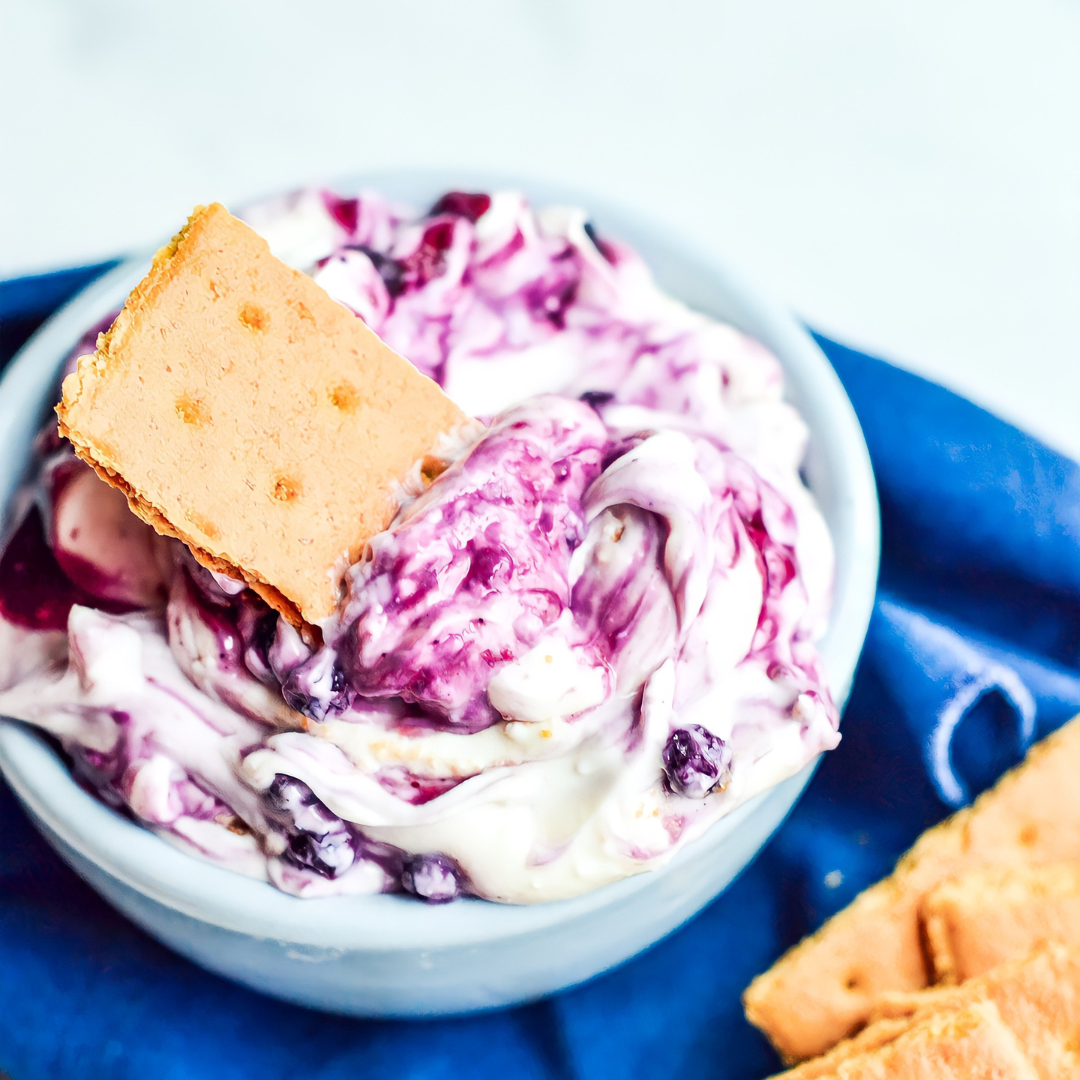
Here are a few more no bake recipes that are holiday themed that we think you will love. They are easy to make, perfect for sharing, and they will look great on your holiday tables this season. Give them a try and let us know which ones are your favorites.
- No Bake Grinch Cookies
- No Bake Cereal Cookies
- Gluten-Free No Bake Cheesecake Recipe
- Easy No Bake Eclair Cake
Printable Christmas Dirt Cups Recipe:
Christmas Dirt Cups

These fun Christmas dirt cups are a tasty pudding treat that everyone will love. They are excellent for the holidays and perfect to share!
Ingredients
- 1-4.2 oz. box of Jell-O Oreo Cookies & Cream Pudding
- 2 cups milk
- 25 chocolate sandwich cookies, crushed
- 1-16 oz. container of Whipped Topping
- Little Debbie Christmas Tree Brownies
- Christmas sprinkles
Instructions
- In a large bowl, add the pudding and milk. Whisk until well combined. Place in the fridge for 10 minutes or until set.
- Remove the pudding from the fridge and fold in 2 cups of the whipped topping.
- Place in the fridge for 20 minutes or until set.
- Add the pudding to one piping bag or Ziplock bag and the remaining whipped topping to the other.
- Set up an assembly line for your dirt cups. Fill the mason jars about ¼ of the way with the pudding mixture.
- Next, add about 3 tablespoons of the crushed Oreos and then top with the whipped topping.
- Repeat layers one more time.
- Top each dirt cup with Christmas Sprinkles and a Little Debbie Christmas Tree Brownie.
Nutrition Information:
Yield:
6Serving Size:
1Amount Per Serving: Calories: 593Total Fat: 37gSaturated Fat: 26gTrans Fat: 0gUnsaturated Fat: 9gCholesterol: 25mgSodium: 219mgCarbohydrates: 59gFiber: 2gSugar: 44gProtein: 8g
I am not a medical expert. These calculations are provided as a courtesy.
Your yummy dirt cups look so cute with the Little Debbie Christmas trees topping them! Thanks for sharing the #HomeMattersParty @ Southern Sunflowers