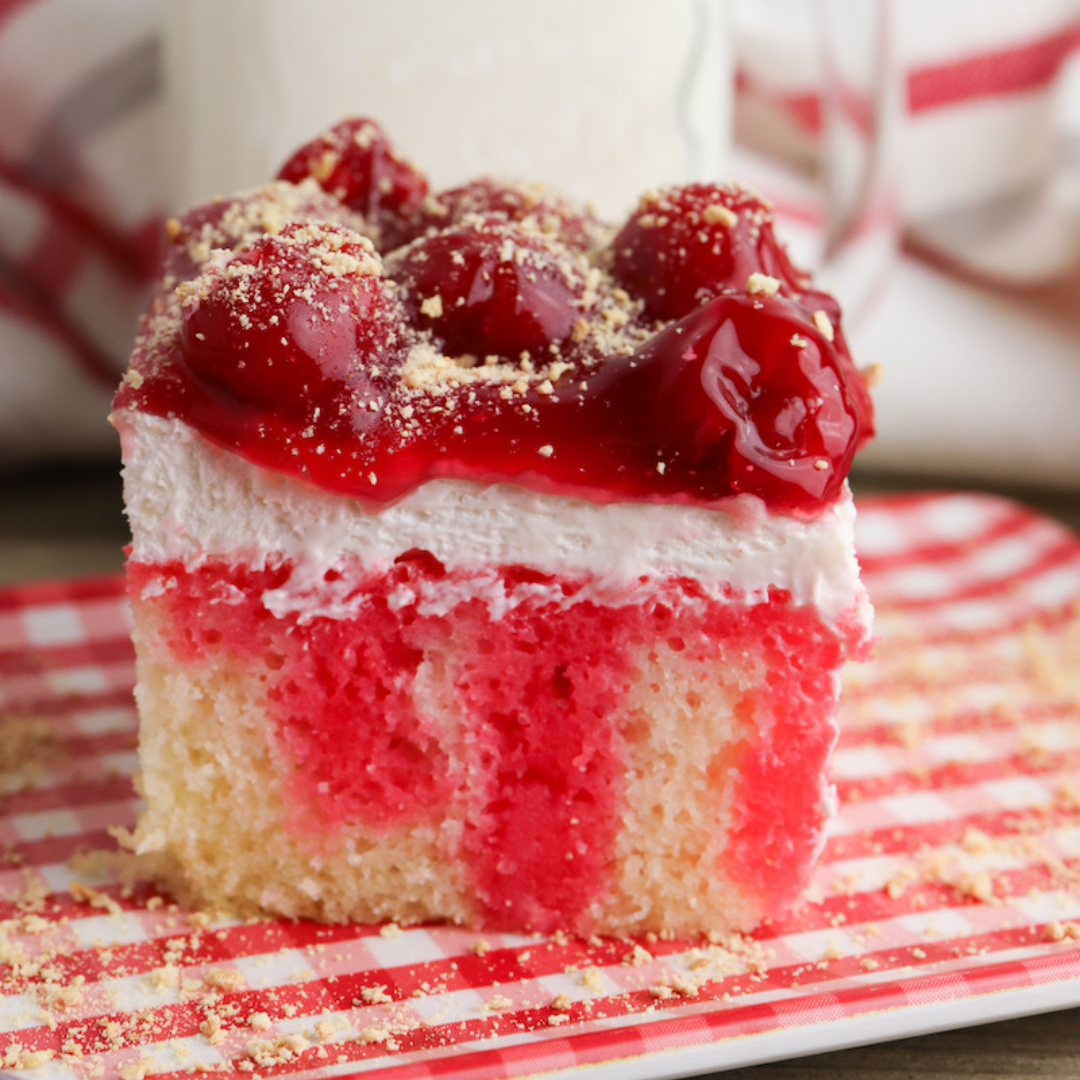
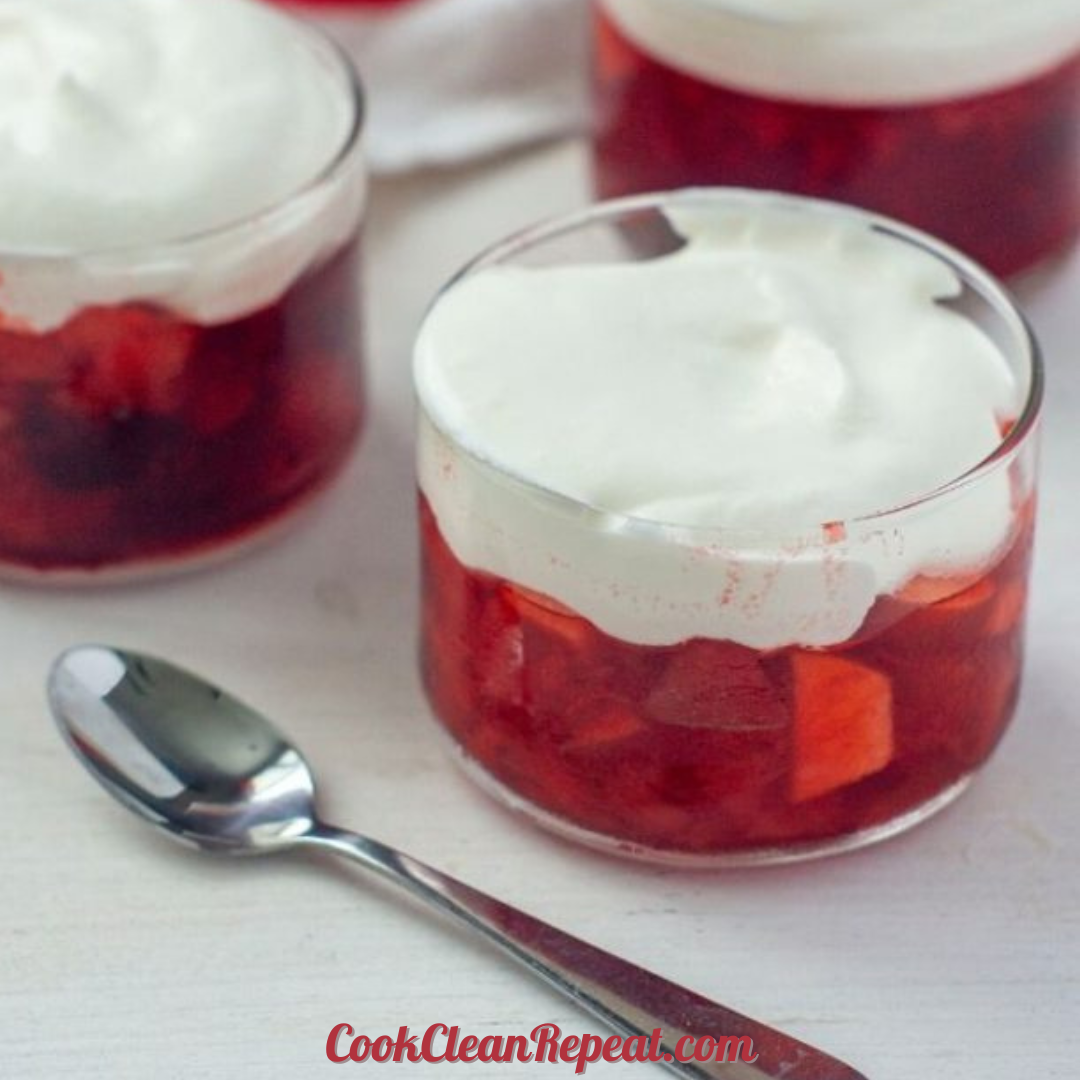
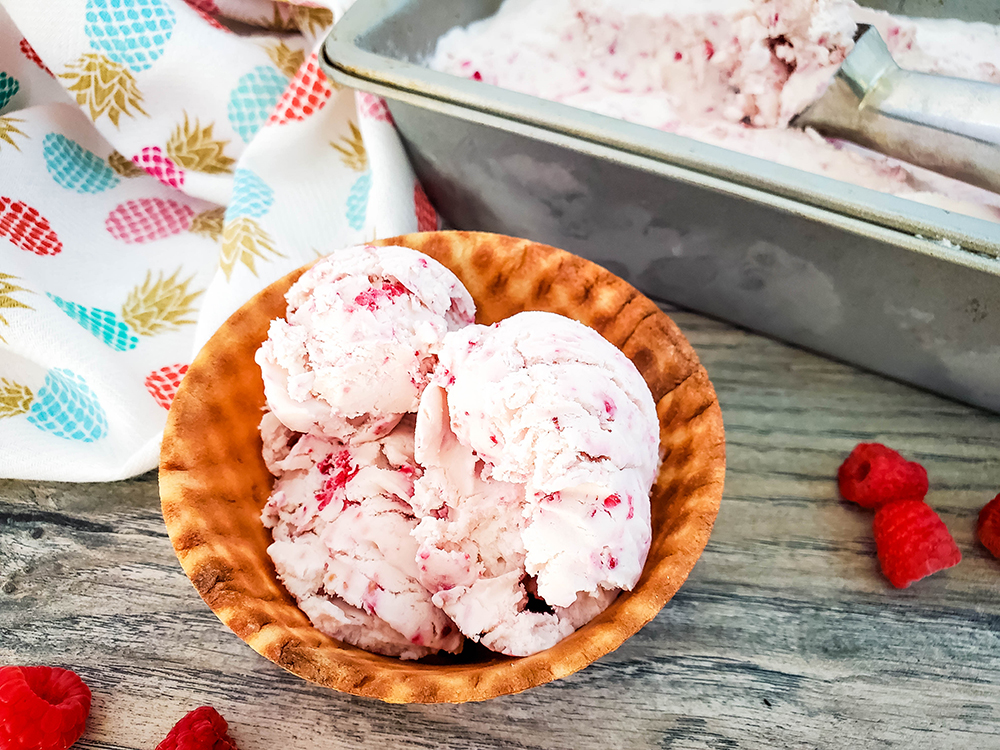
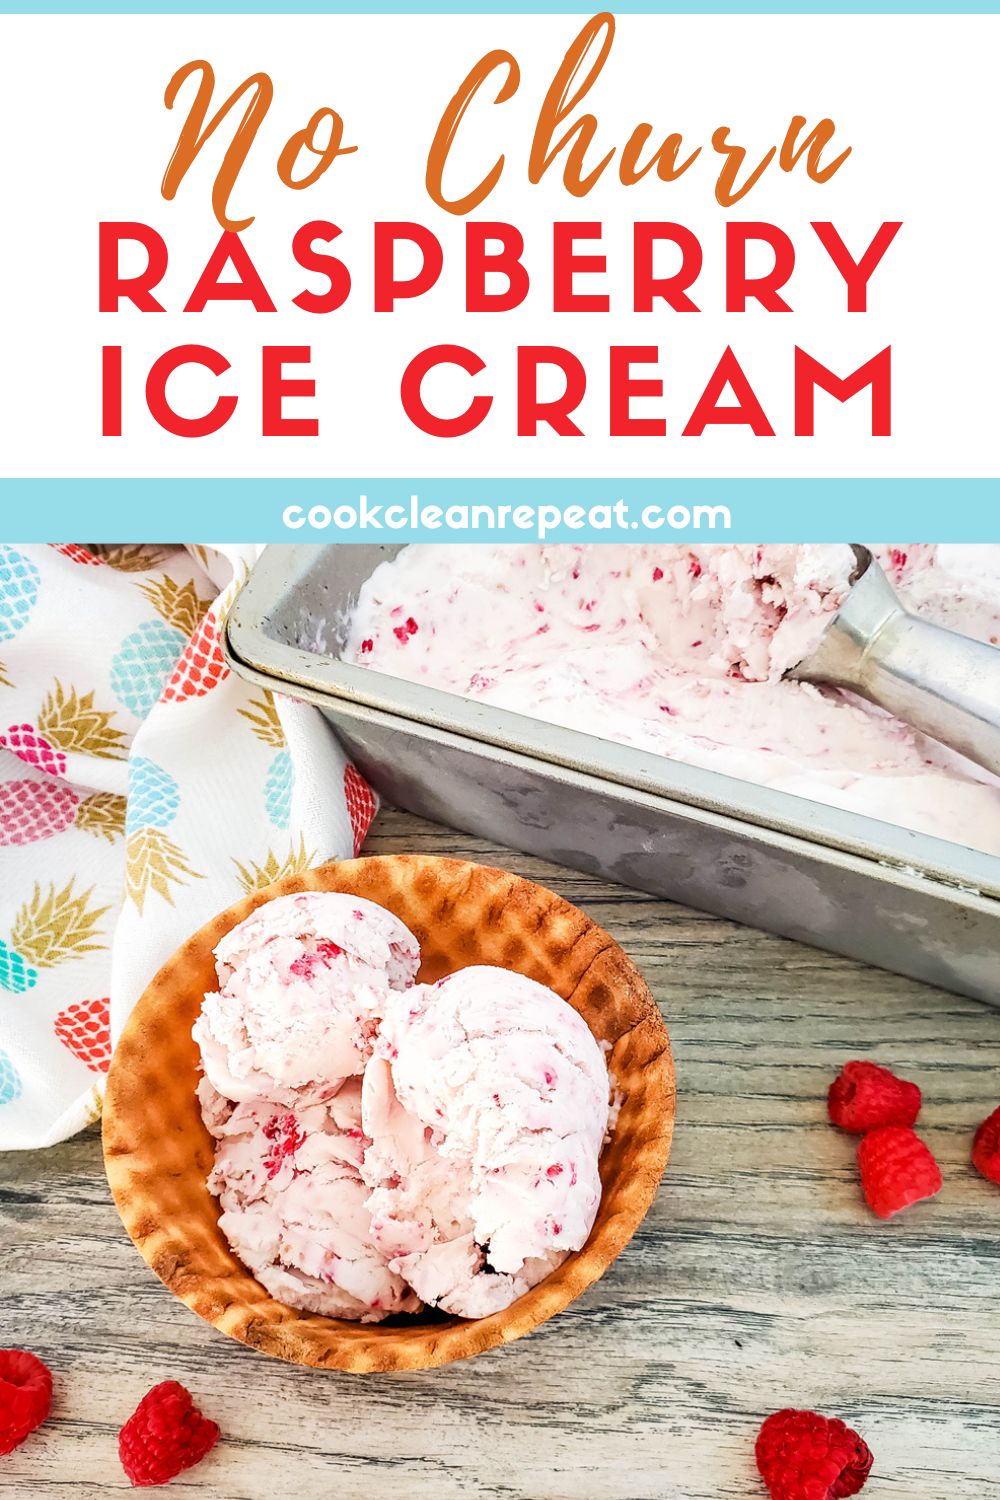
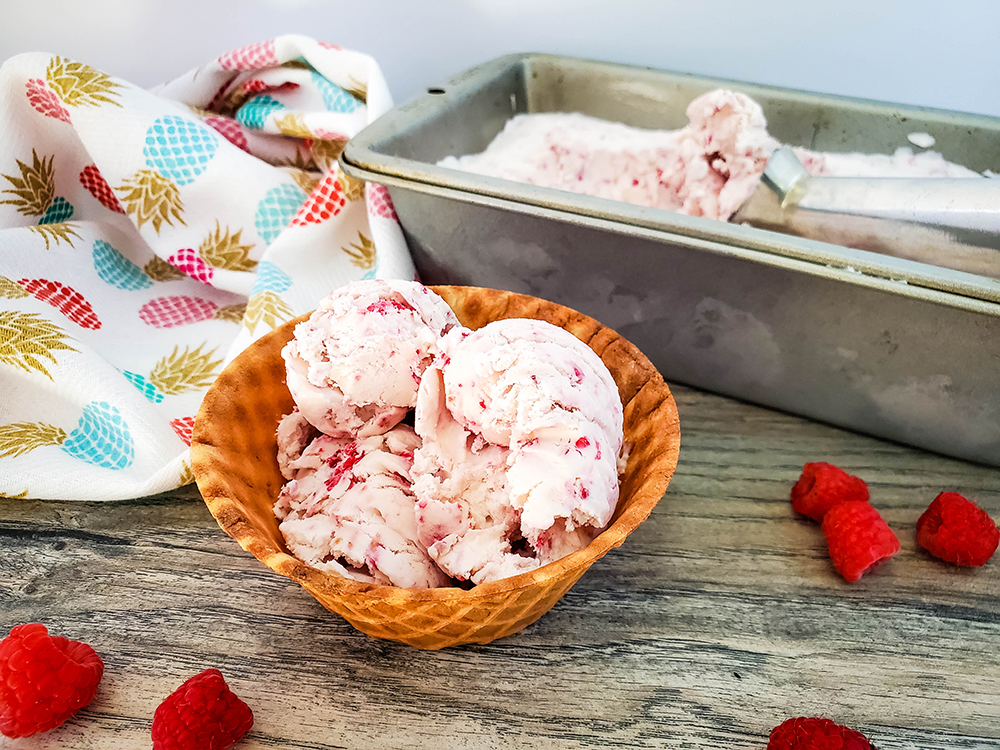
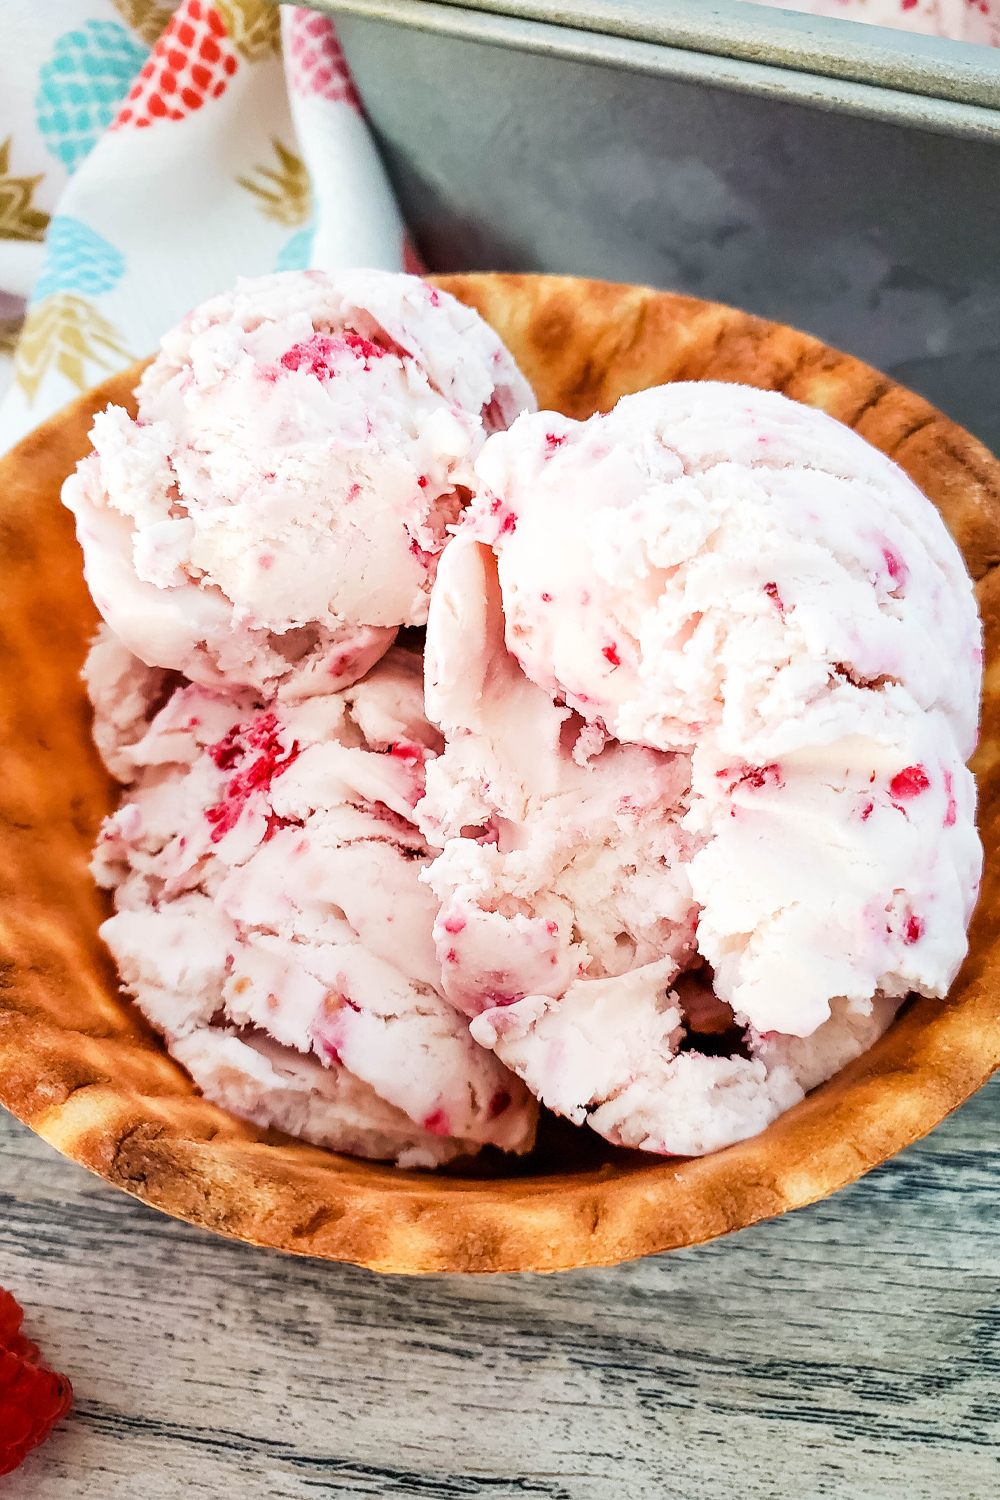
No Churn Raspberry Ice Cream
Look no further than no churn raspberry ice cream for an easy and delicious way to cool off this summer!
No churn ice cream is here to shake up the dessert industry and make your taste buds rejoice! Give your store-bought ice cream a complete upgrade with this homemade variety, which requires minimal effort and produces maximum deliciousness.
No churn ice cream has taken off worldwide due to its simple process that creates creamy, artisanal flavors, like this no churn raspberry ice cream recipe, that anyone can master like a true expert.
From combining flavors to topping it off with custom toppings and syrups, you are equipped with endless possibilities for making mouthwatering masterpieces.
This post contains links to products I like and think will be useful to you. If you click through and make a purchase I make a commission.
What is no churn ice cream?
No churn ice cream is a way of making ice cream at home without needing specialized equipment.
You’re able to mix together a few key ingredients, as well as the ingredients of your flavor choice. You then let the combined ingredients harden in the freezer.
Once it has firmed up for at least 8 hours, you’ll have a delicious, creamy ice cream that you can be very proud of!
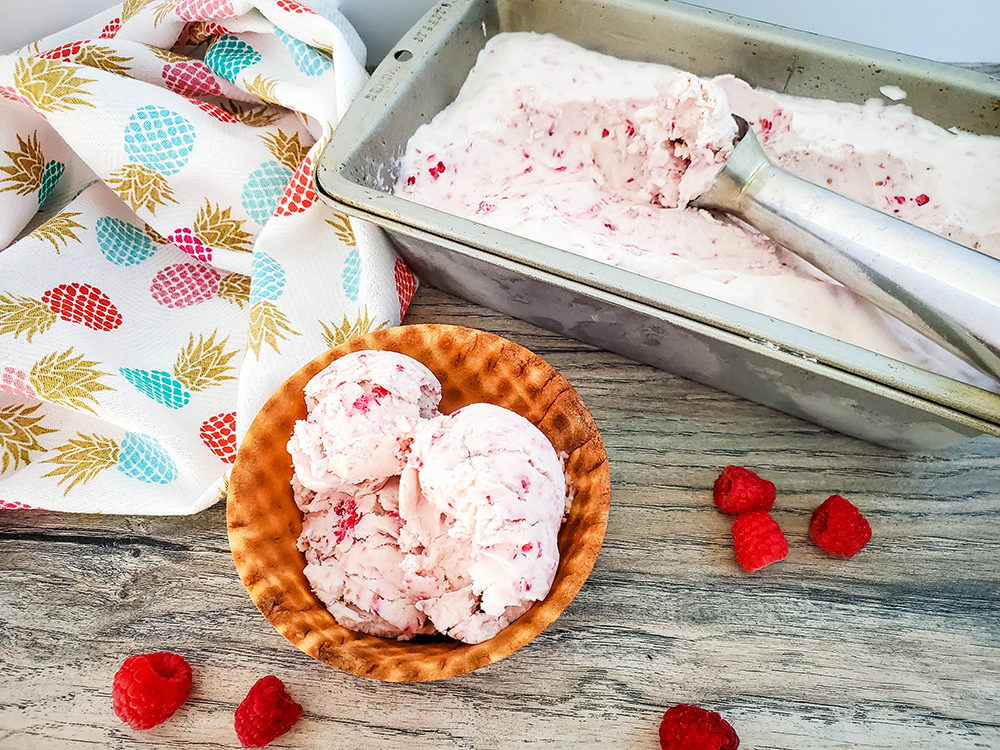
This homemade delight is packed with the sweet and tart flavor of raspberries. It is super creamy with a smooth texture, and best of all – it requires no ice cream maker or churning.
It’s simple to make, and even simpler to enjoy – the perfect summer treat! (Or any time treat if we’re being honest).
A huge benefit when it comes to making a homemade no churn ice cream like this recipe is that it is made with such simple ingredients, yet packs a serious flavor punch that you’re sure to love.
With just a few simple ingredients and some time in your freezer, you can have decadent homemade raspberry ice cream that rivals any store-bought brand.
No need for an ice cream maker or special equipment – just follow our easy steps to make this delicious dessert and impress your friends and family!
How do you make raspberry ice cream without a machine?
This no churn raspberry ice cream recipe relies on blending the ingredients together and then placing them in the freezer to firm them up before eating.
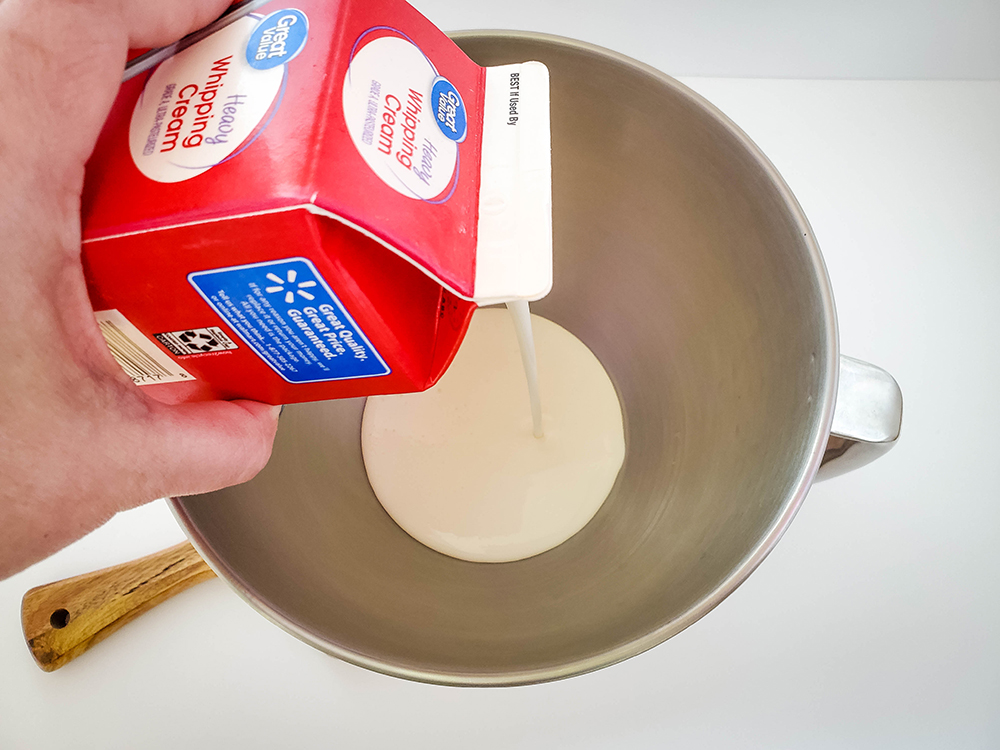
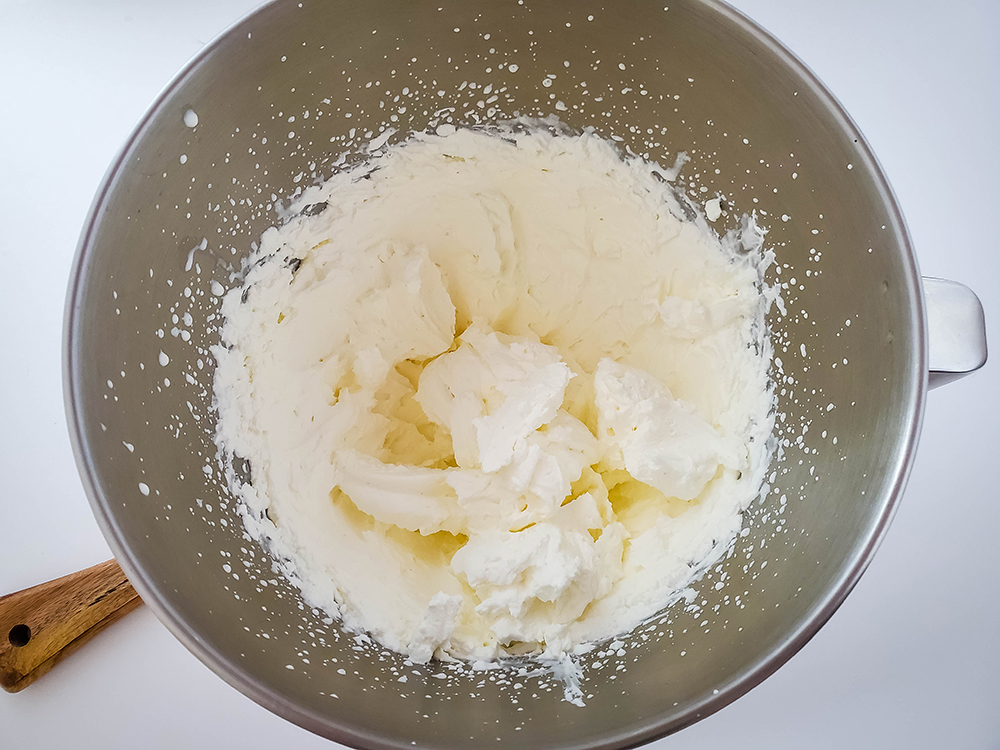
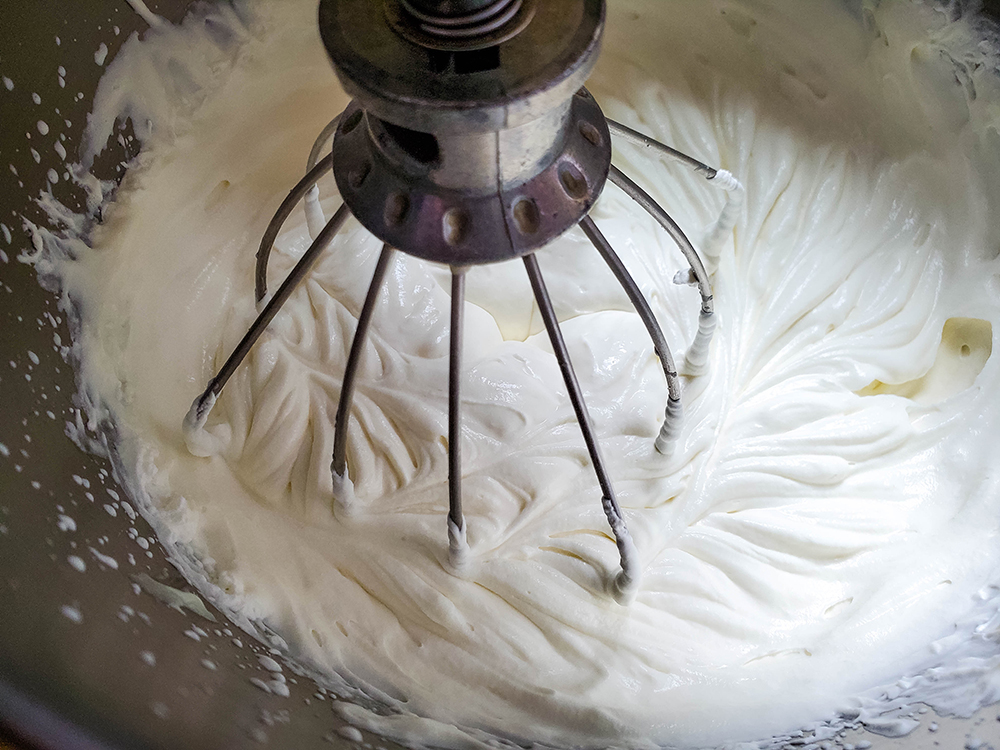
First, pour heavy cream into a large bowl, or bowl of a stand mixer (using wire whip attachment), and whip on high for about 3 minutes, until stiff peaks form.
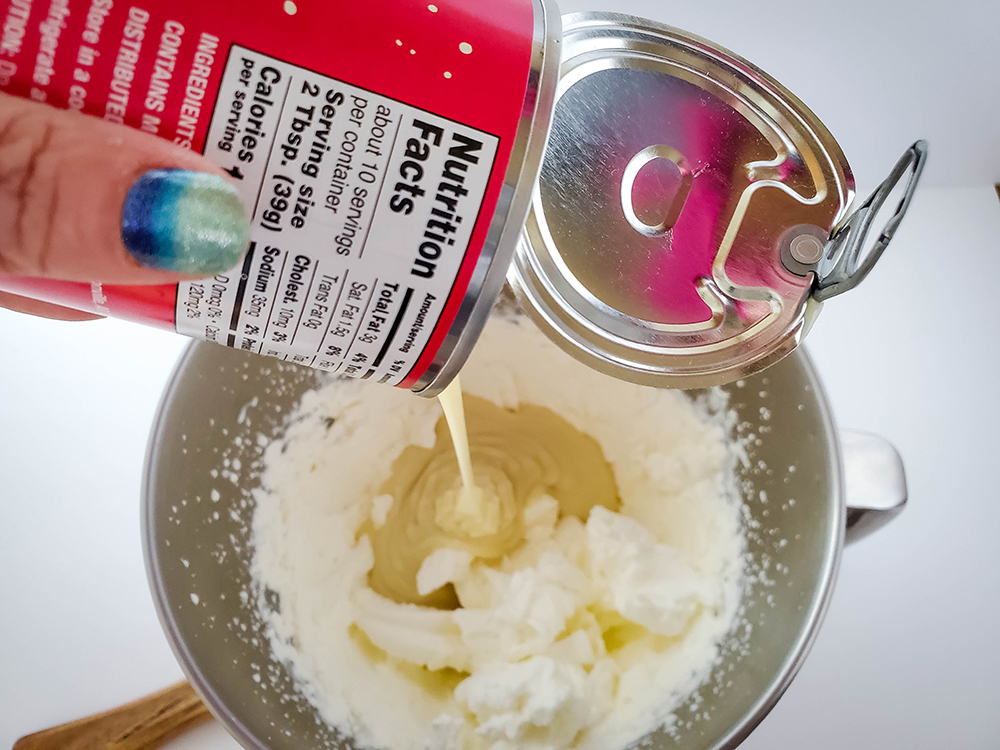
Next up, you’ll add sweetened condensed milk. Whip on high for an additional minute.
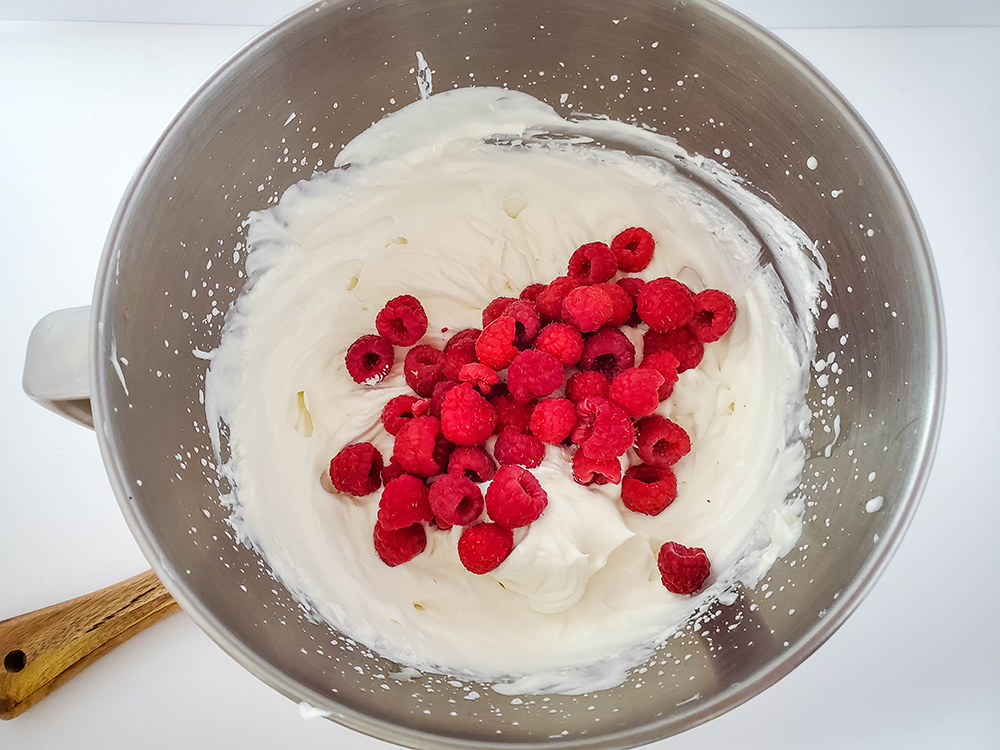
Of course you don’t want to miss out on the best part. You’re going to add raspberries and whip on low for 30-50 seconds.
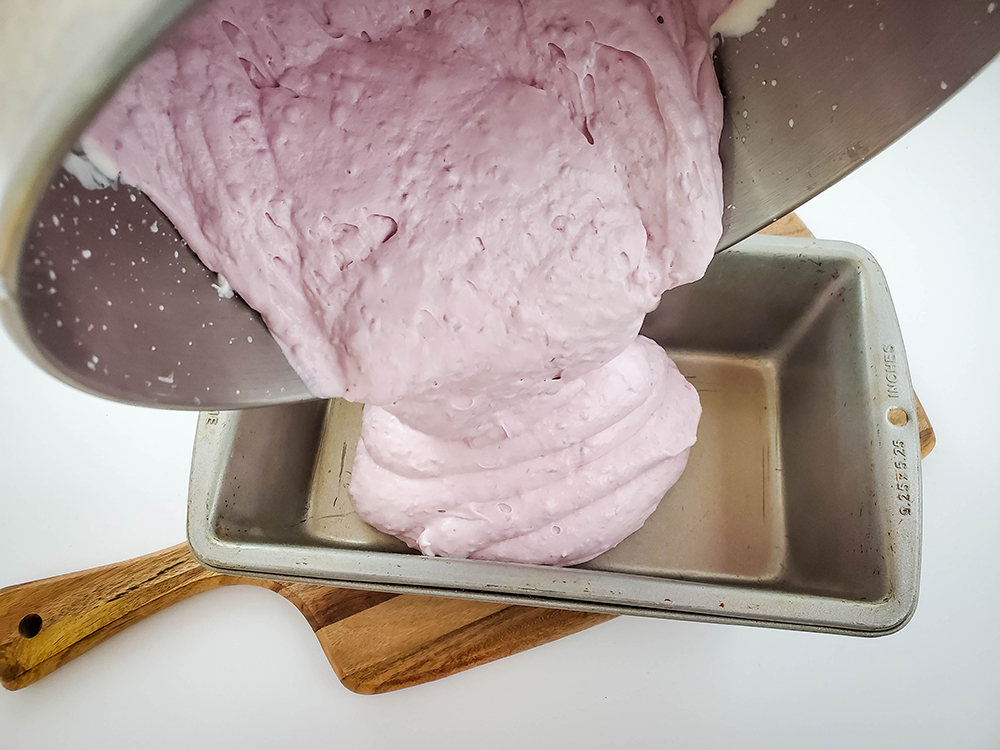
Add mixture to a bread pan, or freezer safe bowl.
That’s it! It’s such an easy recipe to throw together, yet it’s so tasty!
What are the benefits of ice cream recipes that are no churn?
When you make no churn ice cream, it saves you a lot of the hassle and fuss of the traditional way of making ice cream at home. This will save you prep time as the rest of the prep is hands free as it happens with the ice cream sitting in the freezer.
Another benefit to making no churn ice cream is it will save you money! By eliminating the churning process, you don’t have to purchase any fancy equipment to do the job for you.
You can elevate your ice cream experience by also making homemade Belgian waffle bowls!
In the long run, making your ice cream at home will also save you money since you won’t have to buy tubs of it from the grocery store.
This will also be a benefit when it comes to the ingredients. You’ll always know exactly what ingredients are included, so you know you’re getting the healthiest option.
What is the best way to store a no churn raspberry ice cream?
Once you’ve made your no churn raspberry ice cream, you’re going to want it to last without spoiling. Luckily this is so easy, because all you have to do is store it in your freezer after preparing the servings that are going to be eaten in the present moment.
How long does homemade ice cream last?
If you store your homemade ice cream in an airtight container in the freezer, it should be able to easily last for a few weeks… If you’re able to resist it for that long!
What are some other flavors you can use?
You can create a no churn ice cream out of just about any flavor that you want! Fruits and chocolate are very popular flavor options for homemade ice cream! Orange Ice Cream is a family favorite of ours.
Have fun with it and create your very own, personalized flavors and see which ones you end up loving!
Get Inspired by Other No Churn Ice Cream Recipes
- Marshmallow Peeps Ice Cream
- Cotton Candy Ice Cream
- How to Make Pumpkin Pie Ice Cream
- Delicious Homemade Apple Ice Cream
- Strawberry Cheesecake Ice Cream
- Coconut Pineapple Ice Cream
Is no-churn ice cream really ice cream?
No churn ice cream is truly ice cream! It’s just made differently and may have a slightly different texture than a tub of ice cream that you may buy in a store or make with an ice cream maker appliance.
Helpful Tools for This Recipe
- Stand Mixer
- Bread Loaf Pan
- Silicone Rubber Spatula Set
- Stainless Steel Bowls
- Whisk Set
- Ice Cream Scoop
- Belgium Waffle Bowl Maker
No Churn Raspberry Ice Cream

Enjoy this easy-to-make, bright, no-churn raspberry ice cream. Perfect for any time of year!
Ingredients
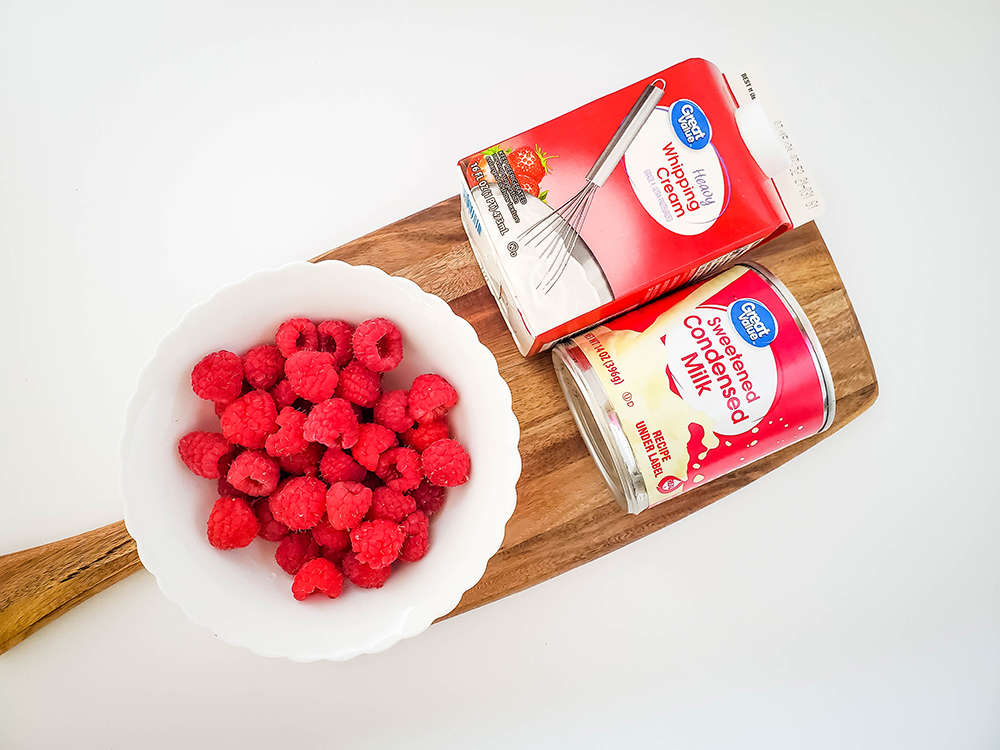
- 16 oz heavy cream
- 15 oz can sweetened condensed milk
- 6 oz fresh raspberries
Instructions
- Pour heavy cream into a large bowl, or bowl of a stand mixer (using wire whip attachment), and whip on high for about 3 minutes, until stiff peaks form.
- Add sweetened condensed milk. Whip on high for an additional minute. Add raspberries and whip on low for 30-50 seconds.
- Add mixture to a bread pan, or freezer safe bowl.
- Cover, and chill for 8 hours, or overnight.
- Enjoy!
Nutrition Information:
Yield:
12Serving Size:
1Amount Per Serving: Calories: 296Total Fat: 19gSaturated Fat: 12gTrans Fat: 0gUnsaturated Fat: 6gCholesterol: 61mgSodium: 72mgCarbohydrates: 29gFiber: 1gSugar: 28gProtein: 5g
I am not a medical expert. These calculations are provided as a courtesy.